
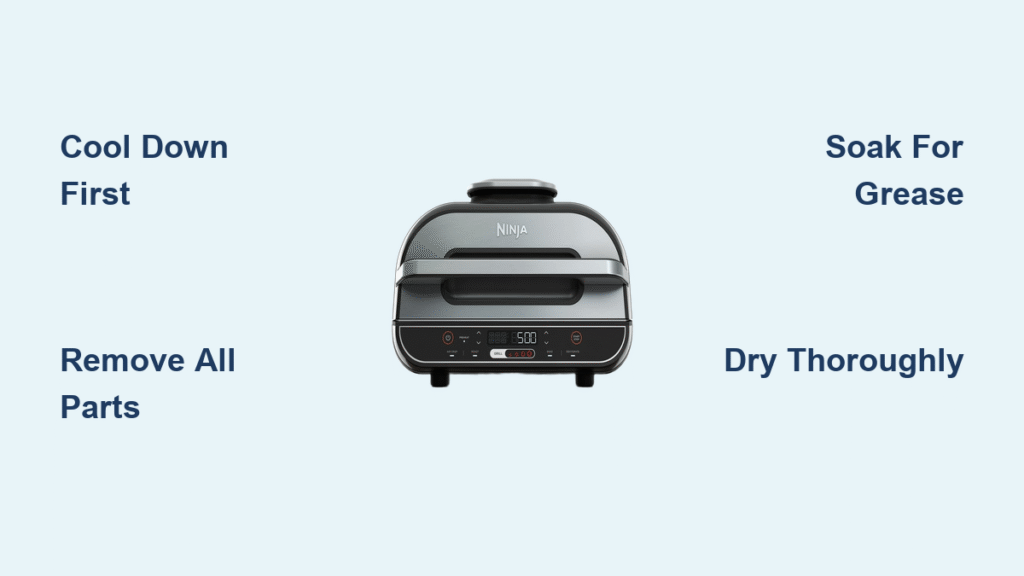
That crispy chicken you just pulled from your Ninja Air Fryer 5-in-1 left behind more than delicious leftovers—it created a hidden battlefield of cheese splatter, oil droplets, and stubborn food debris. When grease builds up on the heating coil or baked-on residue cakes the basket grids, your next meal could smoke, taste off, or even trigger error codes. But here’s the good news: a deep clean that restores factory-fresh performance takes just 30 minutes when you follow this model-specific routine. You’ll learn exactly how to dissolve hardened grease without scratching non-stick surfaces, safely clean the hidden heating element, and prevent the #1 mistake that causes sputtering during your next cook cycle.
Never Skip the Critical Cool-Down Period
Touching hot components risks severe burns—the metal basket retains heat like a cast-iron pan even after cooking stops. Unplug the unit immediately post-cooking, then set a 15-minute timer. When the timer ends, test the basket handle with the back of your hand; if it’s still uncomfortably warm, wait another 5 minutes. Skipping this step risks accidental contact with surfaces exceeding 200°F. During cooling, remove any food immediately to prevent residue from hardening. This waiting period isn’t downtime—it’s when residual heat begins softening grease for easier removal.
Remove Every Accessory in One Motion
Pop out all five components at once: the main basket, crisper tray, multi-layer rack, skewers, and silicone mats. Place them on a heat-safe counter surface—not near the still-warm appliance. This full disassembly reveals hidden trouble zones like crumbs trapped under the rack’s feet or grease pooled in the basket’s drainage channel. Inspect each piece for telltale signs of neglect: dark discoloration on the crisper tray indicates oil saturation, while white crusty patches on the rack signal dried cheese or batter. Missing this step means cleaning around debris that continues baking onto surfaces during future use.
Dishwasher vs Hand-Wash: The Exact Rules for Your Model
Top-Rack Only Items That Won’t Warp
Check the underside of your basket and crisper tray for the dishwasher-safe symbol (a plate with water droplets). Only these parts typically qualify—never put the multi-layer rack or skewers in the dishwasher. High-pressure jets and extreme heat warp thin aluminum trays over time, creating uneven cooking surfaces. If your model lacks symbols, default to hand-washing all components. Dishwasher use voids warranties when warping occurs.
Hand-Wash Protocol for Non-Stick Longevity
Fill your sink with the hottest tap water plus 1 teaspoon of grease-cutting dish soap. Submerge the basket and tray, then use the blue non-scratch sponge (never steel wool) to scrub grid intersections where oil polymerizes. Focus on the basket’s curved base—the spot most prone to carbonized buildup. Rinse each piece under running water for at least 20 seconds per side; trapped oil films cause rancid odors during next use. Stand components vertically in a drying rack—horizontal placement traps water in crevices.
Blast Through Baked-On Grease in 20 Minutes
Pre-Soak Hack That Lifts Residue in Sheets
Submerge grimy parts in soapy water immediately after removal while residual heat softens solids. Add 1 tablespoon baking soda to boost grease-cutting power. After 20 minutes, cheese and potato skins should slide off intact rather than flaking. For overnight buildup, extend soaking to 45 minutes—never use boiling water as it can warp plastic handles.
Toothpick Technique for Grid Hole Clogs
Slide a wooden toothpick through each basket perforation at a 45-degree angle, rotating as you push. Metal tools scratch the non-stick coating, creating pits where future grease hides. Work from the basket’s interior outward to avoid forcing debris deeper. Follow with a microfiber cloth dampened in vinegar solution (1:1 water/vinegar) to dissolve lingering oil films.
Baking Soda Paste for Burnt-On Stains
Mix 2 tablespoons baking soda with 1 teaspoon warm water into a toothpaste-thick paste. Apply only to discolored areas (avoiding heating element zones), then set a 20-minute timer. The alkaline reaction breaks down carbonized oils—never let it dry completely. Gently scrub with a soft-bristled nylon brush using circular motions, then rinse until water runs clear. This method safely removes years of buildup without toxic fumes.
Steam-Clean the Lid Without Powering On
Pour 1 cup hot tap water + 1 cup fresh lemon juice directly into the empty basket cavity. Close the lid and let it sit unplugged for 8 minutes—the trapped steam softens splatter on the heating coil housing. Open carefully to avoid steam burns, then wipe the lid’s underside with a lemon-soaked microfiber cloth. Never use vinegar here; its acidity can corrode metal components near the fan housing. This step eliminates fish or onion odors while dissolving grease without scrubbing.
Extreme Build-Up? Use Controlled Boiling (Safely)
When residue resists all other methods, activate the fryer’s heating element to soften gunk:
- Pour ½ inch warm soapy water into the basket—never exceeding the drainage holes
- Slide basket into the unit and plug in
- Set temperature to 300°F (lowest setting) and timer for 4 minutes
- Unplug immediately when timer ends; let cool 10 minutes before wiping
Critical safety note: Never leave the room during boiling. Water expansion can cause overflow onto electrical components, creating shock hazards. This method works because the fryer’s gentle convection heat lifts residue without damaging coatings—unlike oven cleaners that strip non-stick surfaces.
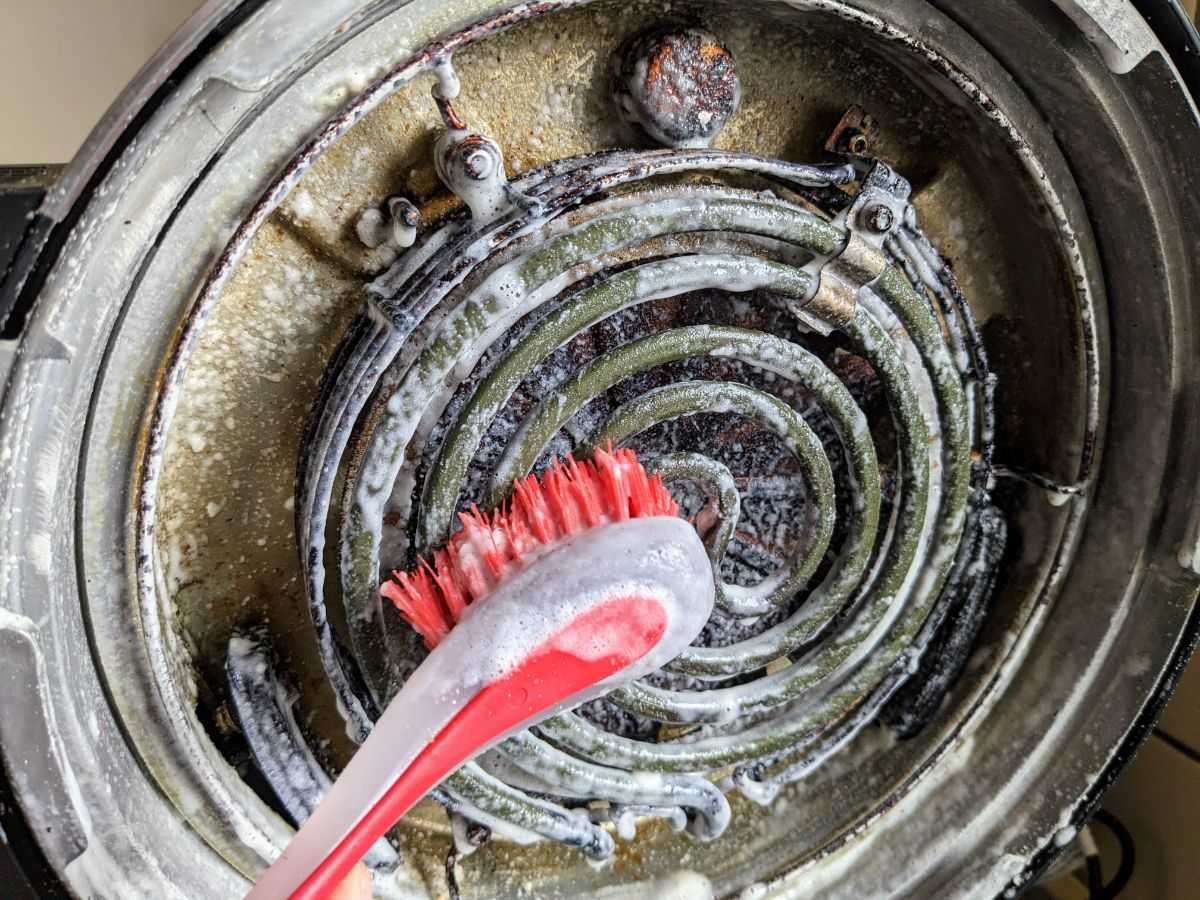
Clean the Heating Element Without Short-Circuiting
Locate the coil and fan assembly on the lid’s underside (visible when basket is removed). Dip a dry soft-bristled toothbrush into hot soapy water, then shake off all excess moisture. Brush along the coil’s length in the direction of the metal fins—never perpendicular—to avoid dislodging wires. Wipe residue with a cloth barely dampened with distilled water; tap water minerals accelerate corrosion. One drop inside the housing can cause permanent damage, so tilt the lid downward while cleaning.
Dry Components to Prevent Sputtering Disasters
Pat every part with a lint-free cotton towel, then air-dry for at least 30 minutes—moisture trapped in the basket’s drainage channel causes violent oil spitting during preheating. Test dryness by pressing a tissue against grid intersections; condensation leaves visible damp spots. Reassemble only when all components feel room-temperature to your cheek. Skipping this step risks electrical faults from water contacting the heating element during first use.
Monthly Maintenance That Doubles Your Air Fryer’s Lifespan
After every cook cycle, wipe the basket’s interior with a soapy microfiber cloth while still warm (not hot). Once monthly, perform the baking soda paste treatment on the crisper tray to prevent flavor transfer. Never use aerosol sprays—their propellants degrade non-stick coatings over time. Store with the basket slightly ajar to prevent musty odors. When you maintain this routine, your Ninja Air Fryer 5-in-1 avoids the top three failure points: smoke from burnt residue, uneven cooking from clogged vents, and error codes from moisture damage. Your next batch of crispy fries will taste as fresh as day one—without that telltale “used appliance” aftertaste.


