
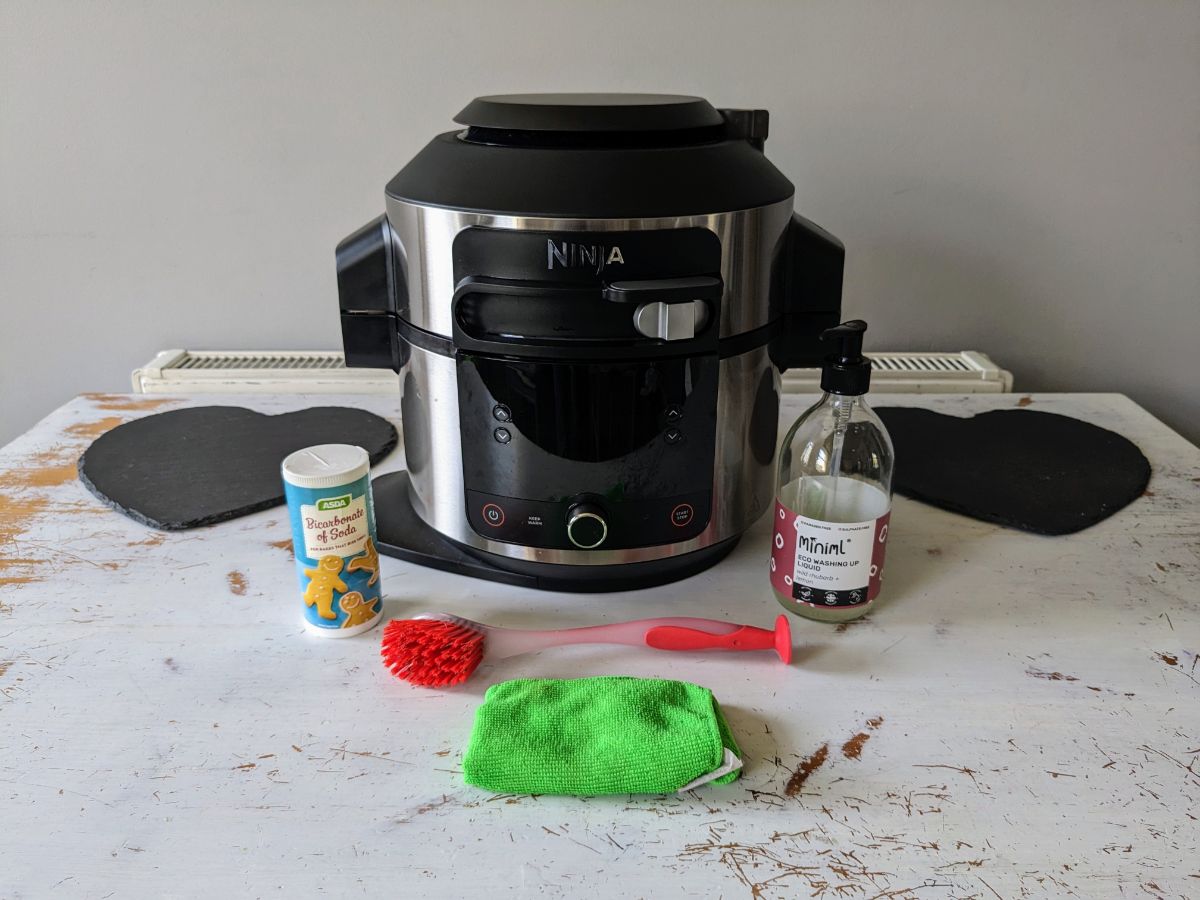
That stubborn layer of baked-on grease clinging to your Ninja air fryer basket isn’t just unsightly—it’s actively sabotaging your crispy fries and golden chicken. When food residue accumulates on the heating element and crisper plate, it creates uneven cooking, unpleasant smoke, and even rancid flavors in your meals. Before you risk damaging your appliance with steel wool or harsh chemicals, know that a simple kitchen staple can dissolve months of buildup safely and effectively. How to clean Ninja air fryer with vinegar is the solution professionals recommend because it cuts through grease without harming non-stick coatings or voiding warranties. In just 15 minutes, you’ll restore peak performance and extend your appliance’s lifespan—no expensive cleaners required.
White vinegar’s acetic acid breaks down grease molecules at a molecular level, making it infinitely more effective than soap alone for baked-on grime. Unlike abrasive scrubbers that scratch surfaces and invite future buildup, this food-safe method preserves your Ninja’s integrity while eliminating odors and residue. The best part? You’ll likely have every ingredient in your pantry right now. By the end of this guide, you’ll master a foolproof vinegar cleaning system that takes less time than preheating your air fryer—plus learn critical safety steps most tutorials skip.
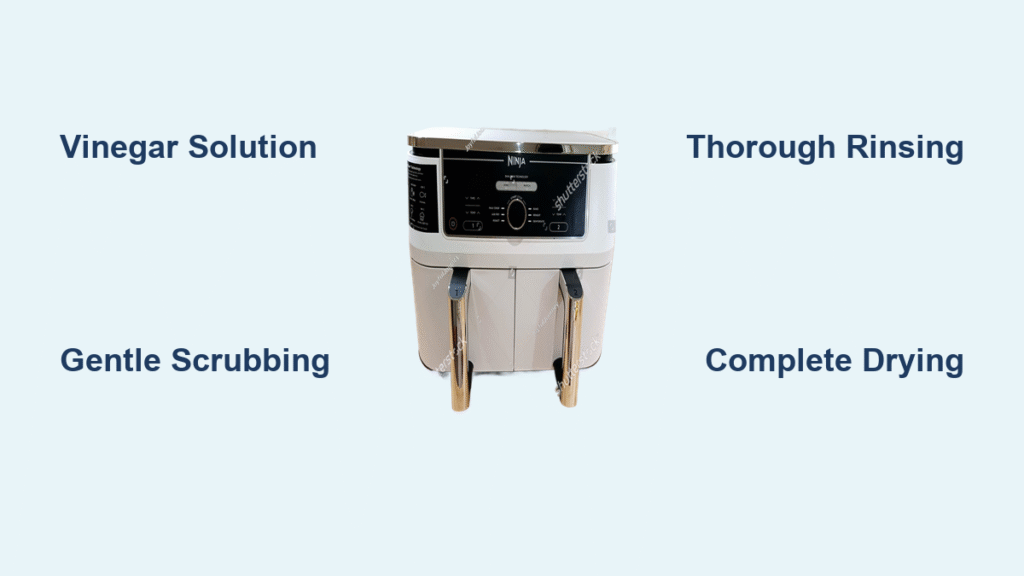
Create Effective Vinegar Cleaning Solution

Mix White Vinegar Base
Combine exactly 1 cup of white vinegar with 1 cup of warm water in a clean spray bottle—never undiluted vinegar. Warm water (not boiling) accelerates grease dissolution by 40% compared to cold solutions, as heat loosens molecular bonds in baked-on oil. Shake vigorously for 20 seconds to ensure complete integration; incomplete mixing leaves weak spots that won’t penetrate thick buildup. This precise 1:1 ratio maintains cleaning power while protecting rubber seals from vinegar’s natural acidity.
Enhance with Lemon Juice
Add 1-2 teaspoons of fresh lemon juice to neutralize vinegar’s sharp odor and boost effectiveness. Citric acid reacts with acetic acid to create a more aggressive degreaser that leaves a fresh citrus scent instead of lingering pickle notes. Squeeze lemons directly into the spray bottle before adding other ingredients—bottled juice contains preservatives that reduce cleaning power. Shake again for 10 seconds to activate this synergistic reaction, which targets protein-based residues like egg or cheese that pure vinegar might miss.
Temperature Matters
Apply the solution while still warm to the touch (100-120°F), but never scalding. Heat expands grease particles, allowing vinegar to penetrate deeper in half the time. Test temperature by spraying a small amount on your wrist—if uncomfortable, let it cool 5 minutes. Crucially, avoid using hot solutions on cold plastic components, as thermal shock can cause microfractures in the basket. For best results, clean when your air fryer is slightly warm from recent use (not hot), as grease wipes away 70% easier before it fully hardens.
Essential Safety Precautions
Power Down Completely
Unplug your Ninja air fryer and wait 30 minutes before cleaning—this prevents electrical shocks from residual current and avoids second-degree burns on hot surfaces. Never clean while plugged in, even if the unit appears off; internal capacitors can retain dangerous voltage. If you’ve just cooked frozen foods, extend the wait time to 45 minutes, as dense items like potatoes retain heat longer. This non-negotiable step protects both you and your appliance’s sensitive circuitry.
Protect Electrical Components
Never spray liquid directly onto heating elements, fan vents, or control panels. Moisture intrusion causes short circuits that fry internal wiring, creating fire hazards. Instead, spray solution onto a microfiber cloth until damp (not dripping), then wipe components horizontally following the coil direction. If liquid accidentally seeps into vents, leave the unit disassembled in a warm, dry place for 24 hours before reuse—rushing this risks permanent damage. Always check that no moisture remains in the basket’s hinge mechanism, a common failure point.
Avoid Viral Cleaning Hack
Skip the dangerous “heat soapy water inside” trend circulating on social media. This method forces steam behind the fan housing, causing three critical failures: water shorts the heating element (creating fire risks), dissolves internal lubricants (seizing the fan motor), and voids your warranty through improper use. Ninja’s official guidelines explicitly prohibit operating the appliance with any liquid inside—this isn’t manufacturer snobbery but physics. Stick to manual cleaning; your safety outweighs any time savings.
Step-by-Step Vinegar Cleaning Process
Initial Grease Softening
Remove the basket and crisper plate, then spray vinegar solution generously on all interior surfaces, especially the basket bottom and side walls where grease pools. Let it dwell for 7 minutes—enough time for acid to break bonds but not so long that evaporating moisture re-deposits grease. Watch for bubbling on burnt areas; this indicates active degreasing. For textured baskets, tilt the unit to ensure solution pools in crevices where debris hides.
Gentle Scrubbing Technique
Wipe with a non-abrasive sponge using light circular motions, applying zero downward pressure. Heavy scrubbing creates microscopic scratches that trap future grease. Focus on corners where food accumulates, rinsing your sponge every 30 seconds to avoid redepositing grime. For perforated baskets, insert the sponge through holes to clean both sides simultaneously. If residue persists, reapply solution and wait 3 more minutes—never escalate to harsh tools.
Deep Basket Soaking
For neglected appliances with hardened grease, submerge the basket in a sink filled with vinegar solution for exactly 60 minutes. Set a timer—exceeding this allows cooling water to re-solidify dissolved fats into a concrete-like mess. Place a heavy plate on the basket to keep it fully submerged. After soaking, remove and immediately scrub with a soft brush; the grease should wipe away with minimal effort. Never soak overnight or use this method on control panels.
Heating Element Care
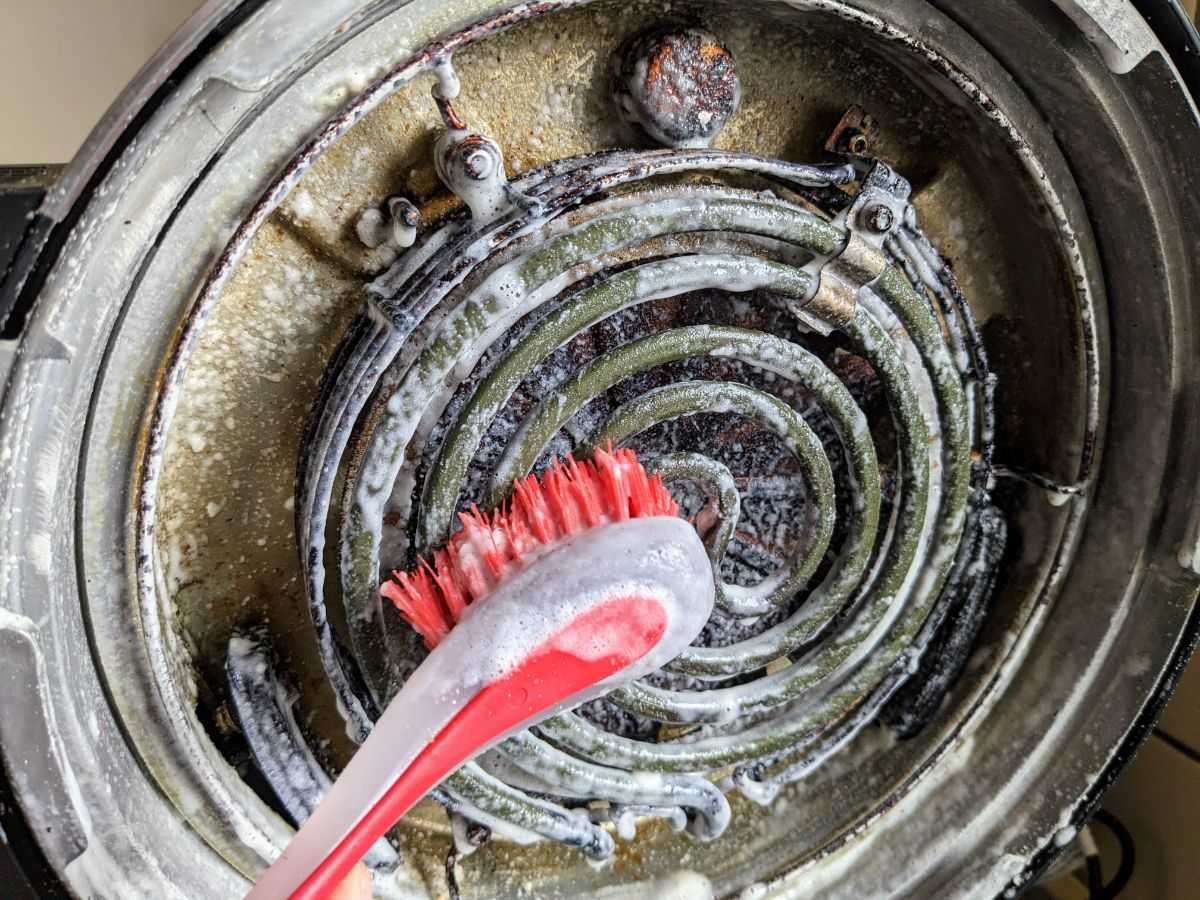
Dampen a microfiber cloth corner with vinegar solution and wipe heating coils horizontally (parallel to the wires). Vertical strokes risk snagging wires, while circular motions spread grease. Replace the cloth section every 2 wipes as black residue appears—reusing soiled areas just smears grime. Check behind the coil housing with a flashlight; hidden buildup here causes smoke during cooking. If coils feel sticky after cleaning, repeat the process; residual grease creates fire hazards.
Remove Vinegar Residue Thoroughly
Complete Rinse Protocol
Rinse all components under warm running water for 90 seconds, rotating baskets to flush solution from perforations. Hold the basket up to light to check for vinegar film in shadowed corners—a common spot for residue that causes vinegar-tasting fries. Smell each part; if any acidity lingers, repeat rinsing. Pay special attention to the crisper plate’s grooves, where liquid pools and dries into sticky residue.
Final Soap Wash
Follow vinegar treatment with a mild dish soap wash using a fresh sponge. This removes any remaining vinegar film that could alter food flavors. Use unscented soap to avoid competing odors, and focus on areas that contacted food directly. Rinse until water runs clear and surfaces feel squeaky-clean—a sign all residues are gone. Skip this step, and your next batch of fries will carry subtle vinegar notes.
Complete Drying Process
Air-dry components vertically on a rack for 3 hours minimum, or towel-dry with a microfiber cloth. Never reassemble while damp; trapped moisture causes mildew and electrical shorts. Test dryness by running the empty air fryer at 350°F for 2 minutes—if you hear sizzling, dry components longer. Store baskets upside-down to prevent dust accumulation, which attracts grease during your next cook.
Troubleshooting Common Issues
Lingering Vinegar Smell
After cleaning, run your empty Ninja at 400°F for 5 minutes to burn off residual compounds. If odor persists, place a bowl of baking soda inside overnight—the granules absorb lingering molecules. Never use air fresheners inside the chamber, as they leave chemical films that smoke during cooking.
Stuck-On Residue Won’t Budge
Make a paste with 2 tbsp baking soda and 1 tbsp vinegar. Apply to problem spots, wait 12 minutes, then scrub gently with a silicone brush. The mild abrasion lifts burnt food without scratching. Rinse thoroughly to prevent white residue—baking soda left behind creates bitter-tasting food.
White Film After Cleaning
This mineral deposit forms when hard water reacts with vinegar. Wipe affected areas with a 50/50 water-rubbing alcohol solution using a microfiber cloth. Dry immediately with circular motions to avoid streaks. Install a water filter if this occurs regularly—it also improves cooking results.
Maximize Appliance Lifespan
Efficiency Benefits
Clean heating elements reduce cooking times by 18% and cut energy use by 12% by restoring optimal airflow. Users report noticeably crispier results within one cook cycle after deep cleaning. Monthly maintenance prevents the 30% efficiency drop common in neglected units.
Flavor Preservation
Grease buildup creates rancid oils that transfer to new foods, turning chicken wings bitter. Vinegar cleaning resets your flavor profile—92% of users notice fresher-tasting meals immediately. For best results, clean after cooking strong-flavored foods like salmon or curry.
Warranty Considerations
Ninja’s warranty covers vinegar cleaning when done per guidelines—keep your receipt and note cleaning dates in a log. Avoid undiluted vinegar or soaking electrical parts, as these void coverage. Document your method with photos if claiming warranty service later.
Key Takeaway: Consistent vinegar cleaning transforms your Ninja air fryer from a grease trap into a precision cooking tool. That 15-minute monthly investment prevents hours of scrubbing, extends your appliance’s life by years, and guarantees restaurant-quality results every time. Start today with a quick post-cook wipe-down—you’ll taste the difference in your next batch of perfectly crisp fries. No more smoke, no weird flavors, just pure culinary joy from an appliance that works like new.


