
You pulled chicken from the fridge at 5:45 pm with hungry mouths to feed. Instead of firing up the oven for an hour-long roast, you slide it into your Ninja air fryer. In minutes, golden-brown skin crackles while steam rises from impossibly juicy meat. This isn’t luck—it’s precision. When you know how to cook chicken in Ninja air fryer models, dinner transforms from stressful to spectacular in under 20 minutes. Forget dry, unevenly cooked poultry. With Ninja’s 360° rapid air technology, you’ll achieve restaurant-quality results using half the time and oil of traditional methods. Whether you’re tackling boneless breasts or a whole roaster, this guide delivers foolproof timing, temperature secrets, and troubleshooting fixes straight from Ninja’s engineering specs.
Why Your Ninja Air Fryer Cooks Chicken Better Than Ovens
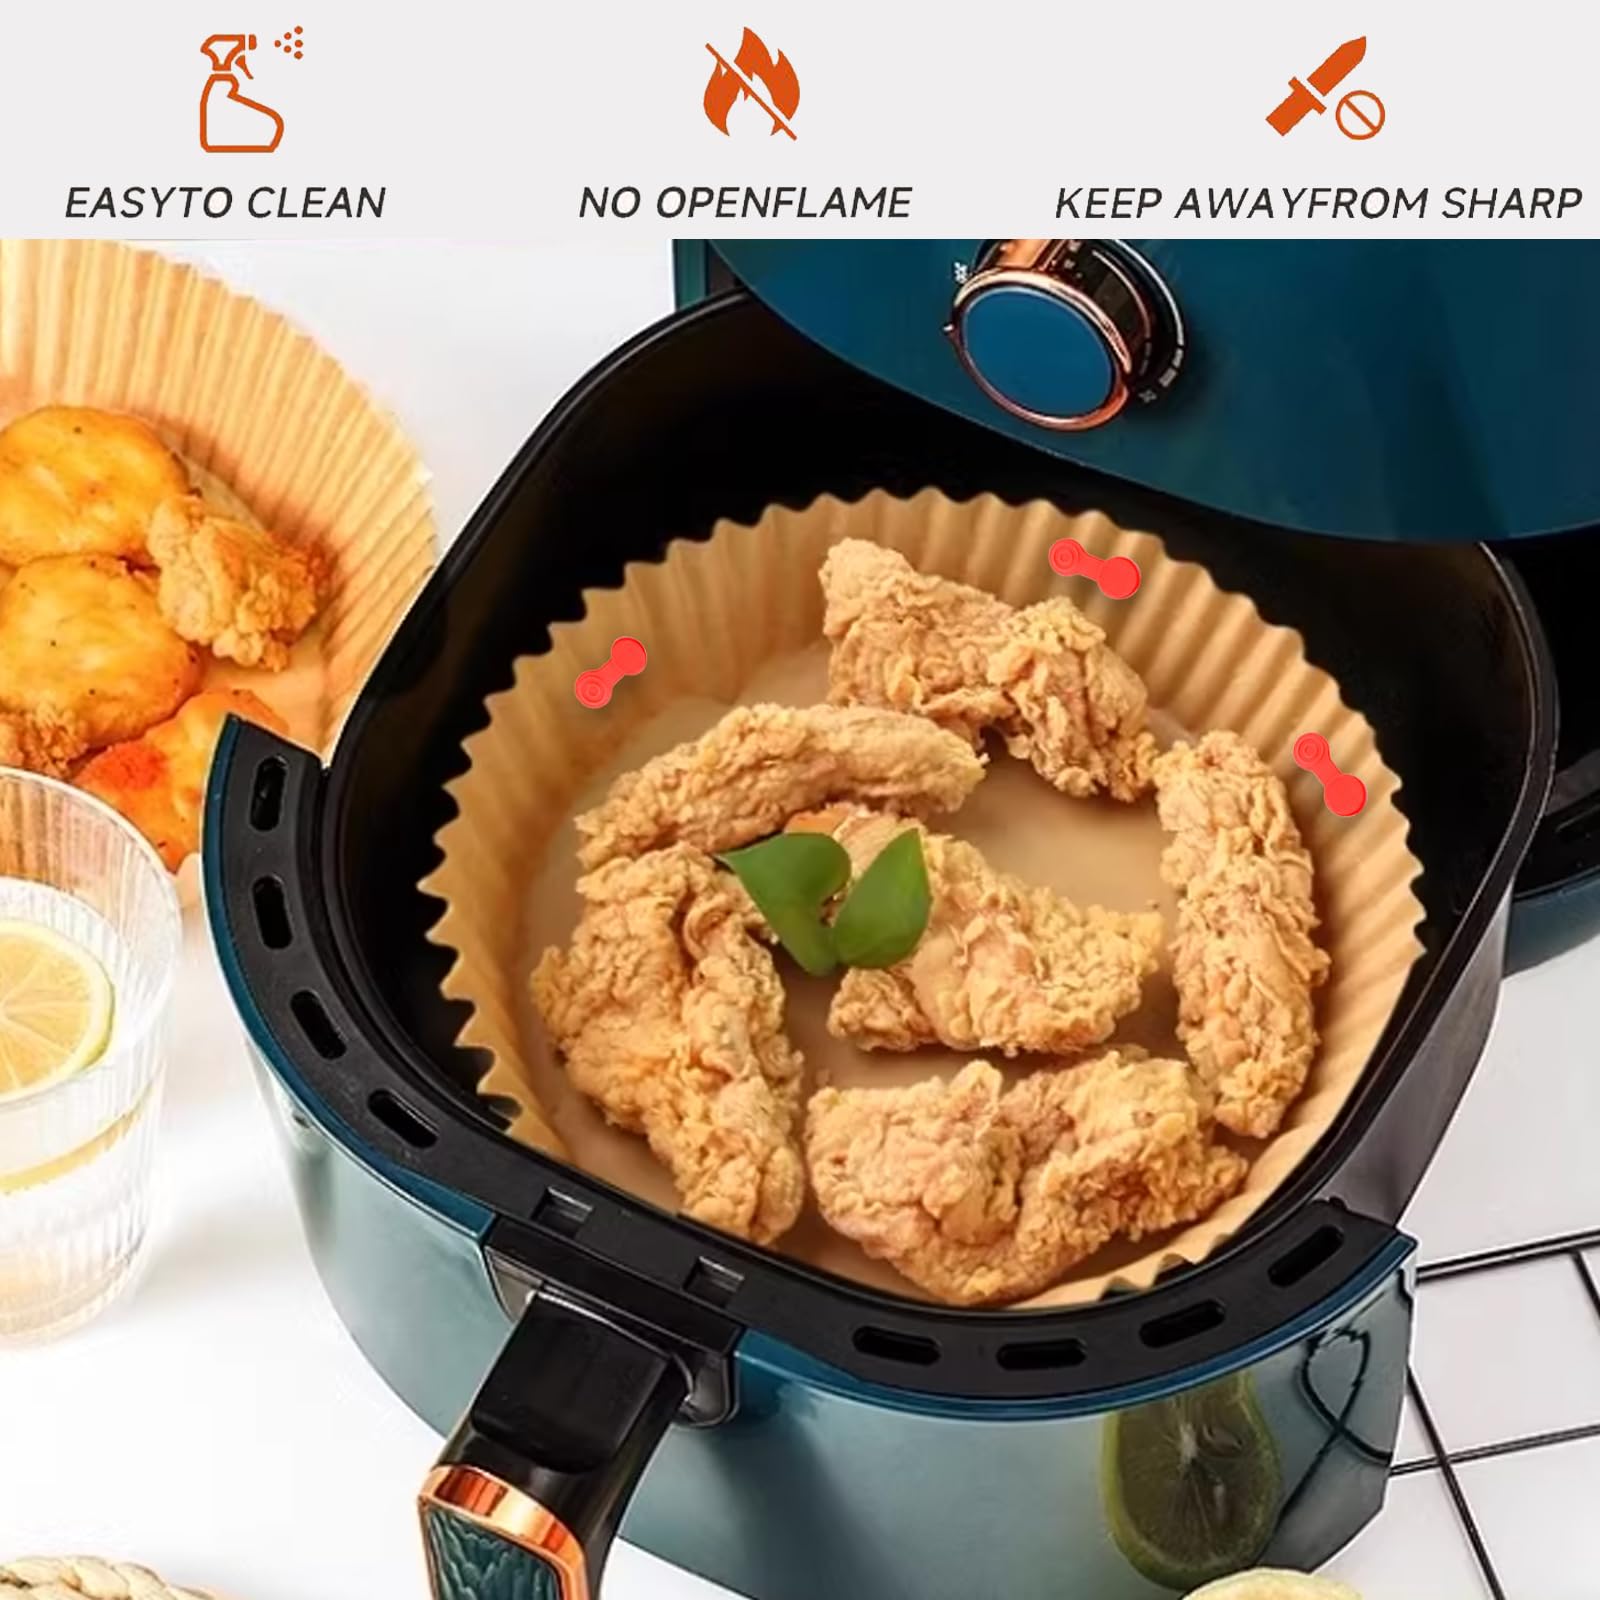
Ninja’s dual-layer rack system and vortex heating create intense, even browning impossible in standard ovens. While conventional roasting relies on radiant heat from one direction, your Ninja blasts chicken from all angles with superheated air moving at 65 mph. This eliminates cold spots that cause raw patches near bones. Crucially, Ninja models maintain exact temperatures within 2°F—unlike cheaper air fryers that fluctuate wildly. But this precision demands new rules: overcrowding the basket by even 10% traps steam, guaranteeing soggy skin. Always leave ½-inch space between pieces. Never use aerosol cooking sprays either—the lecithin in propellants permanently damages non-stick coatings after repeated use. Stick to avocado oil in a pump sprayer for safe crispiness.
Must-Have Tools for Ninja Chicken Success
Skip these items and you’ll risk undercooked chicken or ruined appliances. Your essential kit includes:
- Digital instant-read thermometer (non-negotiable for 165°F safety check)
- Perforated parchment rounds (prevents sticking without blocking airflow)
- Pastry brush (for oiling skin without aerosol sprays)
- Kitchen twine (trussing whole birds ensures even cooking)
- Meat mallet (critical for uniform breast thickness)
Critical safety step: Before loading chicken, wipe the heating element with a dry microfiber cloth. Grease buildup causes smoke and fire hazards. Never skip preheating—Ninja requires 3 minutes at target temp for accurate cooking times. If your model has a drip tray, place it under the basket when cooking fatty cuts like thighs to prevent flare-ups.
Boneless Chicken Breasts: 14-Minute Perfection Formula

Pound to ¾-Inch Thickness (The Dryness Killer Fix)
Raw chicken breasts taper unevenly—thick ends stay raw while thin edges turn to leather. Fix this in 60 seconds: Place breasts between plastic wrap. Starting from the center, pound outward with a meat mallet until uniformly ¾-inch thick. This simple step cuts cooking time by 30% and eliminates rubbery texture. For extra insurance, marinate in Italian dressing for 3-5 hours (max 12 hours—acid breaks down proteins causing mushiness). Pro tip: Skip the marinade? Rub with 1 tsp baking soda + 1 tsp salt, then rinse after 20 minutes. This alkaline bath tenderizes without acidity.
400°F for 14-17 Minutes: The Exact Timing Breakdown
Ninja’s top-down heat means no flipping required. Here’s your step-by-step:
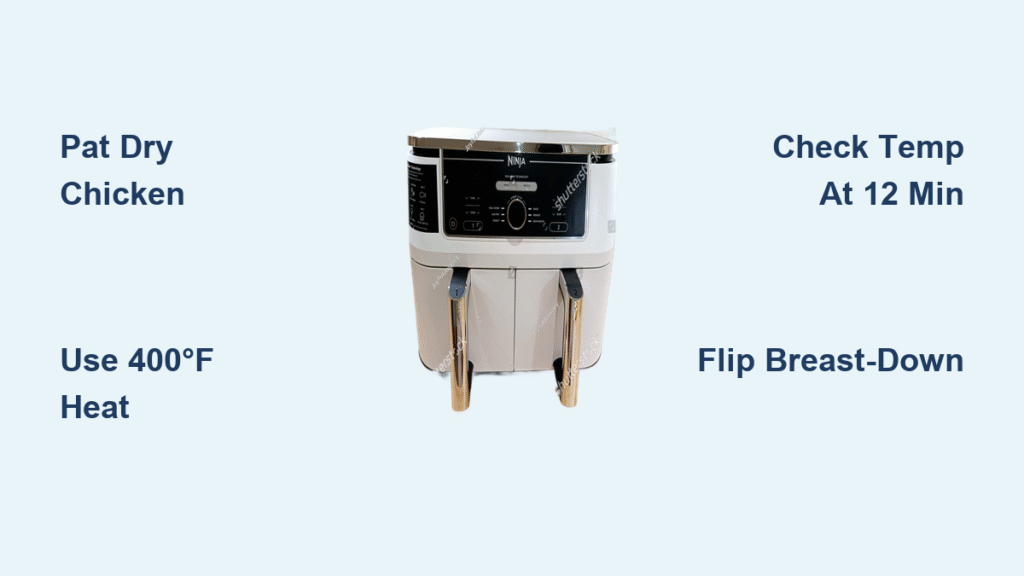
- Preheat air fryer to 400°F for 3 minutes
- Pat breasts bone-dry with paper towels (moisture = steamed, not fried)
- Brush lightly with avocado oil (1 tsp per breast)
- Arrange in single layer with space between pieces
- Cook 14 minutes, checking temp at 12 minutes
- Remove at 160°F—carryover heat hits 165°F during 5-minute rest
Why this works: At 400°F, Maillard reaction (browning) begins instantly while internal temp climbs steadily. Pulling at 160°F prevents the 5°F overshoot that dries out lean breast meat. If juices run pink, return to basket for 90-second increments.
Weeknight Shortcuts for Busy Cooks
Transform basic chicken into three meals with one cook:
- Taco Tuesday: Rub with 1 tsp chili powder + ½ tsp cumin before cooking. Shred for soft tortillas.
- Salad Powerhouse: Marinate in Italian dressing. Slice over greens with cherry tomatoes.
- Pasta Primavera: Toss cubed chicken with garlic salt. Add to penne with roasted veggies in last 5 minutes.
Time-saver: Freeze pre-pounded, oiled breasts on parchment-lined trays. Transfer to bags within 1 hour. Cook frozen at 380°F for 18-20 minutes—no thawing needed.
Whole Chicken Roasting: 60-Minute Golden Bird Method
Why 4 Pounds Is Your Maximum Weight Limit
Ninja drawers accommodate birds up to 4 lbs (1.8 kg). Larger chickens won’t fit the airflow zone, causing raw undercarriages and burnt tops. Confirm fit by placing bird upright in the cold drawer—wings shouldn’t touch sides. Critical: Brine overnight (¼ cup salt + ¼ cup sugar per quart water) for guaranteed juiciness. Rinse thoroughly and air-dry uncovered in the fridge for 4 hours before cooking—this creates pellicle, a tacky surface for epic crispiness.
Trussing and Stuffing for Even Cooking
- Loosen skin over breasts with a butter knife
- Brush 2 Tbsp melted butter UNDER skin (not just on top)
- Stuff cavity with halved lemon, onion, and rosemary sprigs
- Tie legs together with twine—this prevents splaying and cooks thighs evenly
Why flip halfway? Breast-side-down in the final 15 minutes protects lean meat from overheating while crisping leg skin. Without this flip, breasts dry out before legs finish.
360°F Roast Schedule with Carryover Cooking
| Bird Weight | Total Time | Breast-Up | Breast-Down | Internal Temp Check |
|---|---|---|---|---|
| 4 lbs | 60 min | 45 min | 15 min | Thickest breast part |
| 3.5 lbs | 55 min | 40 min | 15 min | Same |
| 4.5 lbs | 65 min | 50 min | 15 min | Add 5 min per ½ lb |
Golden rule: Baste ONLY in the last 5 minutes using collected drippings. Early basting steams the skin. Rest 15 minutes tented with foil—this redistributes juices into every fiber.
Fix These 4 Ninja Chicken Disasters Immediately

Smoke Filling Your Kitchen? (Solution: Drip Tray + Dry Chicken)
Smoke means fat hitting the heating element. Immediate fix: Insert the drip tray under the basket. Prevention: Pat chicken bone-dry and trim excess fat. Never cook marinated chicken straight from the fridge—let it sit 20 minutes at room temp so surface moisture evaporates.
Pale, Soggy Skin? (Solution: Oil + High Heat)
Skin stays pale when moisture blocks crisping. Do this: After patting dry, rub skin with 1 tsp oil per pound. Cook at 400°F for breasts or 380°F for whole birds—lower temps steam instead of fry. If using marinades, blot chicken thoroughly before oiling.
Raw Thighs, Dry Breasts? (Solution: Strategic Flipping)
This means uneven heat distribution. For whole birds: Flip breast-down earlier (at 40 minutes for a 4-lb chicken). For bone-in pieces: Place thighs at the basket’s back (closest to heating element) since they need more time. Always check thighs first—they require 175°F to tenderize.
Burnt Edges, Cold Center? (Solution: Lower Temp + Longer Time)
Your Ninja runs hotter than set. Correct immediately: Drop temp 25°F and add 3 minutes per pound. For future cooks, preheat 5 minutes and verify with an oven thermometer. Never skip preheating—cold starts cause surface burning before internal cooking.
Reheating and Storage Secrets for Meal Prep
Reheated chicken turns leathery in microwaves but revives perfectly in your Ninja. Do this: Spritz cold chicken with broth, air fry at 350°F for 3 minutes. The circulating heat crisps skin while steam from the broth rehydrates meat. For storage: Slice cooled chicken, layer with parchment paper in containers, and add 2 Tbsp broth per pound before sealing. This creates a protective moisture barrier. Cooked chicken lasts 4 days refrigerated or 3 months frozen—never refreeze thawed meat.
Master how to cook chicken in Ninja air fryer with these precision techniques, and you’ll never settle for mediocre poultry again. Remember the holy trinity: dry surface, single-layer spacing, and thermometer verification. When your family asks how you got that crackling skin in 15 minutes, just smile and fire up the Ninja. For tougher cuts like wings, drop the temp to 375°F and add 5 minutes—your perfect chicken playbook just got even bigger.


