

Your Ninja air fryer suddenly stops responding mid-cook, flashing cryptic error codes instead of heating your food. The timer freezes, buttons become unresponsive, or the unit shuts off unexpectedly—leaving you with half-cooked fries and rising frustration. These reset procedures transform your malfunctioning appliance back into the reliable kitchen companion you depend on.
Whether you’re facing error codes E1-E5 or complete system failure, this guide delivers the exact reset method your specific Ninja model needs. From simple power cycles to factory restoration, you’ll learn which reset fixes each problem and when to use it. Master these techniques to avoid unnecessary service calls and get back to cooking in minutes.
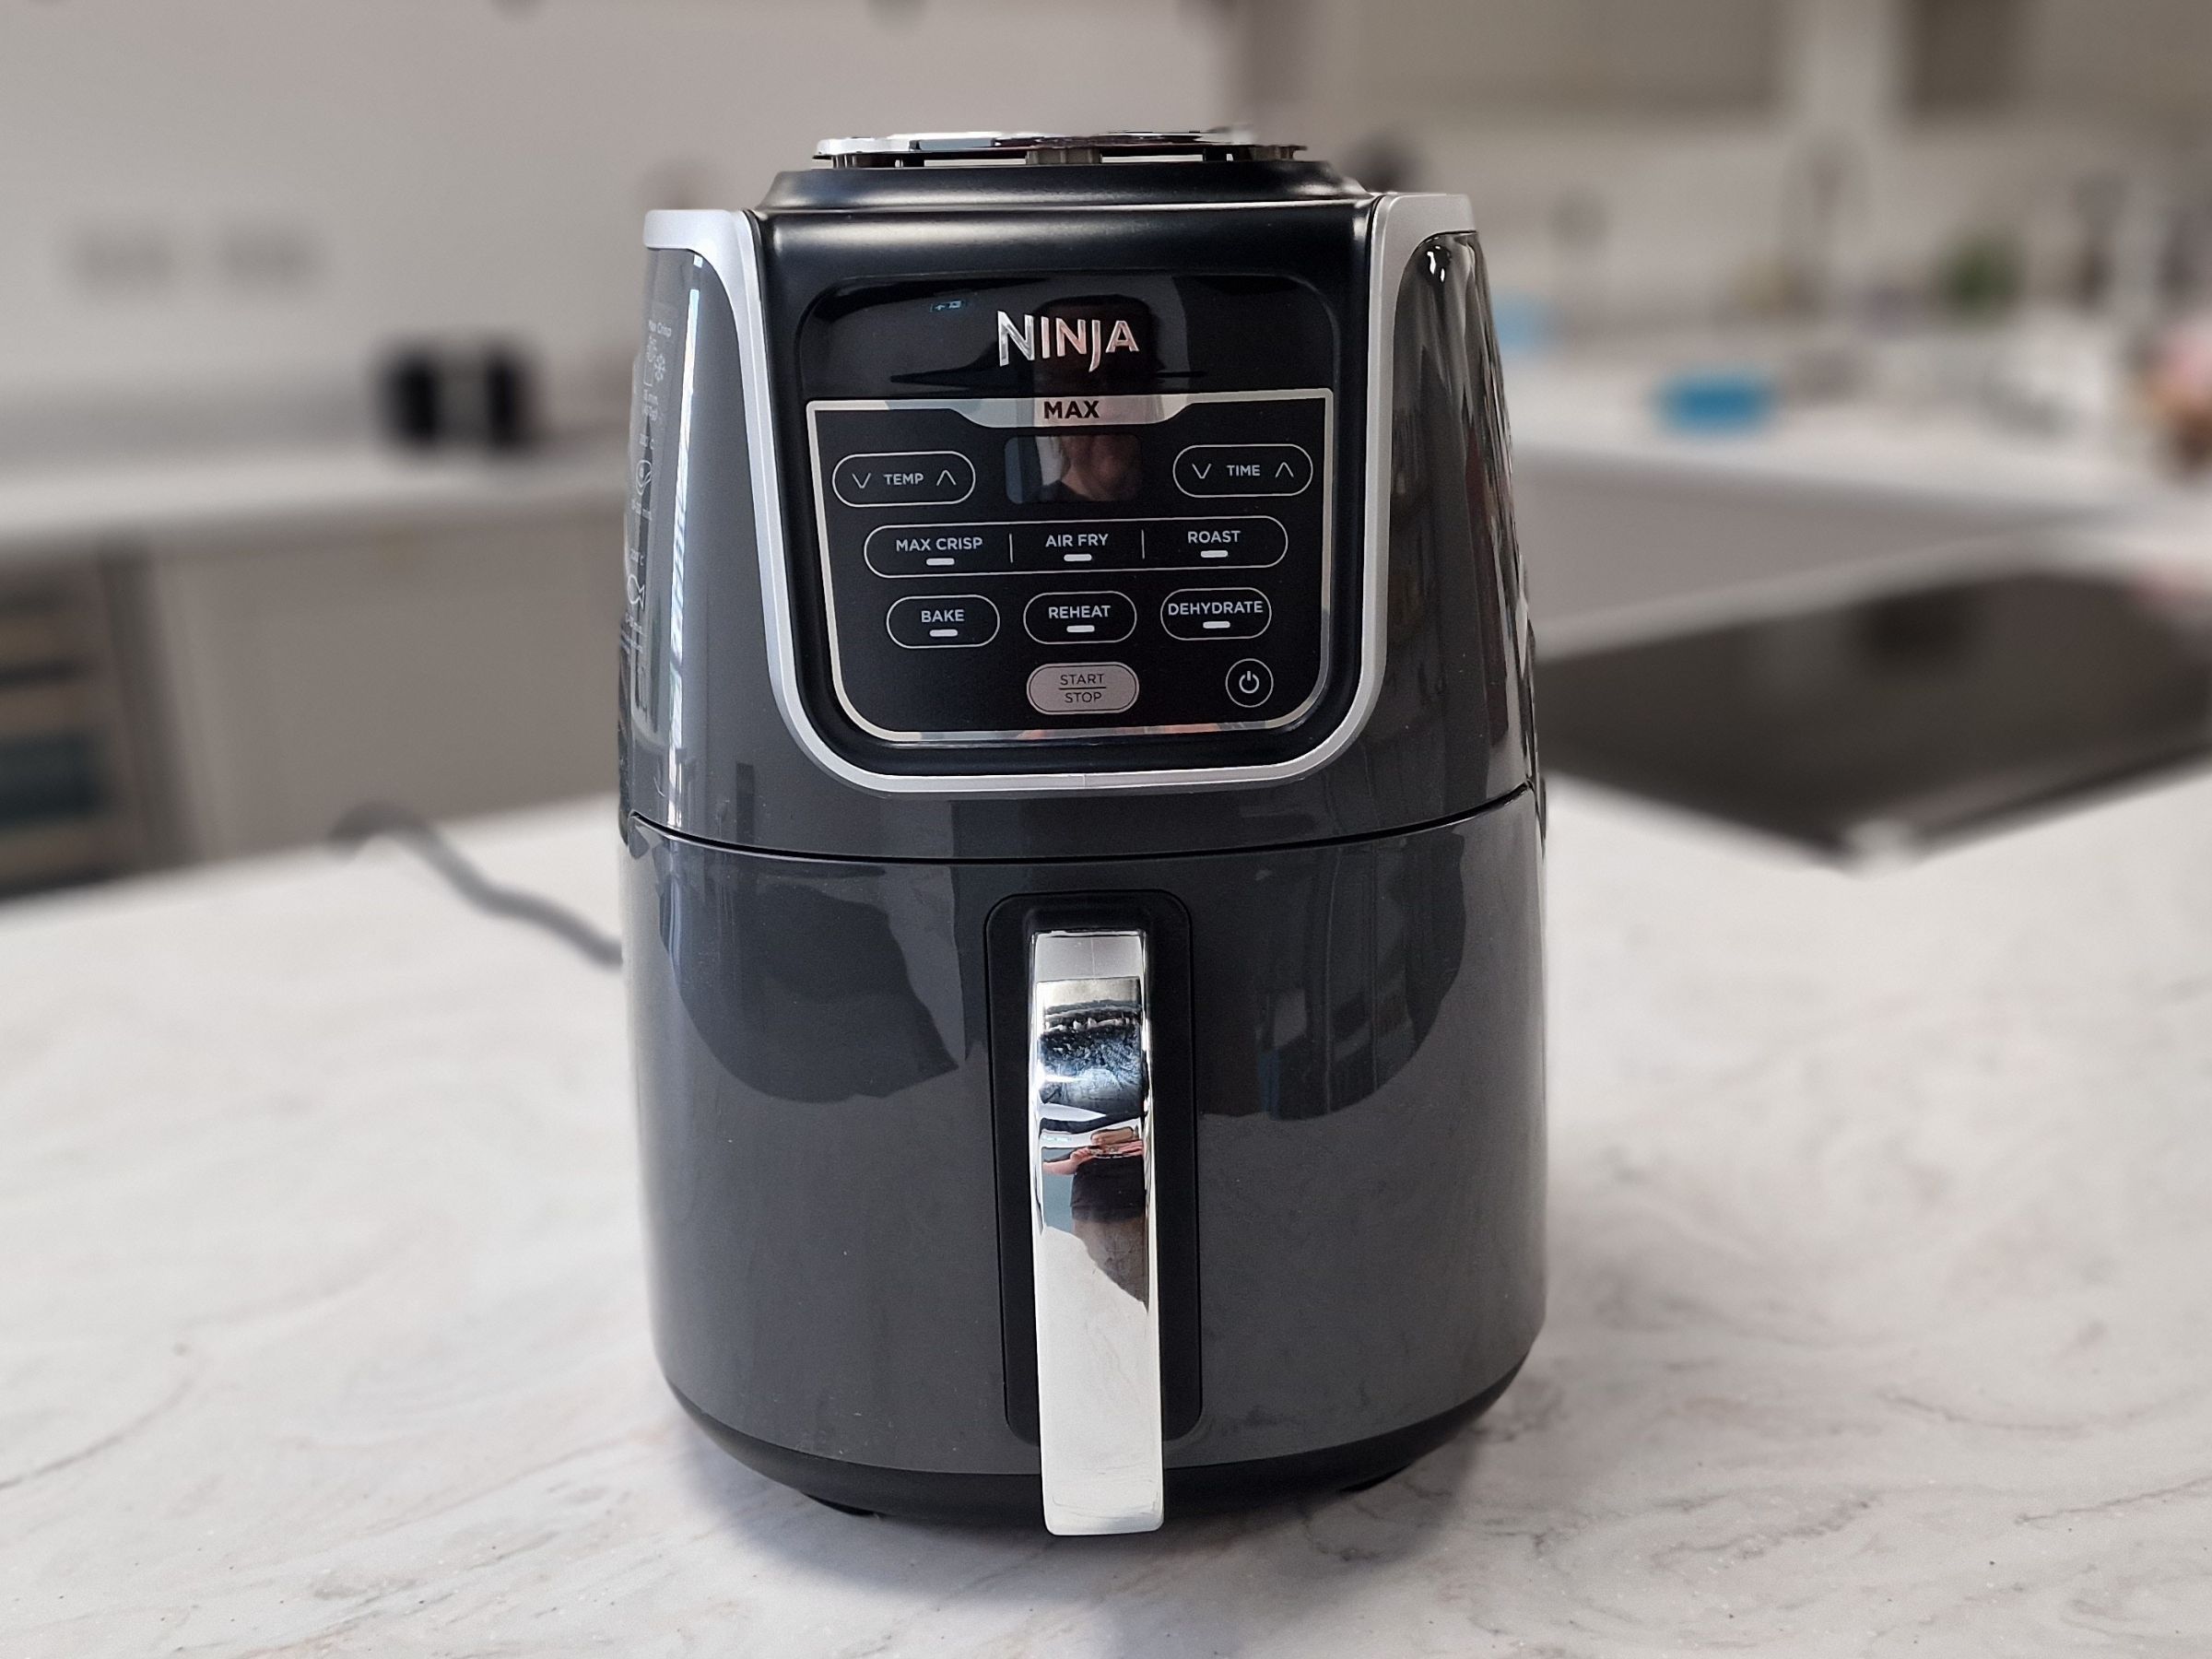
Why Your Ninja Air Fryer Suddenly Stops Working (E1-E5 Error Codes)
Your air fryer signals distress through specific symptoms demanding immediate attention. Unresponsive controls top the list—buttons that refuse to register presses or displays frozen on random characters. Error codes E1 through E5 flash repeatedly, each indicating distinct internal failures requiring targeted resets.
Temperature failures manifest as the unit heating 50-100 degrees below setting, while fan malfunctions leave food soggy despite proper temperature. Timer issues include displays stuck at 00:00 or countdowns jumping erratically. Unexpected shutdowns mid-cycle, persistent beeping, or the unit claiming the basket isn’t inserted all warrant reset attempts.
Soft Reset vs. Hard Reset vs. Factory Reset
Soft reset (power cycle) clears temporary glitches lasting seconds to minutes. This method resolves 70% of Ninja air fryer issues without erasing saved settings. Hard reset (control panel) restores factory defaults when soft methods fail but preserves hardware calibration. Factory reset wipes all memory, returning your Ninja to day-one condition for persistent firmware errors.
Fix Frozen Controls With 2-Minute Soft Reset
Soft resets resolve most Ninja air fryer issues within two minutes. This method clears temporary software glitches without erasing saved settings.
Step 1: Remove the basket and crisper plate completely. Check the heating element area for visible debris or food particles that could cause sensor errors.
Step 2: Unplug the power cord from the wall outlet—not just the unit. This ensures complete power disconnection from the electrical source.
Step 3: Wait exactly 60-120 seconds. This allows internal capacitors to discharge completely, clearing electronic memory that causes freezing.
Step 4: Plug the unit back in and press the power button once. Test basic functionality by setting 350°F for 3 minutes.
How to Know Your Soft Reset Worked
The display should illuminate normally within 3 seconds of pressing power. Fan operation begins within 10 seconds of starting a cycle. Temperature reaches 350°F within 3-4 minutes when running empty. If you still see error codes after this reset, proceed to the hard reset method.
Clear Persistent E1-E5 Errors With Hard Reset
Hard resets become necessary when soft methods fail or error codes persist. This process restores all settings to factory defaults while preserving hardware calibration.
Step 1: Ensure the unit remains plugged in and powered on. Don’t unplug for this reset type as it requires continuous power.
Step 2: Press and hold the power button continuously for 10-15 seconds. Release immediately when the display goes completely blank—this indicates successful reset initiation.
Step 3: Wait 30 seconds without touching any buttons. This allows the system to complete its shutdown sequence before restart.
Step 4: Press the power button once to restart. The display shows “CL” or flashes all indicators briefly, confirming reset completion.
Step 5: Test functionality by running a 5-minute cycle at 400°F with the basket empty. Pro tip: Always run an empty test cycle after any reset to verify proper operation.
Reconfiguring Settings After Hard Reset
After hard reset, reprogram your preferred settings:
– Temperature units (°F/°C)
– Sound preferences (beep volume)
– Default cooking times
– Display brightness (if adjustable)
AF101/AF161 Series: Specific Reset Sequence That Works
Ninja AF101 and AF161 models require precise reset steps that differ from other models. Follow this exact sequence for guaranteed results.
Step 1: Remove basket and crisper plate completely. Clean visible debris from heating element area using a soft brush—never metal utensils.
Step 2: Unplug power cord from wall outlet. Verify no power indicator lights remain on the control panel.
Step 3: Wait exactly 2-3 minutes for complete capacitor discharge. This critical waiting period prevents electrical feedback loops.
Step 4: Press power button rapidly 3 times while unplugged. This triggers the model-specific reset protocol.
Step 5: Plug back in and test with 390°F empty run. Listen for smooth fan operation without grinding sounds.
AF161 Max XL Calibration Reset for Temperature Accuracy
For consistent cooking results, perform this calibration reset monthly:
- Press and hold both temperature adjustment buttons (- and +)
- While holding, press power button once
- Release all buttons when “CAL” appears on display
- Unit automatically runs 10-minute calibration cycle at 400°F
- Warning: Never interrupt this cycle—it permanently damages temperature sensors
E1 Error Code Fix: Temperature Sensor Reset Protocol

E1 indicates open circuit or temperature sensor failure—the most common Ninja air fryer error requiring immediate action to prevent permanent damage.
Immediate Response:
1. Unplug unit immediately upon E1 display
2. Check heating element for visible damage or breaks
3. Inspect temperature probe connection points near the heating chamber
4. Clean sensor area with soft, dry brush (never liquids)
Reset Process:
Perform factory reset sequence. If E1 persists after reset, the temperature sensor requires replacement. Contact Ninja support with your serial number for warranty coverage. Critical: Never continue using the unit with E1 error—it risks fire hazard.
DualZone DZ201/251/401: Zone-Specific Reset Method
DualZone models require specialized resets when issues affect only one cooking compartment. This targeted approach saves you from resetting the entire unit unnecessarily.
Single Zone Reset Process:
1. Identify which zone malfunctions (left or right)
2. Hold that zone’s power button for 10 seconds
3. Release when display goes blank
4. Wait 30 seconds before testing that zone alone
Complete System Reset:
For issues affecting both zones, perform this sequence:
– Hold both zone power buttons simultaneously for 15 seconds
– Unplug entire unit for 60 seconds
– Plug back in and test zones separately
– Time estimate: 3 minutes total
Prevent Future Resets With Proper Maintenance
Avoid 90% of Ninja air fryer issues through simple maintenance practices that take less than 5 minutes after each use.
Daily Reset Prevention Checklist
- Empty crumb tray immediately after cooking
- Wipe exterior with damp cloth (never submerge)
- Check for food debris around heating element
- Allow 5 minutes cooling between batches
Monthly Deep Maintenance
- Soak basket and crisper plate in warm soapy water
- Clean heating element with soft nylon brush
- Wipe interior walls with non-abrasive cleaner
- Verify proper ventilation clearance (6 inches minimum)
Common mistake: Using abrasive cleaners on the non-stick basket—this damages the coating and triggers error codes. Always use soft sponges and mild dish soap.
When All Resets Fail: Hardware Troubleshooting Guide
If your Ninja air fryer still malfunctions after all reset attempts, these diagnostic steps identify whether you need professional repair.
Electrical Issue Verification
- Test outlet with another appliance (minimum 120V)
- Try GFCI outlet in kitchen
- Avoid power strips—plug directly into wall
- Check home circuit breaker for tripped switches
Hardware Failure Indicators
- Persistent E1/E2 after reset = sensor failure
- No heat after reset = heating element failure
- No fan movement = motor failure
- Blank display = control board failure
Warranty action: If your unit is under 2 years old, contact Ninja support with:
– Serial number (located on unit bottom)
– Purchase date verification
– Original receipt or proof of purchase
– Photo of error code display
Final Reset Verification Test Before Cooking
Never skip this critical validation step after any reset procedure—it prevents ruined meals and potential safety hazards.
Empty Run Validation:
1. Set empty unit to 400°F for 5 minutes
2. Monitor for unusual sounds or burning smells
3. Verify temperature reaches 400°F within 5 minutes
4. Confirm fan operates smoothly without grinding
Food Performance Test:
– Cook 1 cup frozen fries at 400°F for 12 minutes
– Check cooking uniformity across basket
– Verify timer completes countdown accurately
– Confirm basket rotation (if applicable model)
Master these Ninja air fryer reset procedures to solve 95% of common issues without service calls. Remember the reset hierarchy: soft reset first (2 minutes), hard reset second (3 minutes), factory reset last (5 minutes). When all reset methods fail, your serial number and purchase receipt unlock Ninja’s warranty support for genuine replacement parts—never attempt internal repairs yourself as this voids all warranties and creates safety risks. Keep this guide handy for quick reference the next time your air fryer displays those frustrating error codes.


