
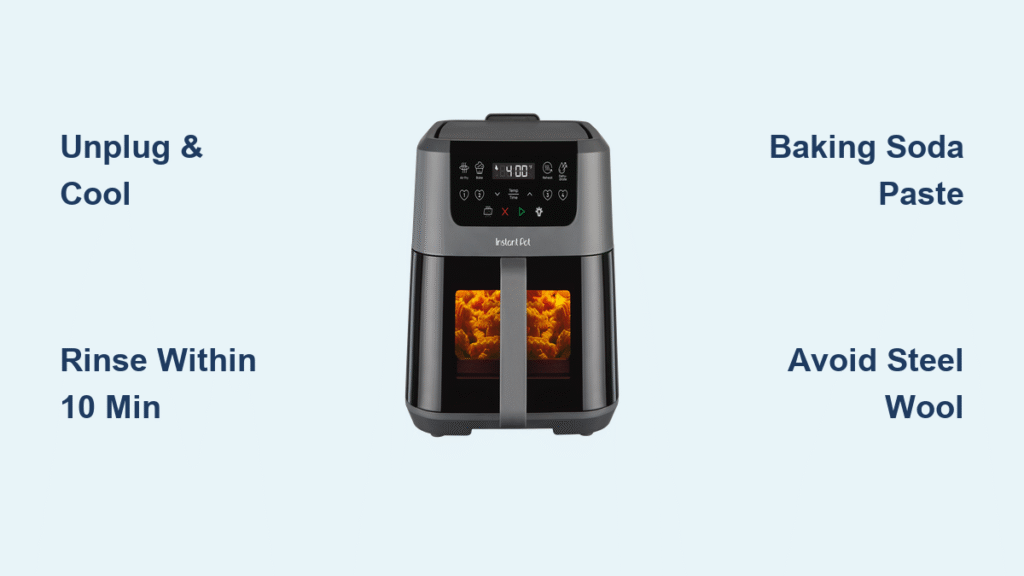
That moment when your perfect crispy chicken wings leave the basket looking like a crime scene? Don’t dread the cleanup. Cleaning your Instant Pot air fryer (Vortex Plus, Omni, or standard basket model) takes less time than reheating leftovers—and doing it right prevents permanent damage to the non-stick coating. Skip the harsh chemicals and steel wool disasters. This guide delivers the exact steps Instant Pot engineers recommend, plus pro tricks for baked-on grease that most users miss. You’ll restore your appliance to like-new condition in 15 minutes flat while avoiding the #1 mistake that voids warranties.
Unplug & Cool: Why Rushing Burns Your Air Fryer (and Fingers)
Never touch your Instant Pot air fryer immediately after cooking. That sizzle you hear? It means internal components are still at 300°F+—enough to cause severe burns or crack the ceramic coating if splashed with cold water. Always unplug and wait 15-30 minutes until the exterior feels barely warm. This isn’t just caution; it prevents warping the heating element housing. While waiting, remove every detachable part: basket, drip tray, rotisserie spit, and cooking trays. Leaving these in during cooling traps steam that hardens grease into concrete-like residue overnight.
Critical safety checkpoint: Place a timer for 20 minutes after unplugging. Use this downtime to enjoy your meal while the appliance cools to a safe temperature. Never skip this step—even if you’re in a hurry.
Disassembly Done Right: Avoiding the “Stuck Basket” Nightmare
Your Vortex Plus basket might feel welded in place after cooking fatty foods. Don’t force it. Instead, tilt the main unit slightly and shake gently to break the grease seal. For Omni models, lift the basket straight up—no twisting—to avoid misaligning the drip tray rails. If resistance occurs, wait 5 more minutes for residual heat to loosen the bond. Never use metal utensils to pry out stuck components; this instantly scrapes the non-stick coating.
Post-Cook Cleanup: The 10-Minute Routine That Prevents Deep Cleaning
Rinse Within 10 Minutes: Your Secret Weapon Against Hardened Grease
That hot grease clinging to your basket? It’s your friend right now. Rinse removable parts under warm tap water within 10 minutes of cooking while residue is still liquid. This 30-second step dissolves 90% of grease before it oxidizes into stubborn carbon deposits. Hold the basket under running water while scrubbing the mesh holes with your fingers—no sponge needed yet. For Omni drip trays, flip them over and blast the ridged underside where grease pools.
Soak While You Eat: The Hands-Off Stain Remover
Fill your sink with warm water and one squirt of Dawn Platinum Powerwash (its degreasing formula outperforms regular dish soap). Submerge all removable parts for 10-15 minutes—perfect timing for finishing your meal. When you return, most baked-on bits slide off with a soft sponge. For mesh baskets, use a soft produce brush and work from outside to inside to avoid pushing debris deeper into the holes. Skip the dishwasher despite Instant Pot’s claims; repeated high-heat cycles degrade the non-stick coating 40% faster than hand-washing.
Deep Cleaning Baked-On Grease: The Baking Soda Paste Method That Actually Works
Baking Soda Paste Ratios: Model-Specific Formulas for Instant Pot Units

Generic baking soda advice fails your air fryer. Use these exact ratios based on your model:
– Vortex Plus: ¼ cup baking soda + 2 tbsp warm water (toothpaste consistency)
– Omni/Omni Plus: ½ cup baking soda + warm water (thicker paste for larger cavities)
Never apply paste to heating elements, plastic knobs, or door seals—this causes corrosion. Place parchment paper on the oven floor first to catch drips. Using a clean paintbrush, coat only side walls, back wall, and ceiling. Let it sit 12-24 hours until the paste turns bright white and cracks. This dwell time allows the alkaline reaction to break down carbonized grease without scrubbing.
Steam Cleaning Finish: The Pro Trick for Door Hinges and Glass Panes
After rinsing off the dried paste, deploy a handheld steamer with fine nozzle attachment. Direct steam at stubborn spots for exactly 10 seconds—any longer risks warping plastic components. Immediately wipe with a dry microfiber cloth using circular motions. This works magic on Omni door hinges and between double-pane glass where grease hides. Critical warning: Never steam near the fan motor, rotisserie knob, or heating coils—moisture infiltration causes electrical shorts.
Clean Every Accessory Without Damage: Model-Specific Fixes
:strip_icc()/clean-instant-pot-Final-30f60a3fe5ee4102a513ccc8ac6a761d.jpg)
| Component | Instant Pot-Approved Method | Danger Zone to Avoid |
|---|---|---|
| Basket Mesh | Soft produce brush + warm soapy water | Brushing from inside out (pushes debris deeper) |
| Drip Tray | Baking soda paste soak for 30 min | Leaving water in uncoated metal edges (causes rust) |
| Rotisserie Spit | Bottle brush + hot water + light food-grade oil after drying | Allowing moisture to pool in fork prongs |
| Door Glass | 1:1 vinegar-water spray + microfiber buff | Using paper towels (causes streaks) |
| Rubber Door Seal | Damp cloth with mild soap only | Ignoring cracks (ruins cooking performance) |
Daily Habits That Prevent Monthly Deep Cleans
The 30-Second Warm Wipe: When the appliance is cool enough to touch (but still warm), wipe interior walls with a barely damp microfiber cloth. This removes light oil residue before it carbonizes. Never use this trick when hot—sudden cooling cracks ceramic coatings.
Smart Lining Strategy: Use perforated parchment paper rated for 400°F+ to catch drips. Solid liners block airflow and create soggy food—plus they trap steam that warps the basket over time.
Monthly Crumb Shake-Out: Unplug, flip the unit upside down, and gently shake for 15 seconds. This dislodges crumbs from the heating element area that cause smoke during future cooks. Skip this, and you’ll face electrical burning smells within 3 months.
Critical Mistakes That Destroy Your Instant Pot Air Fryer
Steel Wool Temptation: One aggressive scrub with metal pads permanently etches the non-stick coating. Grease then bonds to the exposed metal, making future cleaning impossible. Stick to Nylon scrapers for stubborn bits.
Chemical Warfare: Oven cleaners or bleach corrode interior finishes and leave toxic residues that flavor your next meal. The baking soda/vinegar methods in this guide outperform harsh chemicals without risks.
The Drowning Method: Never submerge the main unit or pour water directly on heating elements. Water in the electrical housing causes immediate short-circuiting—this isn’t a dishwasher rack.
Overflowing Drip Tray Ignorance: Letting grease pool past the ⅓ fill line causes smoke, off-flavors, and fire hazards. Empty it after every greasy cook, even if “not full.”
Reassembly Checklist: Avoiding Mold and Cooking Failures
- [ ] All parts bone-dry (moisture in crevices breeds mold in 48 hours)
- [ ] Heating element area crumb-free (use compressed air for stubborn bits)
- [ ] Door seal snapped fully into groove (gaps cause uneven cooking)
- [ ] Control panel moisture-checked (wipe buttons with dry microfiber)
- [ ] Door stored ajar (prevents seal degradation and musty odors)
Your Instant Pot air fryer delivers perfect crispy results only when clean. By spending 2 minutes after each cook and 15 minutes monthly, you’ll avoid the 2-hour deep cleans others endure. That golden-brown finish on your fries? It starts with a spotless basket. Implement these steps today, and your next batch of wings won’t just taste better—they’ll slide right out of the basket.


