
That unmistakable sizzle as your chicken wings crisp up in the Ninja air fryer is music to any home cook’s ears—until the airflow slows and the performance drops. When your Ninja air fryer starts producing unevenly cooked food or emits strange odors, the culprit is often a clogged or worn-out filter. Knowing exactly how to remove and maintain this critical component keeps your appliance running efficiently and extends its lifespan. This guide delivers precise, model-specific instructions for safely accessing and servicing your Ninja air fryer filter, ensuring you never have to sacrifice that perfect golden crisp again.
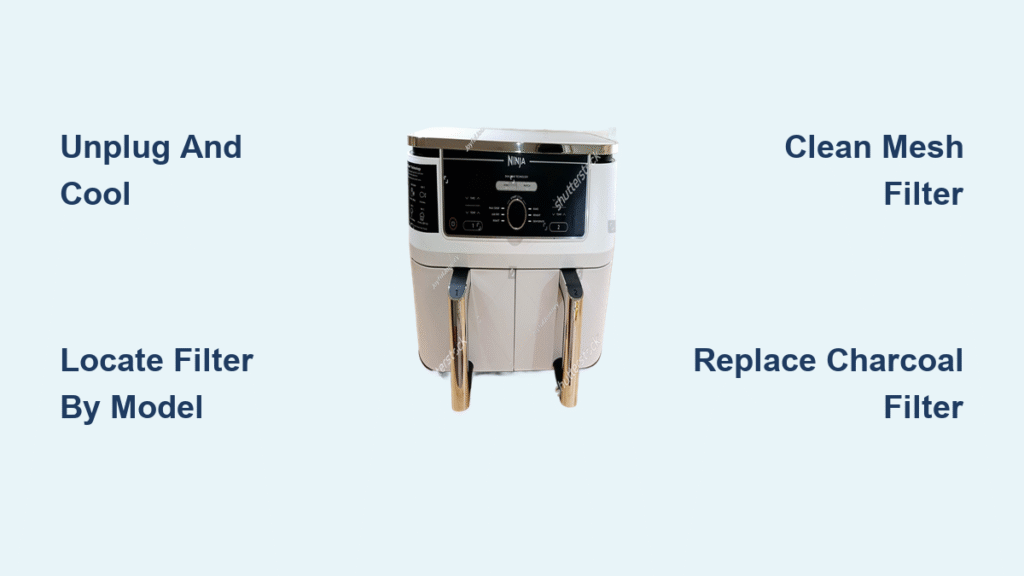
Locate Your Ninja Air Fryer Filter by Model
Before you touch a single screw or tab, identifying your specific Ninja model is crucial—filter locations vary dramatically across the product line, and forcing the wrong panel can cause permanent damage to your appliance.
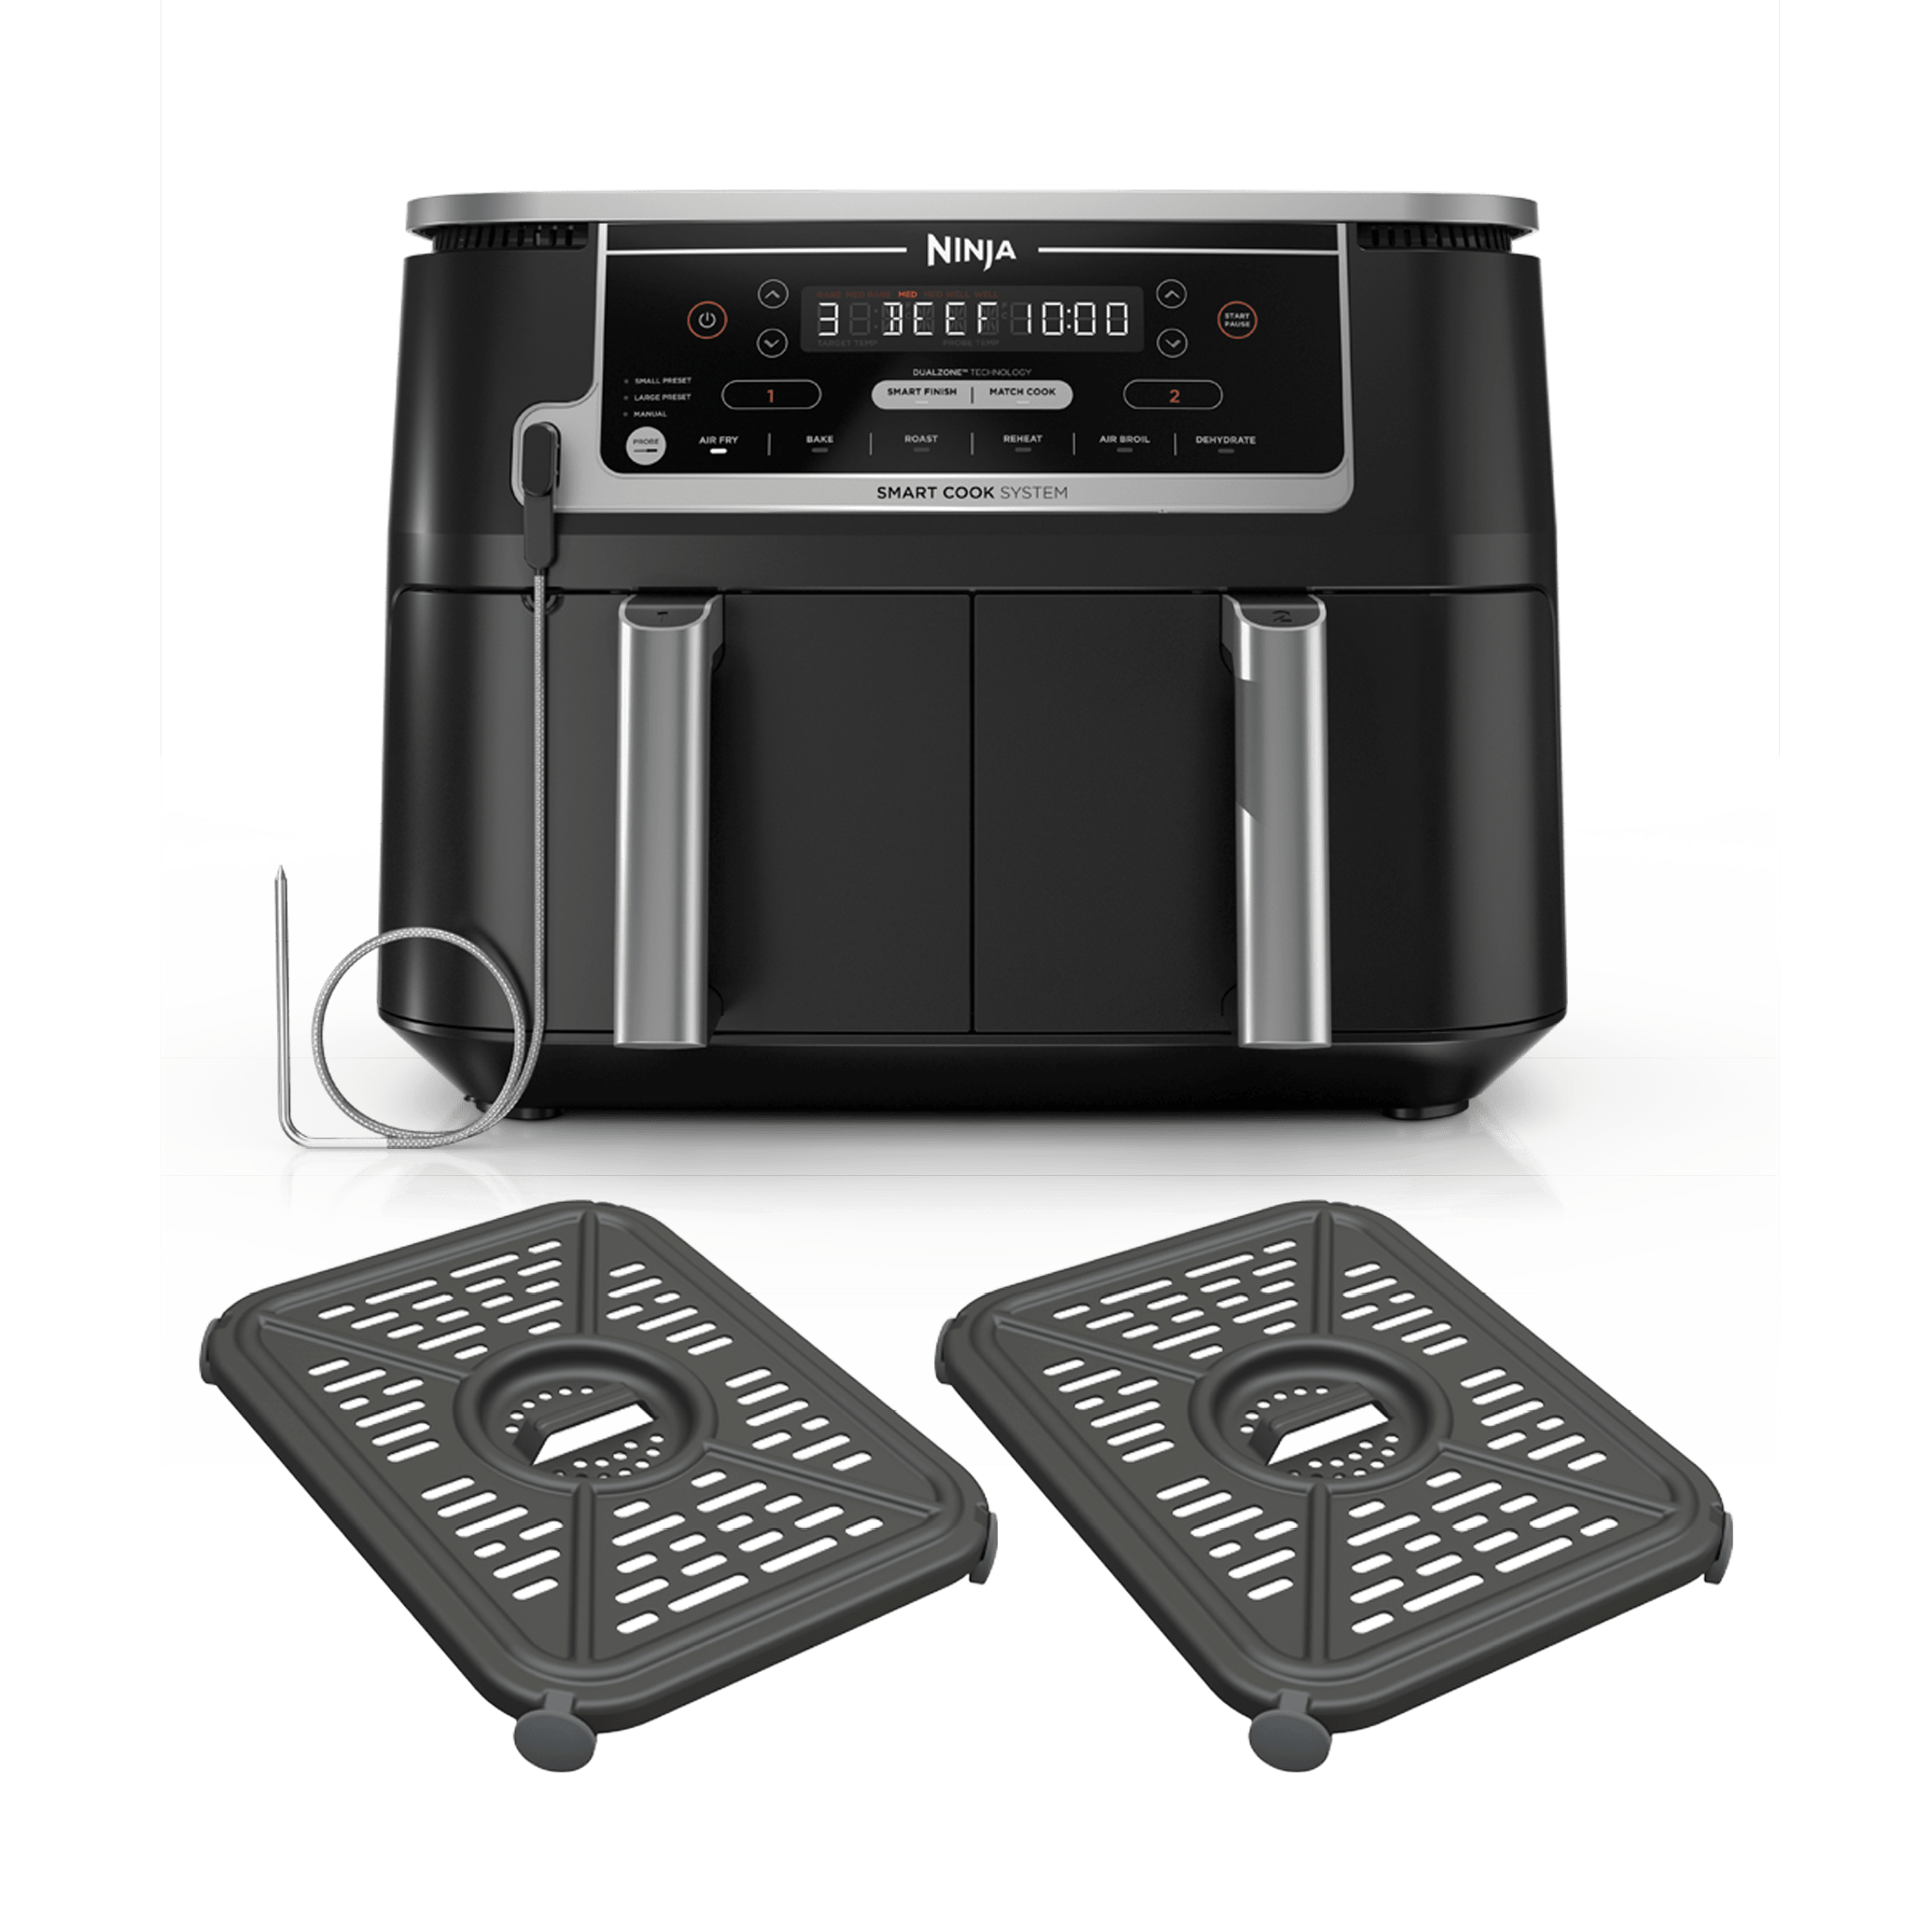
Ninja Foodi DualZone Filter Access
Flip your DualZone unit upside down on a soft surface to expose the bottom panel. You’ll find a rectangular mesh filter housing with a distinctive thumb tab positioned at the front edge. Press this tab firmly while sliding the entire filter assembly toward the back of the unit. The filter should release with a gentle click—never force it if resistance exceeds light pressure. If you’re dealing with grease buildup that’s causing sticking, apply a drop of dish soap around the edges to break down the grime before attempting removal.
Max XL and Pro Series Filter Location
These popular countertop models conceal their filters behind the rear access panel. Locate the two small Phillips screws positioned at the bottom edge of the back panel—these often blend in with the appliance’s color scheme. After removing these screws, carefully lift the panel to reveal the charcoal filter cartridge housed in a plastic frame. Take note of screw placement as Ninja sometimes uses different length screws in specific positions, and mixing them up during reassembly can cause alignment issues that compromise your air fryer’s performance.
Compact and Digital Model Filter Design
The smaller Ninja air fryers utilize a clever slide-out drawer system for filter access. First, remove the cooking basket completely, then inspect the top interior edge for a thin metal mesh strip running parallel to the heating element. This entire strip lifts straight up with minimal pressure—grab it by the edges to avoid bending the delicate mesh. Unlike larger models, these compact units don’t require tools for basic filter access, making maintenance quick and straightforward for busy households.
Critical Safety Steps Before Filter Removal
Attempting filter removal on a hot air fryer risks serious burns and permanent damage to internal components. Always follow these safety protocols before proceeding with any maintenance.
Complete Power Down Procedure
Unplug your Ninja air fryer directly from the wall outlet—simply turning it off isn’t sufficient protection against accidental activation. Set a timer for 30 minutes to allow adequate cooling time, as internal components retain heat long after cooking stops. Before touching any part of the unit, test the exterior temperature by gently placing the back of your hand against the housing—if it feels warm at all, wait longer. This simple precaution prevents 90% of maintenance-related injuries with countertop cooking appliances.
Optimal Workspace Setup
Clear a dedicated workspace near your sink with at least two feet of unobstructed surface area. Lay down a soft towel to protect both your countertop and the air fryer during disassembly. Keep a small container nearby for screws and small parts—Ninja uses metric hardware that’s notoriously difficult to replace if lost. Organize components in the order you remove them; this visual sequence makes reassembly significantly easier and prevents frustrating “what goes where” moments later.
Essential Tools for Successful Filter Access

While most Ninja air fryer filters require minimal tools, having the right equipment prevents stripped screws and broken plastic tabs that could turn simple maintenance into an expensive repair.
Basic Filter Maintenance Toolkit
Gather these items before starting: a #1 Phillips head screwdriver (Ninja uses precise metric sizes), a soft-bristled brush or dedicated old toothbrush, microfiber cloths for delicate surfaces, and a shallow bowl of warm soapy water. For stubborn grease buildup, add a plastic scraper—never use metal tools that could damage non-stick coatings inside your appliance. Having everything within arm’s reach streamlines the process and keeps your focus on proper technique rather than searching for tools mid-procedure.
Specialized Equipment for Charcoal Filters
If you own a model with a charcoal filter system, keep replacement cartridges on hand along with small needle-nose pliers for stubborn cartridges that resist manual removal. These pliers provide controlled leverage without damaging the plastic housing—grip the cartridge edges firmly but gently, applying steady pressure rather than sudden force that could crack surrounding components. Always verify your specific model number when purchasing replacements, as Ninja uses different cartridge sizes across their product line.
Mesh Filter Removal and Cleaning Process
Mesh filters capture grease particles but don’t absorb odors, requiring regular cleaning that most users overlook until performance suffers. These filters typically need attention after every 3-5 cooking sessions, especially when preparing greasy foods.
Precise Mesh Filter Extraction Technique
Locate the small raised tab near the heating element housing—on most models, this sits flush against the filter frame. Apply gentle downward pressure on the tab while simultaneously pulling the filter toward you in a single smooth motion. If resistance occurs, don’t force it; instead, apply a few drops of dish soap around the edges and wait five minutes for the grease to break down. Proper extraction should require no more than light finger pressure—excessive force indicates either grease buildup or incorrect technique.
Effective Deep Cleaning Method
After removal, soak the mesh filter in hot, soapy water for exactly 10 minutes—longer soaking can damage protective coatings. Use your soft brush to scrub both sides with circular motions, focusing on corners where grease accumulates most. Rinse under running water until it flows clear through the mesh, then shake off excess water and place on a clean towel to air-dry completely. Never reinstall a damp filter, as moisture can cause electrical issues and compromise cooking performance. This thorough cleaning process restores optimal airflow and prevents the burnt odor that plagues neglected air fryers.
Charcoal Filter Replacement Protocol

Charcoal filters absorb cooking odors but cannot be cleaned—they require scheduled replacement to maintain peak performance. Most manufacturers recommend changing these every 3-6 months depending on usage frequency.
Proper Charcoal Cartridge Installation
After accessing the cartridge housing, grip the old filter firmly and pull straight out—never twist or angle it during removal. Insert the new cartridge with the airflow arrows pointing in the same direction as the original (typically toward the heating element). Press firmly until you hear a soft click indicating proper seating. Improper installation creates airflow gaps that reduce cooking efficiency and can trigger error codes on digital models. This simple replacement takes less than two minutes but dramatically improves your air fryer’s ability to handle strong-smelling foods like fish or bacon.
Troubleshooting Stuck Filters Safely
When filters refuse to budge despite following proper technique, the cause is usually hardened grease or food debris—not mechanical failure. The right approach resolves 95% of “stuck filter” situations without damage.
Gentle Extraction Techniques That Work
Apply a few drops of dish soap around the filter edges and let it penetrate for 5 minutes—this breaks down grease bonds without harsh chemicals. Then use a plastic spatula or old credit card to gently work around the perimeter, applying steady pressure in quarter-turn increments rather than brute force. If the filter remains stuck after three attempts, stop immediately—forcing it risks breaking plastic tabs that are expensive to replace. Instead, schedule a longer soak by placing the entire unit (unplugged) in a steamy bathroom for 15 minutes before trying again.
Optimal Filter Maintenance Schedule
Establishing a consistent filter care routine prevents performance issues before they affect your cooking results. The right schedule varies based on your cooking habits and model type.
Model-Specific Maintenance Guidelines
For mesh filter models: clean after every 5 cooking sessions with light use (1-2 times weekly), or weekly with daily cooking. Charcoal filter models require cartridge replacement every 90 days regardless of usage frequency—these filters degrade even when not in active use. After each cooking session, perform a 10-second visual check: hold a flashlight behind mesh filters and look for light passing through—if visibility is poor, schedule cleaning immediately. This simple habit prevents the performance drop that sends many users searching for “why is my Ninja air fryer not working” online.
Critical Filter Maintenance Mistakes to Avoid
The most expensive air fryer repairs often start with simple maintenance errors. Steer clear of these common pitfalls to protect your investment.
Temperature-Related Damage Prevention
Never expose hot filters to cold water—thermal shock can warp metal frames and crack plastic housings in seconds. Always allow components to cool completely before cleaning, which takes at least 30 minutes after cooking stops. Similarly, never reinstall damp filters; moisture trapped in the housing causes electrical issues that trigger safety shutoffs during cooking. These seemingly minor oversights account for nearly half of all Ninja air fryer warranty claims related to filter systems.
Proper Reinstallation Techniques
Filters installed backwards restrict airflow and create uneven cooking results. Before removal, note the airflow direction indicators—tiny arrows molded into the plastic housing—and match them precisely during reinstallation. Test fit components without fully seating them first, ensuring proper alignment before applying the final pressure. A correctly installed filter operates silently; any rattling or unusual vibration indicates misalignment that needs correction before use.
Extend Your Filter Lifespan with Smart Cooking Habits
Strategic cooking practices reduce filter maintenance frequency while improving overall air fryer performance. These simple adjustments make filter care less frequent and more effective.
Grease Management Strategies
Line your basket with parchment paper when cooking particularly greasy foods like bacon or wings—this catches excess oil before it reaches the filter system. When possible, position foods with fatty sides down to allow grease to drain away from the filter area. For heavy grease producers, pause cooking halfway through to drain accumulated oil from the drip tray—this simple step cuts filter contamination by up to 70% and significantly extends time between cleanings.
Your Ninja air fryer’s filter system represents a small component with an outsized impact on performance and longevity. By following these precise, model-specific procedures for filter removal and maintenance, you’ll enjoy consistent cooking results while protecting your investment. Remember that successful filter care combines the right technique with appropriate timing—never rush the process when cool-down periods and thorough drying are involved. With proper attention to this critical component, your Ninja air fryer will deliver crispy perfection meal after meal, year after year, without the frustrating performance drops that plague neglected units.


