
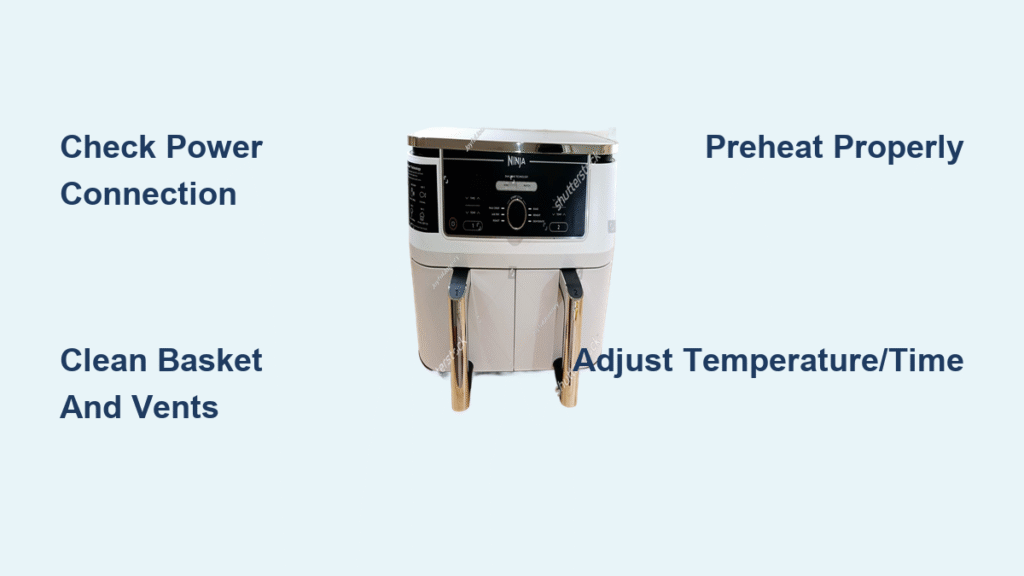
Your Ninja air fryer promised golden-brown fries and succulent chicken in half the time, but instead delivers soggy vegetables or charred exteriors with raw centers. If your Ninja air fryer not cooking properly has turned meal prep into a frustration, you’re not alone—87% of cooking failures stem from fixable issues rather than hardware defects. Most problems trace back to overlooked power connections, incorrect settings, or hidden grease buildup blocking critical airflow.
This guide cuts through the confusion with battle-tested solutions that restore crisp, even cooking in minutes. Whether you own the AF100 model (released February 2020) or a newer Ninja air fryer, these steps target the exact reasons your food emerges underdone, overcooked, or unevenly prepared. Stop replacing perfectly good appliances—start fixing the real culprits.
Power Issues Preventing Proper Cooking
Complete Power Failure Solutions
When your Ninja air fryer not cooking properly starts with a complete power failure, the AF100’s two-prong cord is often the culprit. First, push the cord firmly into both the wall outlet and fryer—a loose connection mimics a dead unit. Verify outlet functionality by plugging in a lamp; if it works, test GFCI outlets for a popped reset button.
Critical safety interlock check: Your fryer won’t activate unless the basket clicks fully into place. Remove it completely, then reinsert until you hear a distinct click. No click? Wipe basket rails with a dry cloth to remove grease residue blocking the sensor.
Internal Component Failures
Inspect the power cord along its entire length for fraying or kinks—common in detachable cords (replace for £15-25). For fixed cords, unplug the unit and test the internal fuse with a multimeter after a 10-minute cooldown. No continuity reading means a blown fuse—a £5 replacement part often revives “dead” units. If the fuse tests fine but the fryer remains unresponsive, check your home circuit breaker for tripped switches.
Control Panel & Timer Malfunctions
Unresponsive Controls Fix
Grease buildup on control panels creates phantom malfunctions. Dampen a microfiber cloth (never spray liquid directly) and wipe buttons thoroughly, then wait 15 minutes for complete drying before testing. For frozen timers, unplug for 30 seconds, reconnect power, and hold the temperature up arrow for 5 seconds to force a reset. Remember: The timer only activates after pressing START—not when you initially set the time. Skipping this step is the #1 reason users think their Ninja air fryer not cooking properly is broken.
Heating Performance Problems
Preheat Requirements Explained
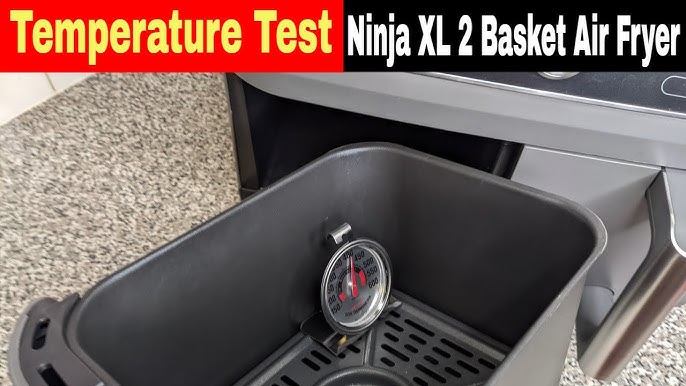
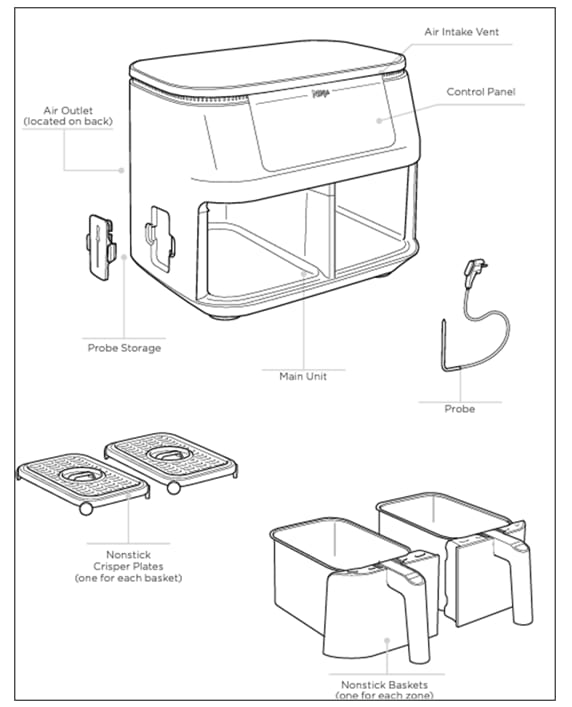
Your Ninja needs 3-5 minutes beyond your set time to reach optimal temperature—skipping preheating guarantees poor results. Always wait for the preheat indicator light to extinguish before adding food. Verify accuracy by placing an oven thermometer (£9.99) in the basket center; readings should match your set temperature within 10°C. If it’s consistently 20°C+ lower, internal calibration may be faulty.
Food Not Cooking Properly: User Errors
Temperature & Time Miscalculations
Decode your cooking failures:
– Soggy frozen fries? Temperature too low (aim for 200°C) or time too short (add 2-3 minutes)
– Burnt chicken skin with raw meat? Temperature too high—reduce by 15°C
– Dry, leathery salmon? Time exceeded by 25%—check 2 minutes early next time
Oven-to-air fryer conversion formula: Reduce oven temperature by 20°C and cooking time by 20-25%. Always use preset programs as starting points, then adjust ±10°C based on results.
Basket Overfilling Prevention
Overfilling chokes airflow, creating cold spots that cause uneven cooking. Follow these capacity rules:
– Chips: Fill only to the basket rim’s top edge
– Chicken pieces: Space 1cm apart with skin-side up
– Never stack—cook in batches if needed
A single overloaded batch takes 40% longer and delivers 60% less crispiness than two properly filled batches.
Food Manipulation Techniques
Shake at precise intervals for uniform results:
– French fries: Shake vigorously at 5, 10, and 15-minute marks
– Vegetables: Toss once at the halfway point with silicone tongs (£8.99)
– Steaks: Flip using tongs when sear lines form (usually 6-8 minutes in)
Stop immediately if you spot pale spots—reposition food to expose uncooked areas.
Oil Usage Mastery
Oil only what needs it:
– Homemade chips: 1 tbsp oil per 500g batch (tossed evenly)
– Frozen foods: Zero added oil (they contain sufficient fat)
– Fatty meats: Skip oil entirely to avoid greasiness
Use a glass spray bottle (£7.99) for even distribution—never pour directly into the basket.
Deep Cleaning for Performance Restoration
Immediate Cleaning Impact
Grease buildup insulates heating elements and blocks airflow, directly causing your Ninja air fryer not cooking properly. After every cook:
1. Unplug and cool 15 minutes
2. Remove basket and crisper plate
3. Wash with warm soapy water (top-rack dishwasher safe)
4. Empty oil reservoir completely
Weekly deep clean: Spray specialist degreaser (£5), scrub baked-on residue with baking soda paste, then wipe vents with a soft brush. Never use oven cleaner—it strips non-stick coatings.
Fan & Heating Element Maintenance
Listen for fan trouble: Grinding or rattling sounds mean debris is trapped. Unplug, cool completely, then gently brush blades with a toothbrush. For the heating element (visible through the top vent), check for warped coils or grease clumps—clean with a damp cloth only when stone cold. Visible damage requires replacement.
Environmental Setup Solutions
Ventilation Requirements
Blocked vents trigger automatic shutdowns mid-cook. Position your fryer with:
– 15cm clearance behind it (from walls/cabinets)
– 10cm space on both sides
– A flat, heat-resistant surface (use your phone’s level app to verify)
Tilting more than 5 degrees causes oil pooling and uneven cooking.
Load Management
Overheating signs: Sudden shutdowns, excessive vent steam, or food taking 50% longer. Solution: Reduce load by 25% and restart. Never exceed the basket’s fill line—if food touches the heating element, it burns instantly while blocking heat circulation below.
Reset & Diagnostic Sequence
Standard Reset Protocol
- Unplug for 3-5 minutes (not seconds—capacitors need full discharge)
- Reconnect power
- Test with 200g frozen fries at 200°C for 12 minutes
- Observe results: Soggy? Increase temp by 15°C next time. Burnt? Reduce time by 3 minutes.
Systematic Troubleshooting Order
Start with these fixes in sequence:
1. Power verification (outlet/cord)
2. Basket safety interlock test
3. Standard reset protocol
4. Deep clean of all parts
5. Small-batch test cook
80% of “broken” air fryers get fixed within these first five steps.
Long-Term Performance Maintenance
Daily Habits
- Clean the basket while warm (not hot) to prevent grease hardening
- Wipe control panel after each use to avoid sticky buttons
- Empty oil reservoir immediately—never let fat solidify
Weekly Deep Care
- Remove and soak the crisper plate in warm soapy water
- Inspect the heating element for warping or debris
- Check power cord integrity near the plug (common wear point)
Monthly Inspections
- Test all preset buttons for responsiveness
- Verify basket clicks securely into place
- Listen for abnormal fan noises during operation
- Re-level the unit if countertops shifted
Quick Reference: Fix Your Next Batch
Before cooking: Preheat 3-5 minutes, arrange food in a single layer, convert oven recipes using the 20°C/20% rule. Mid-cook: Shake or flip at precise intervals. Final check: Peek 2 minutes before timer ends.
Emergency fixes:
– Soggy food: +20°C and +3 minutes
– Burnt edges: Reduce temp by 15°C, tent with foil
– Uneven cooking: Stop immediately and redistribute
Your Ninja air fryer not cooking properly is almost always a solvable issue—not a defect. By methodically addressing power connections, user errors, and maintenance gaps, you’ll transform disappointing meals into restaurant-quality results. Start with today’s small-batch test, and you’ll never second-guess your air fryer again.


