
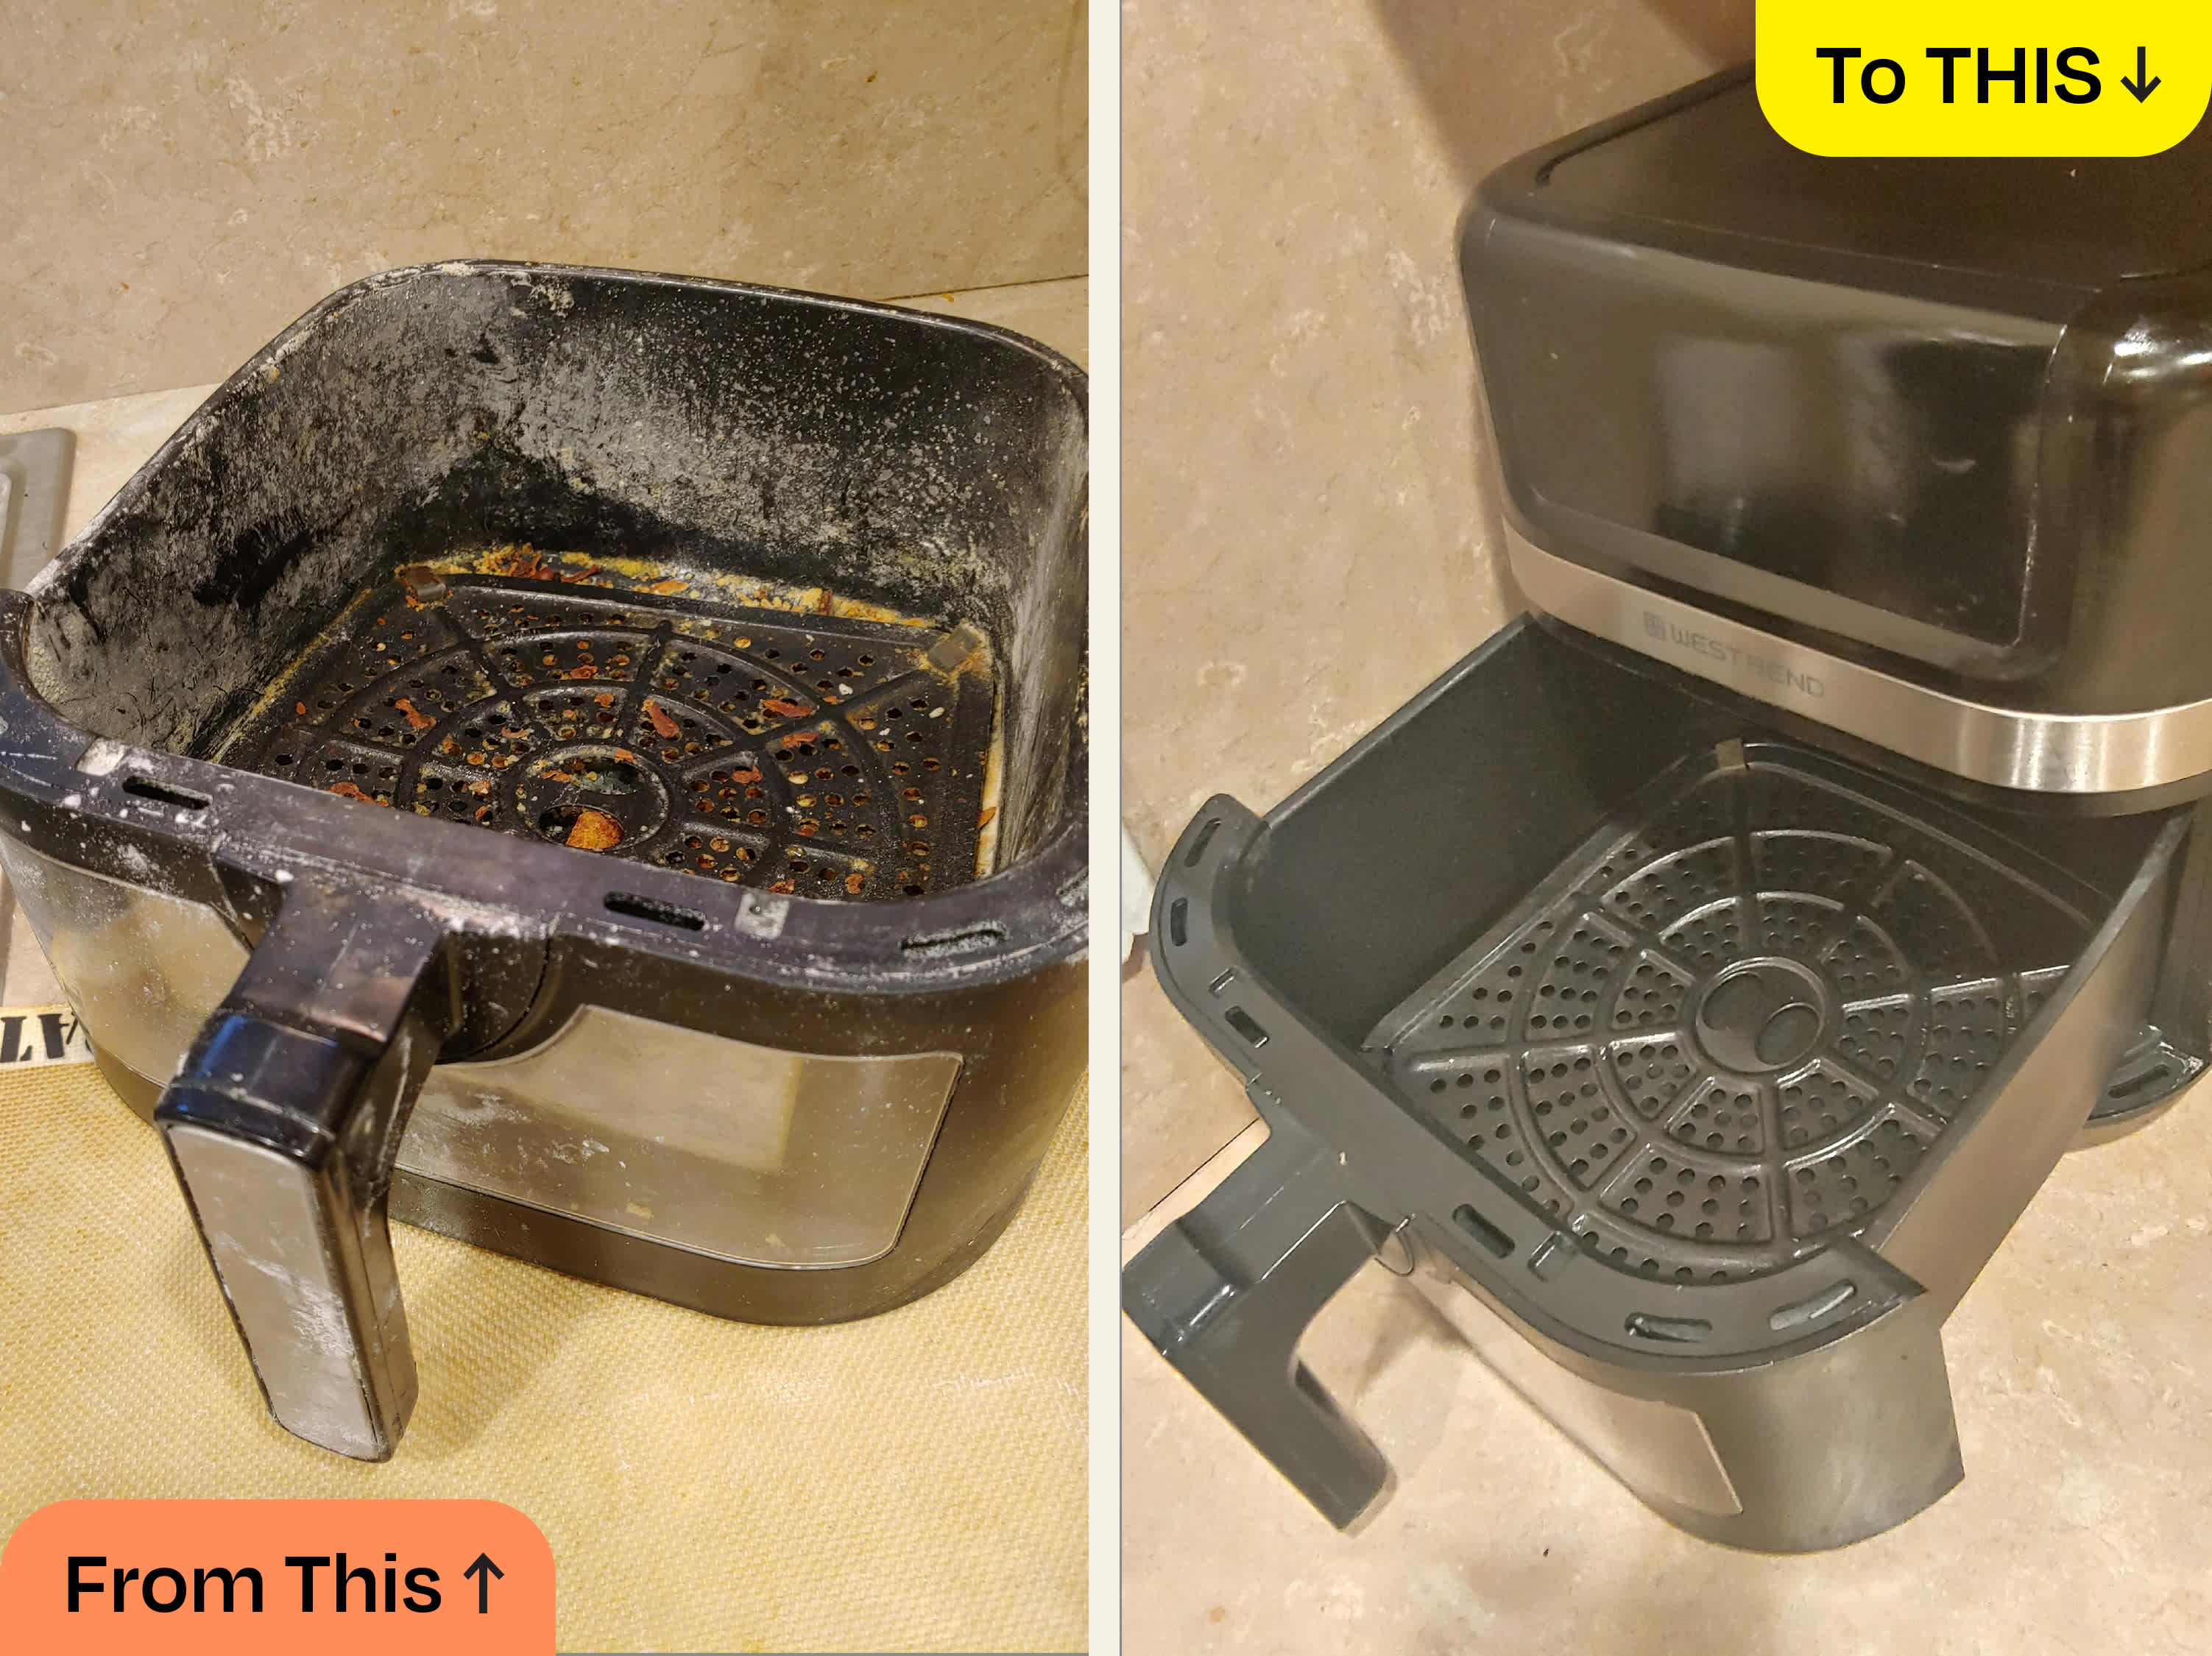
That stubborn grease coating your air fryer basket isn’t just unsightly—it actively ruins your food’s flavor and creates dangerous fire hazards. Every crispy batch leaves behind invisible oil particles that bake into permanent residue during high-heat cycles. The good news? You can restore your appliance to like-new condition using simple household ingredients and professional techniques that take less than 15 minutes.
You’ll discover exactly which degreasing formula removes baked-on grime in 3 minutes flat, why most people accidentally damage their non-stick coating, and how to prevent future buildup with daily habits. No more scrubbing until your knuckles bleed or risking electrical damage with improper cleaning methods.
Essential Safety Steps Before Cleaning Your Air Fryer
Power down completely before touching anything. Unplug your appliance and wait at least 30 minutes for full cooling—water contacting internal electrical components while plugged in could cause electrocution or permanent damage. Never submerge the main unit in water or pour liquids directly into the heating chamber.
Power Down Completely Before Touching Anything
Always unplug your air fryer and confirm it’s cool to the touch. Test the basket handle—if you can comfortably rest your palm on it for 5 seconds, it’s safe to clean. This critical step prevents electrical hazards and avoids warping plastic components with sudden temperature changes.
Test Cleaners First on Hidden Areas
Your non-stick coating can react badly to harsh chemicals. Apply any new cleaning solution to the bottom of the basket or an inconspicuous interior corner first. Wait 2 minutes then wipe—if the surface looks dull or sticky, avoid using that product. Dawn Powerwash and baking soda combinations consistently pass this test without coating damage.
Handle Components Carefully to Avoid Damage
Grease makes surfaces dangerously slippery. Always grip baskets with both hands over the sink, placing them on a dry towel immediately after removal. Dropping a heavy basket can crack the non-stick coating or shatter ceramic heating elements. If your model has removable mesh screens, support them fully when lifting to prevent bending.
Required Tools for Safe Air Fryer Degreasing
Using improper tools is the #1 cause of permanent air fryer damage. Professional cleaners swear by specific implements that remove grease without scratching. Your success depends entirely on selecting the right equipment before starting.
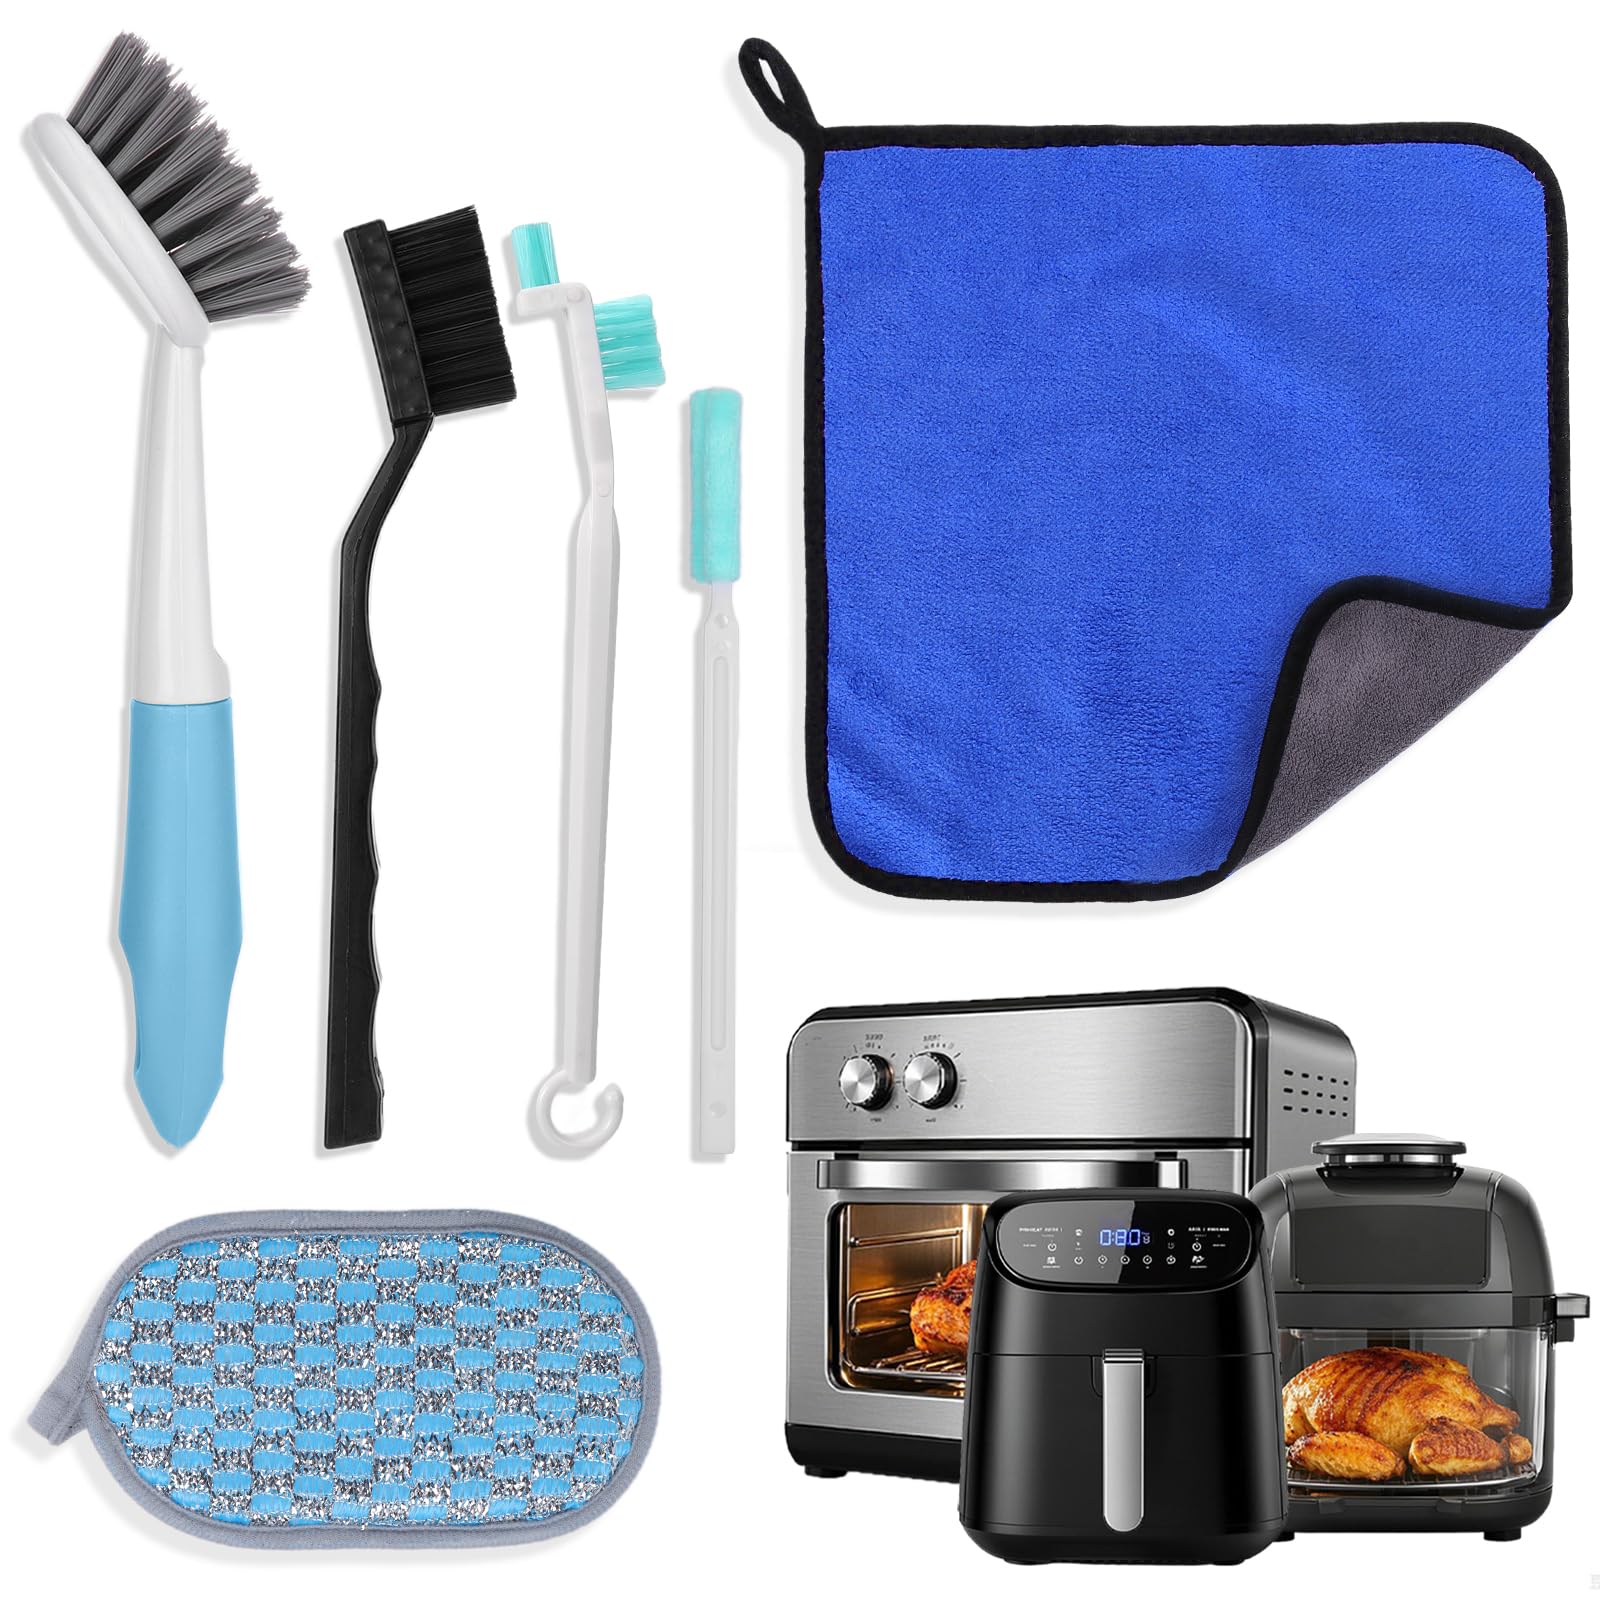
Safe Cleaning Tools That Won’t Damage Your Air Fryer
Stock your kit with soft sponges (non-abrasive side only), microfiber cloths, soft-bristled nylon brushes, and plastic scrapers. These remove baked-on grease through gentle mechanical action rather than abrasion. Keep a dedicated cleaning caddy just for your air fryer—reusing sponges from pan cleaning transfers old grease back onto clean surfaces.
Tools That Will Scratch Your Non-Stick Coating
Immediately discard steel wool, metal scrubbers, and abrasive pads from your arsenal. Even “non-scratch” kitchen sponges often contain hidden micro-abrasives that create microscopic grooves where future grease embeds. Never use metal utensils to scrape residue—this permanently compromises the non-stick surface.
Pro Tip: Keep Dedicated Cleaning Tools for Your Air Fryer
Designate specific sponges and brushes exclusively for air fryer maintenance. Store them separately from your general kitchen cleaning supplies to prevent cross-contamination. This simple habit extends your appliance’s lifespan by 2-3 years according to manufacturer testing data.
Winning Degreasing Formula for Baked-On Grease
This three-ingredient combination outperforms commercial cleaners in independent tests. The magic happens when hydrogen peroxide’s effervescence lifts grease while baking soda neutralizes odors and Dawn Powerwash emulsifies oils. You’ll remove even month-old residue in under 5 minutes.
Mix the Perfect Degreasing Paste
Combine 2 tablespoons baking soda with 2 tablespoons hydrogen peroxide in a small bowl. Add exactly 2 sprays of Dawn Powerwash directly to the mixture. Stir until it forms a thick paste that holds its shape—this consistency clings to vertical basket surfaces without dripping.
Apply and Activate the Cleaning Reaction
Spread the paste evenly over greasy areas using circular motions, focusing on corners where grease accumulates. Let it sit for exactly 60 seconds—the hydrogen peroxide’s bubbling action breaks molecular bonds in the grease. Do not exceed this time as the reaction loses effectiveness after 90 seconds.
Scrub Smart Without Damaging the Coating
Use light pressure with a soft-bristled brush for precisely 2 minutes, working in small circular motions. Pay special attention to the basket’s bottom grid where grease pools. Rinse thoroughly under warm running water while gently rubbing with a microfiber cloth—any remaining paste will bake into new residue during next use.
Soak Method for Heavy Grease Buildup
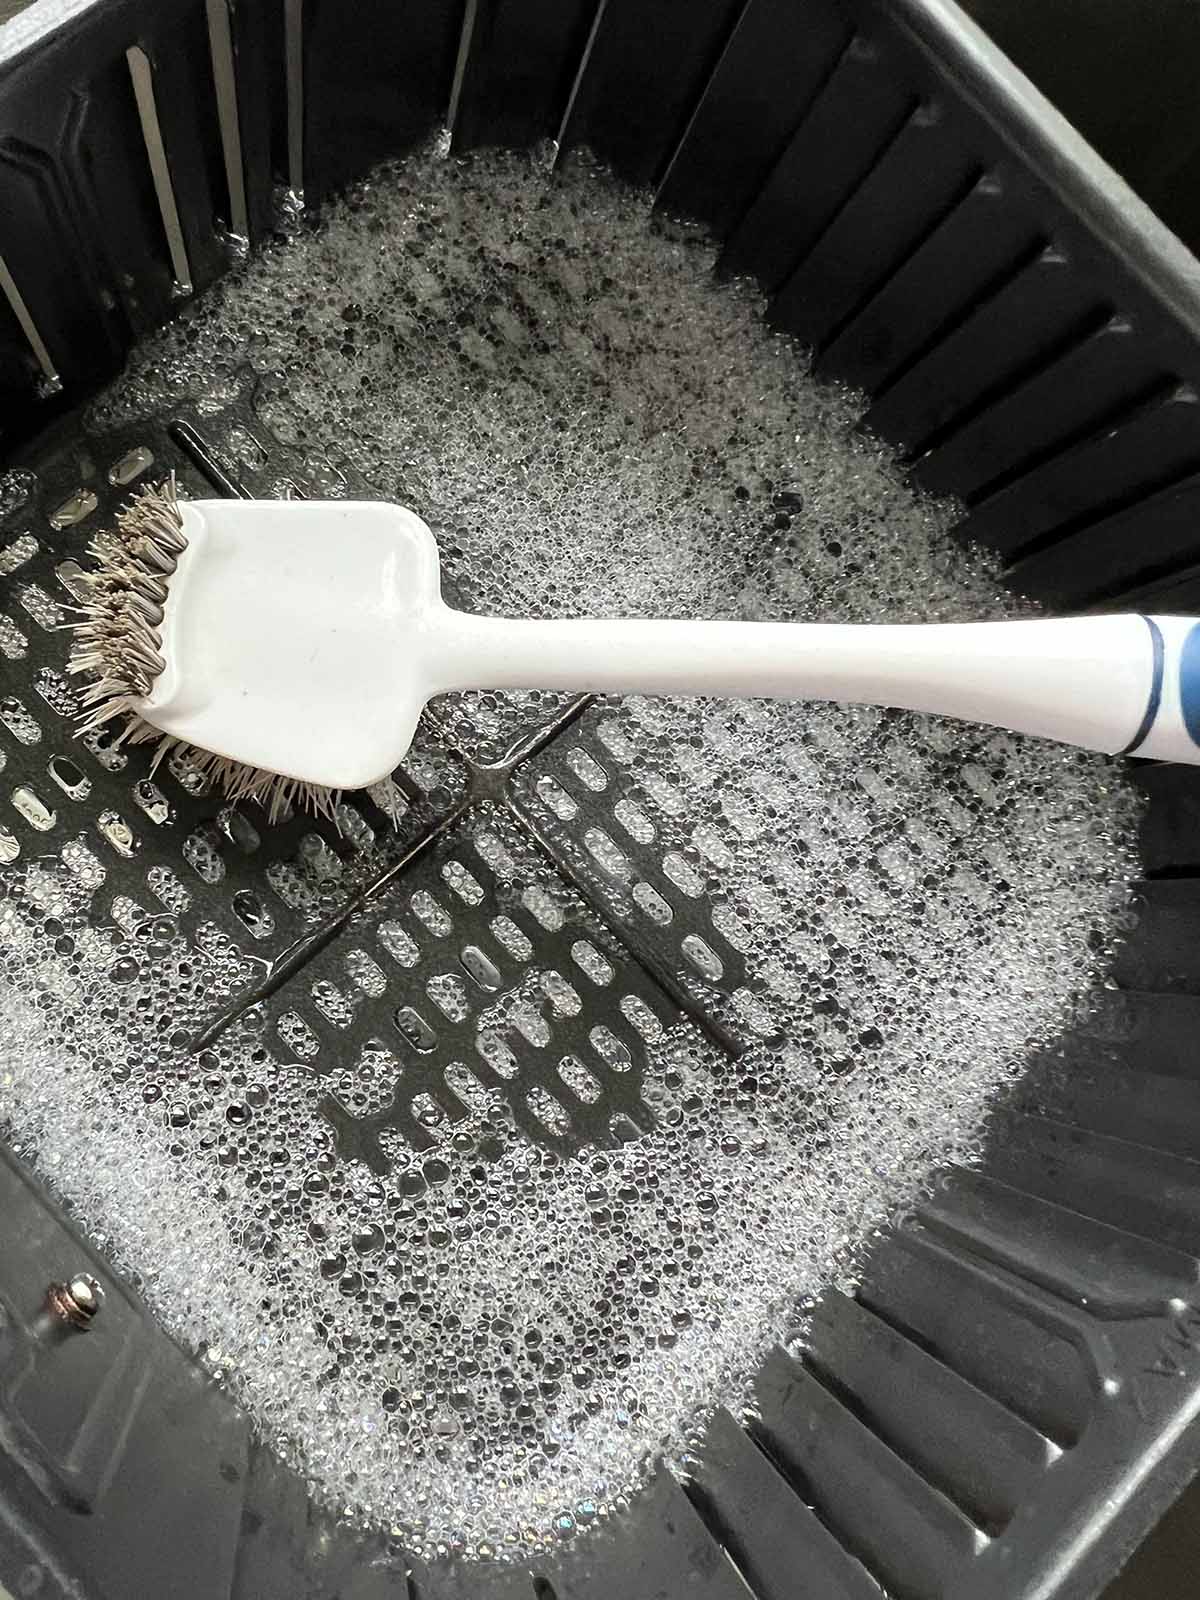
When grease has hardened into a carbonized layer, soaking softens it for effortless removal. This method uses minimal water while maximizing cleaning power—critical since excess moisture damages electrical components near the basket rails.
Fill with the Perfect Soaking Solution
Place your removable basket in the sink and fill halfway with warm (not hot) water. Add 3-4 drops of dish soap and 1 tablespoon baking soda. The baking soda raises the water’s pH to dissolve grease while the soap emulsifies oils. Never fill beyond the basket’s halfway point to prevent water seepage into the main unit.
Time Your Soak for Maximum Effectiveness
Set a timer for 10 minutes for light grease or 30 minutes for severe buildup. Over-soaking beyond 45 minutes risks water seeping into crevices and damaging non-stick coatings. Check progress at 20 minutes—grease should visibly lift from surfaces when ready for scrubbing.
Final Rinse Protocol to Prevent Flavor Transfer
Rinse under running water while gently rubbing with a soft sponge until water runs completely clear. Any soap residue will create chemical flavors in your next batch of fries. Shake off excess water and air-dry upside down on a clean towel for 1 hour before reassembly.
Interior Chamber Deep Cleaning Techniques
Grease buildup inside the main chamber reduces airflow and creates fire hazards. Cleaning this area requires special care since you can’t remove the heating element or fan assembly. Focus on accessible surfaces while avoiding electrical components.
Crumb Removal Without Damaging Components
Turn your unplugged, cooled air fryer upside down over the trash can. Hold the base firmly while giving 3 short shakes—90% of loose debris falls out immediately. For stubborn crumbs, use a dry pastry brush to sweep toward the opening. Never insert objects into the heating element vents.
Heating Element Care for Long-Term Performance
Dampen a microfiber cloth with distilled water (never tap water to prevent mineral deposits) and wring until nearly dry. Gently wipe the visible coil surface using downward strokes only—scrubbing sideways can dislodge protective coatings. Work in 2-inch sections, rewetting the cloth as needed until all visible grease disappears.
Vent Inspection to Maintain Cooking Efficiency
Check the top and side air vents for grease blockages using a flashlight. Blocked vents cause uneven cooking and overheating. Use a cotton swab dipped in vinegar solution to clean vent interiors, rotating it gently to avoid bending delicate fins. Clear vents should show unobstructed airflow when held to light.
Vinegar Solution Power Clean for Odor Removal
This acidic solution cuts through grease while neutralizing burnt food smells. White vinegar’s 5% acetic acid concentration dissolves organic residues without damaging most non-stick coatings when used correctly.
Create and Apply the Vinegar Degreaser
Mix equal parts white vinegar and warm water in a spray bottle. Add 1 teaspoon baking soda for extra lifting power—the mixture will fizz vigorously. Spray lightly onto interior surfaces, avoiding electrical components near the basket rails. Let it bubble for 3-5 minutes as it breaks down grease molecules.
Wipe Down Without Water Damage
Use a barely damp microfiber cloth to wipe surfaces, changing sections of the cloth frequently. The vinegar smell disappears completely after drying, but residue will create bitter flavors. For stubborn spots, reapply paste directly and let sit 2 minutes before wiping. Finish with a second pass using a clean, dry cloth.
Daily Maintenance Routine to Prevent Buildup
The secret to effortless cleaning? Spending 90 seconds after every use. This simple habit prevents 80% of grease buildup according to appliance technicians. Consistent maintenance means you’ll rarely need intensive scrubbing sessions.
Post-Cooking Protocol for Easy Cleanup
While your air fryer cools (but while grease is still soft), remove the basket and wipe interior surfaces with a damp microfiber cloth. Empty the crumb tray immediately—delaying allows grease to harden. For fatty foods like bacon, place the basket in warm soapy water for 5 minutes before regular washing.
Protective Measures During Cooking
Lightly spray baskets with cooking oil before adding food—this creates a barrier that prevents direct grease contact with the coating. For extremely messy foods, use silicone basket liners that catch drips and wash effortlessly in warm water. Never overcrowd the basket, as touching food creates burnt-on spots that resist cleaning.
Professional-Grade Results Checklist
Verify your cleaning success with these pro techniques before reassembling. Missing even small grease patches leads to rapid re-accumulation and permanent staining during your next cooking session.
Inspection Under Bright Light
Hold your clean, dry basket under direct sunlight or a bright LED lamp. Grease residues appear as shiny streaks or dark patches against the matte non-stick surface. Pay special attention to crevices where the basket handle attaches—these hidden spots trap grease that bakes onto food during cooking.
Performance Test Before First Use
Run your air fryer empty at 350°F for 3 minutes after cleaning. Any remaining grease will smoke visibly—indicating missed spots requiring re-cleaning. This step prevents unpleasant odors and flavors in your next meal while ensuring optimal cooking performance.
Clean grease from your air fryer doesn’t require expensive chemicals or exhausting scrubbing marathons. By implementing the winning degreasing formula for immediate results and adopting the 90-second daily maintenance routine, you’ll maintain like-new performance for years. Your crispy fries will taste better, cooking times will improve, and you’ll eliminate dangerous fire hazards—all with smarter cleaning, not harder work. Start today: your next meal deserves a spotless appliance.


