
You invested in a Ninja Foodi air fryer expecting crispy fries and perfectly cooked chicken, but now it’s just gathering dust on your counter. You’re not alone—many home cooks struggle to unlock the full potential of this versatile appliance. The truth is that getting restaurant-quality results from your Ninja Foodi requires understanding specific techniques that transform ordinary meals into extraordinary ones. This comprehensive guide delivers the exact steps you need to master your Ninja Foodi air fryer, whether you own a DualZone model, XL version, or pressure cooker hybrid.
Identify Your Ninja Foodi Model Before Cooking

Knowing your exact model prevents frustration and ensures you’re using the right techniques. Ninja Foodi units vary dramatically in capabilities and control interfaces, so don’t assume one-size-fits-all instructions apply to your specific appliance.
DualZone Models feature two independent baskets that operate simultaneously with Smart Finish technology. This game-changing feature lets you cook different foods at different temperatures while ensuring they finish at the same time—perfect for proteins and vegetables that require different cook times.
XL Series units offer single large basket capacity (5.5-8 quarts), ideal for family meals. These models excel at cooking larger items like whole chickens or multiple servings of your favorite sides. The single-basket design simplifies operation but requires batch cooking for multiple food types.
Grill Combinations include specialized sear plates and grill functions that add authentic char marks to your proteins. These models often feature temperature probes for precise doneness control, making them favorites for steak enthusiasts who want indoor grilling results without the smoke.
Essential First-Time Setup for Optimal Performance
Remove Hidden Protective Films Completely
Before your first use, meticulously remove every piece of plastic film, including the nearly invisible layer on the crisper plate. Many users skip this step and wonder why their unit smokes during initial use. These protective films are designed to prevent scratches during shipping but must be completely removed before cooking.
Strategic Counter Placement Matters
Position your Ninja Foodi with minimum 5 inches clearance on all sides—this isn’t optional advice. Restricted airflow triggers automatic shutoffs and causes uneven cooking. Avoid placing under cabinets; the rising heat can damage wood finishes over time. Place your unit on a stable, heat-resistant surface away from walls and other appliances.
Control Panel Mastery for Flawless Operation
Decoding the LED Display Signals
Your display communicates critical information beyond simple temperature readings. A flashing display means settings are being adjusted, while a solid display indicates active cooking. When the unit beeps halfway through cooking, that’s your cue to shake or flip food—don’t ignore this reminder as it’s essential for even cooking.
Button Functions You Must Know
- Power Button: Requires a firm 2-second hold (quick presses won’t register)
- Temp/Time Controls: Short press for precise single-degree adjustments, long press for rapid changes
- Start/Pause: Use pause to check doneness without resetting the timer—essential for delicate foods
- Sync Button (DualZone models): Press after programming both baskets for simultaneous finish
Perfect Air Fry Technique Every Time

Preheat for Crispy Results
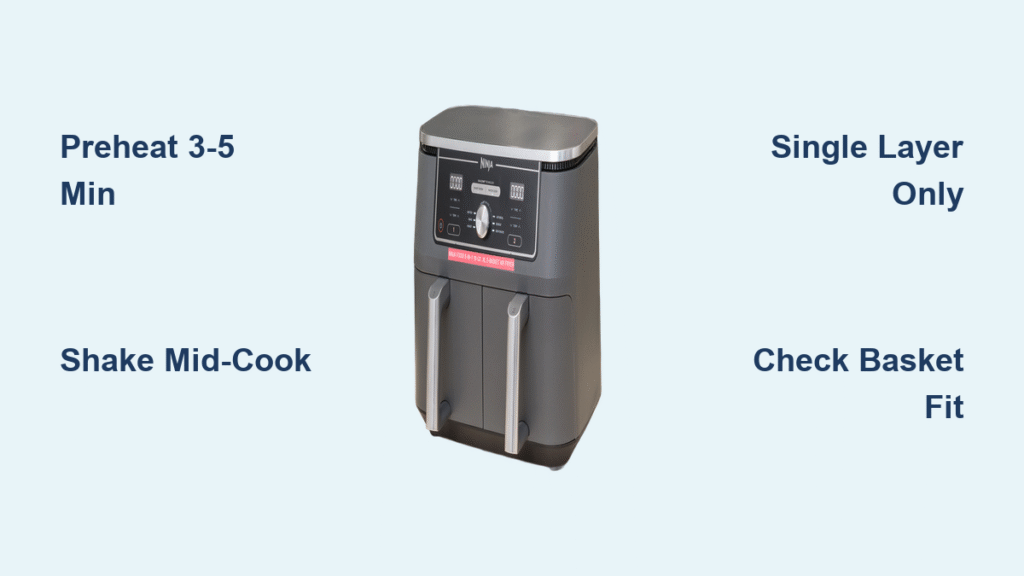
Always preheat for 3-5 minutes before adding food—this step is non-negotiable for crispy results. The unit signals readiness with a subtle beep; wait for it rather than skipping this step. Skipping preheat adds 3-5 minutes to your total cooking time and guarantees uneven, soggy results that disappoint.
Strategic Food Placement Rules
Never exceed the max fill line—this isn’t a suggestion but a guarantee for soggy food. Arrange food in a single layer whenever possible, leaving space between pieces for proper air circulation. When cooking multiple layers, use the crisper plate and flip halfway through. Overcrowding is the #1 cause of disappointing Ninja Foodi results.
Mid-Cook Shaking Technique
When the unit pauses automatically, remove the basket and shake vigorously for 3-5 seconds. For delicate items like fish, use tongs to flip instead of shaking. Return the basket immediately—extended pauses cool the chamber significantly and disrupt the cooking process. This simple step ensures golden-brown results on all sides.
Advanced Function Mastery for Culinary Success
Roast Mode Secrets for Juicy Results
Roast mode uses convection heat for larger items like whole chickens or roasts. Position food on the crisper plate with fat-side up to self-baste during cooking. Temperature ranges from 250°F-400°F, with cooking times 20-30% shorter than traditional ovens. Pro tip: Start at 400°F for 10 minutes to develop crust, then reduce to 350°F for even cooking.
Dehydrate Mode Precision for Healthy Snacks
Slice foods uniformly (1/8-1/4 inch thick) for consistent dehydration results. Arrange in single layers with space between pieces to allow proper airflow. Rotate trays every 2 hours—set a phone reminder to avoid forgetting. Most foods take 4-12 hours; herbs dehydrate fastest while fruits require the longest time.
Reheat Without Ruining Leftovers
Reheat mode defaults to 350°F—perfect for reviving leftovers without overcooking. For pizza, place directly on the crisper plate for 3-4 minutes. For saucy foods like lasagna, add a tablespoon of water to prevent drying. Fried foods reheat best at 375°F for 2-3 minutes to restore crispiness without becoming greasy.
DualZone Technology Explained for Meal Efficiency
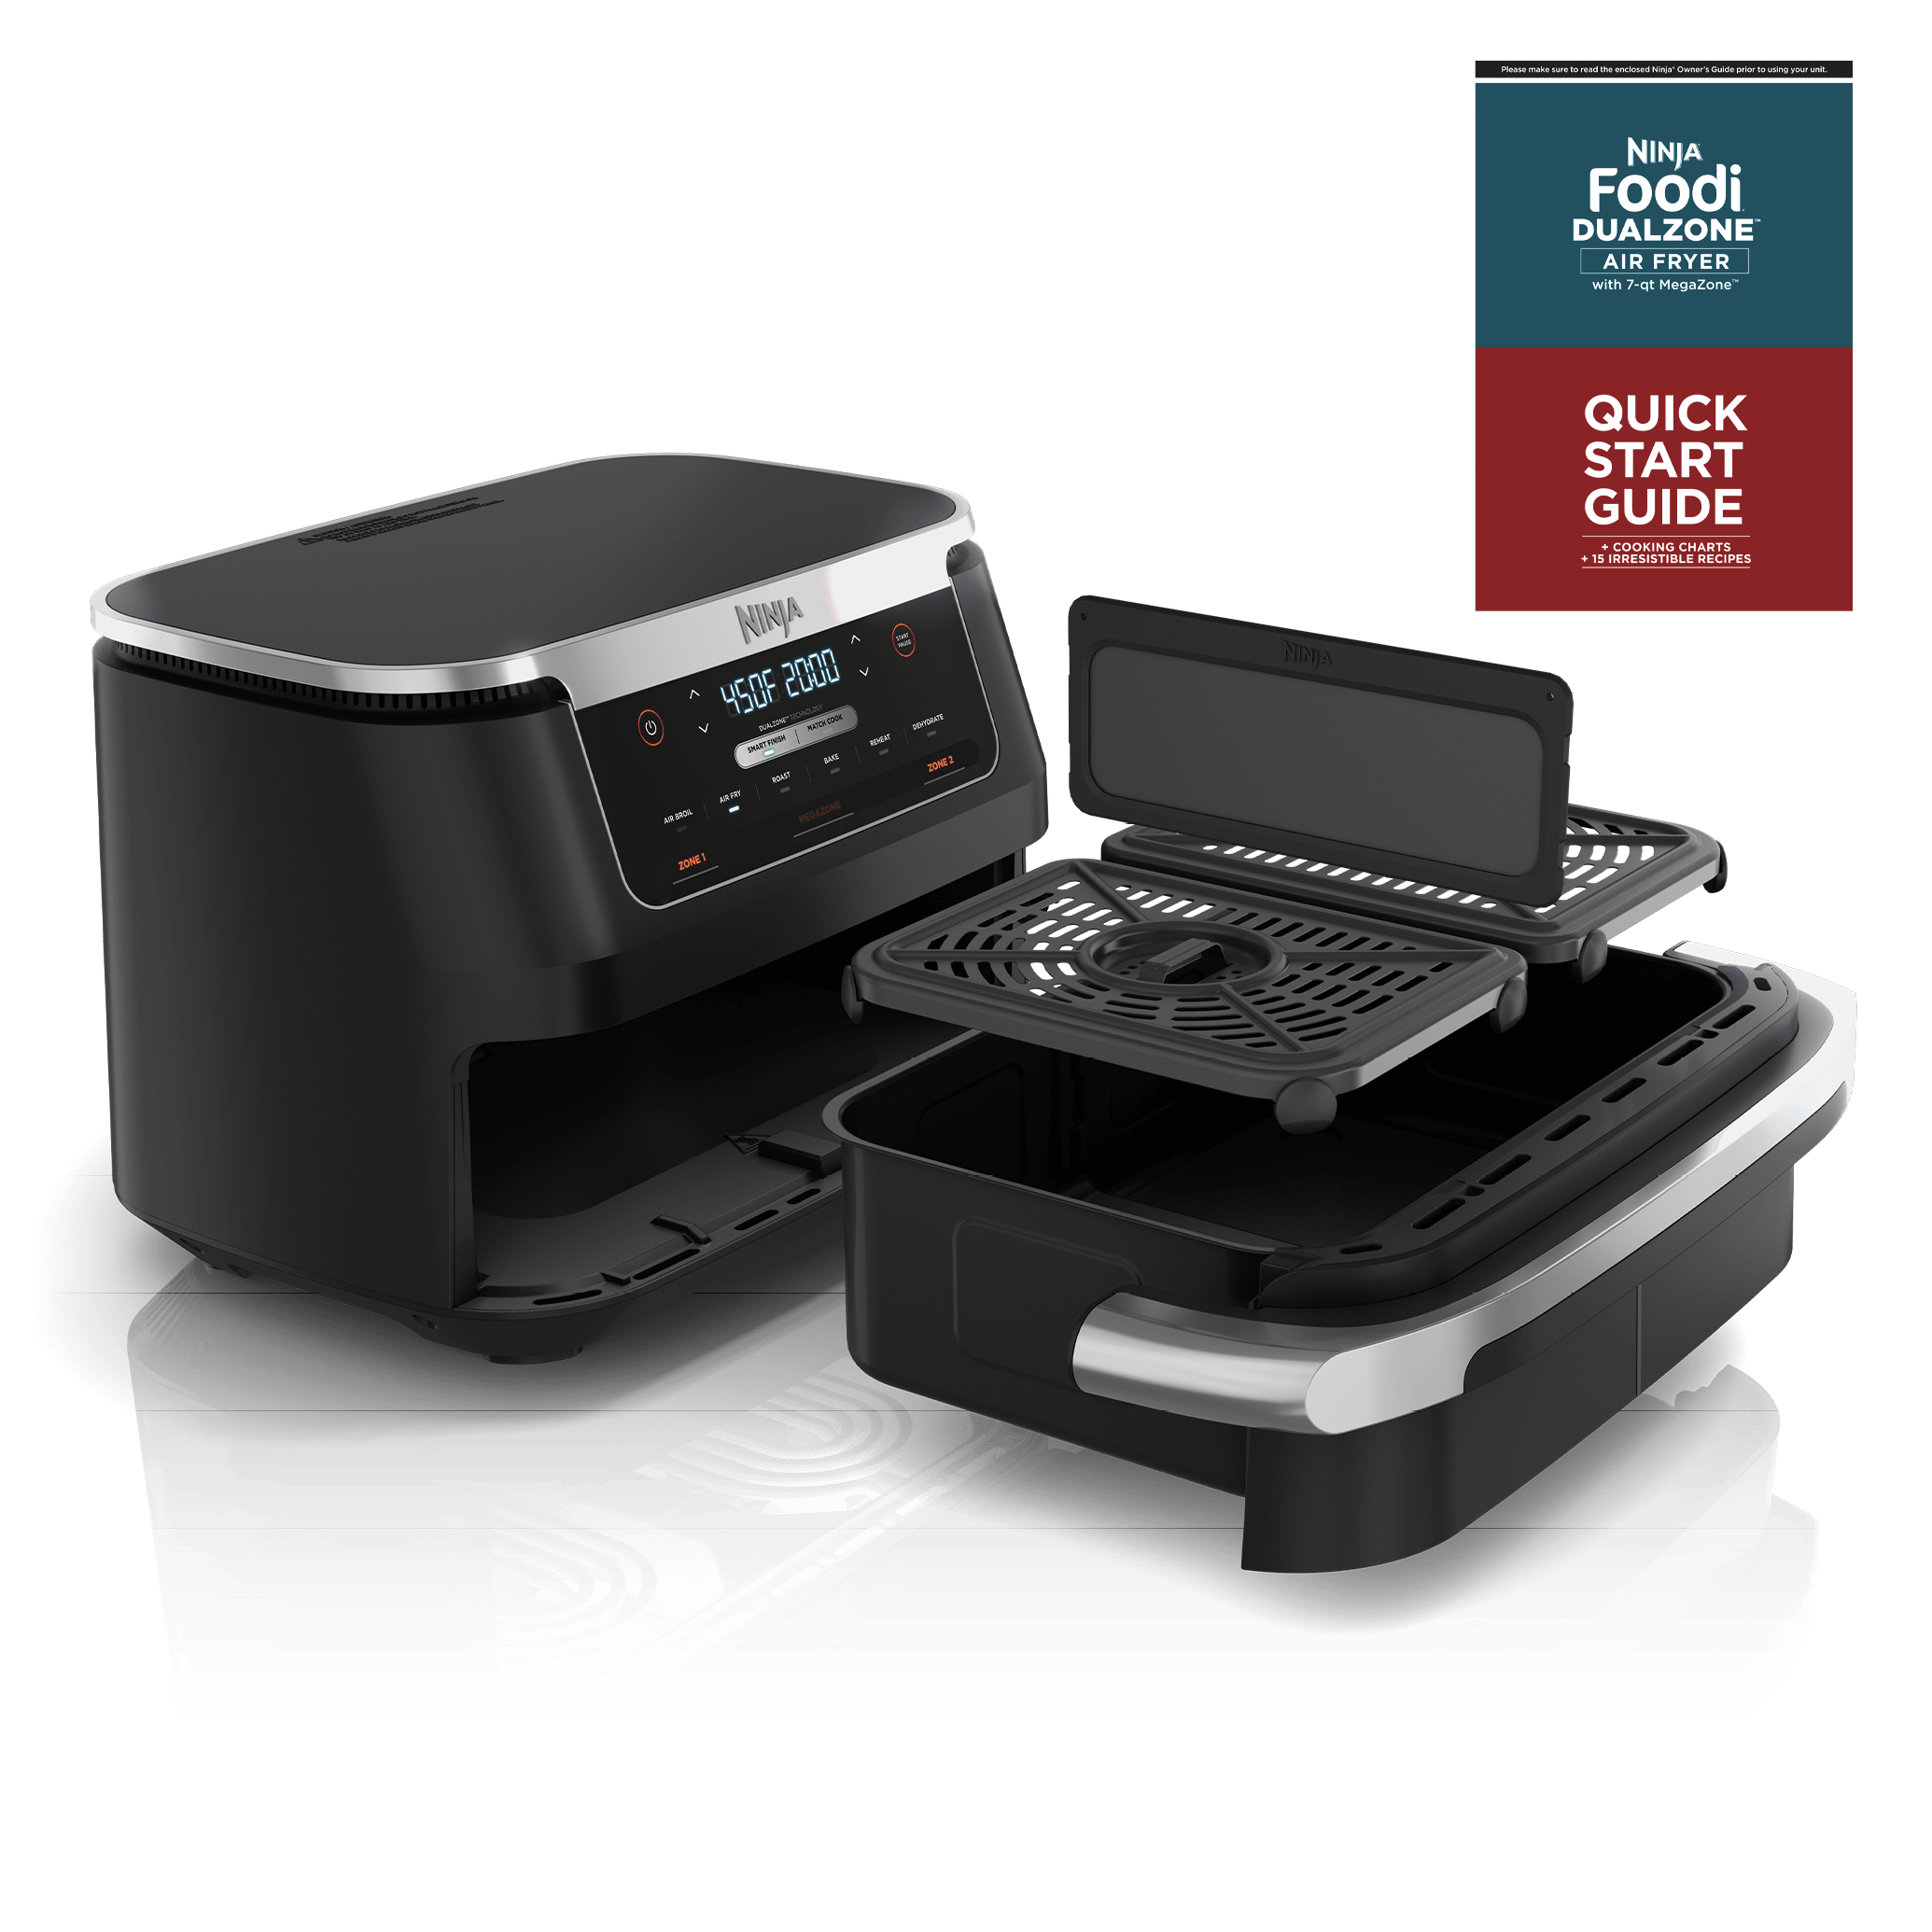
Smart Finish Synchronization
Program each basket independently with different temperatures and times, then press Smart Finish. The unit automatically adjusts timing so both baskets finish together—even with 30-minute cook time differences. This revolutionizes meal prep: cook salmon in one basket while roasting vegetables in the other, both finishing perfectly at the same moment.
Match Cook for Large Batch Success
After programming the first basket, press Match Cook to duplicate settings to the second basket. This feature doubles your capacity while maintaining consistent results—perfect for party prep or meal planning. Simply load the second basket with identical food items, and both will cook to perfection simultaneously.
Food-Specific Success Guide for Reliable Results
Chicken Wings That Wow Every Time
380°F for 24-28 minutes, shaking every 8-10 minutes. Pat wings completely dry before cooking—moisture is the enemy of crispiness. For extra crunch, add 1 teaspoon baking powder per pound of wings (not baking soda). This simple trick creates shatteringly crisp skin without deep frying.
Perfect Steak Every Single Time
400°F for 8-12 minutes achieves medium-rare perfection. Bring steak to room temperature first for even cooking. Season generously, then cook 4-6 minutes per side. Use a meat thermometer—135°F internal temperature for perfect medium-rare, and remember carryover cooking will add 5-10 degrees after removal.
Capacity Guidelines You Must Follow
Weight Limits by Model
- 3-Quart: Max 2 pounds food
- 5.5-Quart: Max 3 pounds food
- 8-Quart: Max 5 pounds food
- DualZone 4-Quart each: 3 pounds per basket, 6 total
Exceeding these limits causes uneven cooking and potential overheating. When in doubt, cook in batches—better results than one overloaded batch that leaves you with disappointing, soggy food.
Quick Clean Routine for Longevity
Daily 5-Minute Clean
Wait 30 minutes for complete cooling before cleaning. Remove baskets and wash with hot, soapy water or place in dishwasher (top rack only). Wipe interior with damp cloth—never submerge the main unit. Clean exterior with soft cloth; abrasive cleaners damage the finish and void warranties.
Monthly Deep Clean
Unplug unit and ensure complete cooling. Remove all removable parts and scrub gently with non-abrasive sponge. Use a soft brush around heating elements to remove stubborn debris. Check fan area for grease buildup. This 15-minute investment prevents smoke and maintains peak performance.
Troubleshooting Quick Fixes for Common Problems
Performance Problems Solved
Soggy results: Increase temperature 25°F and ensure food is thoroughly dry before cooking
Uneven cooking: Reduce quantity, shake more frequently, and verify proper preheating
Smoke alarm: Immediately clean accumulated grease from bottom of unit
Won’t start: Verify basket clicks securely into place and check outlet functionality
Pro-Level Tips for Ninja Foodi Mastery
Oil Usage Mastery
Use 1-2 teaspoons maximum for fresh potatoes—less is more with air frying. Invest in a quality oil sprayer for even distribution; aerosol sprays damage non-stick coatings over time. High smoke point oils (avocado, grapeseed) prevent off-flavors and smoking at high temperatures.
Multi-Stage Cooking Magic
Combine functions for complex dishes. Example: Air fry chicken thighs at 375°F for 15 minutes, then switch to Roast at 400°F for 5 minutes for skin that shatters. Allow 2-3 minutes between function changes for temperature adjustment—rushing this step compromises results.
Mastering your Ninja Foodi air fryer transforms weeknight cooking from chore to joy. These techniques work across all models—adjust quantities based on your specific unit’s capacity. The key lies in respecting temperature guidelines, avoiding overcrowding, and embracing the preheat. Start with simple foods like frozen fries to build confidence, then graduate to complex proteins and vegetables. Your perfectly crispy, healthier meals await with these proven Ninja Foodi techniques.


