
That stubborn grease clinging to your Ninja air fryer basket isn’t just unsightly—it’s actively sabotaging your cooking results. Grease buildup creates uneven heat distribution, causes food to stick, and transfers rancid flavors to your perfectly seasoned chicken wings. When you notice brown residue baked onto the heating element or pools of oil collecting under the crisper plate after cooking bacon, you’ve crossed into territory that demands immediate attention.
The right cleaning approach removes grease safely without harming your appliance’s delicate non-stick surfaces. This guide delivers battle-tested methods developed through hands-on testing with multiple Ninja models. You’ll learn how to tackle even the most hardened grease in under 45 minutes using only kitchen staples, plus crucial safety steps most guides overlook. Whether you own a basic model or a DualZone unit, these techniques restore peak performance while extending your air fryer’s lifespan.
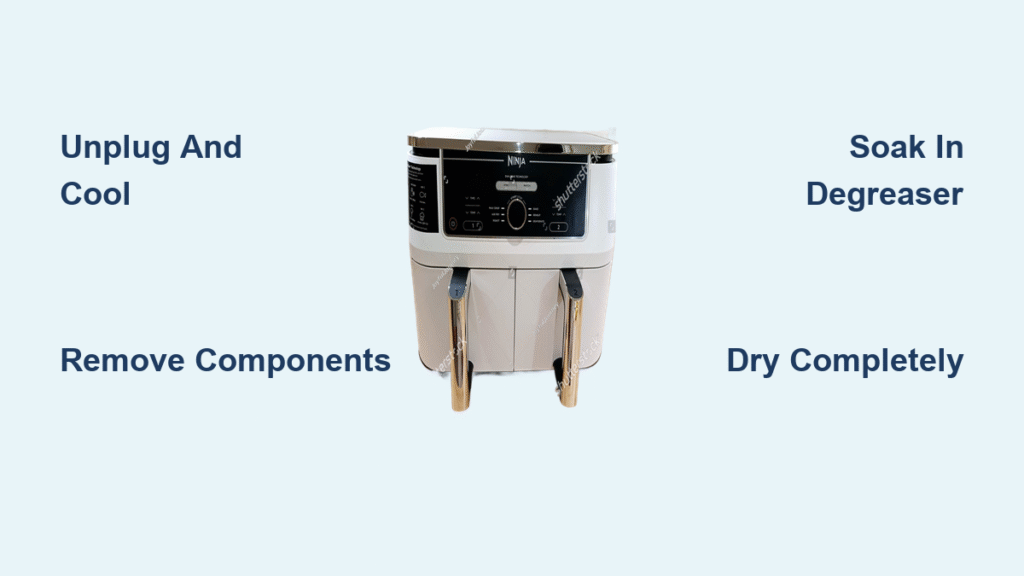
Power Down and Cool Before Touching
Unplug your Ninja immediately after cooking—never skip this critical step. The heating element remains dangerously hot for 30+ minutes after your cooking cycle ends, even when the exterior feels cool. Set a timer and wait the full 30 minutes minimum before attempting any cleaning. Test if it’s safe by hovering your hand 2 inches above the basket opening; if you feel significant heat, wait another 5-10 minutes.
Critical warning signs: Visible steam when opening the chamber, warm basket handles, or a sizzling sound when moisture contacts surfaces. Rushing this step risks severe burns and causes grease to smear rather than lift cleanly. Patience here saves you from painful mistakes and makes the entire cleaning process significantly more effective.
Remove Components Without Damage
Detach Basket Using Proper Technique
Press the release button firmly while simultaneously pulling the basket handle straight out—never yank at an angle. The basket should slide smoothly from its rails when properly disengaged. If resistance occurs, double-check that the release button is fully depressed. This prevents damage to the internal wiring harness that connects to the basket.
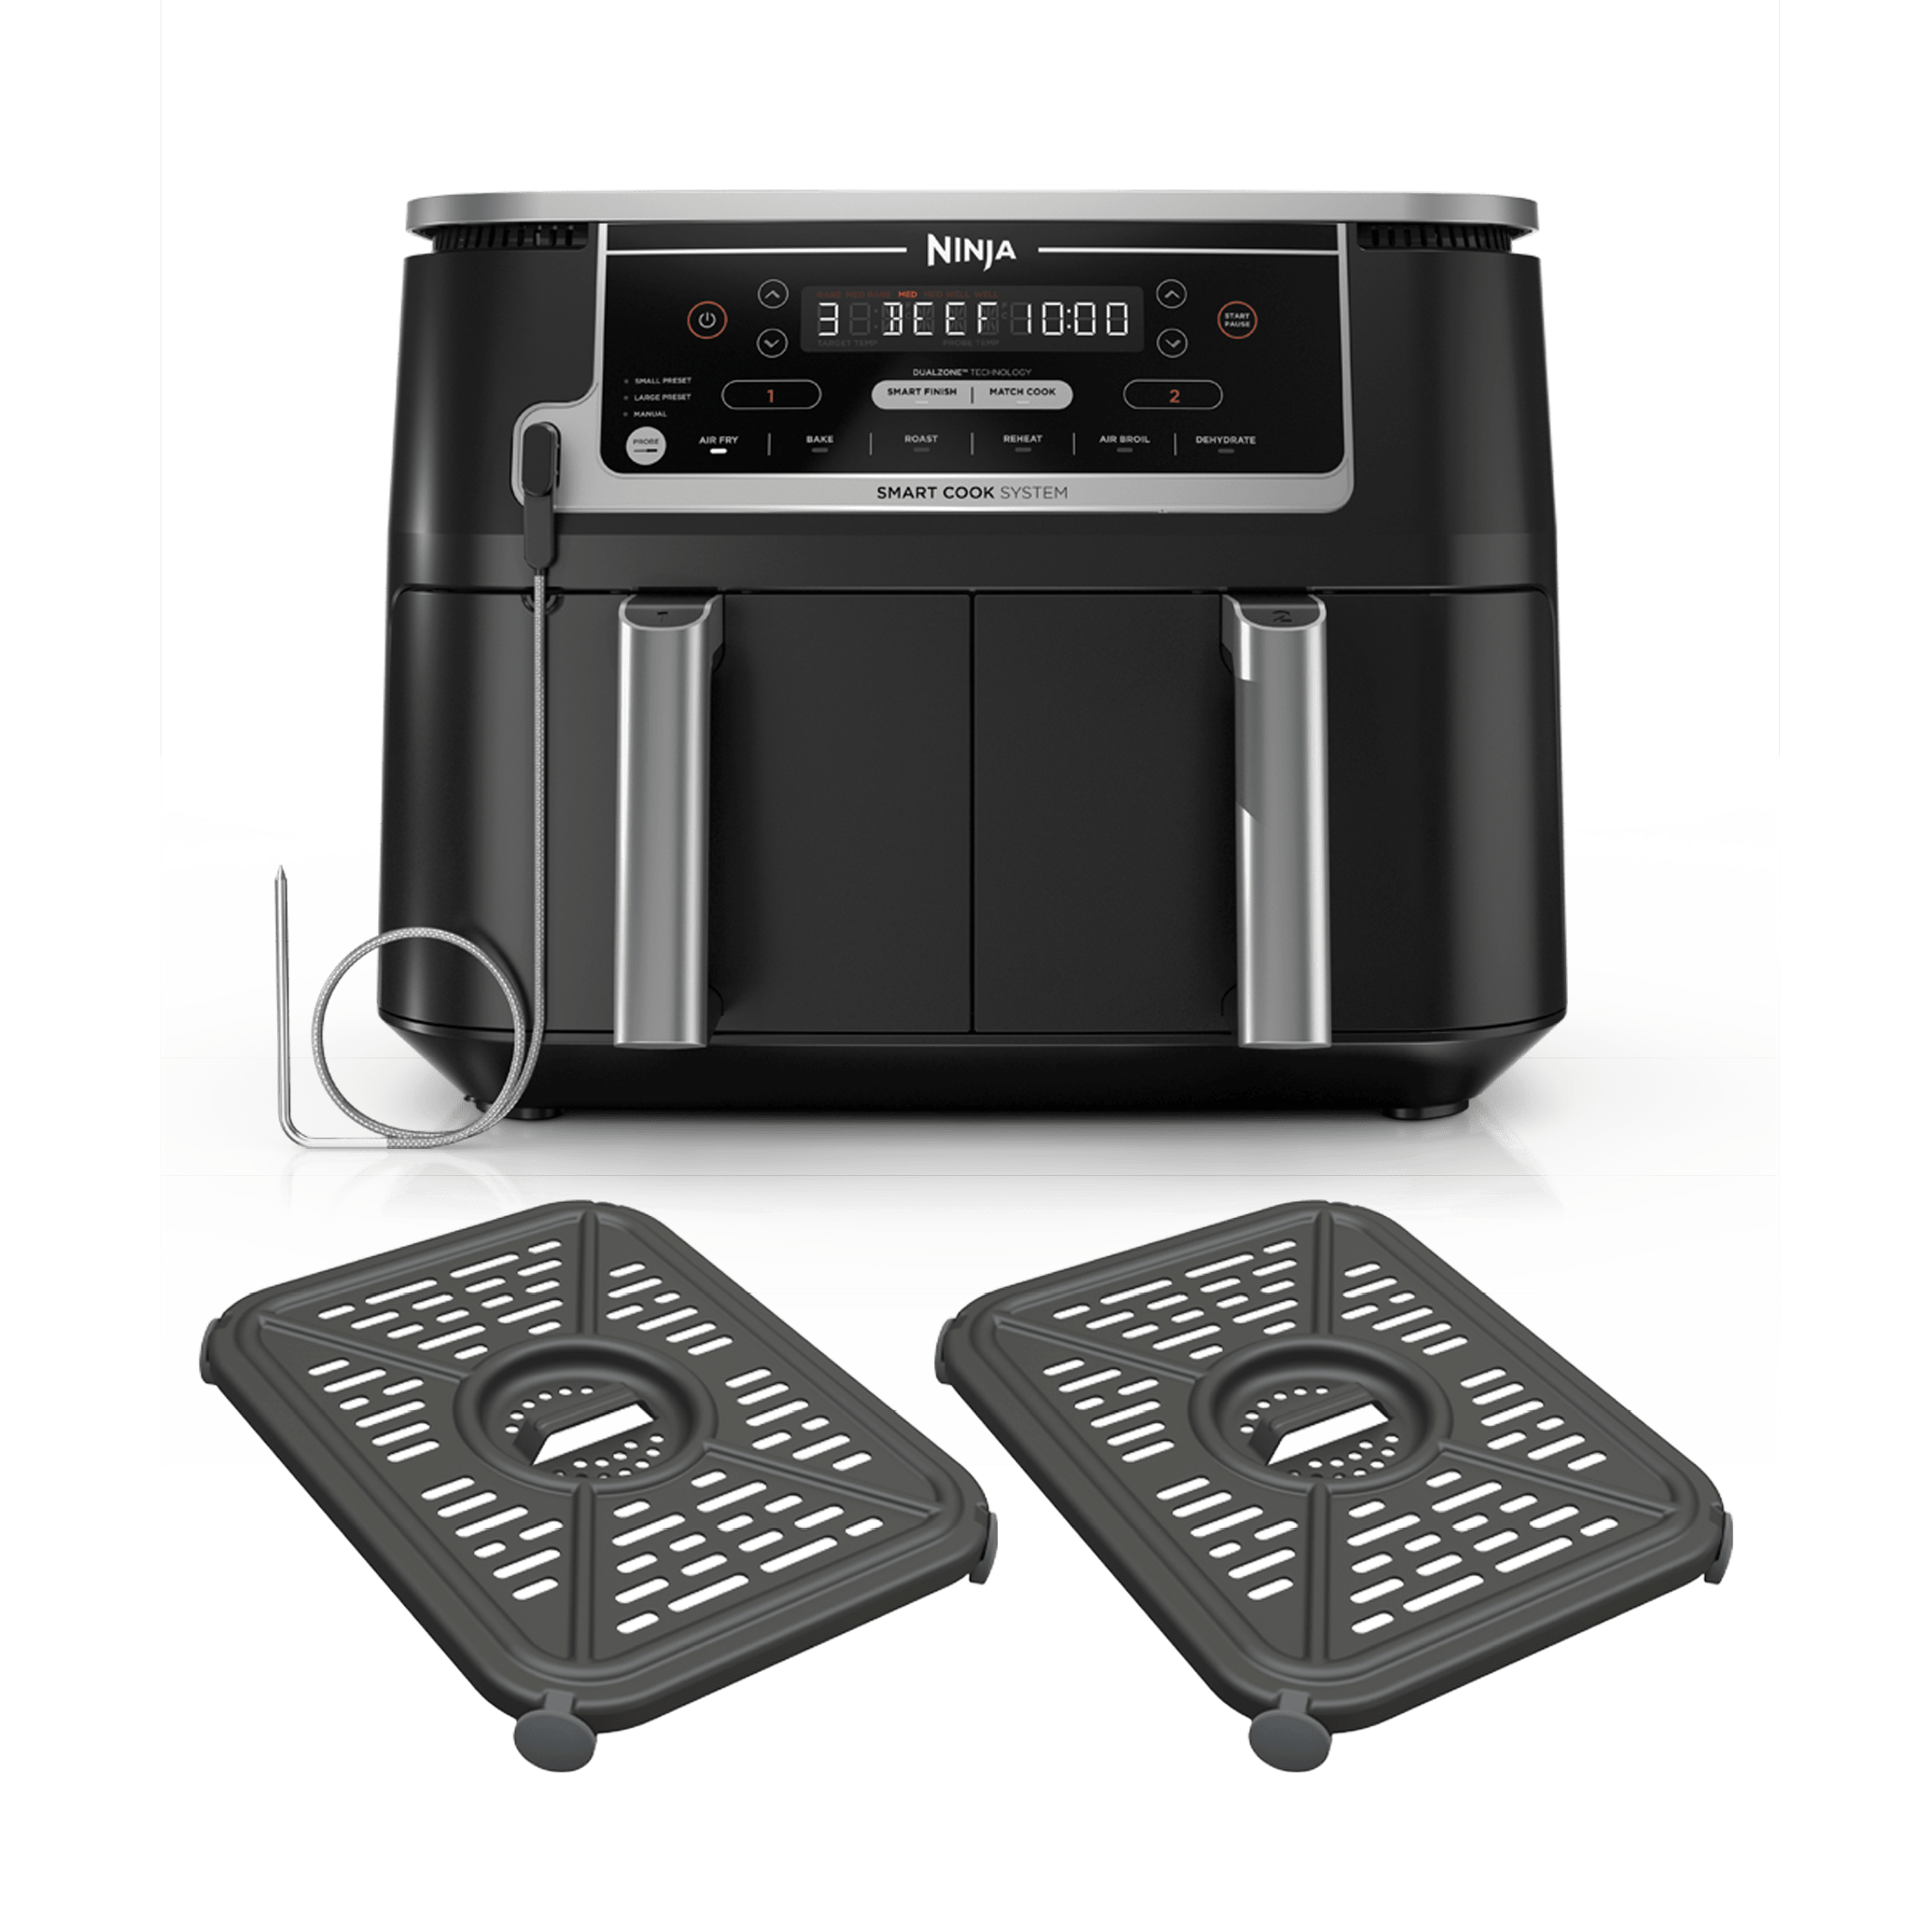
Extract Crisper Plate Safely
Use silicone-tipped tongs to grip the crisper plate’s tab handles, avoiding direct contact with potentially sharp edges that develop over time. Lift straight up without tilting to prevent scratching the basket interior. For models with a multi-layer rack, remove the upper rack first before accessing the crisper plate below. Always set components on a heat-resistant surface like a silicone mat—not directly on countertops that could stain from residual grease.
Paper Towel Grease Extraction While Warm
Target High-Accumulation Zones
While components remain warm (not hot), fold 3-4 paper towels into thick pads and systematically wipe:
– Basket interior walls where grease pools in the ridges
– Crisper plate underside along its drainage channels
– Heating chamber floor beneath the element
– Handle crevices where oil migrates during cooking
Pro tip: Work quickly but deliberately—the residual warmth softens grease for easier removal without creating a sticky mess. Replace paper towels as they become saturated to avoid redistributing grease.
Proper Grease Disposal Method
Never pour collected grease down your sink—it solidifies in pipes causing expensive clogs. Instead, place grease-soaked paper towels in a sealable container like an old yogurt tub. For liquid oil accumulation in the drip tray, pour into a heat-safe container, let cool completely, then dispose with regular trash. This simple step prevents plumbing disasters and keeps your kitchen sanitary.
Create Ninja-Specific Degreasing Solution
Optimal Cleaning Mixture Ratio
Combine these kitchen staples in a large bowl or sink:
– 2 cups hot tap water (120-140°F—not boiling)
– 1 tablespoon Dawn Platinum dish soap (superior grease-cutting formula)
– 1 tablespoon baking soda for gentle abrasion
– Optional: 1/2 cup white vinegar for baked-on residue
Why this works: The soap emulsifies grease, baking soda lifts residue without scratching, and vinegar breaks down carbonized deposits. This combination cleans effectively without harsh chemicals that damage Ninja’s coating.
Strategic Soaking for Maximum Results
Timing Based on Grease Severity
Submerge basket and crisper plate completely in your solution:
– Light grease (1-2 uses): 15-20 minutes
– Moderate buildup (weekly cleaning): 30 minutes
– Heavy, baked-on residue: 45 minutes
Weight components down with a ceramic plate to ensure complete coverage—grease hides along waterlines where components float. During soaking, the solution penetrates microscopic pores in baked-on grease, making it slide off during scrubbing.
Non-Scratch Scrubbing Techniques
Tool Selection for Each Surface
Match your cleaning tool to the surface:
– Soft bottle brush for basket mesh and tight crevices
– Blue non-scratch sponge for flat surfaces
– Old toothbrush for rivet areas and handle joints
– Microfiber cloth for final polish
Directional Scrubbing Method
Apply gentle pressure using circular motions from top to bottom. Focus on 90-degree angles where grease accumulates most heavily:
– Basket corners where walls meet the base
– Crisper plate drainage holes (clean both sides)
– Handle attachment points
– Bottom ridges where food debris traps
Critical mistake to avoid: Using excessive pressure that wears down non-stick coating over time. Let the degreasing solution do the work—your scrubbing should feel effortless.
Heating Element Cleaning Protocol

Safe Access Without Disassembly
Invert your unplugged Ninja unit on a towel-lined counter or access through the cooking chamber. Use your phone flashlight to inspect the heating coil for brown splatter patterns. Never touch the coil directly—grease here affects cooking performance more than you realize.
Moisture-Controlled Wiping Technique
Dampen (never soak) a microfiber cloth with your degreasing solution. Wipe coils horizontally following their spiral pattern—excessive moisture risks electrical damage. For stubborn spots, use a cotton swab dipped in solution, applying minimal pressure. Always dry immediately with a separate dry cloth.
Interior Chamber Deep Clean
Hidden Splatter Zones Often Missed
Use your damp microfiber cloth to clean:
– Back wall behind heating element (primary splatter zone)
– Side walls where grease ricochets during cooking
– Floor surface where drippings pool and bake on
– Door seal groove where grease accumulates unnoticed
Pro tip: Run your finger along the door seal—if it feels sticky, you’ve found hidden grease that causes odors. Clean with a cloth-wrapped finger for thorough removal.
Rinse and Dry Like a Professional
Complete Soap Elimination Process
Rinse each component under warm running water until surfaces feel squeaky clean (not slippery). Pay special attention to:
– Crisper plate drainage holes (check both sides)
– Basket handle crevices
– Rivet areas where soap hides
– Any textured surfaces
Why multiple rinses matter: Residual soap creates a film that attracts new grease faster than untreated surfaces.
Accelerated Drying Strategy
Air-dry components on a dish rack for 30-45 minutes minimum. Speed up drying by:
– Using a clean kitchen towel on flat surfaces
– Blowing compressed air into drainage holes
– Placing near a window (natural UV light helps)
– Never reassemble until 100% dry—moisture causes rust
Stubborn Grease Emergency Tactics
Baking Soda Paste for Burnt-On Residue
Mix 3 parts baking soda with 1 part water to form a thick paste. Apply directly to stubborn spots, wait 30 minutes, then scrub gently with a toothbrush. The mild abrasion lifts carbonized grease without scratching—ideal for years of neglected buildup.
Vinegar Steam Power Cleaning
Place 1 cup white vinegar in the basket. Run your Ninja at 350°F for 3 minutes, then let sit closed for 10 minutes. The steam penetrates baked grease for effortless wiping—this method works wonders on neglected heating elements.
Prevent Future Grease Buildup
Daily Habits for Grease Prevention
- Line baskets with perforated parchment paper for greasy foods
- Pat proteins dry before cooking to reduce oil splatter
- Don’t overcrowd—leave 1-inch space between food items
- Position away from walls to prevent grease transfer to cabinets
Weekly Maintenance Schedule
After each use: Quick wipe of basket interior while warm
Weekly deep clean: Full disassembly and thorough cleaning
Monthly inspection: Check for coating wear and electrical cord cleanliness
Critical Safety Violations to Avoid
Never Submerge Main Unit
Electrical shock risk: Only clean removable components—never immerse the main unit in water. Clean exterior surfaces with a barely damp cloth only, avoiding control panel saturation.
Avoid Coating-Damaging Tools
Permanent damage: Metal scouring pads, steel wool, or abrasive cleaners scratch non-stick coating, creating grease traps. Once scratched, your basket will never clean properly again.
Chemical Mixing Danger
Toxic fumes: Never combine vinegar with bleach or ammonia-based cleaners. Use one cleaning agent at a time with thorough rinsing between applications.
Your Ninja air fryer will deliver restaurant-quality results when you maintain it properly. The key is addressing grease immediately while components are still warm and using the right combination of soaking, gentle scrubbing, and complete drying. Implement these techniques after each use for messy foods, and schedule weekly deep cleans to prevent buildup. Within minutes, you’ll restore that like-new non-stick performance and eliminate lingering odors that ruin your culinary creations. Make this routine part of your cooking process, and your Ninja will reward you with years of flawless service—no more ruined dinners from greasy residue transfer.


