
That sharp, acrid smell of burning plastic when you first turn on your new Ninja air fryer can send your heart racing. You’re staring at the appliance wondering if it’s safe to continue, whether you’ve been sold a defective unit, or if your kitchen is about to fill with toxic fumes. This guide delivers exactly what you need to know about that alarming odor—whether it’s normal break-in smoke or a genuine fire hazard—and the precise steps to eliminate it safely.
Most new air fryers emit chemical odors during initial use as manufacturing residues burn off, but distinguishing between acceptable break-in smells and dangerous malfunctions could prevent serious safety issues. Let’s cut through the confusion with actionable solutions that address your specific Ninja model’s needs and get your kitchen back to worry-free cooking.
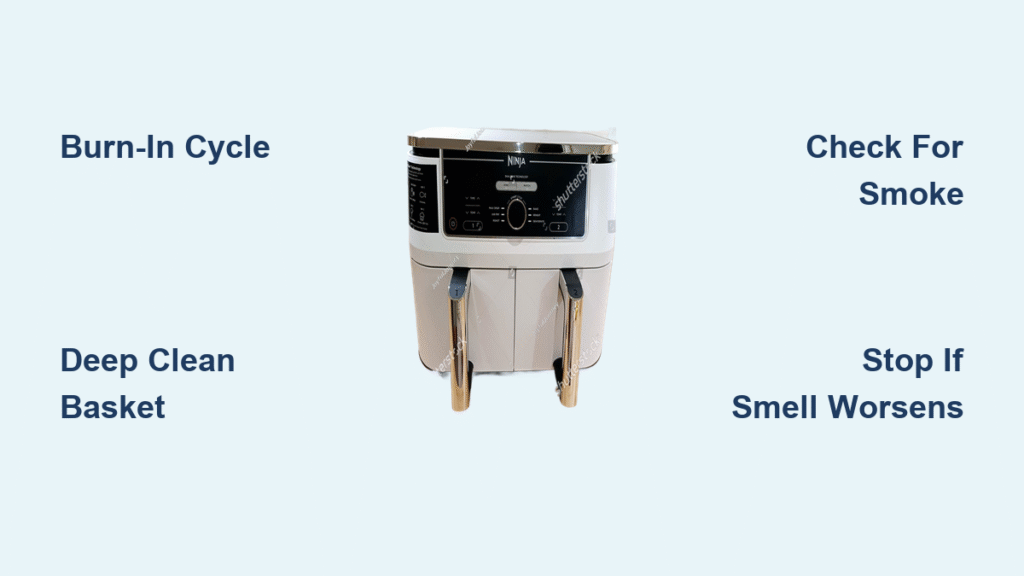
Why Your Ninja Air Fryer Smells Like Burning Plastic Initially
New Ninja air fryers release manufacturing residues when heated for the first time as protective oils and sealants vaporize from heating elements, non-stick coatings, and plastic components. This chemical smell is completely normal for most new appliances but understandably alarming if you don’t know what’s happening.
How Long Normal Burn-In Odors Last
Understanding the typical timeline prevents unnecessary panic. During the first 3-5 uses, you’ll notice the strongest chemical smell as factory-applied coatings burn off. After about 10 cooking cycles, the odor should fade significantly as residues dissipate. Complete dissipation generally occurs within 2-3 weeks of regular use as all internal components fully cure. If the smell persists beyond this timeframe or worsens with continued use, it likely indicates a problem requiring attention rather than normal break-in.
Specific Components Causing the Burning Plastic Smell
Your Ninja’s odor comes from four primary sources: the heating element coating with its factory-applied protective layer, internal wiring insulation made from PVC components that heat up during operation, the basket’s PTFE-based non-stick materials releasing vapors, and exterior heat-resistant ABS polymers near heating zones. None of these typically indicate a defect—instead, they represent standard manufacturing processes that require proper break-in procedures to eliminate.
Stop Immediately: Critical Safety Checks Before Proceeding
Before attempting any fixes, determine whether your air fryer poses immediate risks. Your safety depends on correctly identifying whether that burning plastic smell represents normal break-in or a dangerous malfunction that requires stopping use immediately.
Danger Signs Requiring Immediate Shutdown
Stop using your Ninja air fryer immediately if you notice visible smoke beyond light vapor, melting or warped exterior plastic components, electrical burning smells accompanied by sparks or buzzing sounds, or any actual flames inside the unit. These warning signs indicate serious malfunctions that could lead to fire hazards or electrical damage. Unplug the unit immediately, move it away from flammable materials, and contact Ninja customer support before attempting further use.
Normal Indicators That Don’t Require Emergency Action
You can safely continue with break-in procedures if you only detect a light chemical smell similar to new electronics, notice no visible damage to any components, observe proper operation with the fan running and temperature rising normally, and see only heated air (not smoke) emerging from ventilation slots. These indicators suggest your unit is experiencing typical manufacturing residue burn-off rather than a dangerous malfunction.
Complete Burn-In Procedure: Eliminate Factory Residues Safely

Running your Ninja air fryer empty for several cycles properly burns off manufacturing residues without contaminating your food. This critical process prevents chemical transfer to your meals and accelerates odor elimination more effectively than regular cooking would.
Step-by-Step Initial Burn-In Process
Start by removing all packaging materials including plastic wraps, stickers, and any shipping inserts that might have been missed during unboxing. Wash removable parts like the basket and crisper plate with warm soapy water to eliminate any surface residues. Set your air fryer to its maximum temperature—typically 400°F (205°C) for most Ninja models—and run an empty cycle for 20 minutes with the basket inserted. Ensure your kitchen is well-ventilated by opening windows and running exhaust fans during this process. Repeat this empty cycle 2-3 times until the chemical odor significantly reduces before cooking actual food.
Proven Techniques for Faster Odor Elimination
Maximize ventilation by positioning your range hood directly above the air fryer during burn-in cycles to pull odors outside rather than circulating them through your kitchen. Place half a lemon in the basket during one of your burn-in cycles—the citric acid helps neutralize stubborn chemical odors more effectively than running the unit empty. Schedule your burn-in sessions during times when you’re not cooking other foods to prevent odor transfer to meals and give yourself peace of mind while the process completes.
Deep Cleaning Methods That Eliminate Persistent Burning Smells
When standard burn-in cycles don’t resolve the plastic smell, targeted deep cleaning removes stubborn residues trapped in hard-to-reach areas. These specialized techniques address the specific locations where manufacturing oils accumulate and continue burning during regular use.
Essential Cleaning Supplies Checklist
Gather these specific tools before starting: a soft-bristle brush or dedicated old toothbrush for delicate components, dish soap with degreasing properties to cut through oily residues, baking soda for creating effective cleaning pastes, white vinegar for natural deodorizing, and lint-free microfiber cloths that won’t leave fibers behind. Having these supplies ready ensures you can thoroughly clean all problem areas without damaging your appliance.
Targeted Deep Cleaning Process
Unplug your Ninja air fryer and allow it to cool completely for at least 30 minutes after its last use. Remove all detachable parts including the basket, crisper plate, and any racks. Create a thick cleaning paste by mixing baking soda with just enough water to form a spreadable consistency. Gently brush the visible heating elements with your soft-bristle tool to remove accumulated residues without damaging the coils. Use compressed air to clear debris from fan ventilation slots that often trap particles. Finally, wipe down interior walls with particular attention to the top and sides near the heating element where oil splatter commonly accumulates.
Hidden Trouble Spots Causing Repeat Burning Smells
Focus your cleaning efforts on four critical areas: above the heating element where oil splatter accumulates and repeatedly burns, fan ventilation slots that draw in airborne particles during operation, door seal edges where trapped food debris creates persistent odors, and the bottom drip pan that overflows during cooking and creates concentrated burning smells. Neglecting these hidden zones often explains why some users continue experiencing plastic odors even after multiple burn-in cycles.
Model-Specific Ninja Air Fryer Odor Patterns

Different Ninja models exhibit unique odor characteristics based on their design variations, heating elements, and component materials. Understanding your specific model’s tendencies helps implement targeted solutions rather than using generic approaches that might not address your unit’s particular issues.
AF101 Series: Standard Ninja Air Fryer
The AF101 series typically features thicker non-stick coatings that require longer burn-in periods than some models. Its top-mounted heating elements create more intense initial smells as residues vaporize directly upward. The ceramic-coated basket may produce metallic odors initially that some users mistake for burning plastic. Run 4-5 empty cycles at maximum temperature rather than the standard 3 to properly cure this model’s components.
AF161 Max XL: Higher Capacity Models
The AF161 series’ 1750W higher wattage generates more intense heat during initial use, creating stronger residue burn-off smells. Its larger capacity means significantly more surface area containing manufacturing residues that need proper curing. The dual heating zones require separate attention during burn-in—run additional cycles focusing specifically on each heating element area to ensure complete residue elimination.
Ninja Foodi Series: Multi-Function Units
Ninja Foodi models present additional complexity with their pressure cooker components that can absorb and redistribute odors. The silicone sealing rings commonly retain smells that transfer to food even after the main unit has cured. The dehydrator function’s longer cycles expose components to extended heating periods, sometimes causing residual odors to persist longer than in standard air fryer models. Address these issues by removing and separately cleaning all accessory components during the burn-in process.
When Burning Plastic Smell Indicates Serious Problems

Distinguish between normal break-in odors and genuine malfunctions by monitoring specific warning signs. Persistent chemical smells after proper break-in procedures often indicate component failures requiring professional attention rather than standard residue burn-off.
Critical Warning Signs Requiring Professional Service
If the burning plastic smell intensifies over time rather than gradually decreasing, if your food develops a noticeable plastic taste after multiple uses, if you observe visible coating damage like flaking or bubbling on non-stick surfaces, or if your air fryer shows performance issues like uneven heating or temperature failures, these indicate serious problems. Unlike normal break-in odors that diminish with use, these symptoms suggest actual component failures that won’t resolve with additional cleaning or burn-in cycles.
Immediate Action Steps for Malfunctioning Units
Document everything by noting specific dates, odor characteristics, and any visible issues with photos for potential warranty claims. Contact Ninja customer support immediately using their official channels before attempting further use. Stop using the appliance completely to prevent potential fire hazards or electrical damage. Check for any recalls on the CPSC website that might address your specific model and serial number range before proceeding with repairs or replacements.
Prevent Future Burning Plastic Smells with Proper Maintenance
Implement these preventative measures with your current or future Ninja air fryer to avoid repeat odor problems. Proper initial setup and ongoing maintenance prevent most burning plastic smell issues from developing in the first place.
First-Use Preparation Protocol
Inspect your air fryer thoroughly upon unboxing for any damage or missing protective inserts that might affect performance. Read the manual carefully noting any model-specific burn-in recommendations that differ from general guidelines. Position your air fryer in a well-ventilated area of your kitchen away from walls to ensure proper airflow during operation. Prepare your cleaning supplies in advance so you can immediately address any residues after initial burn-in cycles.
Ongoing Maintenance Schedule
Establish a weekly deep cleaning routine to prevent residue buildup that causes recurring odors. Perform monthly inspections of the heating element for any coating damage that might develop over time. Conduct quarterly deep maintenance sessions where you disassemble and clean all accessible components thoroughly. Schedule annual performance checks to monitor heating consistency and identify potential issues before they become serious problems.
Key Takeaway: Most Ninja air fryer burning plastic smells resolve within the first week through proper burn-in procedures and targeted cleaning. However, never ignore warning signs like visible smoke, melting components, or intensifying odors—these indicate genuine safety hazards requiring immediate professional attention. When in doubt, contact Ninja customer service directly with your model number and serial number, especially if your unit remains under warranty. Document all issues thoroughly with photos and notes, as this documentation becomes critical if you need to pursue warranty claims or replacements. Your safety is always more important than the inconvenience of stopping use temporarily—better to address potential problems early than risk fire hazards or electrical damage in your kitchen.


