
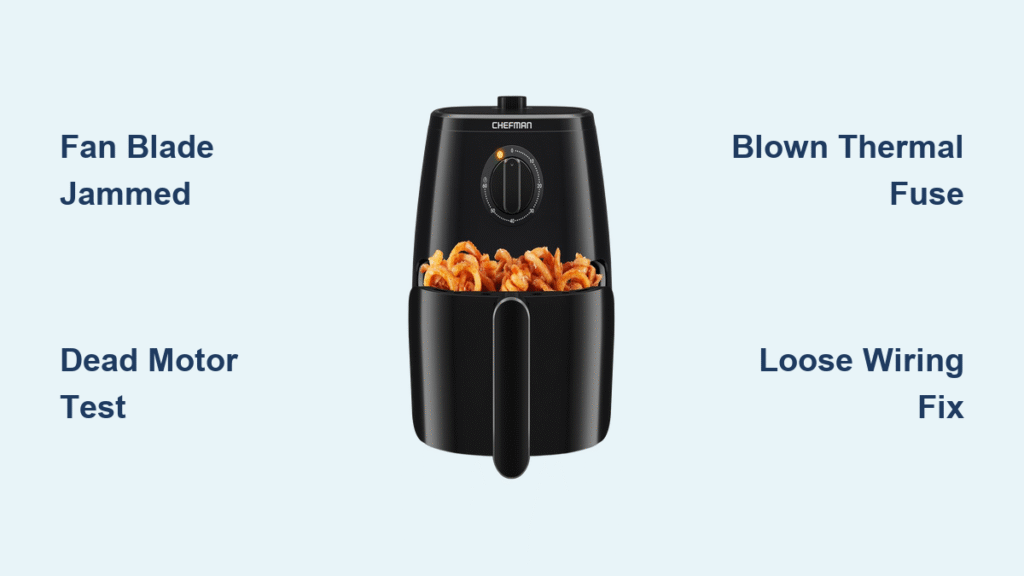
Your Chefman air fryer powers on but delivers soggy fries instead of crispy perfection. That dead silence where the fan should be whirring means heat isn’t circulating—trapping steam inside and triggering automatic shut-offs within minutes. Without airflow, your appliance can’t cook properly and risks overheating. The frustrating part? Most fan failures stem from simple, fixable issues you can resolve in under 30 minutes with basic tools. This guide cuts through the confusion by targeting the exact causes behind your Chefman air fryer fan not working, so you can revive your appliance without replacing it.
Don’t panic—85% of fan failures trace back to four common components you can test with a $10 multimeter. Whether you own a TurboFry 3.5L or TurboTouch 8L model, we’ll walk through every diagnostic step from initial symptom checks to component replacement. You’ll learn how to safely isolate electrical hazards, identify burnt fuses by sight, and verify motor failure in under 60 seconds. By the end, you’ll know exactly whether to spend $12 on a fan module or file a warranty claim.
Unplug & Cool Before Touching Screws
Never skip this critical safety step: Unplug your air fryer and wait 30 minutes before inspection. Internal metal components retain heat above 194°F (90°C) long after the timer stops—enough to cause severe burns. Keep thermal gloves, an insulated Phillips screwdriver, and digital multimeter within reach. Most importantly, never bypass the basket sensor; this safety interlock prevents 120V exposure when the unit is open. If you smell burnt plastic, unplug immediately and let it cool completely before proceeding—this often indicates fried motor windings or a shorted control board component.
Match Your Symptom to the Likely Culprit
Your specific symptoms reveal the root cause faster than disassembly. Compare what you observe to these patterns:
| Symptom | Most Probable Cause | Urgency Level |
|---|---|---|
| Silent operation, no airflow | Obstructed blade or dead motor | Medium (check in 5 min) |
| Grinding noise, weak airflow | Crumb-jammed impeller or worn bearings | High (clean immediately) |
| Fan spins 5 sec then stops | Tripped thermal fuse or control board fault | Critical (prevents overheating) |
| Overheating error code (E1/E2) | Fan failure causing heat buildup | Emergency (unplug now) |
Notice if your unit triggers E1/E2 errors within 2 minutes—that’s the thermal safety shutting down because heat isn’t dispersing. If the housing feels dangerously hot but the fan is dead, stop using it immediately to avoid permanent damage.
Five-Minute External Checks (Zero Tools Needed)
Before opening the unit, rule out simple fixes in under 5 minutes:
- Confirm basket seating – Press down firmly on the basket handle; a misaligned tray blocks the safety switch, cutting fan power while lights stay on.
- Perform tissue test – Hold a tissue strip 1 inch from the rear exhaust vent. No flutter means zero airflow.
- Listen for motor hum – A low buzz indicates power reaching the motor but something jamming the blade.
- Sniff for burnt odors – Acrid plastic smells point to failed motor windings or a burnt MOSFET on the control board.
- Verify outlet voltage – Plug in a lamp or phone charger; under-voltage (<108V) stalls motors even if lights work.
If the tissue test shows zero airflow but you hear a hum, skip disassembly—your fan blade is obstructed and needs cleaning.
Disassemble Your Chefman Model in 6 Minutes
This process works for all 3.5–8 Qt basket-style Chefman air fryers (TurboFry, TurboTouch, XL models):
- Remove the basket and crumb tray.
- Flip the unit upside down and remove 4–6 Phillips screws from the base (note varying lengths).
- Slide the outer shell upward ½ inch, then tilt the front downward—watch for the LED ribbon cable.
- Take a photo of all wire connections before disconnecting anything.
- Locate the fan connector (usually labeled J3 or J5) and unplug it.
- Lift out the entire fan assembly; note the thermal fuse clipped to its housing.
Critical tip: If your model has a brushless motor (5.5L+), the thermal fuse is often hidden under a heat-shrink sleeve on the fan wires—check carefully before proceeding.
Diagnose & Fix the Top 4 Fan Failures

Crumb-Jammed or Broken Fan Blade (35% of Cases)
What to look for: Food particles wedged between blades, foil fragments wrapped around the shaft, or visibly cracked impeller fins.
How to fix: Use compressed air to blast debris from the squirrel cage. For stubborn gunk, dip a toothbrush in vinegar solution and scrub gently. If blades are chipped or unbalanced, replace the entire fan module—spinning imbalances strain bearings. Never run the unit without the blade assembly.
Dead DC Fan Motor (25% of Cases)
Test procedure: Set multimeter to resistance mode. Touch probes to red (+) and black (-) motor wires:
– Healthy reading: 15–45 Ω (model-dependent)
– Failed motor: Infinite resistance (∞ Ω) or erratic fluctuations
Bench test shortcut: Apply 12V or 24V from any DC power supply (like a laptop charger). No spin = replacement needed. Match your model to these common parts:
| Model | Fan Part # | Voltage | Replacement Cost |
|---|---|---|---|
| TurboFry 3.5L | FD-3510-12 | 12V | $12 |
| TurboFry 5.5L | FD-5500-24 | 24V | $16 |
| TurboTouch 8L | FD-8000-24H | 24V | $20 |
Tripped Thermal Fuse (15% of Cases)
Failure signs: Hairline cracks on the white ceramic body or black scorch marks.
Test: Multimeter should show near-zero resistance (<1 Ω). Infinite resistance = blown fuse.
Replace: Clip out the old fuse and install a 130°C, 10A axial fuse (SEFUSE SF139E). Crimp connections and cover with heat-shrink tubing—never use electrical tape near heat sources.
Burnt Wiring or Loose Connectors (10% of Cases)
What to inspect: Green oxidation on spade terminals, melted insulation near crimps, or charred 16 AWG wires.
Repair: Cut damaged sections, strip ¼ inch of fresh copper, and crimp new high-temp connectors. Slide silicone-insulated sleeves over splices—regular wire nuts won’t withstand 400°F heat.
Control Board Fixes for Persistent Failures
If motor and fuse test good, check these board-level issues:
- Failed MOSFET: Locate the AO3400 or IRF540N chip near the fan header. Test drain-to-source diode drop (should be ~0.5V). No reading = replace the MOSFET.
- Hall sensor misalignment (brushless models): The 3-wire sensor must sit 1–2mm from the magnet ring. Re-glue with high-temp epoxy if shifted.
- Intermittent E3 errors: Caused by missing tachometer signals—clean fan blade magnets and verify sensor positioning.
Warning: Board repairs require soldering skills. If you’re uncomfortable, skip to warranty options—most users should replace the entire fan assembly first.
Reassemble & Confirm Proper Operation
Follow these steps to avoid rework:
- Route wires at least 5mm clear of the spinning blade path.
- Align the outer shell until the LED window snaps into place.
- Run a 5-minute empty cycle at 400°F while monitoring:
– Exhaust air should reach 185–220°F within 90 seconds (use IR thermometer)
– Housing temperature must stay below 130°F to the touch
– No abnormal smells after first minute
If the fan stops during testing, immediately unplug and recheck thermal fuse continuity—the most common reassembly oversight.
Warranty Claim vs DIY Repair Decision
- Under 1 year? Email support@chefman.com with your receipt—fan motors are fully covered. Chefman provides prepaid shipping labels for RMA claims.
- Out of warranty? Their $39.99 flat-rate repair includes motor replacement, but you’ll save $20 and 10 days by installing a $12–$20 fan module yourself. Only pursue warranty if you smell burnt electronics—this often indicates costly board damage.
Prevent Future Fan Failures
Avoid repeating this repair with these simple habits:
– Empty the crumb tray after every use—accumulated grease attracts debris into the fan.
– Never use loose foil—shreds get sucked into the impeller during cooking.
– Monthly maintenance: Blow compressed air through the exhaust vent while unplugged.
– Wipe the basket seal with vinegar weekly to prevent grease migration into the fan duct.
Final Note: 90% of Chefman air fryer fan not working issues resolve with fan motor or thermal fuse replacement. By following this guide, you’ve likely restored crisp cooking performance in under 30 minutes. If problems persist after component replacement, contact Chefman support with your repair attempts documented—they often extend warranty coverage for users who attempted DIY fixes. Now fire up that air fryer and enjoy properly crisped fries tonight!


