
That burnt smell when you preheat your air fryer isn’t normal—it’s your heating element crying for help. Months of oil splatter and food debris have turned this crucial component into a smoky mess, affecting both flavor and performance. The good news? You don’t need special tools or expensive cleaners to restore it properly. This guide walks you through the exact steps to safely clean your Cuisinart air fryer heating element, whether you’re dealing with light dust or stubborn carbonized gunk. You’ll learn model-specific access methods, proven cleaning techniques, and maintenance schedules that prevent future buildup.
Power Safety & Cooling Protocol
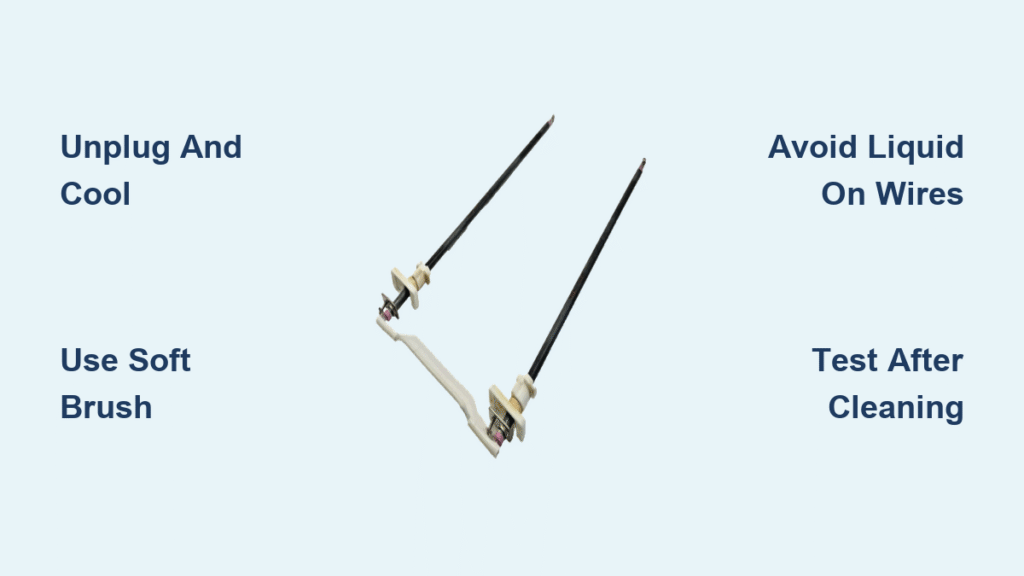
Unplug immediately after your last cooking cycle. The heating element retains dangerous heat for 30-45 minutes, capable of causing second-degree burns. Place your air fryer on a heat-resistant surface during cooling—granite countertops work perfectly. Never attempt to clean while the unit is still warm to the touch.
Warning signs it’s ready to clean: The exterior feels warm but not hot to touch, and you can comfortably place your hand 6 inches above the heating element area without discomfort. Always wear heat-resistant gloves during the initial inspection phase, even when you believe the unit has cooled completely.
Critical Safety Precautions
- Never spray cleaning solutions directly onto the heating element
- Avoid using metal tools that could scratch the protective coating
- Work in a well-ventilated area to prevent inhaling any dislodged particles
- Keep all liquids away from electrical connections at the element ends
Essential Cleaning Tools
Must-Have Implements
- Soft paintbrush (1-2 inches wide, unused)
- 2-3 microfiber cloths (lint-free)
- Plastic scraper or non-metallic spatula
- Cotton swabs for tight spaces
Cleaning Solutions That Work
- Mild dish soap: 2-3 drops in warm water
- White vinegar: Undiluted for tough grease
- Baking soda paste: 3:1 ratio with water
- 70% isopropyl alcohol: For degreasing
Pro tip: Keep everything within arm’s reach before starting—reaching for supplies mid-clean risks contamination. Prepare your cleaning station with a towel to catch any drips and protect your countertop.
Access Heating Element by Model
TOA-60/TOA-65 Series
Open the oven door completely (180 degrees). The upper heating element stretches horizontally across the top interior—fully visible without disassembly. The lower element sits beneath the oven cavity floor, visible through the bottom grate. This design makes these models particularly accessible for cleaning.
AFR-25 Compact Models
Remove the cooking basket entirely. Look straight down into the chamber—the heating element forms a circular coil pattern at the top, completely exposed once the basket is out. These compact units require careful handling as their smaller size means less margin for error during cleaning.
Light Residue Cleaning Steps
Quick Daily Maintenance
- Brush dry debris using your soft-bristled brush, sweeping from one end of the element to the other
- Damp cloth wipe with barely-moistened microfiber (wrung thoroughly)
- Flashlight check at connection points for missed particles
Time estimate: 5-7 minutes total. This routine should become part of your post-cooking process, taking less time than unloading your dishwasher. You’ll notice immediate improvements in cooking performance and reduced odors.
Tackle Moderate Grease Buildup
Soap Solution Method
- Mix cleaning solution: 2 cups warm water + 3 drops mild dish soap
- Dampen cloth in solution, wring until almost dry
- Wipe element using back-and-forth strokes parallel to the coil
- Rinse cloth in clean water, repeat wipe to remove soap
- Air dry 15-20 minutes with door open
Key mistake to avoid: Never use circular motions—they can drive debris deeper into crevices. The parallel wiping technique follows the natural direction of the heating element coils, preventing trapped particles.
Remove Heavy Carbonized Residue
Baking Soda Power Treatment
- Apply paste directly to affected areas using cotton swab, avoiding electrical connections
- Wait 15-20 minutes (never exceed 30)
- Gentle scrub with soft brush following element direction
- Activate with vinegar spray—fizzing indicates the chemical reaction is working
- Wipe clean with damp microfiber, repeat if needed
- Final rinse using clean water-dampened cloth
Warning: Stop immediately if paste touches electrical connections at element ends. The chemical reaction between baking soda and vinegar is powerful but must be contained to the heating element surface only.
Fix Stubborn Oil Splatter Fast
Heat-Activated Cleaning
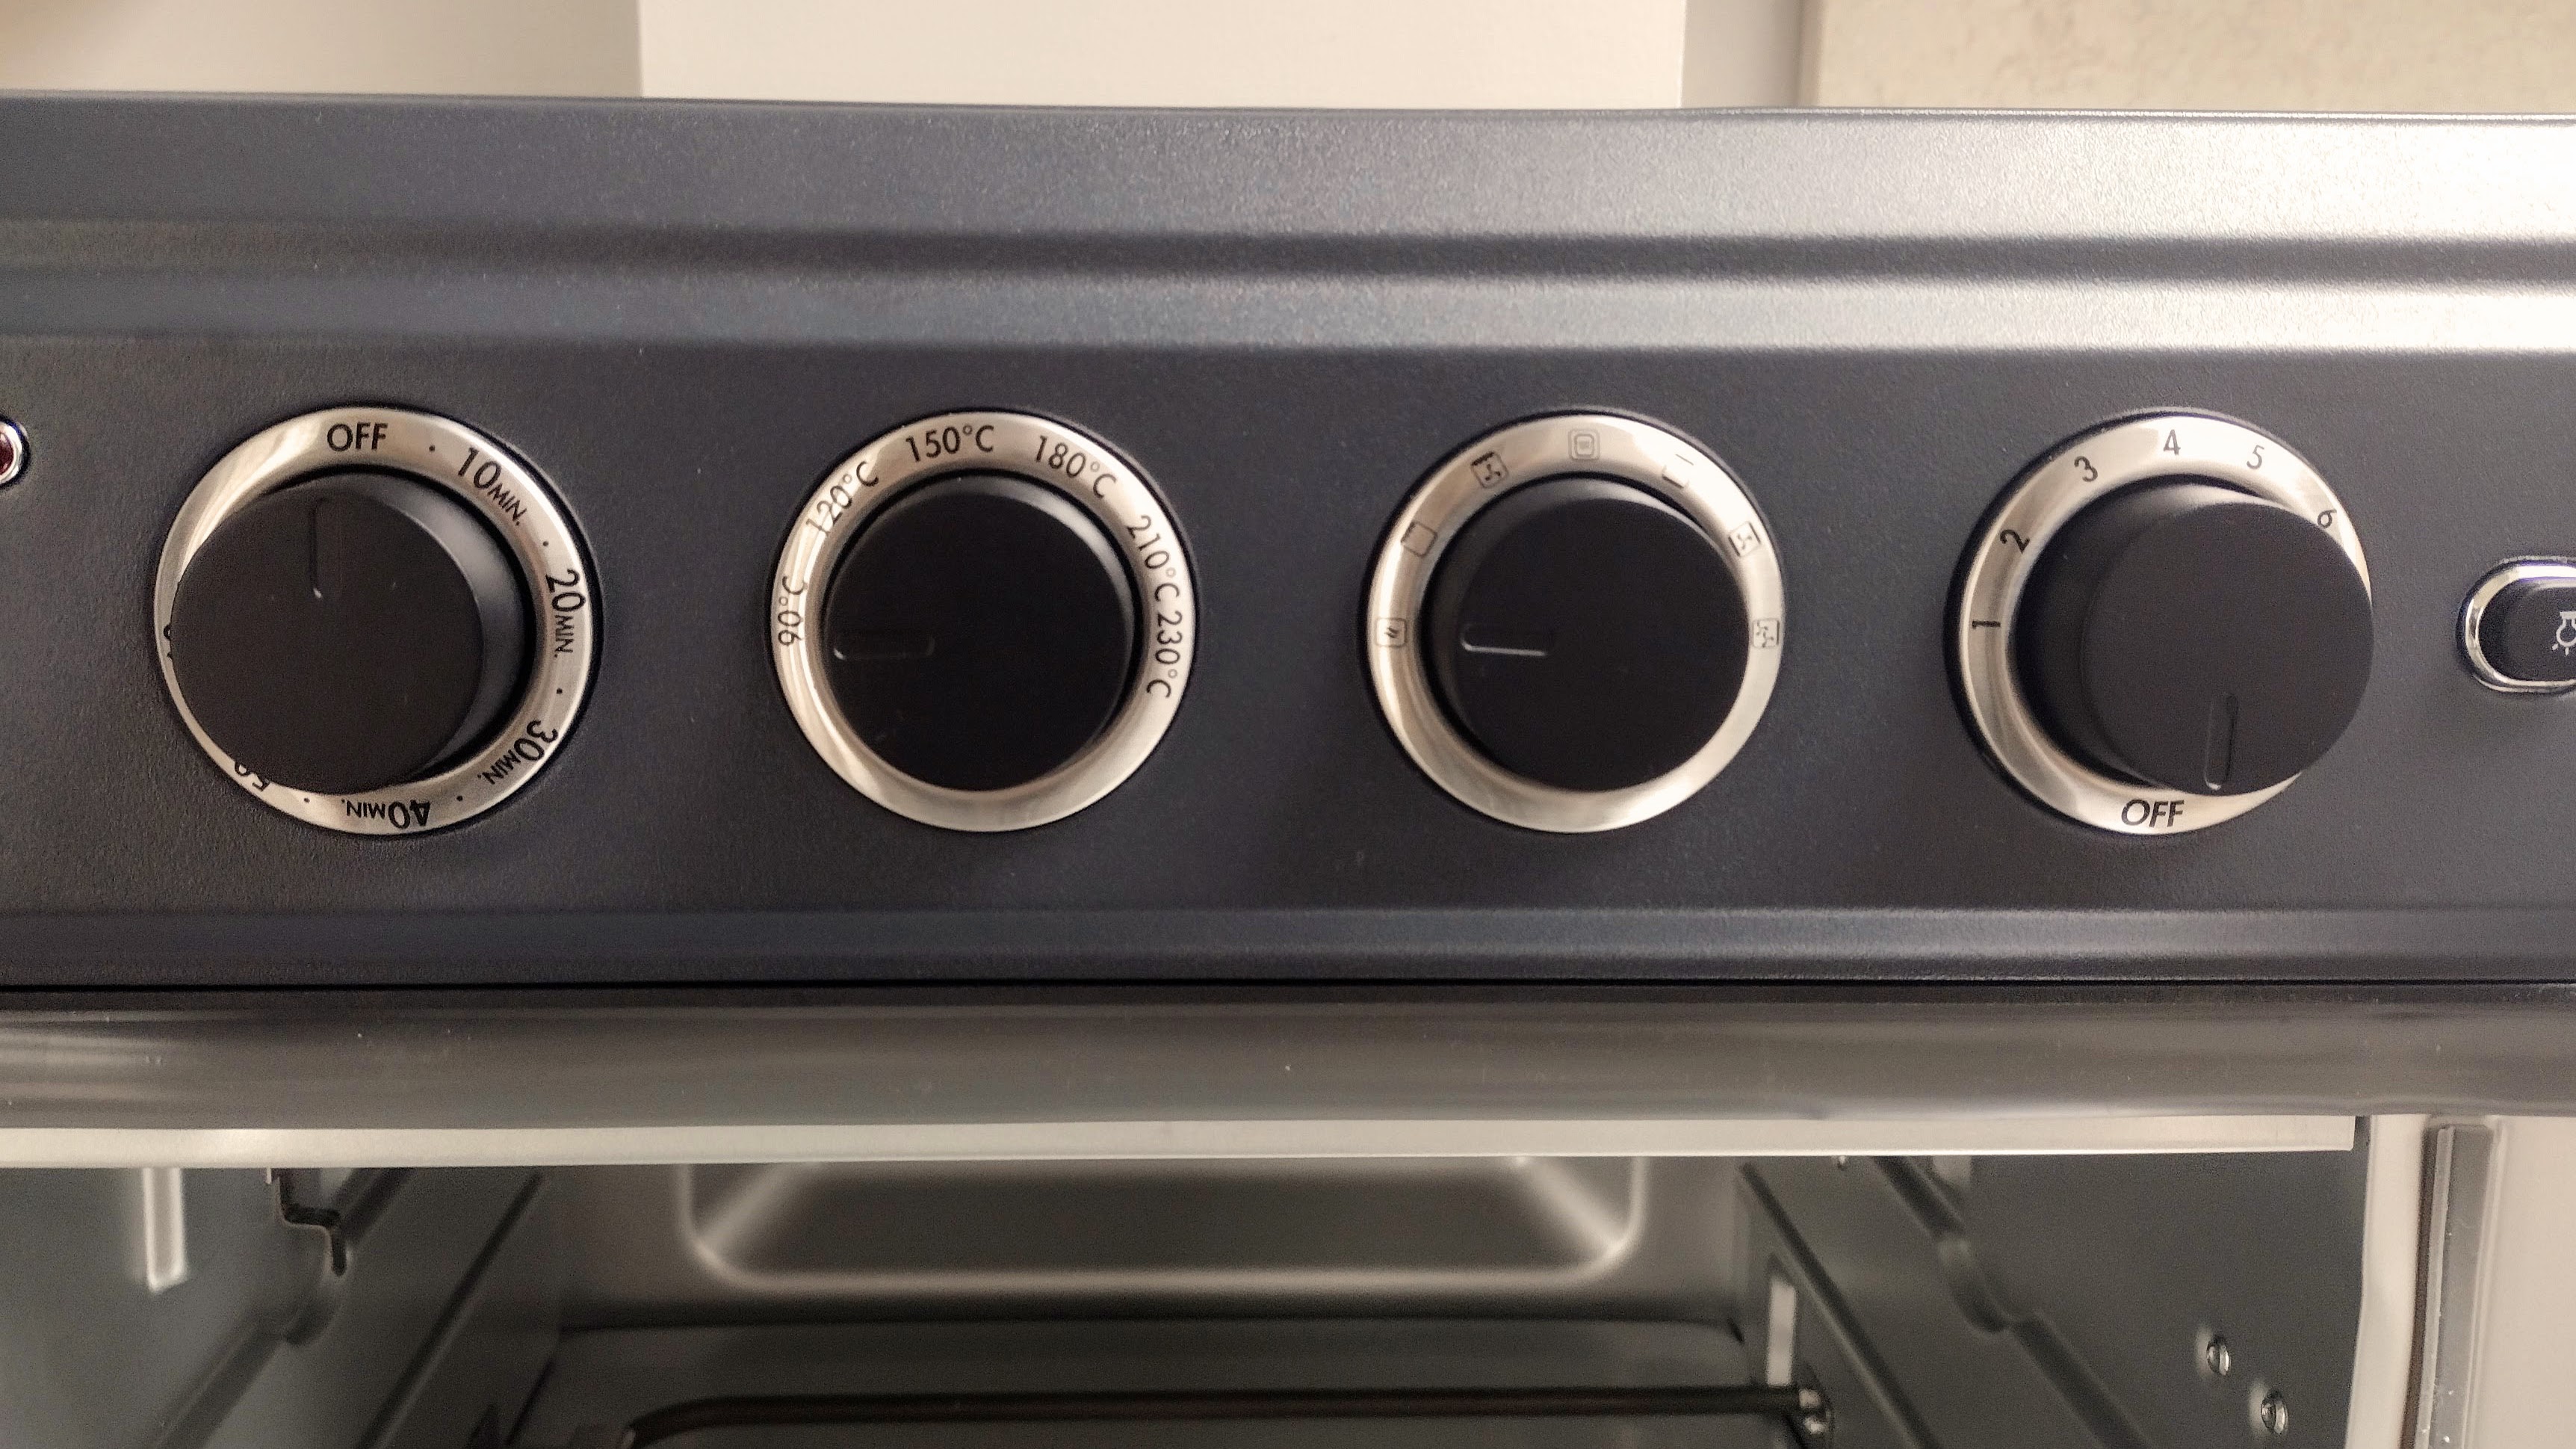
- Preheat air fryer to 200°F for exactly 3 minutes
- Unplug immediately—don’t let it continue heating
- While warm (not hot), wipe with vinegar-soaked cloth
- The heat-softened oil releases with minimal pressure
Pro timing: Have your vinegar cloth ready before preheating—work quickly while oil is liquefied. This technique leverages the appliance’s own functionality to make cleaning easier, turning a potential problem into a solution.
Technical Limitations to Know

Material Specifications
- Nichrome wire core with ceramic coating (standard models)
- Quartz elements with metal sheath (TOA-65 series)
- Maximum cleaning temperature: 200°F for loosening only
Critical No-Go Zones
- Element mounting brackets—liquid pooling causes corrosion
- Electrical connections at element ends
- Support clips or mounting hardware—never apply pressure
Understanding these technical constraints prevents accidental damage during cleaning. The ceramic coating on nichrome elements is particularly vulnerable to abrasion, while quartz elements can crack from thermal shock if cleaned improperly.
Post-Cleaning Safety Check
4-Step Verification Process
- Visual inspection—no cleaning residue visible
- Sniff test—no vinegar, soap, or chemical odors
- Empty test run at 350°F for 3 minutes, watch for smoke
- Performance baseline—heating to 400°F should match pre-cleaning speed
Red flag: Any unusual smells or sounds during test run indicate incomplete cleaning—repeat procedure. This verification step is non-negotiable for safe operation and optimal performance.
Maintenance Schedule That Works
After Each Use
- 30-second visual check for major spills
- Quick dry wipe of accessible surfaces
Weekly (Regular Users)
- Complete light cleaning procedure
- Focus on element and surrounding cavity
Monthly Deep Clean
- Soap solution method for moderate buildup
- Check mounting stability of heating element
Quarterly Intensive
- Baking soda treatment if heavy residue present
- Document cleaning for warranty purposes
This tiered approach prevents the gradual buildup that leads to performance issues. Many users don’t realize that waiting until problems appear often means the damage is already significant and harder to reverse.
Solve Common Cleaning Problems
White Residue Remains
Cause: Hard water deposits
Solution: Re-clean using distilled water for final rinse
Persistent Smoking
Cause: Incomplete residue removal
Solution: Repeat heavy cleaning procedure, focusing on element connections
Discolored Element
Cause: Normal oxidation
Solution: Clean gently but accept discoloration—it’s cosmetic only
Loose Element Mounting
Action: Stop use immediately—contact Cuisinart support, don’t attempt repair
These troubleshooting tips address the most frequent issues users encounter when learning how to clean Cuisinart air fryer heating element components properly. Most problems stem from either incomplete cleaning or using improper techniques.
When to Call Professionals
Immediate Service Required
- Visible cracks or breaks in element
- Corroded electrical connections
- Exposed wire or damaged ceramic coating
- Electrical issues post-cleaning
Warranty Protection Tips
- Document cleaning dates and methods used
- Photo evidence of proper technique may be required
- Avoid unauthorized cleaners or abrasive tools
- Follow specified procedures exactly
Remember: Standard Cuisinart warranty covers element defects but excludes damage from improper cleaning methods. Keeping records of your maintenance helps preserve your warranty coverage.
Quick Reference Card
Emergency cleaning supplies always ready:
– Soft paintbrush
– Microfiber cloth
– White vinegar in spray bottle
– Baking soda for tough spots
5-minute daily routine:
1. Visual inspection
2. Dry brush sweep
3. Quick wipe with dry cloth
Your Cuisinart air fryer heating element is now restored to peak performance. Regular maintenance prevents the buildup that causes smoke and off-flavors, ensuring every meal tastes exactly as intended. By following these specific cleaning procedures tailored to your model, you’ll extend the life of your appliance and maintain optimal cooking results. For best performance, integrate the 5-minute daily routine into your post-cooking process—your air fryer will reward you with consistent, smoke-free operation for years to come.


