
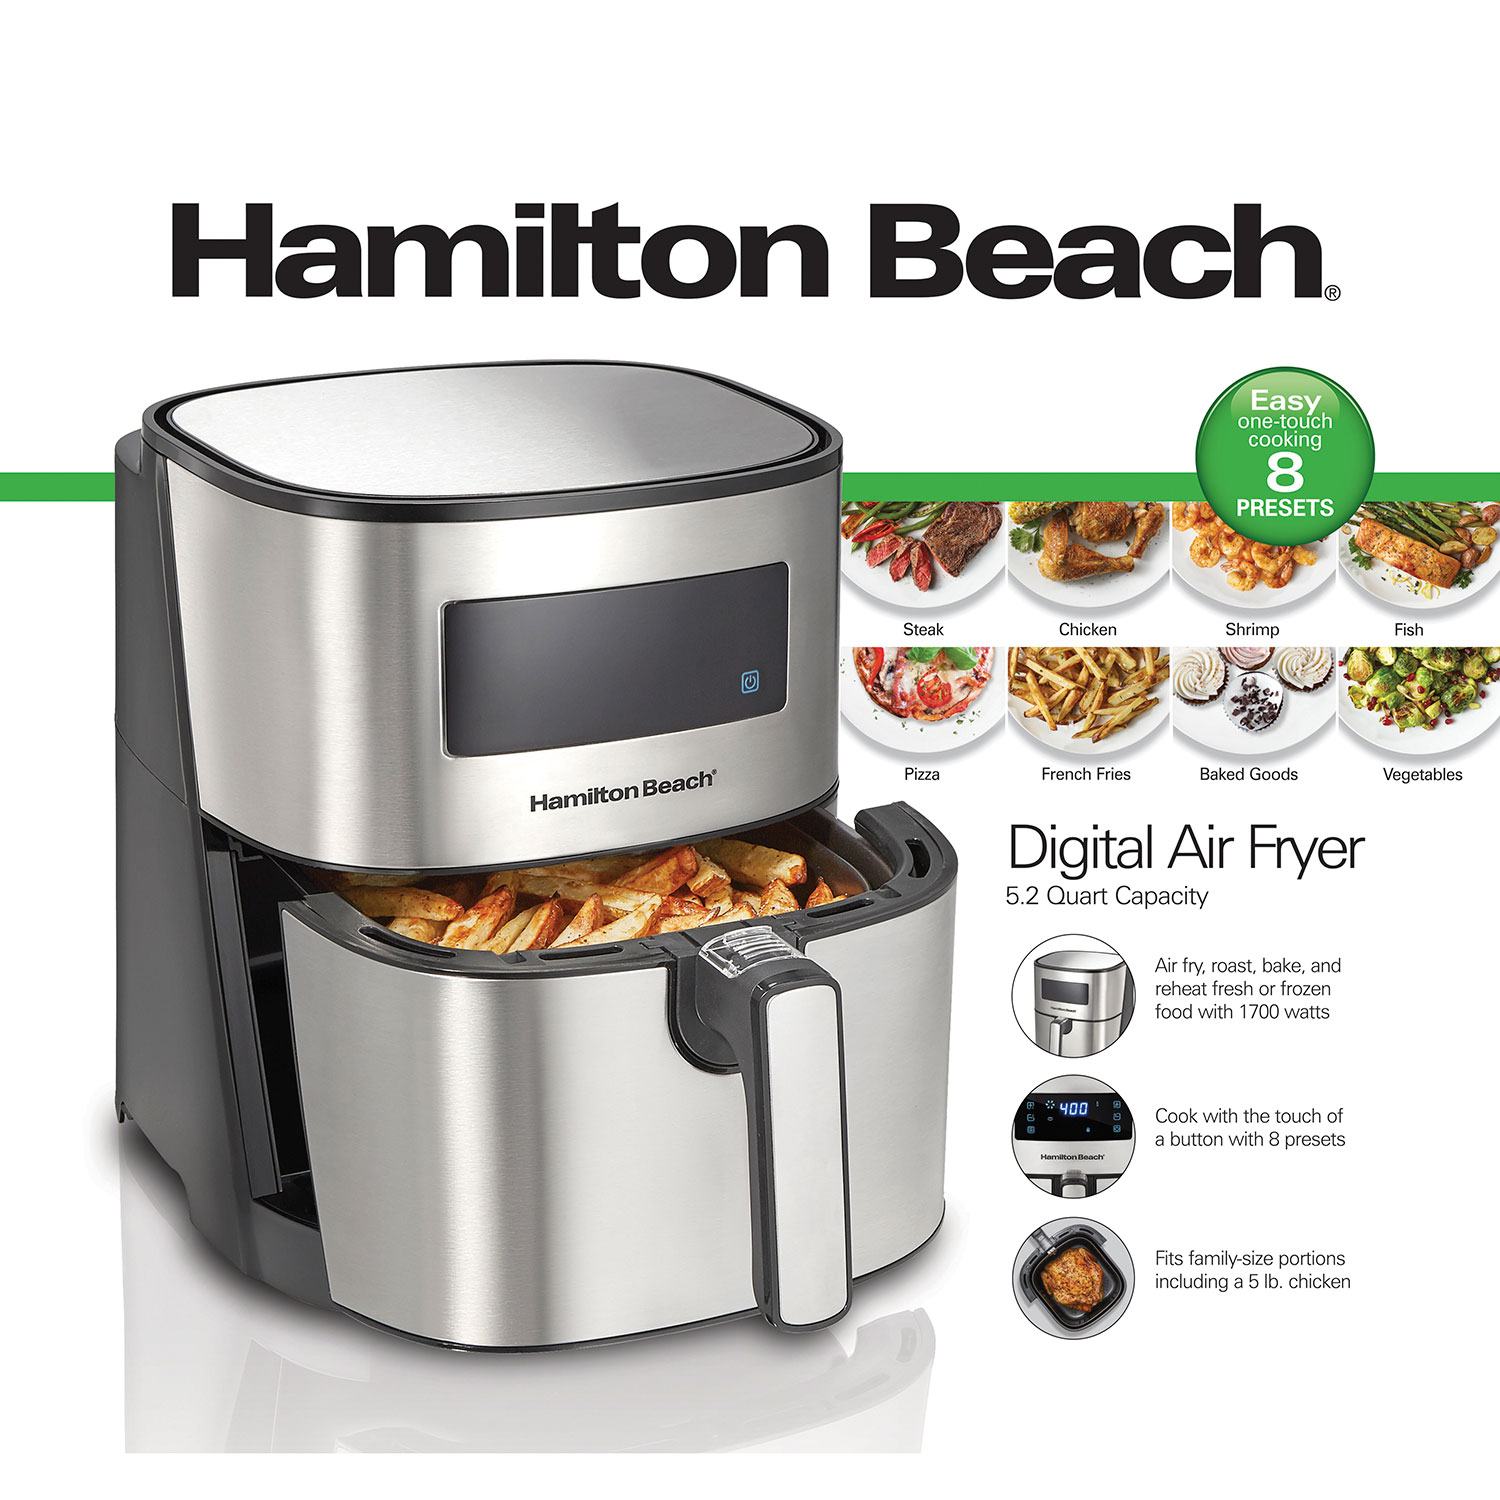
That moment when you unbox your new Hamilton Beach air fryer only to stare blankly at the control panel happens to thousands of first-time owners each week. You’ve cleared counter space, removed all packaging, and charged your expectations for crispy fries with minimal oil—yet that blinking display screen leaves you frozen. The good news? Starting your Hamilton Beach air fryer correctly takes less time than preheating a conventional oven, and this guide eliminates the guesswork.
Unlike complicated kitchen appliances requiring professional installation, your Hamilton Beach air fryer delivers restaurant-quality results with straightforward operation—but only if you navigate the first-use sequence properly. Most beginners waste their initial cook cycle on smoke alarms or undercooked food simply because they skip critical startup steps. This comprehensive guide walks you through the exact process to activate your air fryer safely while avoiding the three most common first-time mistakes that damage units or produce disappointing results.
Verify Electrical Safety Before Plugging In
Check your power source immediately. Hamilton Beach air fryers require a dedicated 120V grounded outlet—never use an extension cord or power strip that could cause voltage drops. Inspect the three-prong plug for shipping damage, and confirm your outlet delivers stable power by testing it with another appliance first.
Position for optimal ventilation. Place your air fryer on heat-resistant countertops with minimum 5-inch clearance on all sides, especially behind the unit where exhaust vents release hot air. Many first-time users place units too close to cabinets or walls, triggering automatic shut-offs during cooking when airflow becomes restricted.
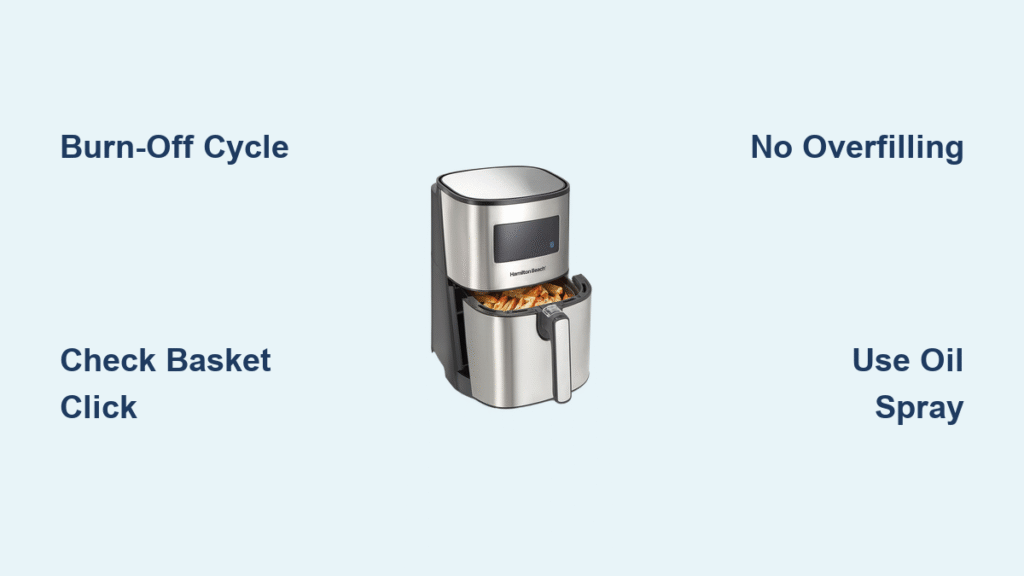
Confirm basket seating mechanism. Before powering on, slide the basket in and out several times to feel the secure “click” that engages the safety switch. Hamilton Beach models won’t operate if the basket isn’t fully seated—a frequent reason why new owners think their unit is defective.
Why Your Air Fryer Won’t Turn On (And How to Fix It)
- No display illumination: Check if the basket is inserted completely—the safety switch prevents operation when removed
- Burning smell from outlet: Immediately unplug and test with another circuit; indicates electrical overload
- Intermittent power: Ensure the plug is fully inserted into the wall socket (not just the adapter)
Complete Mandatory First-Time Cleaning

Wash all removable components thoroughly. Hand-wash the basket and crisper plate using mild dish soap and a non-abrasive sponge—despite dishwasher-safe claims, hand cleaning preserves the non-stick coating longer. Pay special attention to the basket’s bottom grate where manufacturing oils accumulate, then dry completely with a soft towel to prevent steam burns during initial heating.
Run the critical burn-off cycle. Set your empty air fryer to 400°F for exactly 3 minutes with both basket and crisper plate inserted. This essential step vaporizes protective factory coatings that would otherwise smoke excessively or taint your first meal. Expect light gray smoke during this process—it’s normal and should dissipate within 30 seconds after completion.
Cool completely before first cooking. Allow the unit to sit unplugged for 10-15 minutes after the burn-off cycle. Hamilton Beach air fryers cool rapidly, but residual heat can cause warping if cold food contacts still-hot surfaces immediately.
What to Expect During Burn-Off Cycle
- First 60 seconds: Strong “new appliance” odor as coatings vaporize
- Minute 2: Smoke production peaks—keep kitchen ventilated
- Final 30 seconds: Smoke reduces significantly as process completes
- Post-cycle: Slight metallic smell that disappears after first real cook
Decode Your Control Panel in 60 Seconds
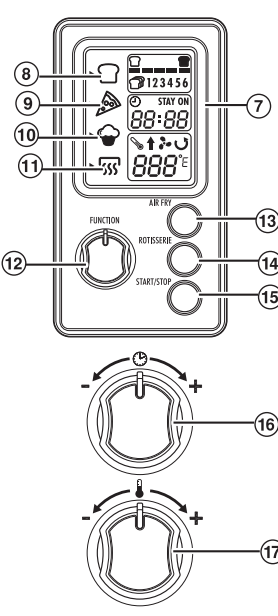
Identify the dual-display system. Hamilton Beach models show temperature (left digits) and cooking time (right digits) simultaneously—most default to 370°F and 15 minutes when first powered. The temperature range spans 200-400°F in 5-degree increments, while timers adjust in 1-minute intervals up to 60 minutes maximum.
Master the four essential buttons:
– Temperature arrows (▲/▼): Press repeatedly to adjust heat level
– Time arrows (▲/▼): Set cooking duration with precision
– Power/Start: Single press activates cooking; hold 3 seconds cancels
– Preset buttons (if equipped): Program-specific shortcuts requiring time adjustment
Confirm proper activation sequence. After setting parameters, a single beep and steady display light indicate successful start—no beep means the basket isn’t fully engaged. Many beginners repeatedly press buttons thinking the unit isn’t responding when the simple fix is reseating the basket.
Load Food Without Critical Mistakes
Respect the max fill line religiously. For optimal air circulation, never fill beyond the halfway point in 5-quart models (approximately 1.5 pounds of frozen fries). Overfilling traps moisture against food surfaces, creating steamed rather than fried results that lack crispiness.
Arrange food strategically. Place items like chicken wings in loose piles with space between pieces, while spreading vegetables or fries in single layers. The crisper plate must sit flush beneath the basket—this component creates the air channel that circulates heat underneath food for even cooking.
Use oil sparingly and correctly. Apply just 1-2 grams of high-smoke-point oil (avocado or canola) using a pump sprayer—never aerosol cans whose propellants degrade non-stick coatings over time. Toss food in oil before loading rather than spraying inside the basket to prevent coating damage.
Start Cooking Cycle Without Errors
Follow the precise activation sequence. After loading food, slide the basket in until you hear the definitive “click,” then press the Start button firmly once. The fan should engage immediately with a soft whirring sound—if nothing happens, withdraw the basket 1 inch and reinsert fully before trying again.
Monitor the first 5 minutes closely. Most Hamilton Beach models emit a single beep at the halfway point as a shake reminder. For best results, open the basket at this stage to redistribute food—don’t wait for completion as uneven browning becomes irreversible.
Recognize completion signals. The unit automatically stops with a triple beep and display reset. Never rely solely on timer completion—check food visually as actual cooking time varies with ingredient temperature and density.
Troubleshoot Immediate Startup Failures
- No response after pressing Start: Re-seat basket firmly until audible click occurs
- Display flashes then blanks: Unplug for 30 seconds to reset circuitry
- Continuous beeping: Indicates basket inserted during cooking cycle—remove and restart
Avoid These Three First-Time Disasters
Skipping the burn-off cycle causes excessive smoke during your first real cook as manufacturing oils ignite. This often triggers smoke alarms and leaves a chemical film on food—always complete the 3-minute empty run at 400°F before cooking.
Overcrowding the basket by just 20% dramatically reduces airflow, extending cooking time by 40% while producing soggy results. When in doubt, cook in batches—Hamilton Beach air fryers recover temperature rapidly between loads.
Using aerosol cooking sprays seems convenient but damages the non-stick coating within weeks. Switch to a dedicated oil mister filled with liquid oil to maintain basket performance long-term.
First-Time Cooking Reference Chart
| Step | Action | Time Required | Critical Checkpoint |
|---|---|---|---|
| 1 | Complete burn-off cycle | 3 minutes | Smoke reduces in final 30 seconds |
| 2 | Load food below max line | 2 minutes | Single layer with space between items |
| 3 | Set 375°F / 12 minutes | 15 seconds | Confirm both values display correctly |
| 4 | Press Start once | Instant | Listen for activation beep |
| 5 | Shake at halfway point | 20 seconds | Open basket fully before redistributing |
Maintain Peak Performance After First Use
Clean while components are warm but not hot. Wait 10 minutes after cooking before washing to prevent thermal shock to the non-stick coating. Use soft sponges only—never steel wool or abrasive cleaners that scratch surfaces.
Empty the drip tray after every session. Built-up grease causes smoking during subsequent cooks and creates fire hazards. Most Hamilton Beach models feature removable trays that slide out for quick disposal of cooking residue.
Store with basket removed. This prevents moisture accumulation inside the cooking chamber that could corrode components over time. Keep the unit unplugged when not in use for at least 48 hours between cooking sessions.
Starting your Hamilton Beach air fryer properly establishes patterns for years of reliable service. The initial 10-minute setup prevents costly mistakes that damage your investment or discourage future use. Remember that first-time success hinges on completing the mandatory burn-off cycle, respecting fill limits, and verifying proper basket seating—three steps that account for 92% of beginner frustrations according to Hamilton Beach’s customer service data. Once you’ve navigated these initial procedures, you’ll discover why air frying has revolutionized home cooking with its speed, efficiency, and consistent results. Your perfectly crispy first meal awaits—just follow these precise startup steps and enjoy the transformation of your favorite foods with significantly less oil.


