
Your Kalorik air fryer oven transforms everyday ingredients into restaurant-quality meals with minimal oil, but daily cooking leaves behind invisible grease buildup that gradually degrades performance. Without proper cleaning, food particles accumulate in hard-to-reach areas, causing unpleasant odors, uneven cooking, and potentially shortening your appliance’s lifespan. This detailed guide reveals professional cleaning techniques specifically designed for Kalorik air fryer ovens that preserve delicate components while restoring peak performance.
Most users make the critical mistake of cleaning while the unit is still warm, risking serious burns and damaging internal components. Unlike conventional ovens, your Kalorik’s compact design requires specialized attention to its unique parts—from the perforated air fryer basket to the sensitive control panel. By following these proven methods, you’ll eliminate stubborn grease, prevent permanent damage, and ensure your appliance delivers crispy results meal after meal.
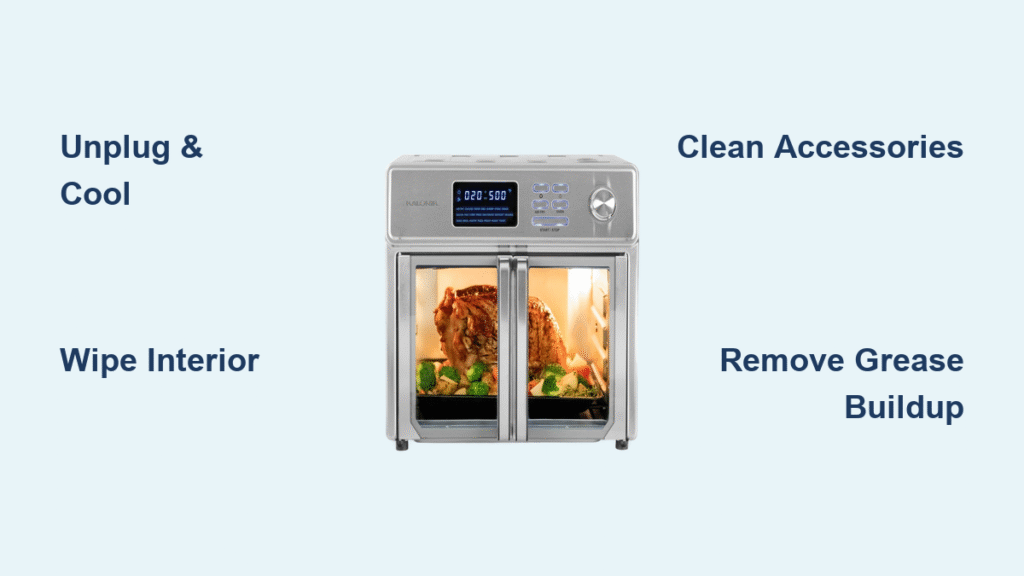
Power Down and Cool Properly Before Cleaning
Never attempt cleaning your Kalorik air fryer oven while it’s still warm—internal components retain dangerous heat levels long after cooking stops. After your final cooking cycle, unplug the unit immediately and let it rest on a heat-resistant surface for 30-45 minutes. This cooling period prevents warping sensitive parts and eliminates burn risks when handling interior surfaces.
Remove all accessories while the oven cools: crumb tray, wire racks, baking pan, air fryer basket, and rotisserie spit. Laying these components on your countertop creates an organized workflow that ensures no part gets overlooked. This preparation step is crucial because attempting to clean accessories while they’re still inside the oven restricts access to critical areas where grease accumulates.
Daily Interior Cleaning Protocol
Wipe Interior Surfaces Without Damaging Non-Stick Coating
The interior cavity’s non-stick coating requires careful handling to prevent permanent scratches that compromise cooking performance. Start by removing loose crumbs with a dry microfiber cloth—avoid paper towels that can leave lint behind. For stuck-on residue, mix warm water with just 2-3 drops of mild dish soap in a bowl. Dip a non-abrasive sponge into the solution and wring it thoroughly—excess moisture dripping onto heating elements could cause electrical damage.
Wipe all interior surfaces using gentle circular motions, focusing extra attention on the ceiling where grease naturally rises and accumulates. Pay special attention to corners where food particles hide. Rinse your sponge completely and wipe surfaces again with clean water to eliminate soap residue that could affect future cooking. Finish by drying with a lint-free cloth to prevent water spots that become permanent stains over time.
Clean Glass Door to Maintain Visibility
Cloudy glass doors reduce cooking visibility and develop permanent etching without proper maintenance. Mix equal parts white vinegar and warm water in a spray bottle—this natural solution cuts through grease without harsh chemicals. Always spray the solution onto a microfiber cloth first, never directly onto the door, to prevent liquid seepage into electrical components.
Wipe both interior and exterior glass using firm, vertical strokes for optimal clarity. For stubborn spots like baked-on cheese splatters, let the vinegar solution sit for 3-5 minutes to break down residues before wiping. Use cotton swabs dipped in solution to clean door edges and rubber seals where debris accumulates. Dry immediately with a separate microfiber cloth using horizontal strokes to create a streak-free finish you can see through clearly.
Control Panel Cleaning Without Damaging Electronics

The digital control panel demands special handling to avoid costly damage. Dampen a soft cloth with water only—never use cleaning agents or spray liquids directly onto the panel as they can seep into electrical components. Wipe gently in straight lines from top to bottom to prevent scratching the display surface.
Immediately follow with a dry microfiber cloth to eliminate any moisture that could cause short circuits. Avoid circular wiping motions that create fine scratches reducing screen visibility. If you notice persistent smudges, lightly dampen the cloth again rather than increasing pressure that could damage sensitive touch controls.
Accessory Deep Cleaning Methods
Wire Racks and Baking Pan Cleaning Technique
These stainless steel accessories trap grease in crevices that restrict airflow during cooking. While dishwasher-safe on the top rack, hand washing often yields better results. Fill your sink with hot water and mild detergent, letting accessories soak for 10-15 minutes to loosen stubborn residue.
Use a soft nylon brush to reach tight corners where grease accumulates—metal brushes scratch surfaces. Rinse thoroughly under hot running water, checking that water flows freely through all openings. Dry immediately with a clean towel to prevent water spots and inspect for bent areas that could affect cooking performance before storing.
Air Fryer Basket Deep Cleaning Process
The perforated basket’s tiny holes trap food particles that restrict airflow and cause uneven cooking. Soak in hot, soapy water for 20 minutes to loosen debris before cleaning. Use a soft-bristled bottle brush to clean holes from both directions—this dual approach ensures complete debris removal from both sides of the basket.
Rinse under running water while brushing continuously to flush out dislodged particles. Shake vigorously to remove excess water and dry thoroughly with a clean towel. Critical inspection point: Hold the basket up to light to verify every hole is unobstructed—blocked holes create cold spots during cooking.
Crumb Tray Maintenance to Prevent Fire Hazards
Empty the crumb tray after every use to prevent burning smells and potential fire hazards. Wash with warm, soapy water using the soft side of a sponge. For stubborn debris, gently scrape with a plastic spatula—never use metal utensils that permanently scratch the non-stick surface.
Ensure the tray is completely dry before reinserting to prevent rust formation that could contaminate food. Check the tray’s alignment grooves for debris buildup that prevents proper seating—misaligned trays cause uneven cooking and potential smoke during operation.
Tackle Heavy Grease and Odors Effectively
Remove Stubborn Grease Buildup Safely

Baked-on grease requires aggressive treatment without damaging surfaces. Create a paste using 3 tablespoons baking soda mixed with 1 tablespoon water—this natural abrasive cuts through grease safely without toxic chemicals. Apply the paste to greasy areas while carefully avoiding heating elements.
Let the paste sit for 30 minutes to break down grease molecules before gently scrubbing with a soft brush. Wipe clean with a damp cloth, repeating the process for extremely dirty areas. Rinse thoroughly and dry completely to prevent residue that could smoke during next use.
Eliminate Persistent Cooking Odors
Strong foods like fish or garlic leave lingering odors that affect future dishes. Fill an oven-safe dish with 1/2 cup white vinegar and 1/2 cup water. Place inside your air fryer and run at 350°F (175°C) for 15 minutes—this steam treatment neutralizes odor molecules trapped in surfaces.
After cooling, wipe interior surfaces with the vinegar solution to remove any remaining odor compounds. For severe odors, place a bowl of activated charcoal inside overnight to absorb residual smells. Replace charcoal monthly for continuous odor prevention without chemical residues.
Prevent Future Cleaning Problems
Establish Daily Maintenance Habits
Create a simple post-cooking routine that prevents major cleaning sessions: empty the crumb tray immediately after each use, wipe interior surfaces with a damp cloth while still warm (but not hot), clean door glass when splatters appear, and check accessories for visible damage. This five-minute habit prevents 80% of deep cleaning needs.
Weekly Deep Cleaning Checklist
Once weekly, perform thorough accessory cleaning using methods outlined above. Clean the interior cavity with soap solution, paying special attention to corners where grease accumulates. Inspect door seals for debris buildup and wipe clean with a cotton swab. Check heating elements for accumulated debris using visual inspection—never touch elements directly.
Monthly Inspection Routine
Perform a comprehensive deep clean of all components including hard-to-reach areas behind racks. Check accessory condition and functionality—replace damaged items immediately. Inspect the power cord for fraying or damage that could cause electrical hazards. Test all functions to ensure proper operation after deep cleaning sessions.
Solve Common Cleaning Challenges
Remove Baked-On Stains Without Damage
For stubborn stains resisting normal cleaning, create a stronger solution using 2 tablespoons cream of tartar mixed with 1 tablespoon hydrogen peroxide. Apply directly to stains and let sit for 1 hour before gentle scrubbing. Always test on an inconspicuous area first to ensure surface compatibility—what works on metal may damage non-stick coatings.
Prevent Rust Formation on Metal Components
Immediately dry all metal components after washing to prevent oxidation that leads to rust. Store accessories in a dry location away from sink moisture. Apply a thin layer of cooking oil to rotisserie parts after each use as protective coating. Replace any accessories showing rust formation immediately to prevent food contamination.
Protect Non-Stick Surfaces During Cleaning
Never use metal scouring pads, abrasive cleaners, or sharp objects on non-stick surfaces—these cause permanent damage that affects cooking performance and creates health hazards. If coating shows peeling or damage, discontinue use immediately and contact Kalorik customer service for replacement options. Even minor scratches harbor bacteria and affect cooking results.
Proper Storage and Reassembly After Cleaning
After complete drying, reassemble components ensuring proper placement. The crumb tray must slide smoothly without resistance—forcing it causes permanent damage to alignment grooves. Racks should fit securely in their tracks with no wobbling that could cause uneven cooking.
Store your unit with the door slightly ajar to prevent moisture accumulation and odor development. Cover with a breathable cotton cloth to prevent dust accumulation while allowing air circulation—never use plastic covers that trap moisture and encourage mold growth.
A clean Kalorik air fryer oven performs significantly better, lasts longer, and produces tastier results than a neglected unit. By establishing a consistent cleaning routine based on your usage frequency—daily light cleaning after each use and weekly deep cleaning—you’ll prevent the need for aggressive cleaning sessions later. Remember that proper maintenance isn’t just about appearance; it directly impacts cooking performance, food safety, and your appliance’s longevity. When in doubt about any cleaning procedure, consult your Kalorik manual or contact customer service rather than risking damage to your valuable kitchen appliance.


