
You just unboxed your Cosori air fryer and now it’s blinking at you like an alien device. Don’t panic—thousands of new owners face this exact moment every week. The truth is, mastering your Cosori takes less time than it takes to cook frozen fries, but skipping critical setup steps causes 90% of early failures. Most beginners overload the basket, ignore preheating protocols, or misinterpret those mysterious preset icons, resulting in soggy fries and unevenly cooked chicken.
This guide cuts through the confusion with battle-tested techniques verified by daily users. You’ll discover exactly when to preheat (hint: not always!), how to load food without creating a steam chamber, and why shaking matters more than oil. Within 12 minutes of reading, you’ll cook restaurant-quality wings that stay juicy inside with shatter-crisp skin—no more dry, rubbery disasters.
Avoid Setup Mistakes: Unbox and Prep Your Cosori Air Fryer
Remove Hidden Transit Protectors
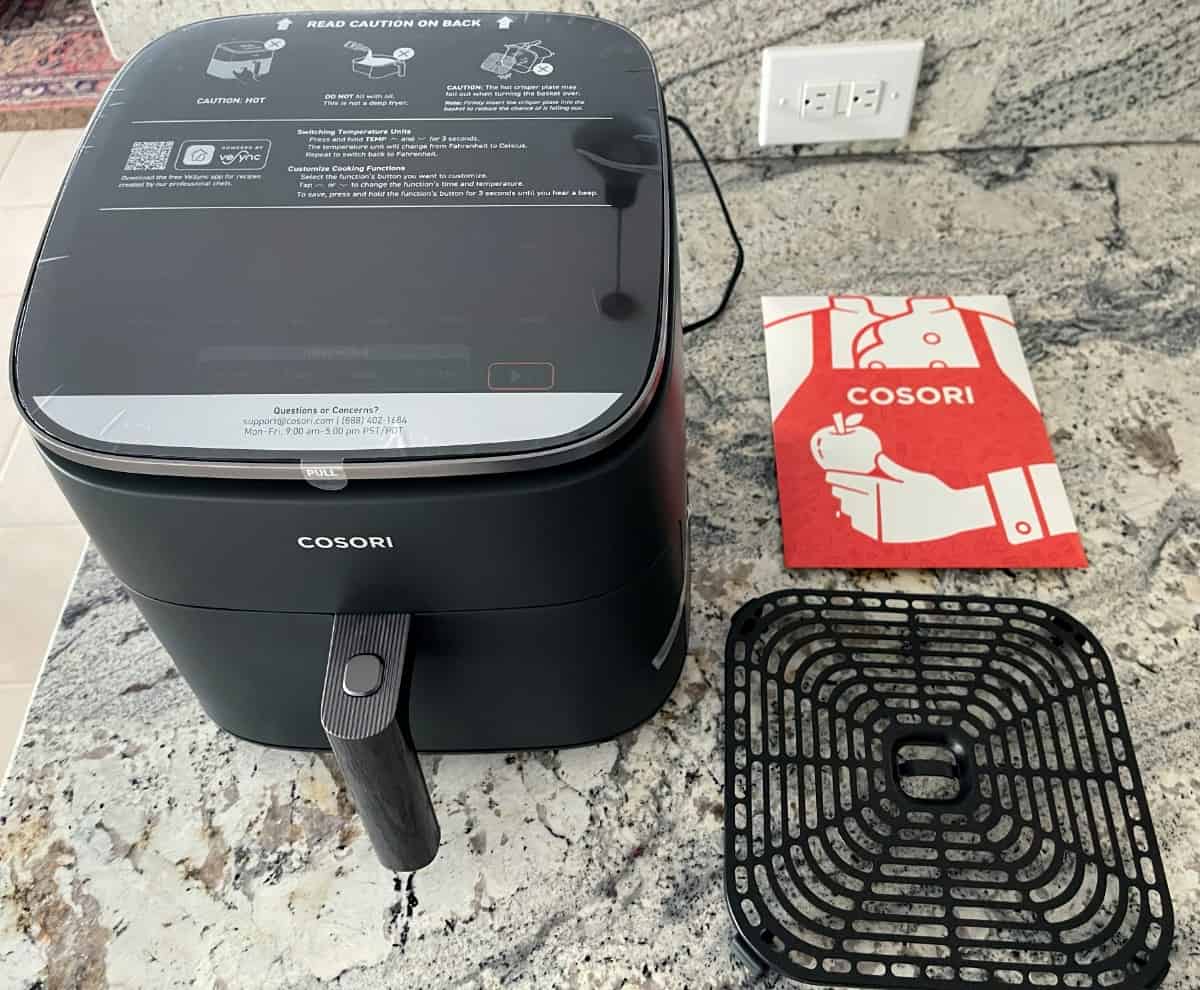
Before plugging in, hunt for three critical items: foam inserts wedged around the basket rails, plastic film clinging to the control panel, and cardboard spacers between the crisper plate and basket. These shipping guards cause overheating if missed. Pull the basket straight out by its handle—never twist it—and check for foam wedged in the rails. The plastic film on touchscreens often blends in; run your finger across the surface to feel for resistance.
Burn Off Manufacturing Residue in 15 Minutes
Skip this step and your first batch of fries will taste like plastic. Run a 15-minute burn-off cycle at 400°F (205°C) with the basket empty. Place the air fryer near an open window or under your range hood—this initial cycle releases harmless but pungent factory oils. Never leave it unattended; the smell peaks around minute 8 and vanishes completely by minute 15. Afterward, wipe the heating element housing (top interior) with a barely damp microfiber cloth—never submerge the main unit.
Stop Guessing: What Every Cosori Button and Icon Actually Does

Physical Buttons vs. Touchscreen Models Explained
Your model uses either a central push-knob (turn to select, press to confirm) or responsive touch icons. Physical buttons have textured edges for safe operation with greasy hands; touchscreens require dry fingers. Both share identical core functions: the temperature button (°F/°C toggle), time dial (1 min–72 hr), and preset food icons. Ignore the “Start/Pause” button until food is loaded—pressing it prematurely triggers error codes.
Preset Icons Decoded: When to Trust Them
The bacon icon (400°F for 8 min) works perfectly for thick-cut strips but burns turkey bacon—reduce time by 2 minutes. The seafood preset (390°F for 12 min) excels for shrimp but undercooks salmon fillets; add 2 minutes for 1-inch thick cuts. For french fries, the preset defaults to 380°F for 15 min but requires +3 minutes for frozen crinkle-cuts. Always override presets for fresh-cut potatoes: soak in cold water 30 minutes, pat bone-dry, then use 380°F for 18 min.
Preheat Like a Pro: When to Skip and How to Do It Right
The Critical Preheating Rule for Crispy Results
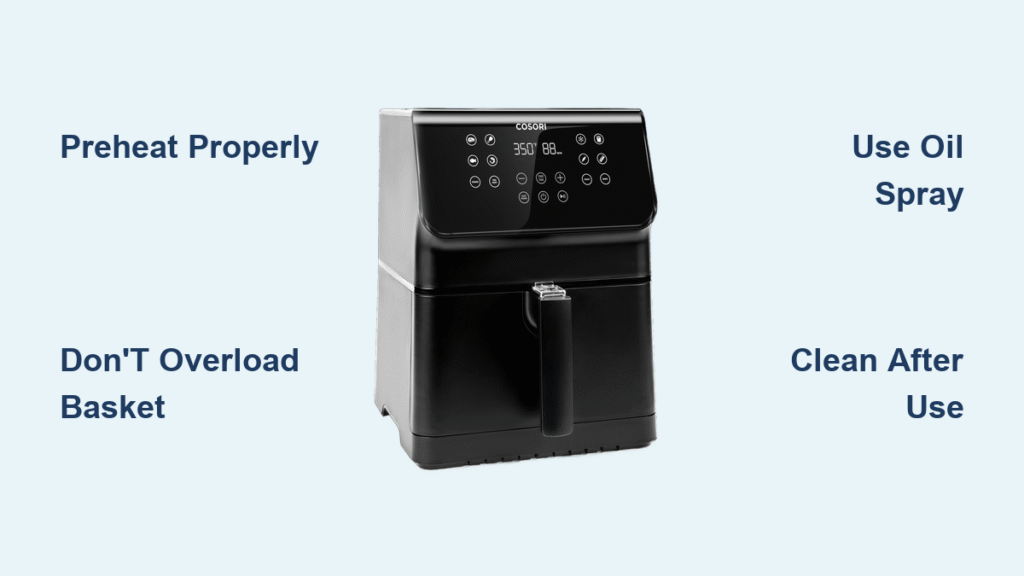
Always preheat for raw meats, baked goods, or anything needing crust formation—but skip it for reheating pizza or delicate fish. Preheating for 3 minutes at 350°F creates instant searing that locks in juices; skipping it for chicken wings causes steaming instead of crisping. Never preheat longer than 5 minutes—even at 400°F, the chamber reaches temperature in 3:45 on average. Watch for the solid READY light (not blinking); loading food too early drops the temperature 50°F+ instantly.
Quick Preheat Hack for Busy Cooks
Set your target temperature and time for 3 minutes instead of your full cook time. When the READY light appears, immediately load food and reset the timer for your recipe’s duration. This shaves 3 minutes off total cook time without sacrificing crispness. Works perfectly for frozen appetizers like mozzarella sticks: preheat 3 min at 380°F, then cook 6 min.
Load Food Without Ruining Results: Fill Limits and Layering Tricks
The Halfway Fill Line Secret
Overloading is the #1 cause of soggy bottoms. Fill the basket only to the lower MAX line (about ⅔ full for most models). For french fries, never exceed the line where basket ribs meet the base—this creates a steam pocket. When cooking wings, stand them upright against the basket walls to maximize air circulation. Two smaller batches finish 25% faster than one overloaded load and yield dramatically crispier results.
Oil Application That Actually Works
Most foods need zero oil, but 1–2 teaspoons sprayed directly on food (not the basket) boosts crispness. Pouring oil creates pooling and smoke—always use an oil sprayer for even coverage. For frozen fries, spray after the 8-minute shake; for chicken wings, coat before cooking. Avoid olive oil above 375°F—use avocado or canola oil for high-heat cooking.
Cook Fries, Wings, and Salmon Perfectly: Exact Time and Temp Settings
French Fries That Beat Restaurant Quality
Set 380°F (193°C) for 15–20 minutes. Shake vigorously at 8 minutes—this flips every fry without opening the basket fully. Frozen crinkle-cuts need 18 minutes; fresh-cut potatoes require 20 minutes after the 30-minute cold water soak. For extra crispness, reduce time by 2 minutes and finish with a 2-minute “reheat” cycle at 400°F. Golden-brown bubbling on the surface = perfect doneness.
Crispy-Skin Chicken Wings Without Flipping
Cook at 400°F (205°C) for 22 minutes. Place wings skin-side down in a single layer—no flipping needed if spaced properly. Internal temperature must hit 165°F (74°C); insert your thermometer through the thickest part of the drumette. Toss in sauce during the last 2 minutes (set temp to 350°F) to prevent sogginess. For extra crunch, spritz wings with vinegar-water mix (1:3 ratio) before cooking.
Unlock Time-Saving Smart Features: Wi-Fi Setup and Voice Commands
Wi-Fi Pairing That Works on First Try
Download the VeSync app, ensure your phone connects to 2.4 GHz Wi-Fi (not 5 GHz), and scan the QR code inside the manual. During pairing, the app will prompt a firmware update—complete this before first use. If pairing fails, toggle your phone’s Wi-Fi off/on; Cosori models won’t connect to 5 GHz networks. Post-update, the app displays real-time temperature and sends push notifications for shake reminders.
Voice Command Shortcuts You’ll Actually Use
Once paired, say “Alexa, start Cosori at 400 degrees for 20 minutes” or “Hey Google, preheat air fryer to 380.” Voice controls work for starting/stopping but can’t adjust mid-cook for safety. For salmon fillets, try “Alexa, cook salmon for 10 minutes at 390″—the app auto-loads the seafood preset with your custom time.
Fix E1 Error, White Smoke, and Uneven Cooking in Minutes

E1 Error Code: Temperature Sensor Glitch
Unplug for 10 minutes to reset the thermal sensor—this solves 80% of E1 errors caused by voltage spikes. If it returns, check for grease buildup on the heating element housing; wipe with a damp cloth while unplugged. Persistent E1 errors indicate hardware failure—contact Cosori support with your serial number (found behind the basket). Never ignore E1; it risks overheating.
White Smoke During Cooking: Immediate Fix
Empty the drip tray immediately—smoke means old grease is burning off. For future batches, line the drip tray with foil (never in the basket itself) to catch drips. Switch to leaner proteins like chicken breast next time; fatty foods like ribs require checking the drip tray halfway through. Smoke clears within 2 minutes after removing the tray—your food is safe to eat.
Cleaning in 3 Minutes: Daily Routine and Monthly Deep Clean
Post-Cook Cleaning That Prevents Sticking
Wait 30 minutes after cooking for the basket to cool—cleaning while hot warps the non-stick coating. Remove the crisper plate and wash both with a soft sponge and mild soap; never use steel wool. For stuck-on cheese, soak the basket in warm water for 5 minutes first. The basket and plate are top-rack dishwasher safe, but hand-washing extends coating life by 2+ years.
Monthly Deep Clean for Peak Performance
Monthly, make a paste of baking soda and water for stubborn residue. Apply with a soft-bristled toothbrush to the heating element housing (top interior)—never spray liquid directly here. For odor filters (on Pro III models), rinse under warm water and replace every 6 months. Store the basket upside-down to prevent coating damage from utensils.
Your Cosori transforms from confusing appliance to kitchen hero once you master these fundamentals. Start with frozen fries using the exact 380°F/15-minute protocol—success here builds confidence for wings and salmon. Within a week, you’ll instinctively know when to skip preheating for leftovers or add that critical mid-cook shake. Remember: perfect crispness comes from respecting airflow limits, not extra oil. The next time delivery pizza arrives, you’ll already have homemade crispy crust ready in 4 minutes at 320°F—proving your air fryer isn’t just another gadget, but your fastest path to better food.


