

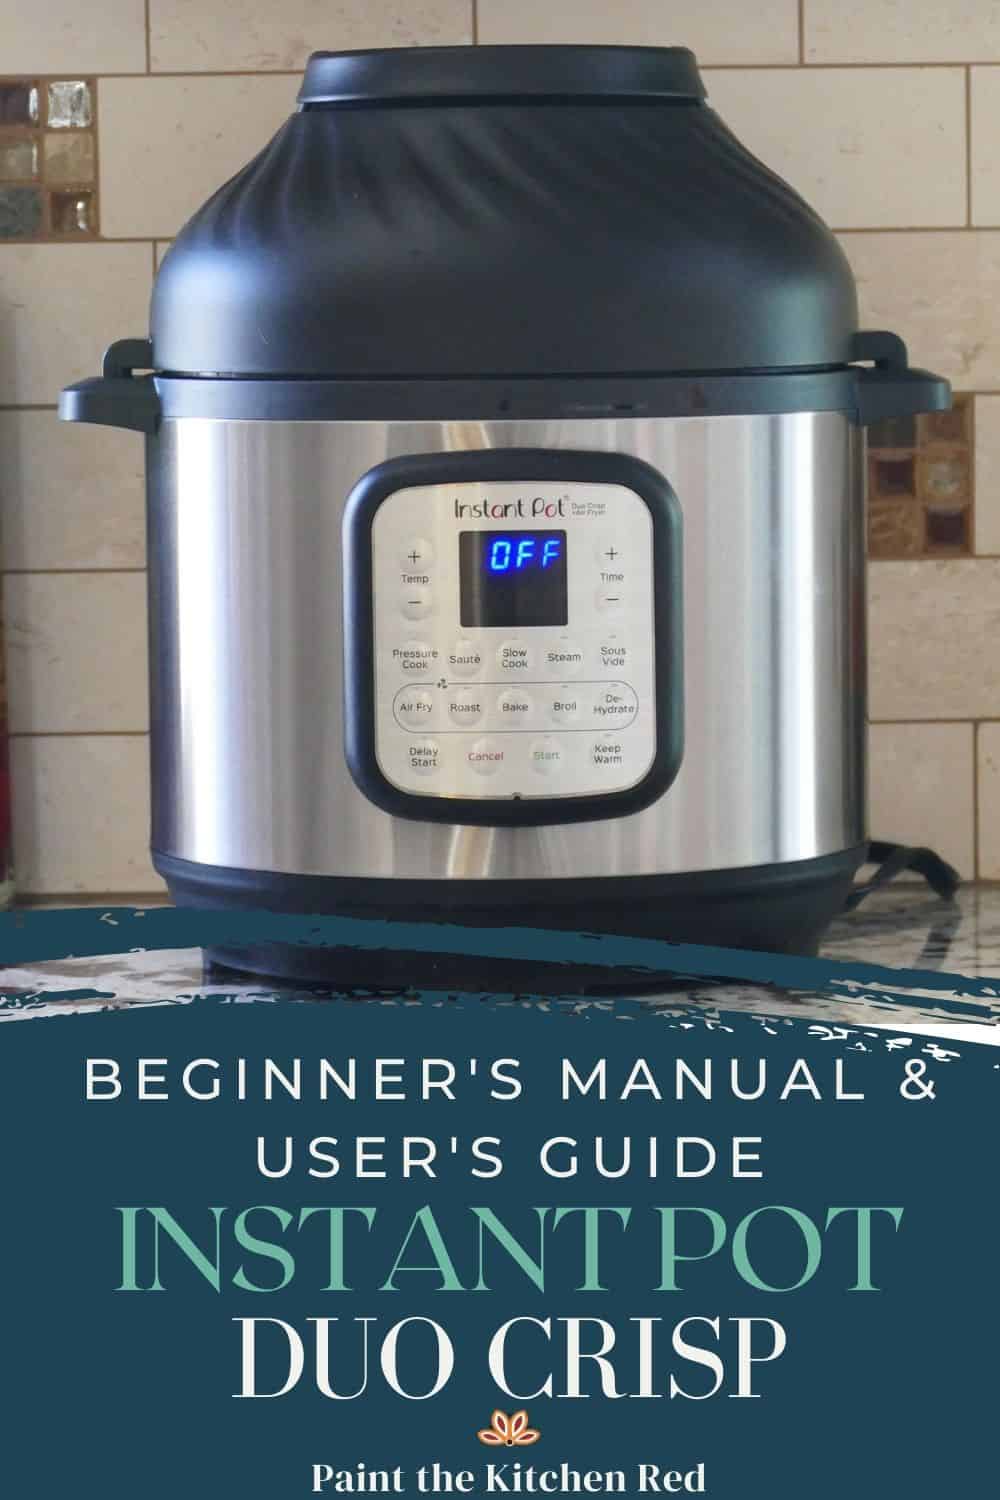
Your Instant Pot just became a kitchen powerhouse. Forget juggling bulky appliances—now you can pressure-cook fall-off-the-bone ribs in 30 minutes, then transform them into golden, restaurant-quality masterpieces using the same pot. Whether you own the Duo Crisp model or added Mealthy’s CrispLid to your existing Instant Pot, this guide cuts through confusion with battle-tested techniques. Skip the manual and learn exactly how to load baskets, prevent soggy fries, and leverage the pressure-cook-to-crisp method that saves 45% prep time.
Critical Safety Steps Before First Use
Never place the hot lid directly on countertops. The air-fryer lid’s heating element reaches 500°F within 60 seconds—hotter than most ovens. Always set it on the included silicone protective pad to prevent melted laminate or scorch marks. Keep oven mitts within arm’s reach before pressing Start, as the inner pot and basket become dangerously hot during operation.
Child safety isn’t optional. Though the CrispLid won’t activate unless locked, the glowing red heating coil remains exposed. Enforce a 3-foot “kid-free zone” during cooking and for 20 minutes after shutdown. For households with pets, store the silicone pad vertically in a drawer—curious paws can knock over a hot lid resting flat.
How to Identify Overheating Risks
- Check for smoke: A wisp of smoke during first use is normal (burning off manufacturing oils), but continuous smoke means food is touching the heating element
- Listen for alarms: The unit beeps rapidly if internal temperature exceeds safe limits—immediately unplug and let cool
- Test surfaces: Place your palm 2 inches above the lid; if you can’t hold it there for 5 seconds, surfaces are still too hot to handle
Loading the Multi-Level Basket for Maximum Crisp
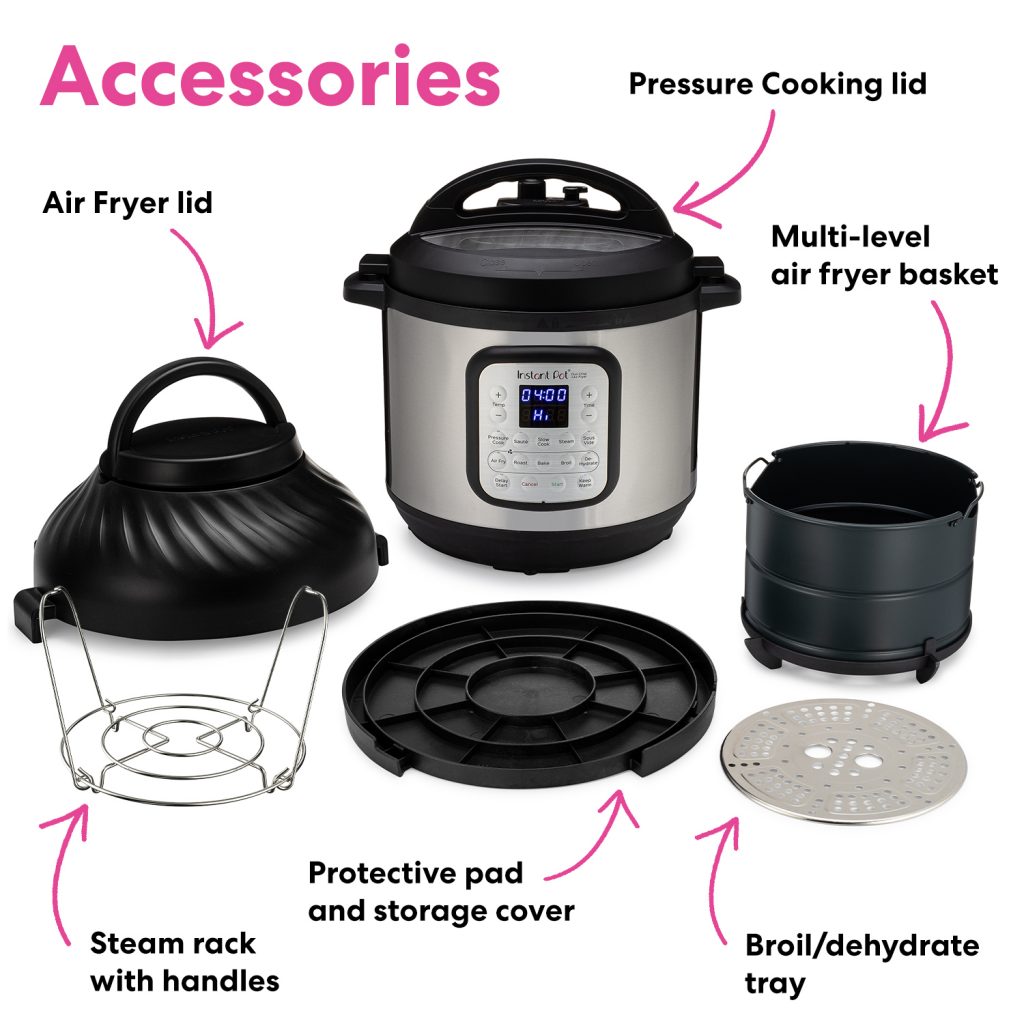
Overcrowding is the #1 cause of soggy results. Arrange food in a single layer with ½-inch gaps between pieces—this allows 360° air circulation critical for true crisping. For french fries, spread them like playing cards fanned across the basket. When cooking chicken wings, stand them upright on their curved edges rather than flat.
Basket Configuration Cheat Sheet
| Food Type | Best Basket Setup | Critical Tip |
|---|---|---|
| Whole chicken (4 lb) | Single-layer basket | Tuck wings under body to prevent burning |
| Lamb chops | Broiling tray on top layer | Swap top/bottom layers at 7-minute mark |
| Small shrimp | Dual mesh steamer baskets | Use lower basket only—shrimp will fall through upper layer |
Pro move for frozen foods: Toss fries or nuggets with 1 tsp cornstarch before loading. This absorbs surface moisture, creating a crunchier exterior without extra oil. Always shake the basket at the halfway beep—set a phone timer if you tend to wander.
CrispLid Operation for Non-Duo Crisp Models
Transform any 6- or 8-quart Instant Pot into an air fryer in 90 seconds. Place the raised trivet inside your pot, add the fryer basket, and lock the CrispLid handle until it clicks. Dial temperature (up to 500°F) and time using the lid’s controls—no base unit required. The transparent glass lid lets you watch cheese bubble without interrupting cooking, unlike opaque standalone air fryers.
CrispLid vs. Duo Crisp: Key Differences
- Heating speed: CrispLid reaches 400°F in 90 seconds (vs. 3 minutes for Duo Crisp)
- Capacity: Standard CrispLid basket fits 1.5 lbs fries (upgrade to deep basket for family meals)
- Monitoring: CrispLid’s glass lid allows real-time checking; Duo Crisp requires lifting the lid (pausing cook time)
Never skip this step: Always verify the pressure release valve is in venting position before attaching CrispLid. Trapped steam could cause dangerous pressure buildup.
Pressure-Cook Then Crisp: The Weeknight Game Changer
Cook perfect lasagna in half the time by pressure-cooking the base layers first. Assemble noodles, sauce, and cheese in a 7-inch springform pan on the trivet. Pressure-cook at high pressure for 24 minutes, then quick-release. Remove the foil cover, swap to CrispLid at 500°F for 3–5 minutes, and watch the cheese transform into a golden crust. No oven preheating, no dirty pans.
One-Pot Gravy Hack After Air Frying
After crisping steaks, leave juices in the inner pot. Press Sauté, add ¼ cup red wine, and simmer 3 minutes while scraping browned bits. The result? Rich pan sauce in the same vessel—zero cleanup. For extra depth, stir in 1 tsp Dijon mustard during the final minute.
Cleaning Protocol for Longevity
Dishwasher-safe parts go ONLY on the top rack. The multi-level basket’s non-stick coating degrades when exposed to harsh dishwasher detergent at bottom-rack intensity. Hand-wash the air-fryer lid body using a damp microfiber cloth—never submerge it. For stubborn grease on the heating element, unplug the unit, let cool completely, then wipe with a vinegar-dampened cloth.
30-Second Daily Maintenance Routine
- After cooking, wipe the inner rim of the air-fryer lid with a damp cloth while warm (cooled grease hardens instantly)
- Soak mesh baskets in warm soapy water for 10 minutes if food sticks
- Check the silicone protective pad for grease buildup—replace annually
Never do this: Putting the CrispLid unit in the dishwasher. Water seeping into the electrical components will cause permanent damage.
Troubleshooting Common Crisping Failures
Problem: Food is soggy despite full cook time
→ Fix: You’re overcrowding the basket. Reduce food quantity by 25% and increase time by 2 minutes. For frozen items, add 1 extra minute at 400°F.
Problem: Uneven browning on chicken skin
→ Fix: Pat skin bone-dry with paper towels before seasoning. Place skin-side down in the basket for the first 50% of cook time, then flip.
When Smoke Alarms Trigger
| Cause | Immediate Action | Prevention |
|---|---|---|
| Oil dripping on element | Unplug unit, leave lid closed | Use leaner cuts; trim excess fat |
| Sugar-based glazes | Remove food immediately | Brush glazes during last 3 minutes |
| Overheated basket coating | Cool 30 mins before cleaning | Never use metal utensils on non-stick baskets |
Pro Tips for Restaurant-Quality Results
Maximize air circulation with the “staggered layer” trick. When using two baskets, offset the upper layer 2 inches from the lower one—this prevents airflow blockage. For delicate foods like fish fillets, place a slice of lemon under each piece to elevate it off the basket surface.
Rescue under-crisped leftovers instantly: Set CrispLid to 450°F for 2 minutes. The intense heat revives sogginess without overcooking interiors. Always place a drip tray under reheated items to catch loose crumbs.
Never ignore the halfway beep. Shaking the basket isn’t optional—it’s what creates even browning. Set a phone timer if you can’t hear the unit from another room. For foods that stick (like meatballs), lightly spray the basket with avocado oil before loading.
Final Setup Checklist Before Cooking
- ✅ Inner pot seated firmly (no wobbling when rotated)
- ✅ Silicone pad placed beside unit (not behind where it’s easily missed)
- ✅ Basket loaded in single layer with ½-inch gaps
- ✅ Pressure release valve in venting position (for CrispLid users)
- ✅ Oven mitts within arm’s reach
Master these fundamentals, and your Instant Pot air fryer will outperform standalone units 90% of the time. The real magic happens when you pressure-cook proteins until fork-tender, then finish with 5 minutes under the CrispLid for shatteringly crisp exteriors. Start with the chicken drumstick recipe (374°F for 40 minutes), and you’ll never buy frozen fries again—homemade versions cook faster and taste infinitely better. Your countertop (and wallet) will thank you.


