
That sleek Philips Air Fryer box sitting on your counter promises crispy fries with less oil—but if you’re staring at unfamiliar dials or a digital display with no idea where to start, you’re not alone. Most new owners skip critical setup steps that lead to burnt food, smoke alarms, or frustrating trial-and-error sessions. This guide cuts through the confusion using only official Philips instructions to get you cooking perfect air-fried meals on day one. You’ll learn exactly how to position your unit safely, decode preset buttons, avoid common rookie mistakes, and clean it properly—no guesswork required.
Don’t risk damaging your appliance by winging it. Proper initial setup prevents 90% of first-time issues like uneven cooking or electrical hazards. We’ll walk through each step using Philips’ verified procedures—from removing hidden protective films to positioning the unit away from walls. By the end, you’ll confidently load frozen fries or fresh veggies knowing exactly how temperature, time, and basket capacity affect results. Let’s transform that intimidating kitchen gadget into your new weeknight dinner hero.
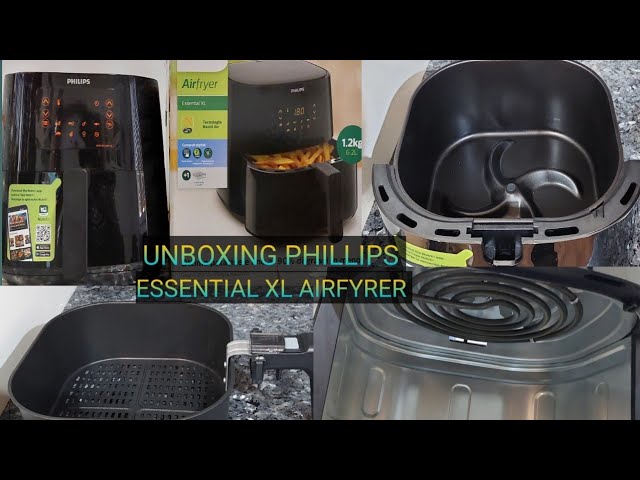
Unboxing and Initial Setup
Remove All Packaging Materials Completely
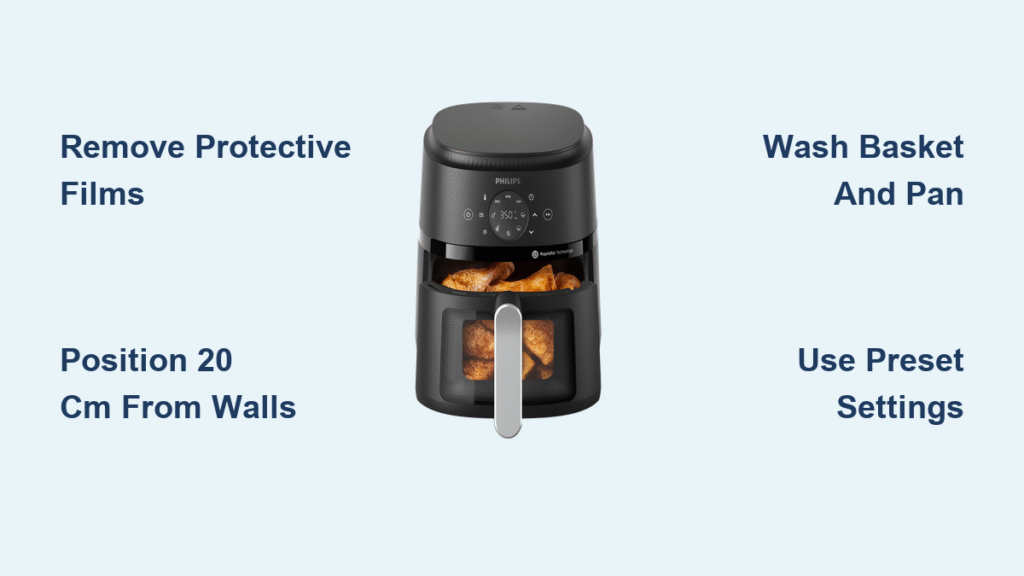
Start by emptying every component from the box. Check inside the basket and pan for small plastic bags—manufacturers often tuck them into corners. Peel off every sticker, including the nearly invisible protective foil covering the display window. Philips explicitly warns that leaving this film on causes melting during first use, permanently damaging the screen. Don’t overlook the rubber plug inside the basket; Philips states it must remain firmly in place to prevent rattling during operation. If it fell out during shipping, reinsert it following the manual’s instructions.
Position Your Air Fryer for Safety and Performance
Place your unit exactly 20 cm away from walls or cabinets on a heat-resistant surface. This spacing prevents overheating by allowing proper airflow around the appliance. Crucially, position the air outlet away from electrical sockets—directing hot exhaust toward plugs creates fire hazards. Secure the power cord in the built-in holder on the back by clicking it into place. A dangling cord risks tipping the entire unit when pulling out the basket, potentially spilling hot food. Never place the air fryer on unstable surfaces like tablecloths or near flammable materials.
Mandatory First-Time Cleaning Protocol
Wash the basket and pan in warm, soapy water before any cooking. Manufacturing residues can produce metallic-tasting food and unpleasant odors in your first batch. Philips emphasizes air-drying all parts completely—water droplets trapped in crevices turn to steam during cooking, causing soggy food bottoms. Never immerse the main appliance body in water; the heating element will short-circuit. For the exterior, wipe with a damp cloth only. Skipping this cleaning step risks contaminating your first meals with factory oils and dust.
Power On and Basic Controls
Digital Models Operation Sequence
Press the power button once to activate the display. For dual-basket models, select your cooking pan (left or right) before proceeding—single-basket units skip this step. Philips notes that preset functions (like fries or chicken) automatically set default temperature/time combinations, but manual adjustment is recommended for beginners. Always press the Start/Pause button after setting parameters; the unit won’t begin cooking otherwise. If the display shows error codes, unplug the unit for 30 seconds before restarting.
Temperature and Time Adjustment Techniques
Use the digital dial to set values: twist clockwise to increase temperature or time, counterclockwise to decrease. Most recipes require 180-200°C for 8-15 minutes, but start conservatively—Philips advises adding time later is safer than salvaging burnt food. When adjusting mid-cook, pull the basket out completely (the unit pauses automatically), make changes, then press Start/Pause. Never override settings by holding buttons unless specified; improper inputs can reset the system.
Analog Models Knob Mechanics
Turn the left knob for temperature (marked in °C), the right knob for time. Unlike digital models, analog units lack displays—you must read printed numbers around each dial. The timer produces a distinct audible tick; cooking stops automatically when time expires. Philips warns against forcing knobs beyond their range, which can damage internal mechanisms. If the unit doesn’t power on, verify both knobs are set above minimum values (e.g., 100°C/1 minute).
Using Preset Functions Effectively

Preset Categories and Their Limitations
Digital models include presets for fries, chicken, fish, and cake—these are pre-programmed temperature/time combinations only. Philips clarifies that “fries” preset typically runs at 200°C for 18 minutes, optimized for frozen fries but often too aggressive for fresh-cut potatoes. Never treat presets as magic solutions; they don’t adjust for basket fill level or ingredient variations. For best results, use presets as starting points then manually tweak based on your observations.
When to Override Preset Settings
Skip presets entirely for breaded items (like mozzarella sticks) or delicate proteins (thin fish fillets). The factory defaults apply intense initial heat that burns coatings before interiors cook through. Philips recommends manual control for any food requiring precise browning. Also avoid presets for frozen items thicker than 2 inches—they need lower temperatures to cook through without charring exteriors.
Customizing Preset Values for Consistency
Press and hold any preset button for three seconds to access adjustable defaults. Save your ideal chicken wing settings (e.g., 190°C for 22 minutes) so future cooks deliver identical results with one press. Philips specifies that customized presets reset only during full power cycles—unplugging the unit reverts to factory defaults. Document your successful customizations; rebuilding them after power outages wastes time.
Preheating: Necessary or Not?
Official Philips Preheating Guidance
Philips states preheating isn’t mandatory for most foods but improves results for wet or marinated items (like fresh vegetables). Frozen foods don’t require it—they thaw during initial cooking phases. If preheating, run the unit empty at target temperature for 3 minutes. Never add food during preheating; opening the basket resets the cycle. The manufacturer confirms skipping preheating for dishes under 15 minutes total cook time saves energy with negligible impact on crispness.
Loading Food Properly
Basket Capacity Rules to Prevent Sogginess
Fill the basket no higher than the halfway mark for optimal airflow. Overloading traps steam, creating soggy bottoms—a top complaint from new users. Arrange food in a single layer with space between pieces; crowded items steam instead of crisping. For large batches, cook in stages. Philips specifies that exceeding capacity triggers automatic smoke detection in some models, halting cooking mid-cycle.
Frozen vs Fresh Ingredient Adjustments
Frozen foods need zero added oil—they contain enough surface moisture to crisp naturally. Fresh vegetables require a light oil mist (just enough for seasonings to adhere); excess oil drips into the pan and smokes. Always pat protein dry with paper towels before cooking—water on surfaces creates steam pockets that prevent browning. Never place liquids (like marinades) directly in the basket; they cause smoking and uneven cooking.
Mid-Cook Shaking and Flipping Protocol
Pull the basket out completely at the halfway point (the unit pauses automatically). Shake vigorously for small items like fries or chickpeas. For delicate foods (fish, tofu), use tongs to flip individually. Philips warns against partial basket removal—leaving it partially inserted disrupts airflow and creates hot spots. Always reinsert the basket fully before pressing Start/Pause.
Cleaning Routine That Prevents Problems
Daily Post-Use Maintenance
Empty the crumb tray after every cook—built-up debris causes smoke in subsequent uses. While the basket is still warm (not hot), wipe interior surfaces with a damp paper towel; cooled food sticks stubbornly. Never submerge the main unit in water or run it under taps—the heating element will fail permanently. For stuck-on bits, use a non-abrasive sponge with mild detergent. Unplug the unit during all cleaning.
Weekly Deep Cleaning Process
Remove the basket’s bottom plate (if applicable) and scrub with a soft sponge. Baked-on oil creates persistent smoke—address it before it carbonizes. Clean the viewing window (on select models) with glass cleaner and a microfiber cloth to maintain visibility. Philips stresses drying all parts thoroughly before reassembly; residual moisture causes steam burns during next use. Never use oven cleaners or steel wool—they damage non-stick coatings.
Troubleshooting Common First-Time Issues
Food Not Crispy Enough: Fixes
Increase temperature by 10-20°C or extend time by 2-3 minutes. Verify you didn’t exceed basket capacity—overcrowding is the #1 cause of sogginess. Ensure food surfaces were dry pre-cooking; pat proteins with paper towels next time. If using oil, reduce application—excess oil steams food. For frozen items, skip thawing; moisture from defrosting prevents crisping.
White Smoke During Cooking: Immediate Actions
Stop cooking immediately and remove food. White smoke indicates excess oil dripping into the pan—pour out pooled oil before resuming. For fatty foods (bacon, sausages), place bread slices under the rack to absorb drippings. Lower the temperature by 20°C for subsequent cooks. Persistent smoke after cleaning means hidden debris in the crumb tray; disassemble and inspect thoroughly.
Recipe Resources and Next Steps
HomeID App for Model-Specific Guidance
Download Philips’ HomeID app (iOS/Android) for recipes calibrated to your exact model number. The app auto-adjusts times based on ingredient weight—enter “500g chicken wings” for precise settings. Scan the QR code from your manual or box for instant access. Lost the code? Visit home.id/support, enter your model number (found on the bottom plate), and access digital manuals. Philips updates this content quarterly with seasonal recipes.
Beginner-Friendly Recipe Progression
Start with frozen French fries—they’re nearly foolproof and build confidence. Progress to chicken wings (200°C for 20 minutes, flipped halfway), then fresh vegetables like Brussels sprouts (190°C for 15 minutes). Master these before attempting baked goods; air fryers cook cakes unevenly without pan modifications. Philips warns against cooking battered foods (like tempura) in early stages—they require precise oil control new users lack.
Final Setup Checklist for First Cook
Before making your inaugural meal, verify these critical points:
– All stickers and protective films removed from display and interior surfaces
– Unit positioned 20 cm from walls on heatproof surface with air outlet facing away from sockets
– Basket rubber plug firmly inserted (prevents noise and vibration damage)
– Power cord secured in rear holder—no dangling hazards
– Basket and pan washed/dried per first-use protocol
Your Philips Air Fryer delivers restaurant-quality results when used correctly—but cutting corners during setup guarantees disappointment. Stick to these verified steps: position safely, clean thoroughly, load properly, and leverage the HomeID app for tailored guidance. Within five cooks, you’ll intuitively adjust times and temperatures without second-guessing. Remember: perfect crispness comes from respecting airflow dynamics, not cranking the heat. Now grab those frozen fries and enjoy your first smoke-free, perfectly golden batch.


