
Your vortex air fryer suddenly won’t get hot, leaving you staring at cold fries and wondering what went wrong. This frustrating issue affects countless home cooks who rely on their air fryers for quick, crispy meals. The good news is that most heating problems stem from simple, fixable issues rather than catastrophic failures. Whether your unit powers on but produces no heat or struggles to reach proper cooking temperatures, you’re not alone in facing this common vortex air fryer not getting hot dilemma.
Most heating failures can be diagnosed and resolved in under an hour with basic tools and some systematic troubleshooting. Before you give up on your appliance or schedule an expensive service call, try these proven solutions that address the most frequent causes of heating problems in vortex air fryers. You’ll discover why these compact cooking wonders lose their heat, how to safely test each component, and when it’s time to replace specific parts rather than the entire unit.
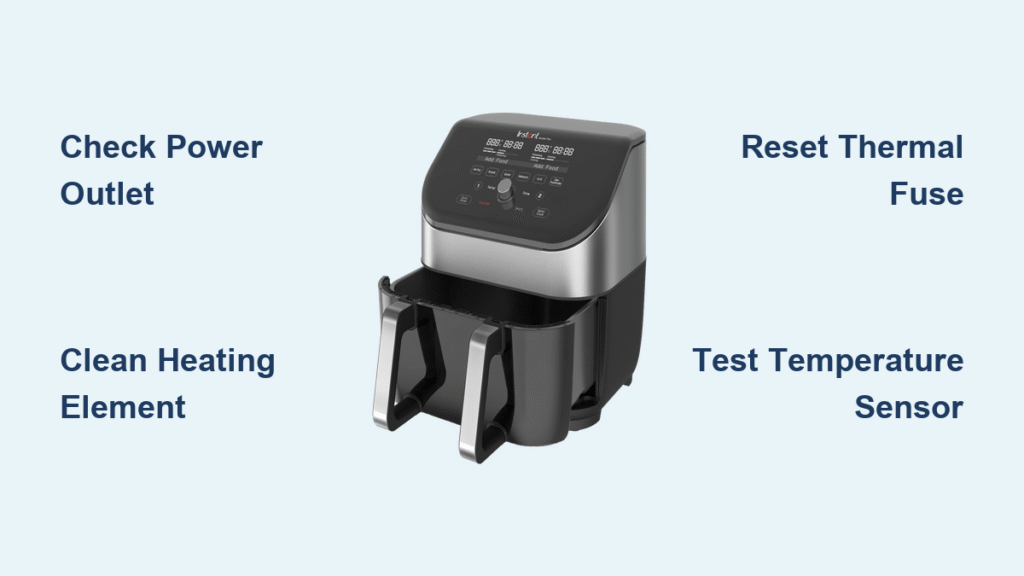
Verify Proper Power Source and Electrical Supply
Many vortex air fryer not getting hot issues trace back to inadequate power reaching the unit—a problem easily overlooked when you’re focused on the appliance itself. Before diving into complex repairs, eliminate the simplest possibilities first.
Test Multiple Wall Outlets Thoroughly
Plug your vortex air fryer into a different outlet on a separate circuit, preferably one you know handles high-wattage appliances. Kitchen GFCI outlets frequently develop partial failures where they supply enough power for indicator lights but not for the heating element. Run a test by plugging in a hairdryer or space heater to confirm the outlet can handle the 1500+ watts your air fryer requires. If other high-draw appliances work but your air fryer still won’t heat, the problem lies within the unit itself.
Examine Power Cord for Hidden Damage
Carefully inspect the entire length of the power cord, paying special attention to connection points where damage commonly occurs. Look for subtle signs like flattened sections, discoloration, or hardened insulation that indicate internal wire damage. A single broken conductor can prevent sufficient current from reaching the heating element while still powering control panels. Gently bend the cord along its length—if the fryer intermittently powers on or off during this test, replace the cord immediately to avoid electrical hazards.
Confirm Electrical Circuit Capacity
Check your home’s electrical panel for any breakers that might be in a “tripped but not fully off” position. Air fryers draw significant power, and an overloaded circuit may allow enough electricity for the control board but not the heating element. Reset any questionable breakers by switching them fully off before turning back on. For permanent solutions, consider having an electrician install a dedicated 15-amp circuit for your kitchen countertop appliances to prevent future voltage issues.
Deep Clean the Heating Element and Airflow System

Grease buildup around the heating element acts like insulation, preventing proper heat transfer and causing your vortex air fryer not getting hot symptoms even when components function correctly. Regular cleaning prevents most heating issues but requires specific techniques to avoid damage.
Remove Obstructions from Cooking Chamber
Take out the basket, pan, and any accessories, then shine a flashlight into the cooking chamber. Look for food debris, especially popcorn kernels or small vegetable pieces that might have fallen behind the heating coil. Use wooden or plastic tools only—never metal utensils—to avoid scratching the non-stick coating or damaging heating elements. Even small obstructions can disrupt the precise airflow pattern essential for vortex air fryers to function properly.
Clean Heating Element Safely and Effectively
With the unit unplugged and completely cool, dampen a microfiber cloth with warm soapy water and gently wipe the visible heating coil. Focus on removing dark, sticky grease deposits that appear shiny or tar-like. Avoid spraying liquids directly onto the element, as moisture can seep into electrical connections. For stubborn buildup, use a soft-bristled toothbrush with baking soda paste, but never scrub aggressively—that protective coating is fragile and essential for proper heat distribution.
Restore Optimal Airflow Patterns
The distinctive vortex action depends on unobstructed airflow through specific channels. Use compressed air to blow debris from the fan housing at the top of the cooking chamber, holding the fan blades steady to prevent overspinning. Check the air intake vents around the base of your unit—these tiny openings often clog with dust bunnies that restrict the essential airflow needed for proper heating. Cleaning these areas takes just five minutes but dramatically improves heating performance in most cases.
Reset the Thermal Safety Mechanisms
Vortex air fryers incorporate multiple thermal cutoffs that automatically disable heating when temperatures exceed safe limits—a crucial safety feature that sometimes triggers unnecessarily.
Locate the Thermal Reset Button Correctly
Your unit contains a small red reset button, typically hidden in a recessed area on the bottom or back panel. Don’t confuse this with the power button—it’s usually smaller (about 3mm diameter) and requires a paperclip or pin to press. Consult your manual for the exact location, as some models hide it beneath the control panel or behind a removable cover. This thermal fuse protects against dangerous overheating but can trip from temporary conditions like high ambient kitchen temperatures.
Execute the Proper Reset Procedure
Unplug the unit for at least 15 minutes to allow all thermal components to cool completely. Press and hold the reset button for 8-10 seconds (not just a quick tap), then wait another 5 minutes before plugging back in. This extended cooling period prevents immediate re-tripping that occurs when components haven’t sufficiently cooled. If the reset button feels loose or doesn’t click, it may have failed permanently and require replacement.
Validate Heating After Reset
Set your vortex air fryer to 375°F with an empty basket and listen carefully for the characteristic hum of the heating element activating within 60 seconds. Place your hand near—but not touching—the air outlet vents; you should feel warm air within 2 minutes. If the unit still won’t heat, the thermal cutoff may have failed permanently or another component is causing repeated overheating that triggers the safety system.
Diagnose Temperature Sensor and Control Board Issues
When your vortex air fryer not getting hot problem persists after basic troubleshooting, the issue likely involves temperature regulation components that control when heating elements activate.
Access and Test the Temperature Probe
The temperature sensor typically appears as a thin metal probe near the heating element, connected by two wires to the control board. Gently disconnect the sensor and use a multimeter to check resistance—most should read between 10K-100K ohms at room temperature. If resistance reads zero or infinite, the sensor has failed and needs replacement. Handle the delicate probe carefully; bending it can alter its calibration and cause inaccurate readings.
Inspect Control Board Connections
Remove the outer casing to access the control board (usually requiring 6-8 screws). Look for “cold solder joints”—connections that appear dull, cracked, or separated from the board. These common failure points cause intermittent heating problems that mimic sensor failures. Gently press on each connector while the unit operates; if heating suddenly starts, you’ve identified a loose connection needing reseating or resoldering.
Recognize When to Replace the Control Board
If you’ve verified power supply, heating element, and sensor functionality but still have no heat, the control board likely has failed components. Look for obvious signs like burnt components, bulging capacitors, or scorch marks near the heating element terminals. Control board replacement costs $40-75 and requires careful transfer of all wiring harnesses—photograph each connection before disconnecting anything during the swap.
Implement Smart Maintenance Habits to Prevent Future Issues
Proper care prevents most vortex air fryer not getting hot problems before they start, extending your appliance’s lifespan significantly.
Establish a Post-Use Cleaning Routine
Wipe the heating element with a damp cloth after each use while it’s still warm (but not hot)—this prevents grease from hardening into difficult-to-remove deposits. Never use abrasive cleaners or steel wool that damage the element’s protective coating. For weekly deep cleaning, mix equal parts white vinegar and water in a spray bottle to cut through stubborn grease without harsh chemicals.
Follow Proper Loading Guidelines
Overfilling your air fryer basket by more than ¾ full restricts airflow and forces the heating element to work harder, leading to premature failure. Always leave space between food items for air circulation—this not only prevents overheating issues but also produces better cooking results. For dense foods like potatoes, shake the basket halfway through cooking to maintain proper airflow patterns.
Schedule Professional Servicing Annually
Even with perfect home maintenance, internal components wear out over time. Plan for professional servicing every 18-24 months, especially if you use your air fryer daily. Technicians can clean hard-to-reach areas, test component tolerances, and replace parts before they fail completely—typically costing less than emergency repairs when your vortex air fryer stops heating unexpectedly.
When all troubleshooting steps fail, contact Vortex customer support with your model and serial number. Many heating element issues fall under warranty coverage, and newer models often include upgraded components that address known failure points in earlier versions. Keep your purchase receipt handy—proof of purchase often extends warranty coverage beyond the standard period.


