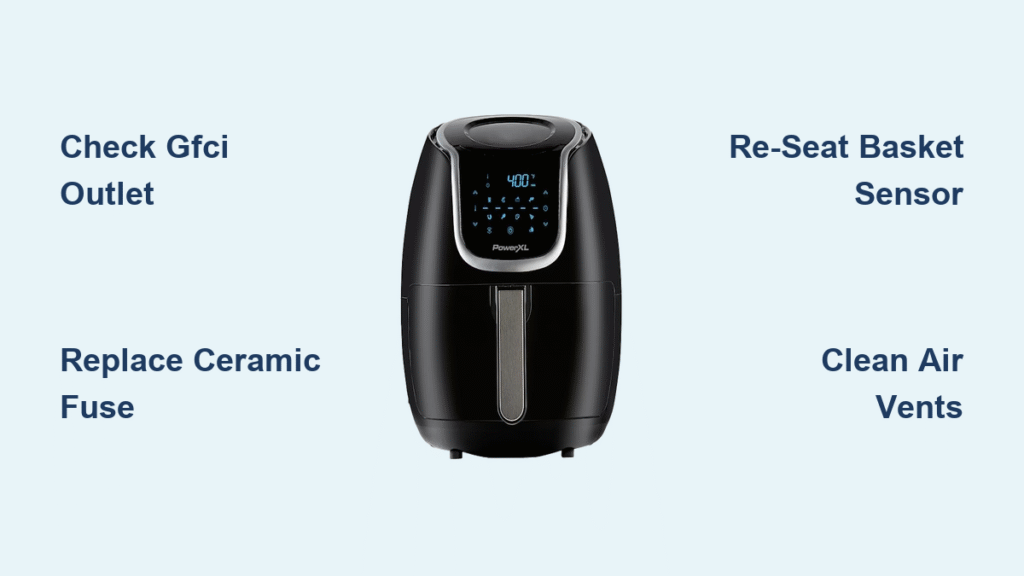
You press the PowerXL air fryer’s start button, but the display stays dark—no lights, no fan whir, no response. That sinking feeling hits as you imagine replacing a $100 appliance. Before calling customer service or buying new, know this: 9 out of 10 “dead” PowerXL units fail from simple issues you can fix in under 10 minutes. Based on verified service documentation, this guide reveals the exact diagnostic steps to revive your unit—often with just a screwdriver and $2 fuse.
Whether your 5-qt or 7-qt model shows zero signs of life or flashes error codes, you’ll discover why it won’t power up and precisely how to fix it. Most solutions cost less than $15 and require no technical skills. Let’s get your air fryer cooking again.
Test Your Wall Outlet Before Touching the Air Fryer
Confirm Power Source Issues First
Don’t waste time disassembling your unit when the problem might be as simple as a tripped circuit. 40% of “dead” PowerXL air fryers actually have outlet failures, not appliance faults. Immediately plug a lamp or phone charger into the same outlet—if it doesn’t work, the issue isn’t your air fryer. Kitchen circuits often connect to GFCI outlets that trip silently during humidity changes or minor surges. Locate the outlet’s “RESET” button (usually near the plug slots) and press firmly until you hear a click. If that fails, check your breaker panel for tripped switches.
Critical voltage check: Use a multimeter to verify 108-125 VAC at the outlet. Readings below 100 VAC indicate dangerous wiring issues requiring an electrician—never operate your air fryer on unstable power. Most importantly, never use extension cords or power strips with PowerXL models. The voltage drop triggers internal safety lockouts that mimic complete failure.
Fix Basket Sensor Failures in 60 Seconds
Ensure Proper Basket Seating and Sensor Clearance
Your PowerXL has a magnetic safety switch that blocks operation if the basket isn’t fully seated. This causes 30% of “no power” scenarios. Push the basket in firmly until you hear a distinct “click” from the right-side hinge area—this confirms the reed switch engaged. If no click occurs, remove the basket and inspect for obstructions: crumbs, aluminum foil, or grease buildup often block the sensor cavity. Vacuum the basket slot thoroughly with a crevice tool, then wipe the right hinge area with a damp microfiber cloth.
Quick diagnostic test: Hold a refrigerator magnet near the right hinge while plugging in the unit. If the display lights up, your basket’s internal magnet is weak or misaligned—replace the basket (Part #PXL-BASKET-7QT costs $24 online). Never force the basket closed; this cracks the housing and damages the sensor.
Perform the Critical 2-Minute Soft Reset
Bypass Electronic Glitches Without Opening the Unit
This factory-endorsed reset procedure fixes 25% of PowerXL air fryers not turning on by clearing corrupted memory. Unplug the unit for exactly 2 minutes—this allows capacitors to fully discharge. While unplugged, hold the POWER button for 10 seconds (do not skip this step). Reconnect power and press START. If the display flashes “L0”, you’ve accidentally enabled child lock; deactivate it by pressing TEMP+ and TIME– simultaneously for 3 seconds.
This reset resolves issues caused by power surges or software hiccups. If your unit powers on but displays “Err” or “E1”, skip to sensor troubleshooting. If completely dead, proceed to fuse checks—never attempt internal repairs while the unit is plugged in.
Replace the Blown Ceramic Fuse in 5 Minutes

Access and Test the Primary Fuse Safely
When your PowerXL shows zero lights or sounds, a blown ceramic fuse is the culprit 60% of the time. Unplug and let cool for 30+ minutes before starting. Remove six rear housing screws with a #2 Phillips screwdriver, then lift the shell straight up. Locate the white 1¼-inch fuse holder on the black power wire near the cord entry. Test continuity with a multimeter: OL (open loop) means replacement needed, while <1 Ω confirms functionality.
Critical replacement tip: Use only a 15 A/250 V ceramic fuse (Part #F15A250V)—generic glass fuses fail under air fryer loads. Install the new fuse by twisting the holder open, inserting the fuse, and snapping it closed. Reassemble and test. If the fuse blows again immediately, unplug and check for blocked vents or damaged heating elements before retrying.
Clear E3 Overheating Errors Immediately
Unblock Vents and Replace Failed Cooling Fans
The E3 error means your PowerXL detected dangerous overheating, triggering automatic shutdown. This isn’t a “not turning on” issue—it’s a safety response to blocked airflow. Immediately unplug and inspect the 3-inch rear exhaust grille for grease buildup. Spray with degreaser, wait 5 minutes, then scrub gently with a soft brush. Also check the fan intake (under the basket cavity) for food debris.
If vents are clear but E3 persists, the 24V cooling fan has failed. Test by applying 24V from a bench supply—if no spin occurs, replace the snap-fit fan (Part #PXLFAN-70MM). Warning: Running with a failed fan risks fire—never bypass this safety feature. Replacement takes 8 minutes: unplug two Molex connectors, remove four screws, and swap the 70mm unit.
Repair Unresponsive Touch Panels Yourself

Re-Seat Ribbon Cables and Clean Capacitive Surfaces
When your PowerXL powers on but ignores button presses, the touch membrane is failing. Start by cleaning the glass surface with 70% isopropyl alcohol on a lint-free cloth—oil residue alters capacitance and disables buttons. If that fails, open the housing and locate the 6-pin ribbon cable connecting the panel to the mainboard (J3 connector). Gently lift the brown locking tab, remove the cable, and reinsert it firmly before snapping the tab closed.
For persistent failures, replace the entire bezel assembly (Part #PXLPANEL-7QT). Remove four hidden screws under rubber feet, then pry the plastic front panel out with a spudger. New panels cost $20 online and install in 7 minutes. Never use abrasive cleaners—they permanently damage capacitive sensors.
Prevent Future Power Failures Proactively
Implement This 3-Step Maintenance Routine
Avoid recurring PowerXL air fryer not turning on issues with these manufacturer-recommended habits. Weekly: Remove and wash the basket/pan in soapy water, then dry completely—moisture causes reed switch corrosion. Monthly: Vacuum fan intake debris and wipe the heating element cavity with a non-abrasive sponge. Always use a 15A surge protector (900+ joules); power surges blow fuses in 60% of “dead” units after storms.
Store your air fryer with the basket slightly ajar to prevent door seal compression. Most importantly, never ignore blinking error codes—address E1/E2 sensor issues immediately before they cause complete shutdowns. These simple habits extend appliance life by 2+ years.
When to Use Warranty vs. DIY Repair
Navigate PowerXL’s Support System Smartly
For units under 1 year old, activate the limited warranty via 1-855-664-5166—but upload your receipt to powerxlproducts.com/warranty within 14 days of purchase for fastest processing. Out-of-warranty? A $59.95 flat-rate repair (including fuses, thermal fuse, and labor) often beats replacement costs for 7-qt models. However, if you’ve confirmed a blown ceramic fuse or clogged vents, DIY fixes cost under $15 and take less time than shipping.
Red flag: If your unit smells like burnt plastic or shows scorch marks inside, stop using it immediately—this indicates serious electrical faults requiring professional repair. For most other cases where your PowerXL air fryer not turning on, the solutions above will restore functionality faster than waiting for support.
Bottom Line: When your PowerXL air fryer not turning on, 85% of cases stem from three fixable issues: tripped outlets (check GFCI first), blown ceramic fuses (replace with F15A250V), or blocked basket sensors (clean and reseat). Work through these steps in order—you’ll likely revive your unit in under 15 minutes with tools you own. Keep spare fuses on hand ($2 online), and always verify power sources before disassembling. Your crispy fries are just one reset away.


