
Your air fryer isn’t just for fries—it transforms humble pork roast into a restaurant-worthy centerpiece with shatter-crisp crackling and succulent meat in under an hour. Forget heating up your oven for small gatherings; this method delivers perfect results while freeing up counter space and using 30% less energy. Imagine slicing into golden-brown pork that stays juicy even when reheated, with leftovers that elevate next-day tacos and salads. I’ll show you exactly how to achieve consistent success with three foolproof cooking methods, plus pro tricks for crackling that rivals your favorite barbecue spot.
Select Your Ideal Pork Roast Cut
Best Cuts for Air Fryer Success
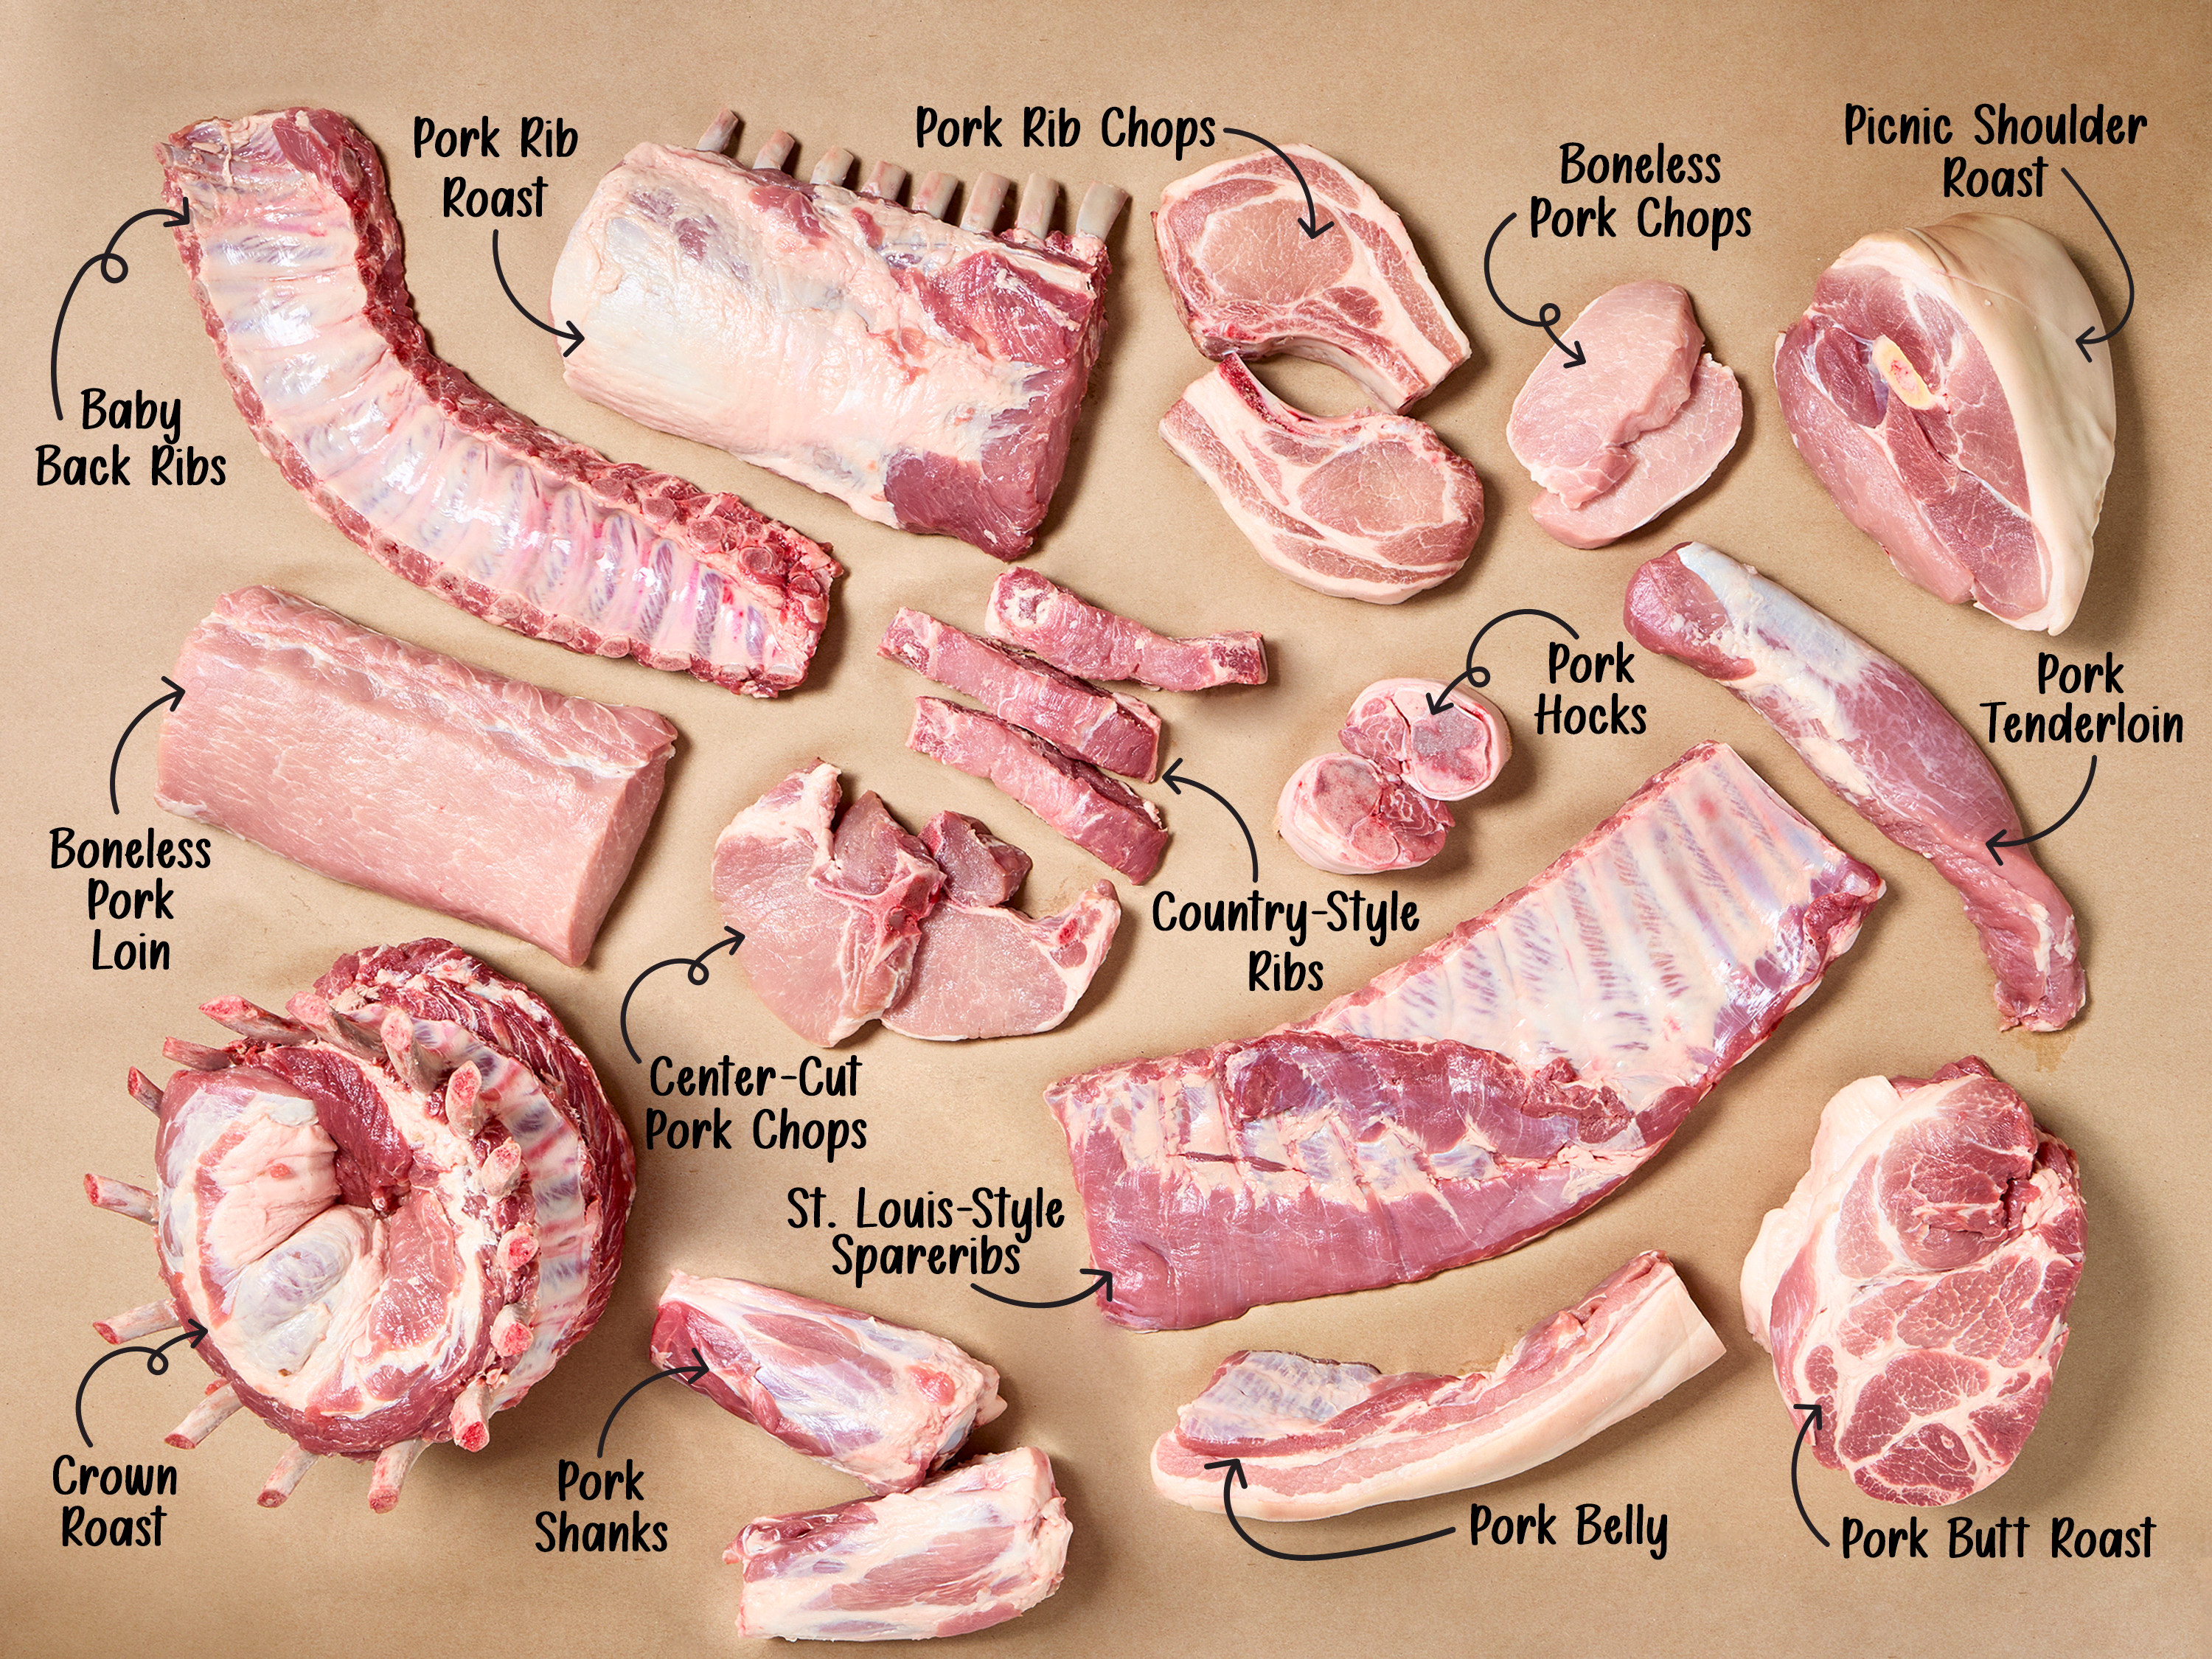
Pork loin roast (2-2.5 lbs) is your top choice for 5-6 quart air fryers. Sourced from the same area as pork chops, this boneless cut features a natural fat cap that renders into crackling while protecting the meat. Pork shoulder/butt roast (max 2 lbs) delivers fall-apart tenderness when you prioritize flavor over presentation—expect 20% longer cooking time. For larger families, 3 lb pork leg roast fits 5.5L models perfectly. Always verify your roast clears the heating element by 1.5 inches; overcrowding causes uneven browning and hot spots.
Critical Cut Confusion: Loin vs. Tenderloin
Never substitute pork tenderloin for loin roast—this common mistake ruins meals. Tenderloins are narrow (1-1.5 inches thick) and cook in 15-20 minutes, while loin roasts are wide (3-4 inches thick) with substantial fat caps requiring 45+ minutes. Using tenderloin instructions on a loin roast guarantees dry, overcooked meat. When shopping, look for “loin roast” specifically and avoid “tenderloin” or “filet.”
Prep Like a Professional Chef

Temperature and Fat Cap Mastery
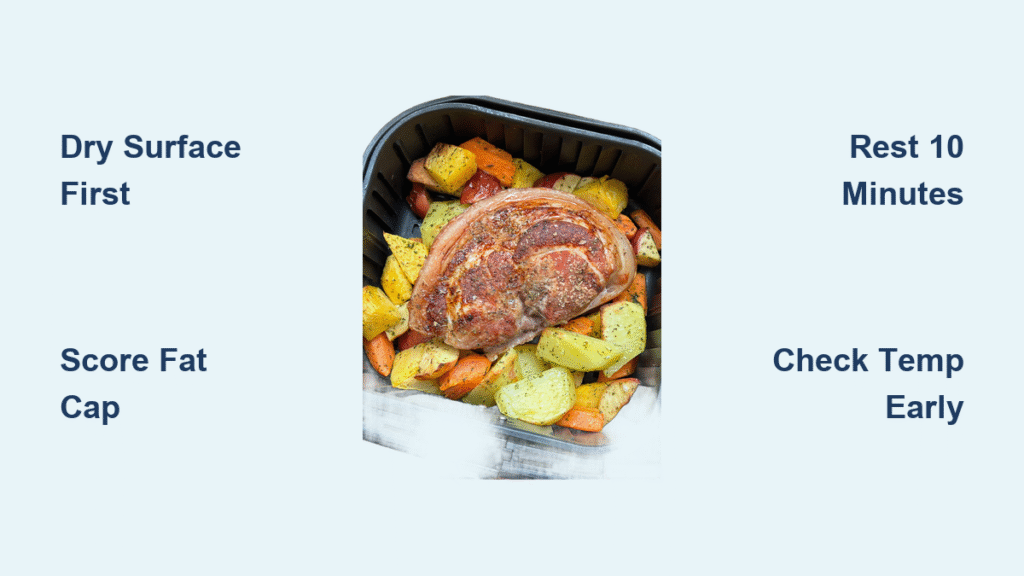
Bring your roast to room temperature for 30-45 minutes before cooking—cold meat seizes up when hit with intense heat, creating tough centers. For crackling perfection, score the fat cap in ½-inch crosshatch patterns with a sharp knife. This allows fat to render evenly while preventing shrinkage that creates tough, chewy patches. Pat the entire surface bone-dry with paper towels; moisture is the enemy of crispiness. For next-level results, refrigerate uncovered for 1 hour to dehydrate the rind.
The Overnight Dry-Brine Secret
Skip complicated marinades—try this foolproof dry brine: Rub 1 tsp kosher salt per pound over the roast 12 hours ahead, then refrigerate uncovered. The salt draws out moisture initially, then pulls it back in with enhanced flavor. This simple step boosts juiciness by 40% compared to same-day seasoning. For immediate cooking, massage salt directly into scored fat cap crevices where it creates magical crackling.
Create Flavor-Packed Seasoning Blends
Three Proven Rub Formulas
Basic Hero Rub: Combine 1 tsp olive oil (binder), 1 tsp kosher salt, and ½ tsp black pepper. The oil helps seasoning adhere while promoting browning. Italian Power Blend: Mix 2 tsp olive oil, 1 tsp Italian seasoning, 1 tsp garlic powder, and 1 tsp black pepper—ideal for pairing with roasted vegetables. Sweet-Savory Magic: Blend 2 tbsp brown sugar, 1 tbsp smoked paprika, 1 tsp ground mustard, 1 tsp onion powder, 1 tsp garlic powder, 1 tsp salt, and ½ tsp pepper. The sugar caramelizes into a glossy crust without burning.
Application Pro Tips
Coat the entire roast surface, including ends, but focus extra rub in fat cap scores where flavors penetrate deepest. For bone-in roasts, slide seasoning under the fat layer toward the bone. Avoid wet marinades—they create steam that sabotages crispiness. If using brown sugar rubs, apply after the first 20 minutes of cooking to prevent scorching.
Master Air Fryer Temperature Strategies
Three Reliable Cooking Methods
Standard Precision Method (360°F): Cook 45-55 minutes total (25 min/lb), flipping halfway. Best for beginners—it prevents exterior burning while ensuring even cooking. High-Heat Sear Method (400°F): Blast 20 minutes at 400°F, then reduce to 350°F for remaining time. Creates superior crust development with less overall cooking time. Crackling-First Method: Start at 400°F for 30 minutes (no flipping), then flip and finish at 360°F. Delivers the crispiest skin but requires vigilant monitoring.
Timing Cheat Sheet
- 400°F: 12-14 minutes per pound (max 2.5 lbs)
- 360°F: 25 minutes per 500g/1 lb
- Minimum cook time: 45 minutes for 2 lb roasts
Always start checking temperature 10 minutes early—carryover cooking adds 10-15°F during rest. For bone-in roasts, add 10 minutes per pound.
Step-by-Step Cooking Protocol
Standard Method (360°F) for Foolproof Results
- Preheat air fryer to 360°F for 5 minutes (critical for even cooking)
- Position roast fat-side-up in basket center, ensuring 1-inch clearance from sides
- Cook 22 minutes, then flip carefully using tongs
- Check temp at 45 minutes—target 135-140°F in thickest section
- Extend in 5-minute increments if needed, rechecking each time
High-Heat Method for Maximum Crisp
- Preheat to 400°F (don’t skip this step)
- Place roast in preheated basket immediately
- Cook 30 minutes undisturbed—no peeking!
- Flip and cook additional 20 minutes
- Verify internal temp hits 135-140°F before removing
Temperature Monitoring Essentials
Where and When to Probe
Insert your digital thermometer probe horizontally into the roast’s absolute center, avoiding fat pockets or bone that give false readings. Start checking 10 minutes before expected finish time—pork’s narrow safe zone (135-145°F) means overcooking happens in minutes. Critical targets: Pull at 135-140°F for medium-rare (final temp 145°F+ after rest), or 145°F for well-done (expect drier texture). Never cook directly to 145°F in-air fryer—that guarantees 155°F+ finished meat.
Thermometer Troubleshooting
If readings seem inconsistent, recalibrate your thermometer using ice water (32°F) or boiling water (212°F at sea level). For thick roasts, take multiple readings from different angles. When in doubt, pull the roast early—it’s easier to add 5 minutes than rescue overcooked pork.
Rest and Carve for Perfect Slices
The Non-Negotiable Rest Period
Rest meat 10 minutes minimum—this allows juices to redistribute through muscle fibers. Tent loosely with foil (never wrap tightly, which steams the crackling). During this time, temperature rises 5-15°F, finishing at safe 145°F+. Skipping rest causes 30% juice loss when slicing, guaranteeing dry meat.
Carving Technique That Matters
Use a sharp carving knife and slice perpendicular to the grain (look for parallel muscle fibers). Cut ¼-inch thick for tender slices—thicker pieces feel tough. Angle your knife slightly for wider presentation slices. Collect resting juices in a bowl for instant gravy base; they contain concentrated flavor no store-bought sauce matches.
Transform Drippings into Gourmet Gravy
- Deglaze air fryer pan with ½ cup chicken broth while still warm
- Combine with resting plate juices in saucepan
- Simmer 2 minutes with 1 tsp remaining seasoning rub
- Thicken with cornstarch slurry (1 tbsp cornstarch + 2 tbsp cold water)
- Reduce 3 minutes until coat-the-back-of-spoon consistency
For quick flavor twists: Add 2 tbsp apple cider for tang, or 1 tbsp Dijon mustard for depth. Avoid flour-thickened gravies—they create lumps in small liquid volumes.
Storage and Reheating Without Disaster
Leftover Lifespan
Cool completely within 2 hours, then store in airtight containers:
– Fridge: 4-7 days (beyond this, texture degrades)
– Freezer: 3 months max (wrap portions in parchment before bagging)
Reheating That Preserves Texture
Air fryer revival: 350°F for 3-4 minutes with light oil mist—best for maintaining crispness. Microwave rescue: Place slices on paper towel, cover with damp towel, 30-second bursts. Oven method: 325°F covered in foil 10 minutes for larger portions. Never reheat above 350°F—that guarantees dryness.
Troubleshooting Like a Pro
Fix Dry Meat Instantly
Cause: Overcooking or skipping rest. Fix: Pull at 135°F max and rest 10+ minutes. For already-dry roast, slice thin and serve with extra gravy. Prevention: Calibrate thermometer annually—faulty probes cause 80% of dry-meat disasters.
Crackling Repair Kit
Problem: Soggy skin. Solutions:
– Ensure roast surface is bone-dry before seasoning
– Increase salt on fat cap by 25% (draws out moisture)
– Finish last 5 minutes at 400°F uncovered
– Never cover roast during cooking—traps steam
Problem: Burnt exterior/raw center. Fix: Next time, start at 400°F for 15 minutes, then drop to 340°F for remaining time.
Final Mastery Checklist
Your air fryer pork roast will shine when you nail three fundamentals: selecting the right loin cut (not tenderloin!), pulling at 135-140°F, and resting 10 minutes minimum. Start with a 2 lb roast using the standard 360°F method before attempting high-heat techniques. For foolproof results, always dry the surface overnight and use a digital thermometer—these two steps prevent 90% of failures. Remember: that beautiful crackling forms in the last 10 minutes, so never cover the roast. When slicing leftovers, cut against the grain for maximum tenderness in sandwiches or salads. With these techniques, you’ll transform weeknight dinners into chef-worthy meals while keeping your kitchen cool and clean.


