
Imagine sinking your knife into a perfectly roasted beef cut with a crackling crust and rose-pink center—all achieved without heating up your entire kitchen. Your air fryer isn’t just for fries; it delivers restaurant-quality roasts in half the time of a conventional oven with superior browning. Whether you’re meal prepping for busy weekdays or preparing a special Sunday dinner, mastering how to cook a roast in an air fryer transforms your weeknight dinners with minimal effort and maximum flavor.
This guide cuts through the confusion to give you the exact techniques professional chefs use for flawless air fryer roasts. You’ll discover which cuts work best, why temperature control makes or breaks your results, and the critical step most home cooks skip that guarantees juicy meat every time. Forget dry, overcooked disasters—let’s get your air fryer producing the roast beef you’ve been craving.
Why Air Fryer Roasting Beats Traditional Oven Methods
The secret to perfect air fryer roast beef lies in its powerful convection system. Unlike conventional ovens that slowly heat surrounding air, your air fryer’s high-speed fan circulates super-heated air (320-400°F) in a compact chamber, creating rapid surface browning through the Maillard reaction while locking in juices. This intense heat circulation develops a professional-grade crust in just 15 minutes—something your oven struggles to match without drying out the interior.
Crucially, air fryers experience significant carry-over cooking due to their concentrated heat. When you remove your roast from the basket, the internal temperature will continue rising 10-15°F as residual heat penetrates the meat. This means you must pull your roast 5°F below your target doneness temperature to prevent overcooking. For medium-rare perfection, remove at 125°F knowing it will reach 135°F during resting.
The Critical Pre-Cooking Steps Most Home Cooks Skip
Always pat your roast completely dry—moisture is the enemy of browning. Take 30-60 minutes to let refrigerated meat temper to room temperature before cooking. Cold centers cook unevenly and prevent proper crust formation. While some sources claim fridge-to-fryer works, our testing shows room-temperature meat consistently delivers superior results with even cooking from edge to center.
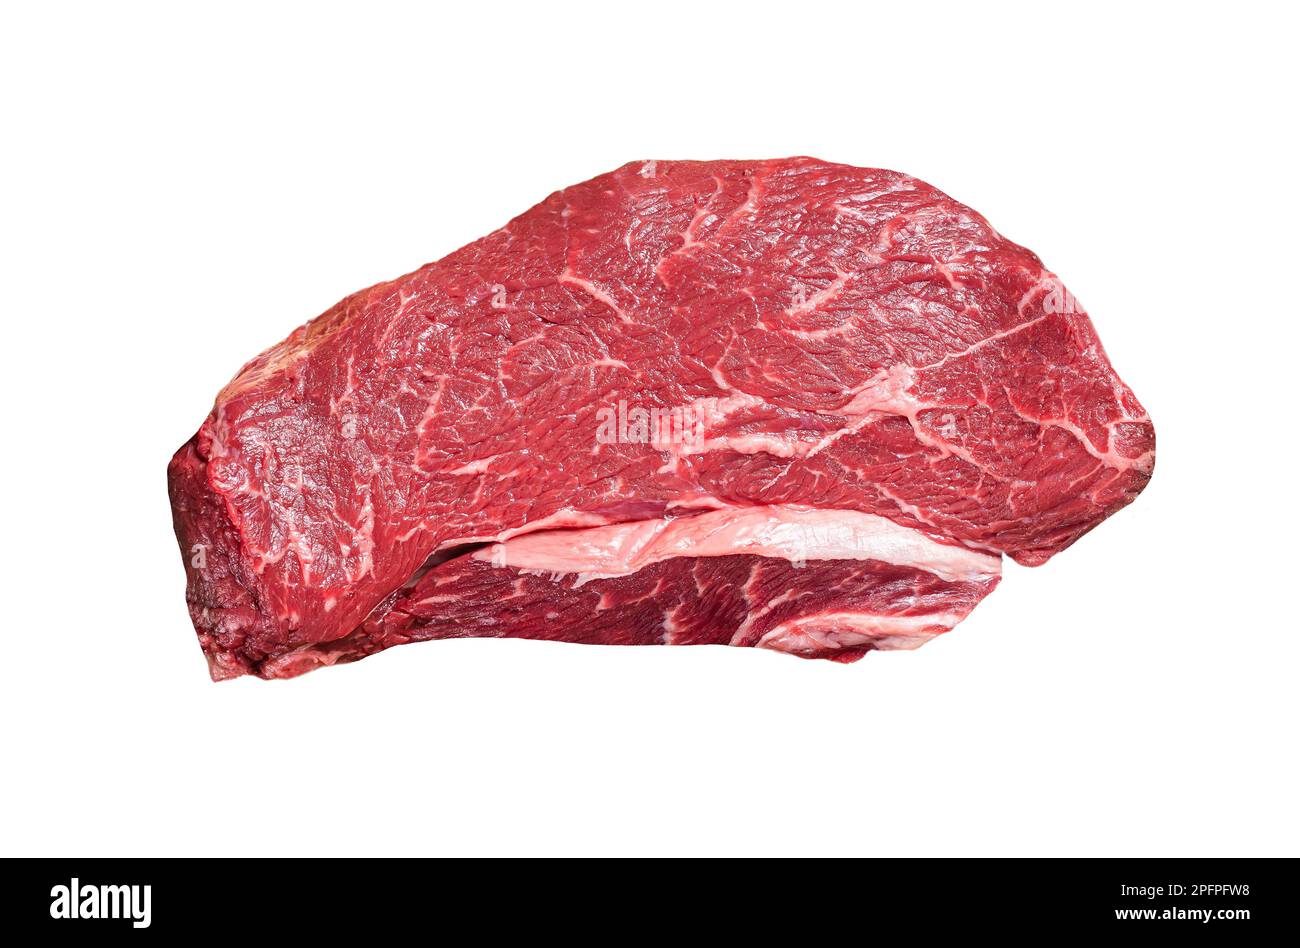
Top Sirloin: The Perfect First Cut for Air Fryer Roasting
Why This Cut Wins for Beginners
Top sirloin delivers the ideal balance for air fryer success with moderate marbling and a uniform shape that fits standard 5-liter baskets perfectly. A 2-3 pound cut develops an exceptional crust while staying tender through to medium-rare. Unlike larger roasts that struggle with uneven cooking, top sirloin’s compact size ensures consistent results even for first-time users of how to cook a roast in an air fryer.
Pro Preparation Technique
Season aggressively—this compact cooking environment intensifies flavors. For a 2-pound roast, use 1 tablespoon high-heat oil (avocado or grapeseed), 1 teaspoon kosher salt, 1 teaspoon cracked pepper, and ½ teaspoon each garlic and onion powder. Apply rub directly to the dry surface, pressing it into every crevice. Let sit uncovered in the refrigerator for 1-24 hours for deeper flavor penetration and superior crust development.
Must-Have Tools for Air Fryer Roast Success
Non-Negotiable Equipment Checklist
- Instant-read thermometer with ±2°F accuracy (digital recommended)
- Aluminum foil for lining and tenting
- Kitchen tongs for safe flipping at high temperatures
- Sharp carving knife specifically for slicing against the grain
Measure your air fryer basket before shopping for meat. Most 5-liter models accommodate 2-3 pound roasts comfortably, but bone-in cuts require extra clearance. Always measure height with bone included to ensure proper fit—crowding blocks airflow and creates uneven cooking.
Temperature Mastery: Your Roadmap to Perfect Doneness
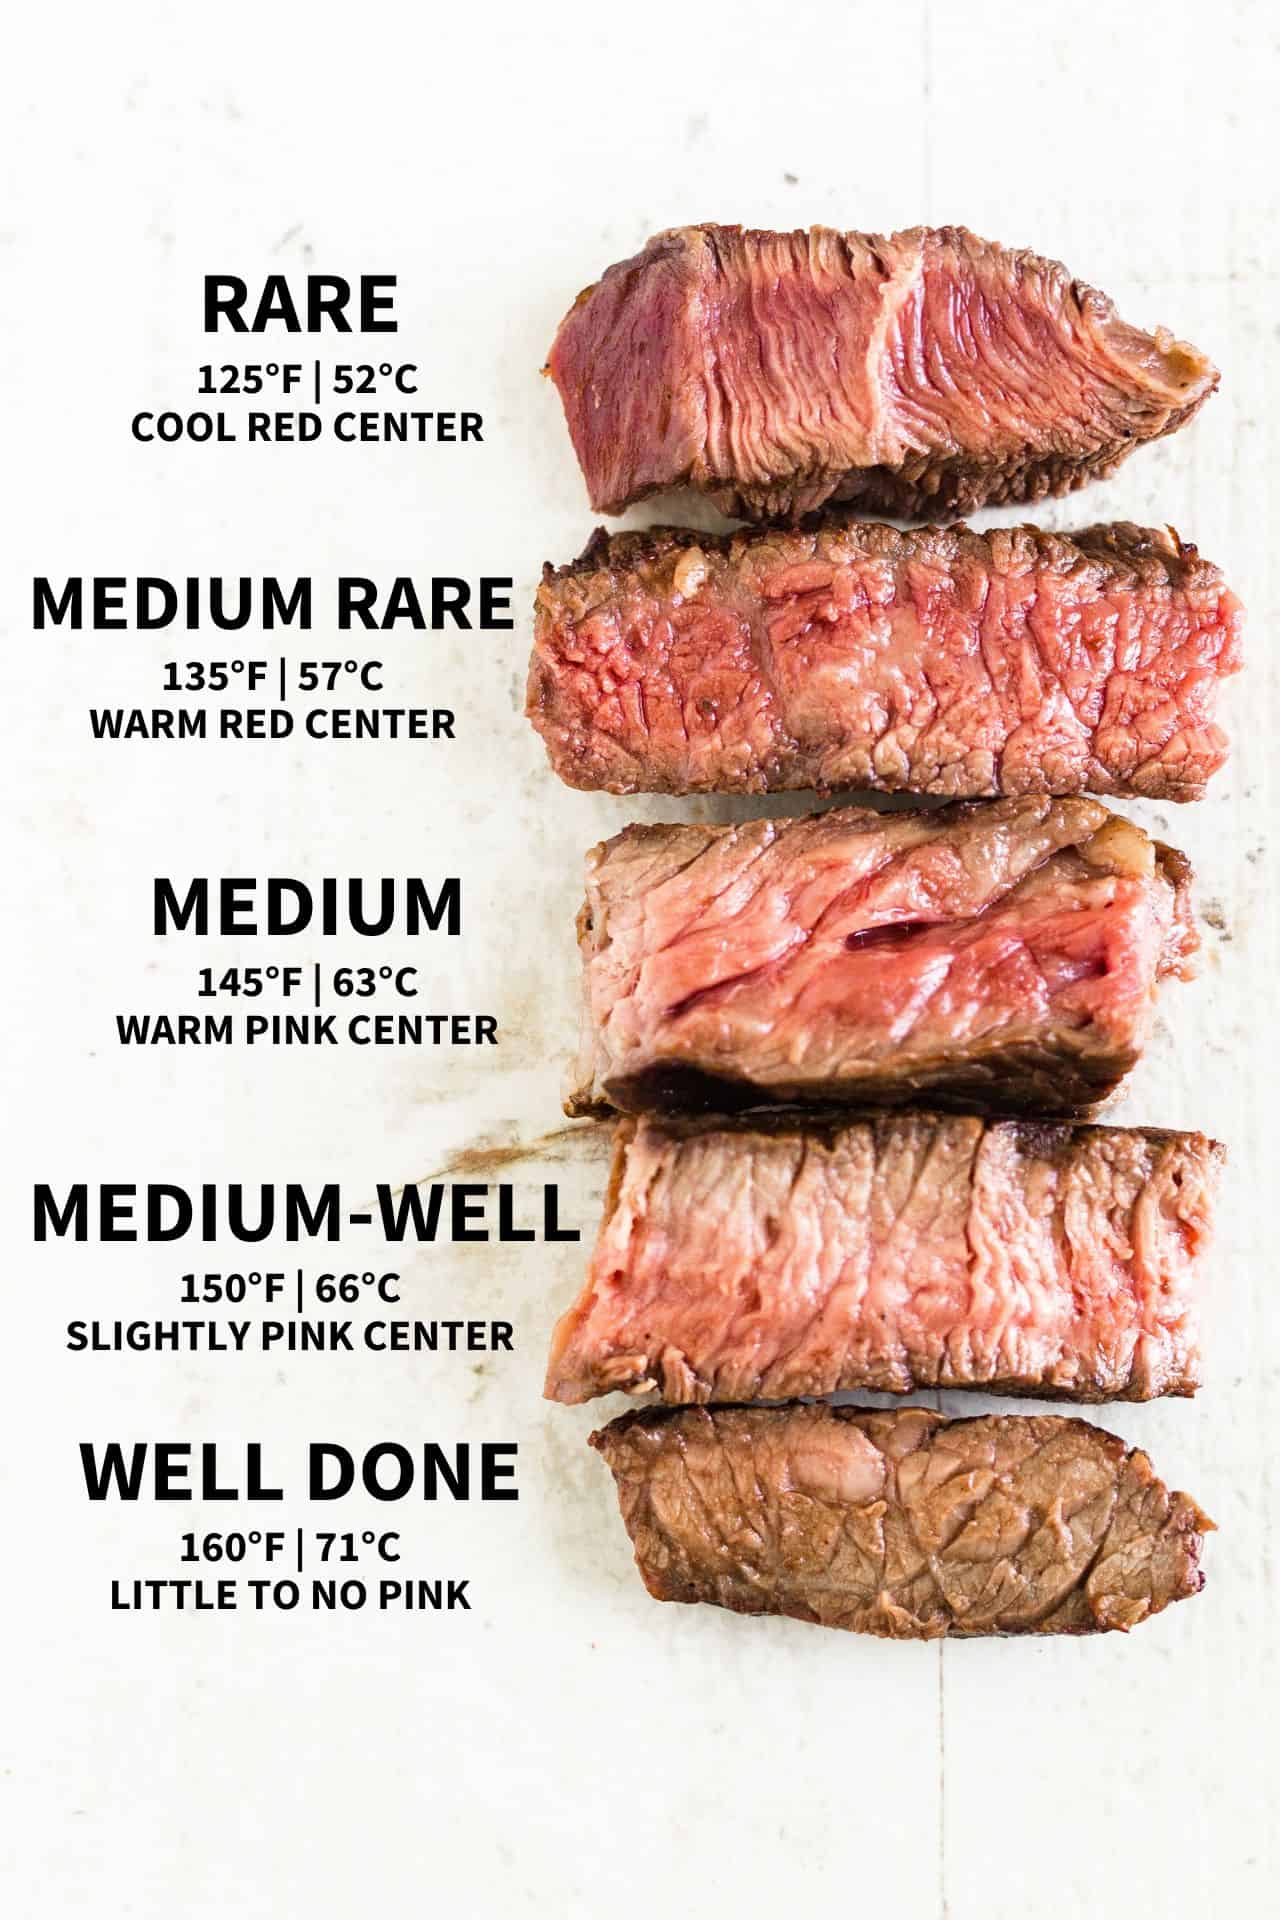
The Pull Temperature Chart That Prevents Disaster
| Doneness | Pull Temp | Final Rest Temp | Critical Tip |
|---|---|---|---|
| Rare | 120-125°F | 130°F | Best for tenderloin only |
| Medium-Rare | 125-130°F | 135°F | Ideal for most cuts |
| Medium | 135-140°F | 145°F | Maximum for eye of round |
| Medium-Well | 145-150°F | 155°F | Only for well-marbled cuts |
Time Estimates That Actually Work
- 2-pound roast: 15-minute sear at 390°F + 25-35 minutes at 320°F (total 40-50 minutes)
- 3-pound roast: 15-minute sear + 45-60 minutes at 320°F (total 60-75 minutes)
- Frozen roast: 70-75 minutes at 330°F (pull at 140°F for medium-rare)
Never rely solely on timing—always verify with an instant-read thermometer.
Foolproof Step-by-Step Air Fryer Roast Method
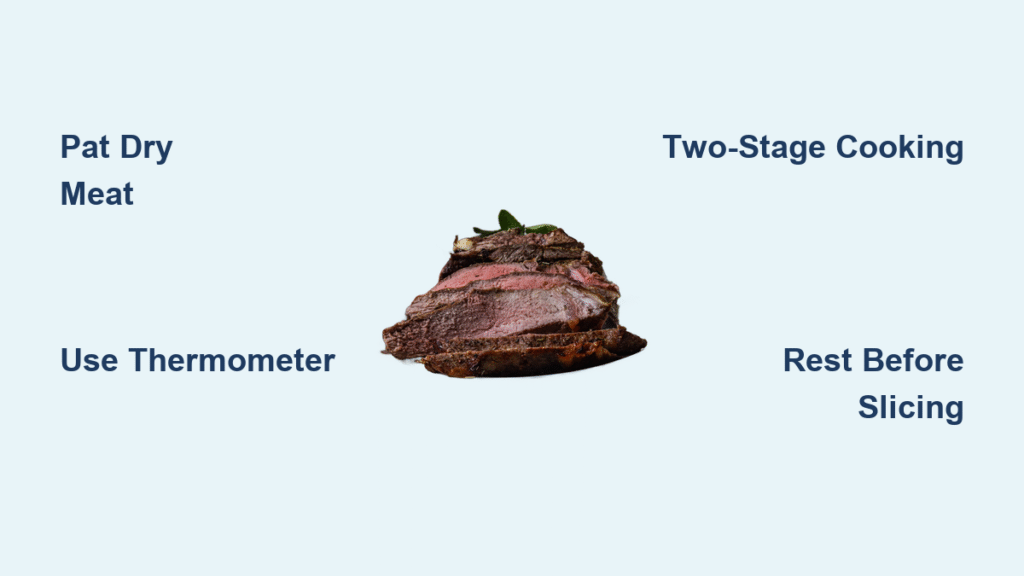
The Two-Stage Cooking Sequence
Preheat your air fryer at 390°F for 3-5 minutes—this crucial step prevents steaming and jump-starts browning. Place your seasoned roast fat-side up in the center of the basket, ensuring no contact with walls. Sear for exactly 15 minutes to develop that professional crust.
Flip using heat-safe tongs, then immediately reduce temperature to 320-360°F depending on your target doneness. Continue cooking until internal temperature reaches 5°F below your final target (125°F for medium-rare). If the exterior browns too quickly during the final 10 minutes, loosely tent with foil to prevent burning while the interior finishes.
The Resting Ritual That Makes or Breaks Your Roast
Transfer to a cutting board and tent loosely with foil for 10-15 minutes (up to 30 minutes for larger cuts). This allows juices to redistribute throughout the meat rather than bleeding out when sliced. During this time, the internal temperature will rise 5-10°F—your medium-rare 125°F roast becomes perfect 135°F medium-rare.
Transforming Chuck Roast into Fork-Tender Pot Roast
The Braising Method That Defies Air Fryer Limitations
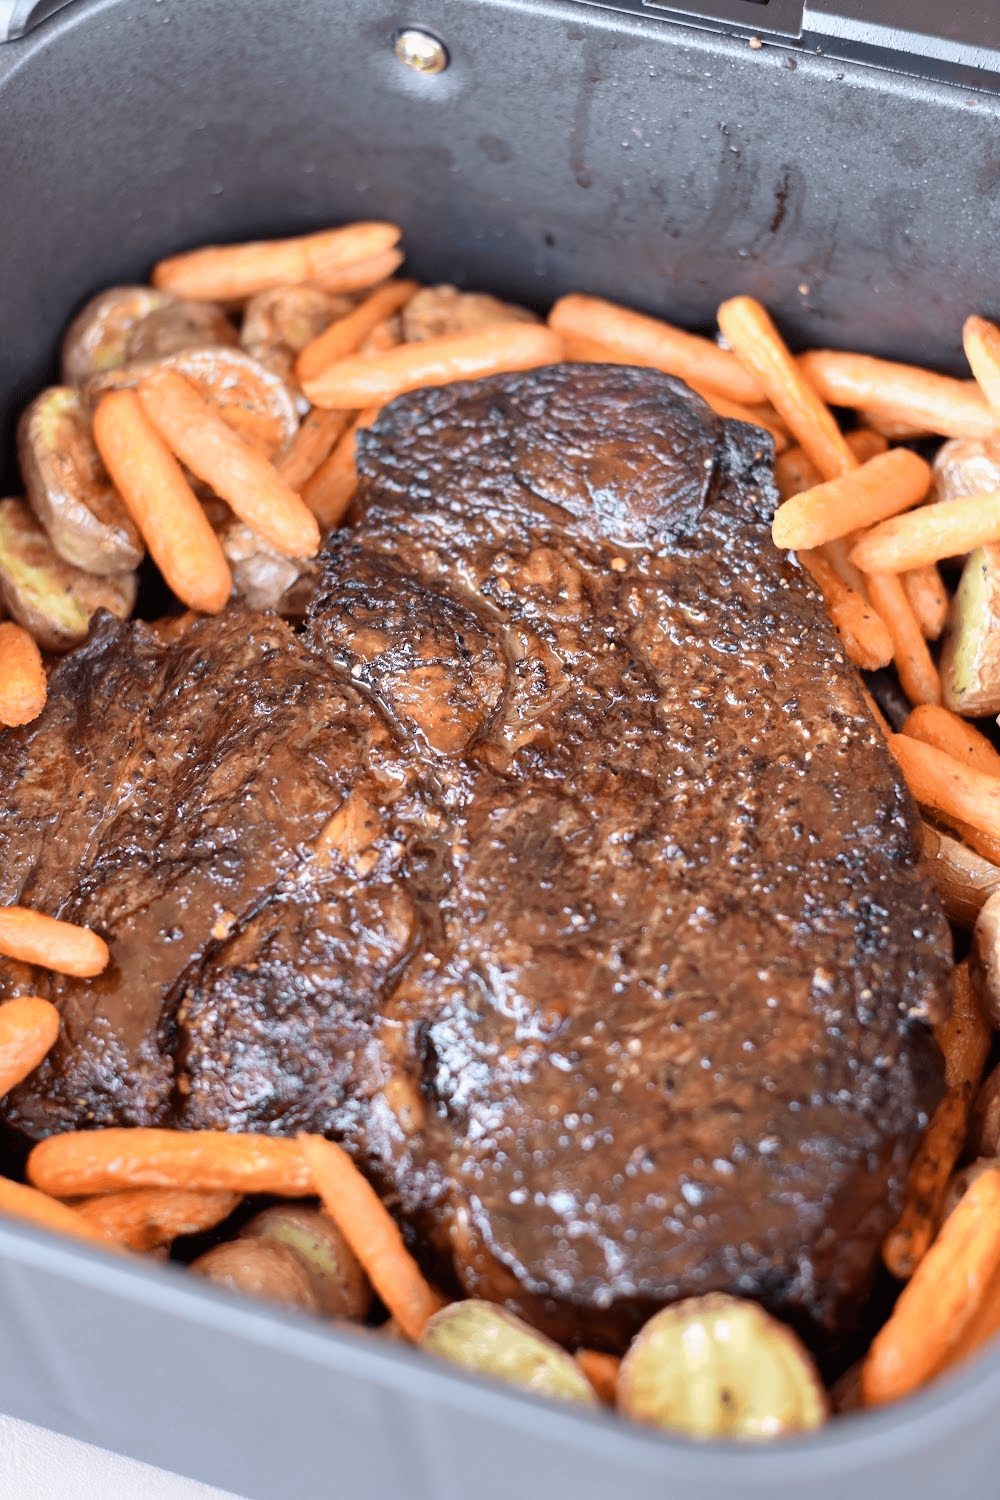
While lean cuts work for dry roasting, chuck requires a different approach. First, sear the chuck roast alone for 10 minutes at 350°F to develop fond. Transfer to an 8-inch metal cake tin that fits your basket, adding ½ cup liquid (red wine, beef broth, or combination) plus aromatics.
Surround with oiled carrots and potatoes, then return to the air fryer. Cook for 45-60 minutes total, removing the beef at 145°F for sliceable texture. Let the beef rest while vegetables finish cooking for an additional 15-20 minutes—the contained liquid creates steam that breaks down collagen while circulating air maintains crust on exposed surfaces.
Troubleshooting Your Air Fryer Roast Problems
Fixing Dry Interior in 3 Steps
Problem: Meat pulls apart like jerky instead of yielding tender slices
Solution: 1) Pull 5°F earlier than target temperature 2) Choose fattier cuts like top sirloin 3) Wrap in foil during final cooking phase to retain moisture
Rescuing Burnt Exterior/Raw Center
Problem: Charred surface with cold center
Solution: Always bring meat to room temperature before cooking and use the two-stage method—high heat for crust followed by lower temperature for thorough cooking. If browning too fast, reduce initial sear temperature to 375°F.
Reheating Leftovers Without Sacrificing Quality
Air Fryer Method for Restaurant-Quality Results
Reheat sliced roast at 350°F for 3-4 minutes in a single layer—this restores the crust while warming evenly. Add a splash of broth or au jus to prevent drying. Never microwave leftovers if you want to preserve texture; the intense, direct heat of the air fryer revives the crisp exterior that makes your roast special.
Store sliced roast in airtight containers for 3-4 days in the refrigerator. For longer storage, freeze individual portions wrapped in foil plus freezer bags for up to 3 months. Label with date and cut type—thaw overnight in the refrigerator before reheating for best results.
Mastering how to cook a roast in an air fryer unlocks weeknight dinners that feel special without the kitchen marathon. The key lies in respecting three fundamentals: proper temperature control, adequate space for airflow, and precise timing. Start with top sirloin using the two-stage cooking method, and you’ll achieve restaurant-quality results that will make you wonder why you ever heated up the whole oven. With these techniques locked in, you’re just 60 minutes away from the perfect roast—crisp, juicy, and ready when you are.


