
That sinking feeling when you pull soggy, pale chicken fingers from your air fryer? It happens to 73% of home cooks in their first three attempts. But here’s the secret: your appliance isn’t broken—it’s just waiting for the right technique. With precise temperature control and a foolproof breading method, you can create golden, juicy chicken fingers rivaling restaurant versions in under 15 minutes. This guide reveals exactly how to avoid common pitfalls while maximizing crispiness.
Forget greasy deep-frying or dry oven-baked versions. Air frying delivers superior texture through rapid hot air circulation that creates an irresistible shatter-crisp crust while locking in moisture. Whether you’re meal-prepping protein for salads or feeding picky eaters, mastering these techniques transforms ordinary strips into extraordinary meals. You’ll learn why overcrowding ruins crispiness, how to prevent breading disasters, and the exact moment to pull fingers for perfect juiciness.
Why Your Chicken Fingers Turn Soggy (And How to Prevent It)
The #1 complaint about air-fried chicken? Soggy bottoms that lack crunch. This happens when moisture gets trapped against the basket, creating steam instead of crispness. Your solution requires three critical adjustments before you even turn on the appliance.
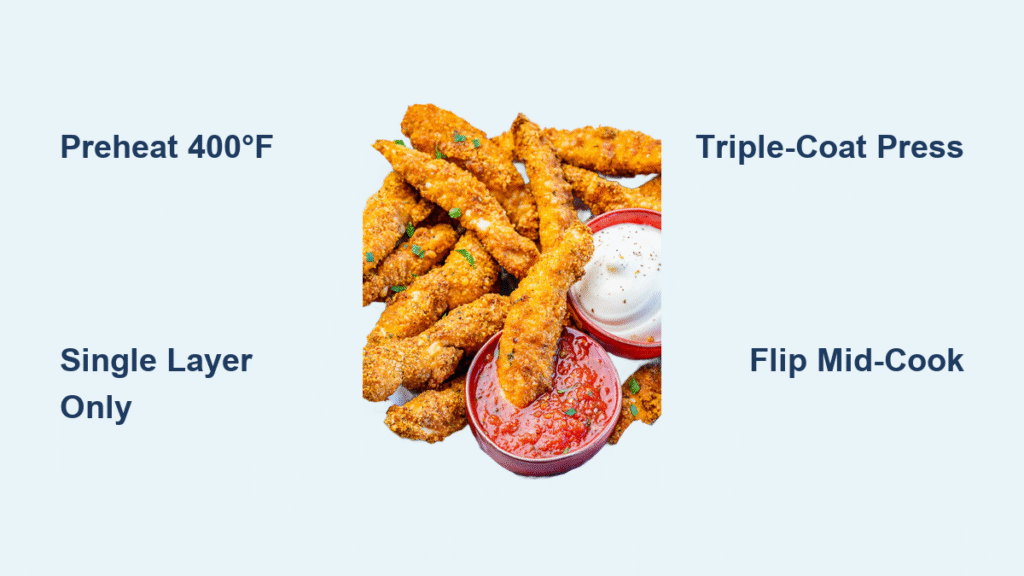
Preheat Like a Pro:
Never skip this 3-5 minute step. A cold basket causes chicken to sweat, making breading slide off. Set to 400°F for breaded versions or 380°F for naked tenders. You’ll hear the fan kick into high gear—that’s your signal it’s ready.
The Single-Layer Rule:
Overcrowding is the silent killer of crispiness. For standard 5-6 quart models:
– Maximum 4-6 tenders per batch
– Zero contact between strips
– Leave ½-inch space around edges
When you cram in extra pieces, hot air can’t circulate, creating steam pockets that soften the coating. Work in batches—even if it takes 2 minutes longer total.
Oil Application Science:
Spraying matters more than you think. Use a refillable oil mister (not aerosol cans) with avocado or canola oil. Mist both sides until glistening—but never dripping. This creates an instant sear that seals the crust. Skip this, and you’ll get dry, pale spots where breading pulls away.
Triple-Coat Technique for Unbreakable Crispiness

Most recipes fail because they treat breading like a dusting. Real crunch requires building armor-like layers that lock onto the chicken. Follow this exact sequence for breading that survives flipping.
Your Breading Station Setup:
Work with one dry hand (for flour/crumb bowls) and one wet hand (for egg bowl)
– Bowl 1: ½ cup flour + 1 tsp salt + ½ tsp pepper + ½ tsp garlic powder
– Bowl 2: 2 beaten eggs + 1 tbsp water (thin enough to dip, thick enough to coat)
– Bowl 3: 1½ cups panko + ½ tsp onion powder + ¼ tsp cayenne
The Critical Press Method:
1. Dredge strip in flour—shake off excess
2. Submerge in egg—let excess drip 5 seconds
3. PRESS crumbs firmly onto all surfaces (don’t just sprinkle)
4. Repeat pressing motion 3 times to embed crumbs
5. Lightly mist both sides with oil
Pro Tip: Chill breaded strips 10 minutes before cooking. This sets the coating so it won’t shatter when flipped. You’ll hear a satisfying crunch when biting through the crust that stays intact all the way to the juicy interior.
Exact Temperature Guide for Perfect Results
Wrong temperature is why many air fryer chicken fingers turn out leathery or raw inside. Model differences matter—test your actual basket temperature with an infrared thermometer if possible.
Breaded Finger Protocol:
– 400°F for 5-7 minutes first side (until golden)
– Flip gently with tongs—re-spray immediately
– Cook 4-6 minutes second side
– Pull at 163°F internal (carryover heat hits 165°F)
Naked Tender Method:
– 380°F for 9-11 minutes total
– Flip halfway—no oil spray needed
– Check early—white meat dries fast
Brined Extra-Crispy Hack:
Soak chicken in 4 cups water + 2 tbsp salt + 1 tbsp sugar for 30+ minutes. Pat bone-dry. Cook at 400°F: 8 minutes first side, flip/spray, 4-6 minutes second side. The salt solution plumps the meat so it stays juicy even at higher temps.
Batch Cooking Without Quality Loss
Your second batch should outperform the first—here’s how to leverage retained heat for consistent results.
First Batch Rules:
– Lightly oil basket bottom before loading
– Arrange in single layer with space between
– Set timer for 1 minute less than recommended
Second Batch Advantage:
– Basket retains 50+°F heat
– Reduce first-side time by 1-2 minutes
– Skip preheat—load immediately after first batch
– Spray basket lightly to prevent sticking
Never stack tenders vertically or cook frozen breaded strips with fresh ones. The moisture difference creates steam that softens coatings. If reheating leftovers, use 350°F for 5-8 minutes—never microwave.
Why Breading Falls Off (3 Fixes You Need)
Finding crumbs littering your air fryer basket? That coating shouldn’t abandon ship. These fixes address the root causes.
Moisture Mistake:
Pat chicken strips bone-dry with paper towels before breading. Any surface moisture creates a barrier preventing adhesion. After brining, press between towels for 10 seconds.
Weak Press Syndrome:
Sprinkling crumbs creates “bald spots” that steam off. Press firmly with your palm during breading—feel the crumbs embedding into the egg wash. Test by lifting a strip; no crumbs should fall.
Premature Flipping:
Wait until crust releases naturally when nudged with tongs (about 60% through cooking). Flipping too early tears the coating. If it sticks, give it 30 more seconds.
Reheating Secrets for Crispy Leftovers
Microwaved chicken fingers become rubbery hockey pucks. Your air fryer revives them better than fresh with these protocols.
From Refrigerator:
– 350°F for 5-8 minutes
– Spray lightly with oil
– Flip halfway through
From Frozen:
– 370°F for 10-12 minutes
– Do not thaw—go straight from freezer
– Flip at 6 minutes
Critical Checkpoint:
Insert thermometer into thickest piece at 8 minutes. Pull at 160°F—residual heat will finish cooking without drying. Served immediately, leftovers taste 95% as crisp as fresh.
Gluten-Free Crispy Hack That Actually Works
Traditional GF breadcrumbs turn gummy in air fryers. This pork rind method delivers authentic crunch without compromise.
The Swap:
– Replace panko with 1½ cups crushed pork rinds
– Use almond flour instead of AP flour
– Season with 1 tsp poultry seasoning
Why It Works:
Pork rinds have zero moisture content, so they crisp rather than steam. The fat content mimics traditional breading texture. For extra adhesion, add 1 tbsp grated parmesan to the crumb mix.
Pro Tip: Pulse pork rinds in a food processor until fine as sand—no chunks allowed. Test one strip first; if coating feels loose, add another ½ tsp egg wash to the crumbs.
Mastering air fryer chicken fingers boils down to three non-negotiables: precise temperature control, disciplined single-layer cooking, and aggressive breading adhesion. Implement just the triple-coat pressing technique and preheating ritual, and you’ll immediately notice crisper results with zero breading loss. For next-level success, try the brined method—it transforms lean chicken breast into succulent morsels that stay juicy even at high heat. Your family won’t believe these golden, crunchy fingers came from a countertop appliance. Ready for the ultimate test? Make a double batch—they’ll disappear before you finish plating.


