
Tired of soggy, overcooked cod that loses its delicate flavor under heavy breading? Your air fryer holds the secret to perfectly flaky, golden-brown cod with just minutes of active prep time. Skip the messy breading process and let the fish’s natural sweetness shine through with this no-fail method that delivers restaurant-quality results in your own kitchen.
Unlike traditional frying that drowns cod in oil, air frying creates that coveted crispy exterior while preserving the fish’s tender interior—no breading required. In just 8-12 minutes, you’ll transform simple fillets into a protein-packed meal with only 3-11 grams of fat per serving. Whether you’re a seafood novice or air fryer enthusiast, this guide reveals the precise techniques for consistent, impressive results every time.
Essential Air Fryer Setup
Choose Your Appliance
Both basket and oven-style air fryers excel with cod, but knowing your model’s quirks makes all the difference. Basket models typically cook 1-2 minutes faster due to concentrated heat circulation, while oven-style units benefit from rotating the basket halfway through cooking. The critical factor? Ensuring fillets lie completely flat without overlapping—crowding creates steaming zones that prevent proper browning.
Must-Have Tools
An instant-read thermometer isn’t optional—it’s your insurance against overcooked cod. This delicate fish transitions from perfect to dry in under 60 seconds, making temperature verification essential. Perforated parchment rounds solve the sticking dilemma, especially when cooking skin-on fillets. For uniform cooking, keep kitchen scissors handy to portion large fillets into consistent thicknesses.
Basket Preparation Secrets
Preheating for 5 minutes may seem unnecessary, but it creates immediate searing that locks in moisture and prevents sticking. Never load cold fillets into a cold basket—this guarantees uneven cooking. Lightly coat the basket with oil using a paper towel or line with perforated parchment. Solid foil sheets block airflow and create steaming conditions that ruin texture.
Perfect Cod Selection
Fresh vs. Frozen Decisions
Fresh cod delivers superior texture, but frozen works brilliantly when handled correctly. Select frozen packages without ice crystals or freezer burn—these indicate moisture loss that compromises texture. For fresh fillets, press gently with your finger; it should spring back immediately and feel firm, never mushy or leaving an indentation.
Portion Control Basics
A 5-6 ounce fillet makes a satisfying entrée, while 3-4 ounce pieces work perfectly for tacos or salads. The critical factor? Uniform thickness throughout each piece. Trim thin tail sections with kitchen scissors or fold them under to match the thickest part of the fillet. This prevents overcooked edges while waiting for the center to finish.
Thawing Techniques
Refrigerator thawing overnight remains the gold standard for optimal texture. For last-minute meals, submerge sealed fillets in cold water for 30-40 minutes, changing water every 10 minutes. Never use warm water—it creates bacterial breeding grounds and causes texture degradation. If cooking frozen cod directly, rinse under cold water first, then cook 4 minutes at 350°F to thaw before seasoning and finishing.
Moisture Control Mastery

The Drying Process
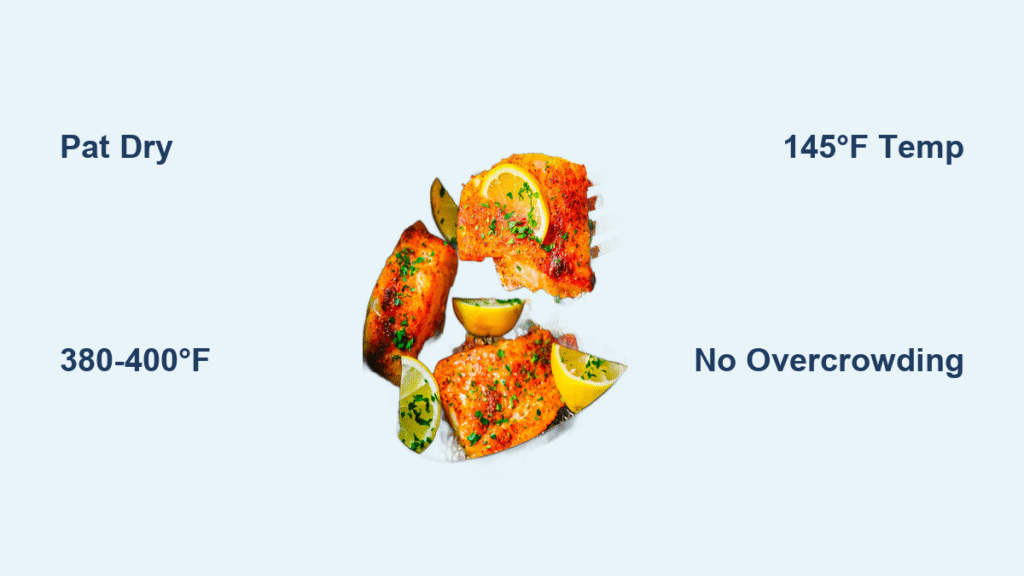
Pat cod absolutely dry with multiple paper towels, pressing firmly but gently across all surfaces. Surface moisture creates steam pockets that prevent browning and cause sticking. This step takes 30 seconds but makes the difference between golden perfection and pale, soggy fish. Replace towels as needed until no moisture transfers.
Why Dry Fish Cooks Better
Dry surfaces caramelize faster, creating that coveted golden crust through the Maillard reaction. Moisture acts as an insulator, forcing you to overcook the interior while waiting for exterior browning. Think of it like searing steak—moisture is the enemy of proper browning. Skipping this step guarantees disappointing results.
Seasoning Without Breading

Oil Application Technique
Use 1-2 teaspoons of oil per 5-ounce fillet—enough to coat but not pool. Avocado oil withstands high heat beautifully, while olive oil adds Mediterranean notes. Melted butter creates richness but requires careful monitoring—milk solids can burn above 375°F. Drizzle oil, then rub it into every surface using your fingertips for even coverage.
Flavor Profiles That Work
Lemon-Garlic Classic:
– 2 tablespoons fresh lemon juice
– 1 minced garlic clove
– ½ teaspoon smoked paprika
– Salt and pepper to taste
Cajun Blackened:
– ½ teaspoon each: paprika, garlic powder, onion powder
– ¼ teaspoon each: oregano, thyme, cayenne
– Generous salt and black pepper
Mediterranean Herb:
– ½ teaspoon garlic powder
– ¼ teaspoon each: onion powder, oregano
– Pinch red pepper flakes
– Fresh parsley finish
Application Methods
Dry rubs work fastest—mix spices thoroughly, then massage directly onto oiled fillets. For deeper flavor penetration, create a 5-minute marinade with oil, lemon juice, and seasonings. Drain briefly before cooking—excess marinade creates steaming instead of crisping. Never marinate longer than 10 minutes with acidic ingredients to prevent texture breakdown.
Temperature & Timing Chart

The Sweet Spot Range
Most fillets cook perfectly between 380-400°F for 7-12 minutes. Thicker loins need the full time, while thinner fillets finish closer to 7 minutes. Always check at the minimum time—you can add more cooking time, but you can’t un-cook fish. Consistent temperature matters more than chasing higher heat.
Thickness Determines Everything
- ½-inch fillets: 7-9 minutes at 400°F
- ¾-inch pieces: 9-11 minutes at 380°F
- 1-inch loins: 11-13 minutes at 375°F
Flip vs. No-Flip Debate
Flipping creates more even browning but risks breaking delicate fillets. For thicker pieces (¾-inch or more), flip gently halfway through using two spatulas. Thin fillets cook perfectly without turning—just ensure they lie flat in a single layer with space between pieces.
Step-by-Step Cooking Method
Pre-Cooking Checklist
- Verify temperature: Preheat air fryer to 380-400°F
- Prep fillets: Pat dry, portion uniformly, remove pin bones
- Season: Oil and season all surfaces
- Basket ready: Lightly greased or lined with perforated parchment
The Cooking Process
Place fillets skin-side-down if skin-on, ensuring no overlapping. Cook at 380°F for 8-10 minutes without flipping for standard fillets. Check internal temperature at 7 minutes, then every minute after. For crispier edges, increase to 400°F but reduce initial cooking time by 1-2 minutes.
Doneness Verification
Insert instant-read thermometer at the thickest point. 145°F is your magic number—the fish continues cooking from residual heat. Visually, flesh turns opaque and flakes easily with gentle fork pressure. If you see any translucent center, cook for 1-minute increments. Never cook beyond 145°F—cod becomes dry and rubbery within 60 seconds of overcooking.
Common Mistakes to Avoid
Overcrowding Consequences
Stacking fillets creates steaming zones that prevent browning. Cook in batches if needed—first batch stays warm while second finishes. Better to spend extra 5 minutes than serve soggy fish. A single layer with space between pieces ensures proper air circulation.
Temperature Overcompensation
Higher heat doesn’t mean faster cooking—it means overcooked edges. Stick to the 380-400°F range. If your fish consistently overcooks, check your thermometer against boiling water (should read 212°F) to verify accuracy.
The Overcooking Trap
Cod transforms from perfect to dry in under 60 seconds. Pull it at 145°F, even if centers seem slightly translucent. Carryover cooking finishes the process while resting. Set a timer for one minute less than your estimated time and check early.
Serving Suggestions
Quick Weeknight Sides
Air-fry cod alongside vegetables for complete meals. Green beans, asparagus, or zucchini slices cook in the same timeframe. Simply season vegetables and add to the basket during the last 5-6 minutes of cooking. For grain-based sides, prepare microwave rice or cauliflower rice while the cod cooks.
Sauce Pairings
- Classic tartar: Mayo, minced pickles, lemon juice, Dijon
- Garlic aioli: Mayo, roasted garlic, lemon zest
- Chipotle mayo: Mayo, chipotle in adobo, lime juice
- Lemon-butter: Melted butter, fresh lemon, parsley
Presentation Styles
Plated elegance: Serve over arugula salad with lemon wedges and fresh herbs. Taco night: Flake cod into warm tortillas with slaw and avocado. Rice bowls: Layer over coconut rice with mango salsa and lime crema.
Storage & Reheating
Proper Cooling Technique
Let cod cool completely before storage—hot fish creates condensation that ruins texture. Store in airtight containers with paper towels to absorb excess moisture. Properly stored cod stays fresh 3-4 days refrigerated.
Reheating Without Ruining Texture
Air fryer reheating at 350°F for 3-4 minutes restores crispy edges. Avoid microwaves—they create rubbery, overcooked texture. If using oven, wrap loosely in foil with a splash of water to prevent drying. Never reheat more than once for optimal texture.
Troubleshooting Guide
| Problem | Quick Fix |
|---|---|
| Pale, soggy surface | Pat drier next time, increase temp to 400°F |
| Fish sticks to basket | Use more oil or perforated parchment |
| Dry, rubbery texture | Pull at 145°F, check thermometer accuracy |
| Uneven cooking | Ensure single layer, uniform thickness |
| White albumin leaking | Slight overcooking—reduce time by 1-2 minutes |
Mastering air fryer cod without breading transforms weeknight dinners from ordinary to exceptional. The combination of precise timing, proper seasoning, and temperature control delivers restaurant-quality results in your own kitchen. Start with these fundamentals, then experiment with different spice blends and serving styles. Your air fryer just became your secret weapon for healthy, delicious seafood any night of the week.


