
Picture this: game day is here, your friends are arriving in 20 minutes, and you need restaurant-quality wings without oil splatters or greasy kitchen disasters. Your air fryer delivers golden, shatter-crisp chicken wings in under 25 minutes using just half a tablespoon of oil. Forget soggy results or uneven cooking—this guide reveals the pro techniques that transform basic wings into addictive crowd-pleasers with crackling skin and juicy interiors.
Master the baking powder secret that creates blistered, deep-fried texture without submersion. Discover why overcrowding ruins crispiness and how two-stage cooking prevents burnt edges. You’ll learn exact timing for drumettes versus flats, sauce application tricks that prevent sogginess, and reheating methods that restore crunch days later. Whether feeding two or twenty, these science-backed steps guarantee perfect wings every time.
Baking Powder Crispiness Secret
Skip the deep fryer but never sacrifice crunch. Baking powder transforms air fryer wings by drawing surface moisture outward where hot air instantly evaporates it. Simultaneously, it raises skin pH to break down proteins, creating the blistered, ultra-crisp texture you’d pay $15 for at sports bars.
How Baking Powder Works
Combine ½ teaspoon aluminum-free baking powder with your seasonings per pound of wings. During cooking, it pulls moisture to the skin’s surface while creating an alkaline environment that accelerates browning. This dual action mimics deep frying’s Maillard reaction—producing wings with shatteringly crisp skin and no metallic aftertaste. Critical tip: Always mix baking powder with dry seasonings first before adding oil to prevent clumping.
When to Skip It
Avoid baking powder for sticky sauces like honey garlic or Korean gochujang. The ultra-crisp surface prevents thick sauces from adhering properly, causing them to slide right off. Use this technique exclusively for dry-rubbed wings or those tossed in vinegar-based sauces like classic buffalo.
Essential Equipment Setup
Don’t waste time with unnecessary gadgets. Your success depends on three non-negotiable items and understanding capacity limits.
Must-Have Tools
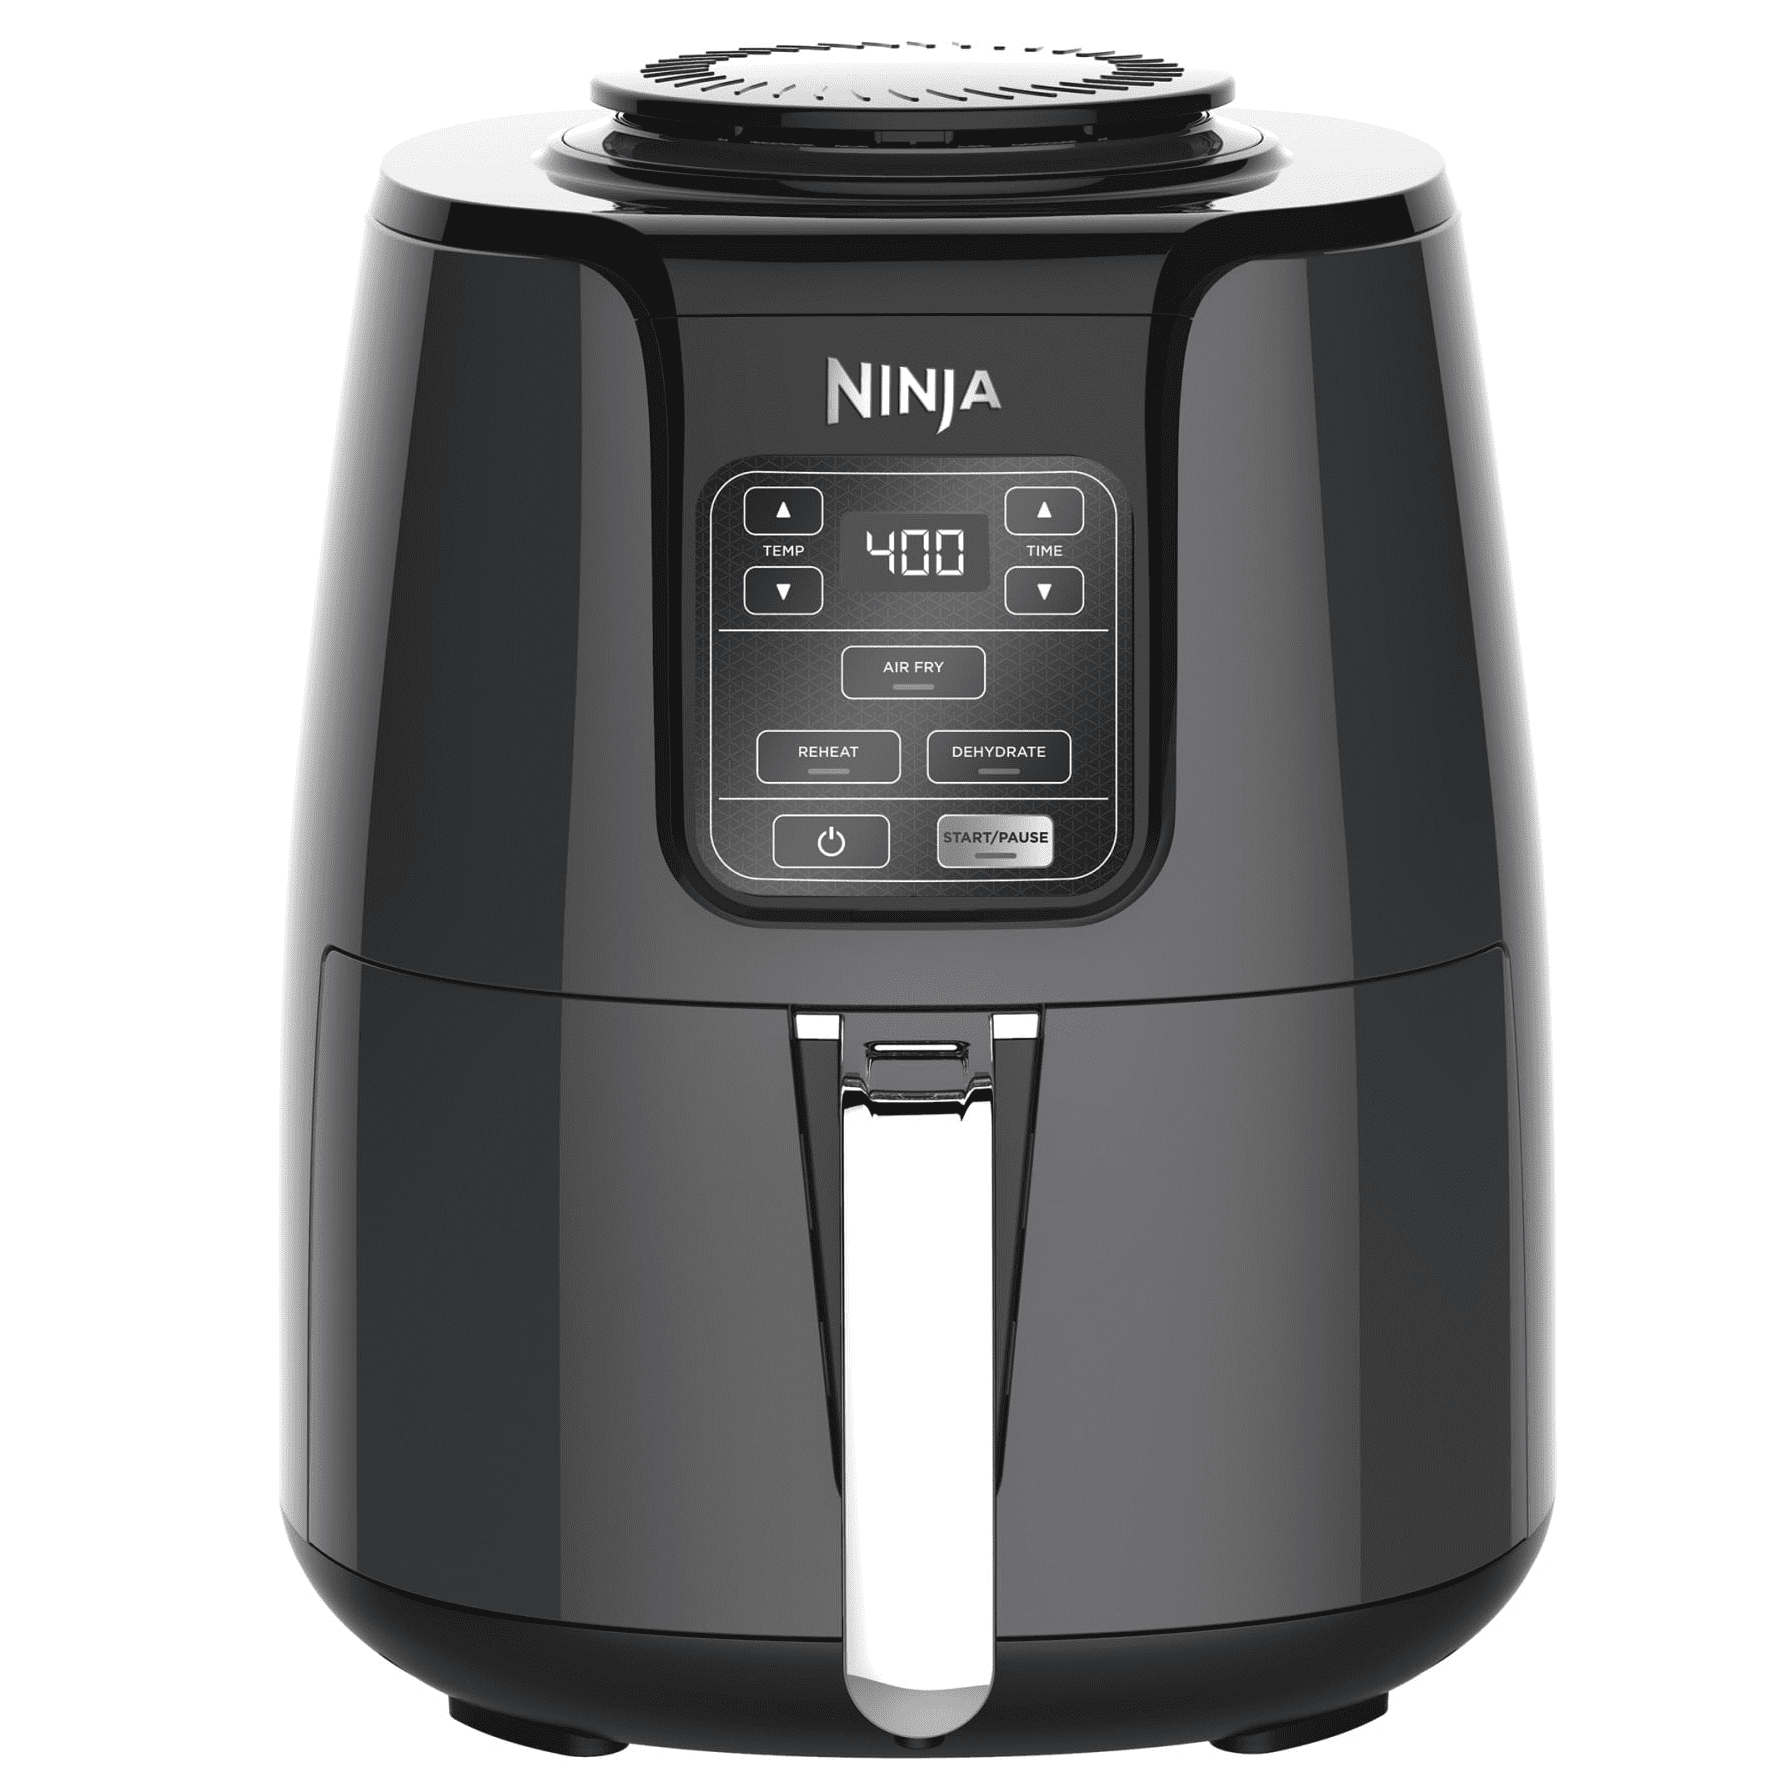
- Air fryer: Any model hitting 400°F (Ninja 4-qt or Cosori 3.7-qt for 2-person meals)
- Paper towels: Essential for thorough wing drying—replace until no moisture transfers
- Gallon Ziplock bag: Superior to bowls for even seasoning distribution on larger batches
Skip cooking spray—it’s unnecessary if wings are properly dried. Overcrowding causes steaming, so never exceed 1.5 pounds per batch in standard 4-qt models.
Capacity Guidelines
- 3.7-4 qt models: Max 1.5 pounds (18 wings) in single layer
- 6-8 qt models: Handle 2-2.5 pounds (24-30 wings)
- 10+ qt models: Cook 3-4 pounds but still avoid overlapping
Wings can touch lightly but never stack. If they’re crowded, cook in batches—soggy wings from overcrowding can’t be salvaged later.
Perfect Wing Prep

Moisture is crispiness’ worst enemy. Proper prep determines 80% of your success before the air fryer even heats up.
Drying Technique
Pat wings aggressively with paper towels for 90 seconds, pressing into crevices. Change towels 2-3 times until they stay bone-dry. For next-level results, arrange wings on a wire rack and refrigerate uncovered for 2 hours—this air-drying method pulls out residual moisture for maximum browning.
Time-saver: Buy “party wings” pre-separated into drumettes and flats. Avoid frozen wings—they release too much moisture unless fully thawed and patted dry overnight.
Size Consistency Matters
Sort wings by size before cooking. Smaller flats cook 3-4 minutes faster than drumettes. If mixing sizes, add drumettes first and introduce flats midway through cooking. Never force mismatched wings into one batch—they’ll either burn or stay rubbery.
Seasoning Methods That Stick
Oil isn’t for flavor—it’s the adhesive that locks seasonings onto skin during high-speed cooking.
Bowl Method for Small Batches
For 1 pound of wings: Drizzle ½ tablespoon oil, then add seasonings immediately. Toss vigorously for 30 seconds until every surface glistens. Works best with tongs in stainless steel bowls to avoid scratching non-stick coatings.
Bag Method for Even Distribution
Place wings in Ziplock bag with oil and seasonings. Seal while trapping air inside, then shake for 45 seconds. The pressurized air forces seasoning into every nook—critical for wingettes with their folded skin. Pro move: Add baking powder to dry mix first to prevent clumping.
Four Proven Cooking Methods
Choose your method based on timing needs and crispiness preferences—never cook wings at one temperature.
Quick 400°F Method
Start to finish at 400°F: Cook 10 minutes, flip, then 5-11 more minutes. Best for weeknights when speed matters. Yields maximum crunch but requires watchful flipping—small wings finish in 15 minutes; large ones take 21.
Fat-Rendering Two-Stage
Professional technique: 360°F for 18 minutes (shake every 6 minutes), then 390°F for 5-6 minutes (shake every 2 minutes). Renders fat slowly for evenly crisp skin without burnt edges. Total 23-24 minutes for foolproof results.
Temperature Ramp Method
Hybrid approach: 380°F for 10 minutes, then 400°F for 6-8 minutes. Balances gentle fat rendering with final crisping. Ideal for medium-sized wings when you want reliable results without constant monitoring.
Maximum Capacity Method
For large gatherings: 400°F for 20 minutes, flip, then 10-15 more minutes. Cook 3-4 pounds in XL models but expect 30-35 minutes total. Critical: Add sauce only during final 2-4 minutes to prevent burning.
Temperature & Timing Guide
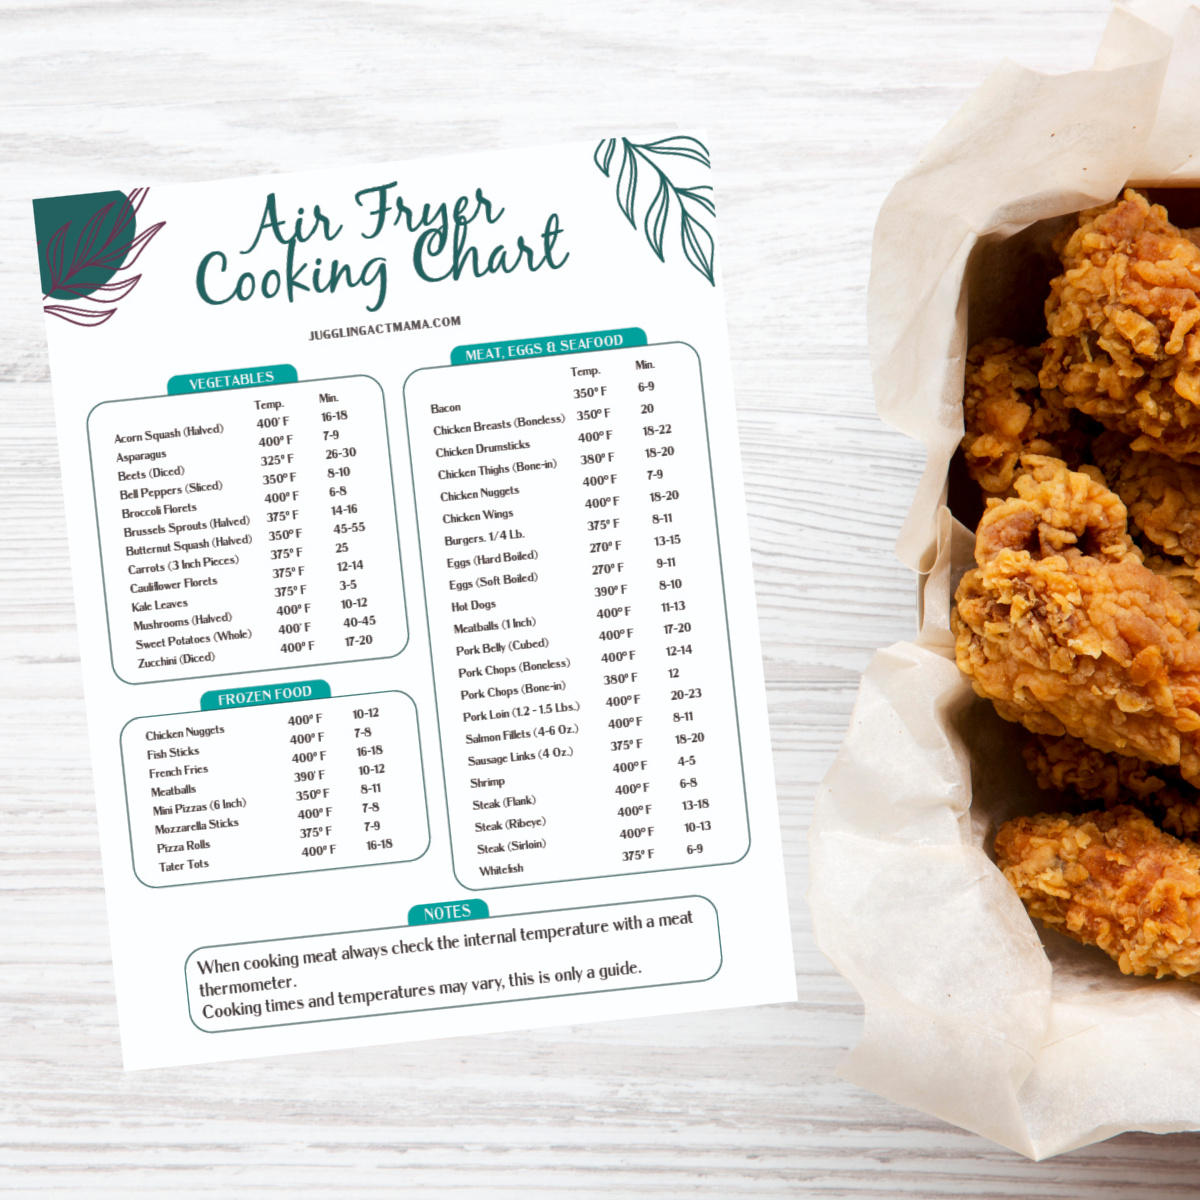
Use this cheat sheet for perfect wings every time:
- Small wings (8-10/lb): 400°F method = 15-16 min total
- Medium wings (6-8/lb): Two-stage = 22-24 min total
- Large wings (4-6/lb): 400°F method = 20-22 min total
Non-negotiable rule: Wings must hit 165°F internally. Insert thermometer into thickest drumette part, avoiding bone. If under 160°F, continue cooking in 2-minute increments.
Sauce Application Secrets
Timing separates crispy winners from soggy disasters.
When to Sauce
Toss wings in sauce ONLY during the final 2-4 minutes of cooking. Adding earlier causes sugars to caramelize excessively, creating bitter, burnt flavors. For best adhesion, coat wings immediately after cooking while they’re piping hot.
Sauce Temperature Trick
Warm sauces for 30 seconds in the microwave before tossing. Cold sauce hitting 400°F wings creates instant steam that softens crisp skin. Classic combo: Mix Frank’s RedHot with melted butter at 2:1 ratio for authentic buffalo.
Common Problems Fixed
Wings Staying Soggy
Fix: You overcrowded the basket. Cook 1-1.5 pounds max per batch. Wings must sit in a single layer with space between them—steam from overlapping pieces prevents crisping.
Sauce Burning
Fix: You added sauce too early. Sugary sauces like honey garlic need the final 2 minutes only. For thick sauces, serve on the side instead of tossing.
White Spots on Skin
Fix: Baking powder wasn’t fully mixed. Always blend it with dry seasonings first before adding oil. Aluminum-free powder prevents chemical aftertastes.
Party Batch Strategies
Feed crowds without last-minute panic. Cook wings to 90% doneness (slightly underdone), then hold at 200°F in your oven on a wire rack. Finish all batches at 400°F for 2-3 minutes just before serving. For 6 pounds, expect 4-5 batches totaling 45-60 minutes—but everyone gets hot, crisp wings simultaneously.
Storage & Reheating
Store unsauced wings in airtight containers for 3-4 days. Reheating secret: Air fry at 375°F for 4-8 minutes (shake halfway). Microwaving creates rubbery skin—reserve it for emergencies at 50% power in 30-second bursts.
Nutritional Comparison
Air frying slashes guilt without sacrificing crunch: 271-320 calories versus 430+ in deep-fried wings. The difference? Eliminating oil absorption—your air fryer uses ½ tablespoon versus 2-3 cups for traditional frying. You’ll save 14-17g fat per serving while keeping all the protein.
Final Pro Tips
- Skip preheating: Air fryers heat instantly—preheating wastes time
- Shake smartly: Use silicone-tipped tongs to avoid scratching baskets
- Double batch: Cook extra plain wings, freeze, then reheat in 5 minutes
- Season twice: Apply half your rub before cooking, the rest after saucing
Master these techniques once, and your air fryer becomes the ultimate wing weapon—all the crunch of deep frying without the oil bath or kitchen cleanup. Next game day, watch jaws drop when you serve wings that out-crisp restaurant versions in half the time. Your secret? Just 240°F of strategic heat and a half-teaspoon of baking powder magic.


