
That disappointing moment when your air-fried fish comes out soggy instead of golden? You’re not alone. Millions of home cooks struggle to replicate restaurant-quality fried fish using their air fryers, often ending up with dry fillets or burnt breading. The good news: with the right techniques, your air fryer can transform humble fish fillets into crispy, tender perfection using just a tablespoon of oil. In this guide, you’ll discover exactly how to fry fish in air fryer without common pitfalls—no guesswork required. Let’s unlock the secrets to consistently flawless results that’ll make you forget about deep fryers forever.
Why Your Air-Fried Fish Fails (And How to Fix It)
Moisture Is Your Enemy
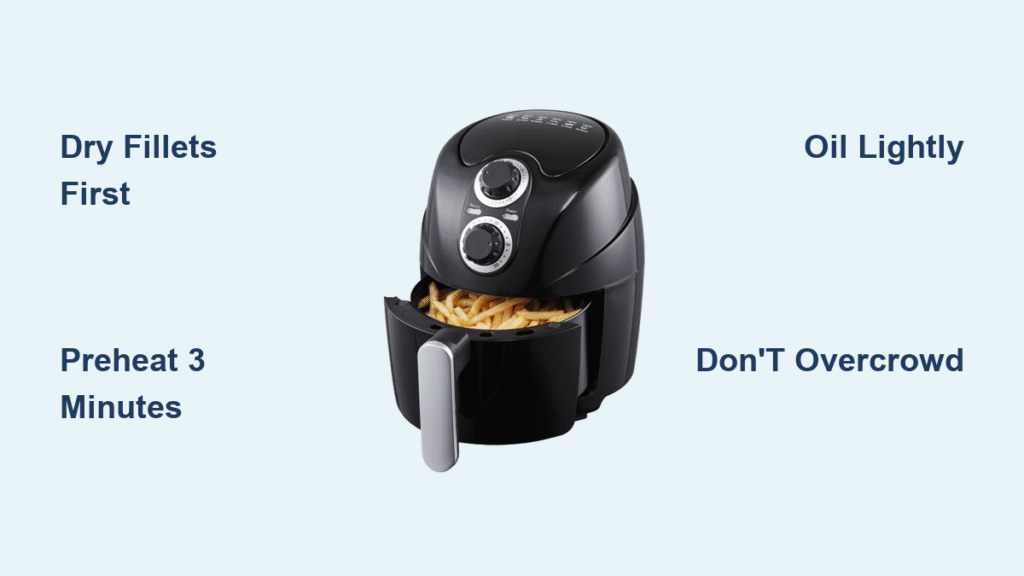
That watery film on your fish? It’s sabotaging your crispiness. Surface moisture creates steam instead of sear, leaving you with rubbery texture. Always use the “paper towel test”—press fillets until no damp spots transfer to the towel. This critical 30-second step makes the difference between soggy disaster and golden perfection. Skip this, and even perfectly seasoned fish will disappoint.
Overcrowding Causes Steaming
Three fillets max per batch—any more and you’re essentially steaming your dinner. Air needs circulation to create that magical crispness. When fillets touch, they cook unevenly with pale spots where they overlap. Pro tip: Cook potato wedges first at 400°F for 15 minutes, then keep warm while fish takes the basket. This prevents overcrowding and creates perfect timing synergy.
Perfect Fish Selection for Air Frying
White Fish Varieties That Shine
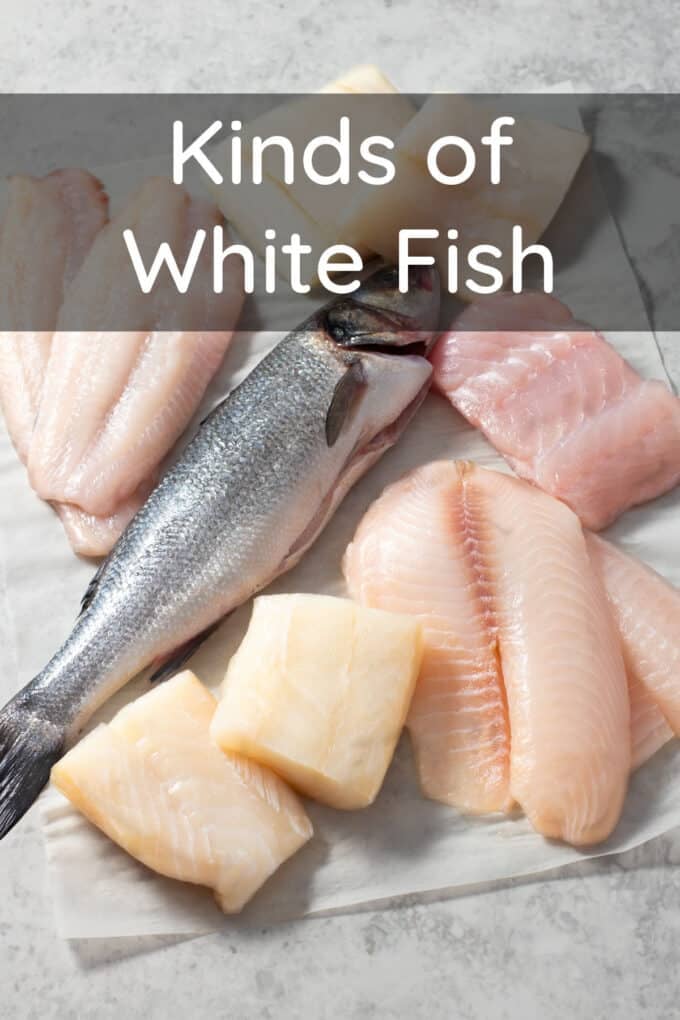
Cod, tilapia, and haddock dominate air fryer success stories for good reason. Their mild flavor and flaky texture absorb seasonings beautifully while holding shape during cooking. Catfish brings a heartier profile that stands up to bold spices, while pollock offers budget-friendly excellence without sacrificing quality. When selecting, press gently—fresh fillets should spring back immediately and smell like ocean breeze, never “fishy.”
Thickness Troubleshooting Guide
½-inch fillets hit the air-fryer sweet spot—thick enough to stay moist but thin enough to crisp quickly. Found a gorgeous 1-inch halibut steak? Slice it along the natural seam into two portions. Anything thinner than ¼ inch will overcook before developing crust. If working with uneven thickness, position the thicker edge toward the heating element for balanced cooking.
Air Fryer Setup Secrets Professionals Use
Preheat Non-Negotiables
Always preheat 3 minutes at target temperature—this isn’t optional. Skipping preheating causes the dreaded “soggy bottom” as cold fish hits a cool basket. While preheating, organize your breading station: three shallow bowls (flour, egg wash, seasoned crumbs). For newer models with auto-preheat, follow manufacturer timing but never load cold fish directly.
Basket Loading Techniques
Arrange fillets skin-side down (if applicable) with at least ½ inch between pieces. Never stack or overlap—this blocks the crucial hot air circulation. For best results, place fillets diagonally rather than parallel to maximize airflow. If cooking multiple batches, keep finished fish warm in a 200°F oven on a wire rack—never covered, which traps steam and softens your hard-earned crispness.
Oil Application Mastery
High-Heat Oil Selection
Avocado oil outperforms all others with its 520°F smoke point and neutral flavor. Light olive oil adds subtle richness for Mediterranean profiles, while grapeseed oil offers budget-friendly performance. Apply using the “brush-and-spray” method: brush 1 teaspoon oil per fillet before seasoning, then lightly mist midway through cooking. Critical: Avoid aerosol sprays with propellants—they degrade non-stick coatings over time.
No-Breading Oil Optimization
When skipping breading, oil becomes your crust creator. Double the oil application—use 1 teaspoon per side instead of ½. Brush thoroughly into seasoning for maximum adhesion. For extra crunch, add ¼ teaspoon cornstarch to your spice mix—it pulls moisture from the surface during cooking. Never skip oil entirely; even “no-breading” methods require this essential crispness catalyst.
Foolproof Breading Process
Three-Step Coating Sequence
- Flour lightly: Dredge oiled fillets in seasoned flour, shaking off excess
- Egg wash thoroughly: Dip both sides in beaten egg, letting excess drip
- Crumb press firmly: Press seasoned breadcrumbs onto fish for 5 seconds
Pressing technique makes or breaks breading—gentle but firm pressure embeds crumbs without creating paste. Shake off loose crumbs; they’ll burn and create bitter specks. For gluten-free success, use almond flour instead of regular flour and pork rind crumbs for extra crunch.
Mid-Cook Oil Boost
At the flip point (8-10 minutes), spritz any pale spots with oil. These white patches indicate insufficient fat for browning. A single 2-second mist revives the crisping process without making fish greasy. This professional trick transforms uneven breading into restaurant-quality golden perfection.
Precision Timing & Temperature Guide

Thawed vs Frozen Adjustments
| Fish Type | Thickness | Thawed Time | Frozen Time | Critical Tip |
|---|---|---|---|---|
| Tilapia | ½ inch | 6-9 min | 10-12 min | No flip needed |
| Cod | ¾ inch | 8-10 min | 12-14 min | Flip at 8 min |
| Halibut | 1 inch | 10-12 min | 12-16 min | Reduce temp to 360°F |
| No-breading | ½ inch | 7-9 min | 9-12 min | Higher heat (400°F) |
Frozen fish requires 25% more time but never skip thawing for thick cuts—uneven cooking guarantees dry edges with raw centers. Always check doneness 2 minutes early; fish continues cooking from residual heat.
Doneness Testing Without Thermometer
Perfect fish flakes easily with fork but maintains structure—overcooked fish falls apart messily. Press gently with tongs: properly cooked fish feels firm yet yields slightly. Color clue: opaque white throughout with golden edges (not brown). If center remains translucent, add 90-second increments until perfect.
No-Breading Method That Shines
Skip the Mess, Keep the Flavor
Pat fillets bone-dry, then brush with 1 teaspoon oil per side. Mix ¼ teaspoon salt, ½ teaspoon garlic powder, and ½ teaspoon paprika per fillet—without breading, flavors penetrate deeper. Preheat to 400°F, arrange skin-side-down, and cook 7-9 minutes without flipping. The high heat creates a beautiful sear while keeping centers moist. Add lemon slices the last 2 minutes for infused freshness.
Why This Method Wins for Delicate Fish
Tilapia and flounder thrive without breading—their delicate structure gets overwhelmed by crumbs. The direct oil contact creates a natural crust while highlighting the fish’s subtle flavor. For extra protection against drying, marinate in buttermilk 30 minutes before drying and seasoning—this tenderizes while adding subtle tang.
Troubleshooting Emergency Kit
Breading Falls Off Mid-Cook
Moisture is always the culprit. Before coating, press fillets between double-layer paper towels for 60 seconds. After breading, let sit 5 minutes before air frying—this “adhesion time” lets coatings set. If crumbs still detach, add 1 teaspoon cornstarch to your flour mixture to improve binding.
Soggy Bottom Syndrome Fix
Immediately reduce temperature 25°F and extend time by 2 minutes. This slower crisping prevents interior overcooking. Next time, place a wire rack in the basket to elevate fillets above pooled moisture. For breaded fish, add 1 tablespoon grated parmesan to breadcrumbs—it absorbs excess moisture while adding umami depth.
Serving Strategies That Impress
Tartar Sauce Upgrade
Mix ½ cup mayo, 2 tbsp dill pickles, 1 tsp capers, and lemon zest. Let flavors meld 30 minutes before serving. For spicy kick, add ½ teaspoon sriracha. Critical: Serve sauce chilled—it cuts through richness and balances textures perfectly.
Side Dish Timing Hacks
Air-fry potato wedges first at 400°F for 15 minutes while prepping fish. Keep warm in oven while fish cooks (7-15 min). Assemble coleslaw during fish’s last 5 minutes—vinegar-based slaw stays crisp longer than mayo-based. This sequence ensures everything hits the table hot simultaneously with zero stress.
Storage & Reheating Done Right
Refrigerator Storage Protocol
Cool completely on wire rack (15 minutes), then store in airtight container with paper towel between layers. Maximum freshness: 48 hours. Never store warm fish—condensation creates sogginess. For best results, separate breaded and no-breading leftovers—different textures require different reheating approaches.
Crispness-Revival Technique
Reheat at 325°F for 3-5 minutes—never microwave. Place fish directly on basket rack, not parchment. Check at 3 minutes; overcooking dries out centers. For breaded leftovers, add 5-second oil mist before reheating to reactivate crispness. This method restores 90% of original crunch without rubbery texture.
Mastering how to fry fish in air fryer comes down to three non-negotiables: bone-dry fillets, precise timing, and strategic oil application. Forget complicated techniques—these fundamentals deliver crispy exteriors with tender interiors every time. Your air fryer isn’t just a healthier alternative; with these methods, it’s the superior way to cook fish. Try the no-breading method with tilapia tonight and taste the difference—golden edges, moist center, zero greasiness. Once you nail these techniques, you’ll wonder why you ever deep-fried.


