
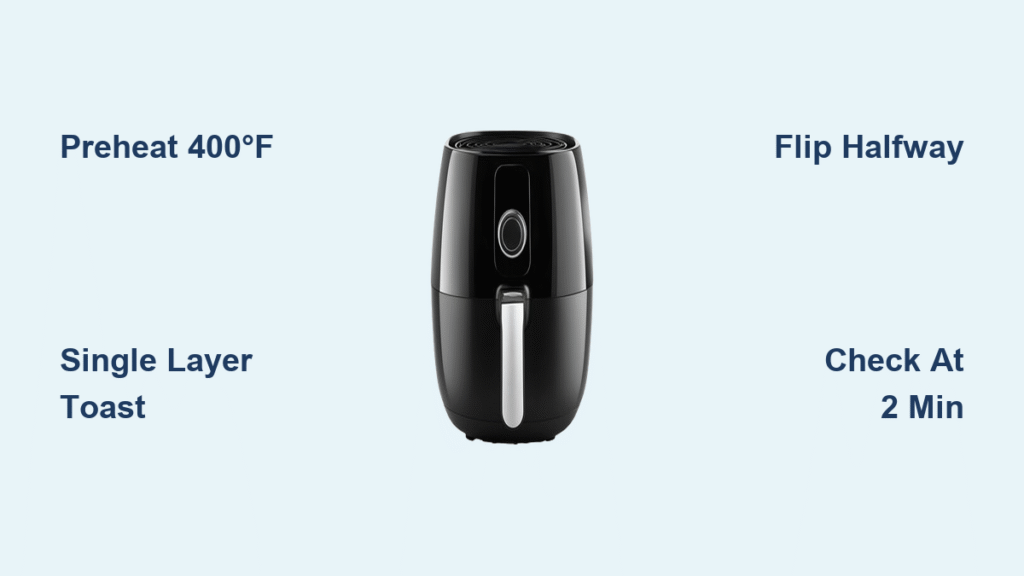
Your toaster’s dead, but breakfast isn’t ruined—your air fryer transforms stale bread into golden, crackling toast faster than you can say “avocado smash.” Forget uneven browning or charred edges; this countertop powerhouse delivers café-quality crunch in under five minutes using precise heat circulation. Whether you’re reviving yesterday’s sourdough or crisping frozen bagels, mastering how to toast bread in air fryer unlocks a world beyond basic sandwiches. You’ll discover why thousands ditched their clunky toasters for this versatile method that handles everything from delicate gluten-free loaves to thick Texas toast without breaking a sweat.
The magic happens through rapid convection currents that penetrate bread evenly—no more pale centers or burnt corners. Unlike ovens that waste energy heating empty space, your air fryer targets heat directly where it counts. And with zero preheating required for many models, you’re literally two minutes from buttery perfection. Ready to turn your air fryer into a breakfast hero? Let’s dive into the exact steps that guarantee crisp-on-the-outside, tender-on-the-inside results every single time.
400°F Universal Method: Perfect Toast in 4 Minutes
Skip the guesswork with this temperature-tested formula that works for 90% of bread types. Start by loading your air fryer basket while it preheats to 400°F for 2 minutes—this critical step eliminates cold spots that cause patchy browning. Place slices in a single flat layer with only slight edge overlap; full stacking traps steam and creates soggy zones. For standard sandwich bread (½–¾ inch thick), cook 3–4 minutes total, flipping halfway through in basket models. Oven-style units often skip flipping thanks to 360° airflow.
When to Adjust Time and Temperature
Thick sourdough or Texas toast needs gentler heat to avoid blackened crusts before the center crisps. Drop to 375–390°F and extend time to 4–5 minutes, flipping at the 2-minute mark. Watch for visual cues: bubbles forming on the surface mean it’s time to flip, while deep golden edges signal 30 seconds from perfection. Thin baguette rounds cook lightning-fast—2–3 minutes at 400°F with a mandatory flip at 1 minute to prevent scorching. Check at the 2-minute mark; one extra minute can turn golden to charcoal.
Frozen Bread Rescue: No Thawing Needed
Toss frozen slices straight into the basket at 400°F for 4–5 minutes. The dry heat thaws and toasts simultaneously without creating a wet interior. Flip halfway to ensure even browning—frozen bread requires this step regardless of air fryer type. For best results, separate stuck-together slices before loading to prevent steaming. Pro tip: Add 15 seconds if using extra-thick frozen artisan bread.
Basket vs Oven Air Fryers: Technique Tweaks That Matter

Basket models demand strategic flipping due to unidirectional airflow. Load 2–4 slices max (depending on basket size), ensuring no vertical stacking. At the 1.5–2 minute mark, flip every slice—delaying causes one side to dominate the heat stream. For ultra-light bread prone to “flying” (like ciabatta), place a small wire rack on top for the first 60 seconds to weigh it down. Overcrowding is the #1 cause of uneven results; if slices touch beyond edges, cook in batches.
Oven-style units (like Cosori or Ninja Foodi) shine with 4–6 slices per tray thanks to multi-directional heating. Flipping becomes optional for standard bread, but rotate trays 180° if using multiple levels. These models excel with delicate or expensive loaves—artisan sourdough won’t burn at the edges before the center crisps. For batch cooking, space slices ½ inch apart on the main tray; no flipping needed at 400°F for 3–4 minutes.
Flavor Boosters: Pre and Post-Toast Transformations

Pre-Toast Upgrades for Gourmet Results
Brush one side with melted butter or olive oil before cooking for deeper golden color and richer flavor—this simple step mimics professional bakery techniques. Sprinkle cinnamon-sugar on buttered bread for instant cinnamon toast, or dust with garlic powder and Italian herbs for crostini-ready slices. For cheese lovers: add thin slices during the final 60 seconds only. Parmesan melts perfectly at 400°F without burning, while cheddar needs just 45 seconds.
Post-Toast Creations That Impress
Turn basic toast into showstoppers in seconds:
– Garlic crostini: Rub toasted surface with raw garlic clove, drizzle olive oil, finish with flaky salt
– Crouton hack: Cube toast into ½-inch pieces, air-fry 2 minutes at 400°F for salad-ready crunch
– Open-face melts: Top with marinara and mozzarella, air-fry 2 minutes until cheese bubbles
– Avocado smash: Mash avocado with lime juice, layer on hot toast with red pepper flakes and pickled onions
Fix Burnt or Soggy Toast: 5 Instant Troubleshooting Fixes
Uneven Browning Emergency Kit
Patchy dark spots? You skipped the flip in basket models or overloaded the basket. Solution: Rearrange slices in single-layer formation and flip immediately. Reduce total time by 30 seconds to avoid overcooking. Pale centers with burnt edges? Your temperature is too high for the bread thickness. Drop to 375°F and extend time by 30 seconds—thick loaves need lower heat longer.
Sogginess and Burn Solutions
| Problem | Quick Fix |
|---|---|
| Soft, chewy underside | Increase final 30 seconds; ensure no overlapping |
| Dry, brittle texture | Reduce temp 25°F; check 1 minute earlier |
| Flying bread pieces | Place metal trivet on top for first 60 seconds |
| Burnt corners | Cut crusts before toasting thick slices |
| Frozen bread not crisping | Cook at 400°F for full 5 minutes; no flip |
Make-Ahead Toast: Freezing and Reheating Secrets
Toast peaks immediately after cooking—that signature crunch fades within minutes as moisture migrates inward. For same-day use, cool completely before storing in an airtight container (counter: 1 day; fridge: 2–3 days with texture loss). Freezing is the game-changer: Wrap cooled slices tightly in foil, freeze up to 3 months. Reheat straight from frozen at 400°F for 2–3 minutes—no thawing needed.
Pro Freezer Hack for Fresh-Toast Texture
Toast bread to 90% done (slightly pale center), freeze, then finish the final 30 seconds when needed. This delivers bakery-fresh results with zero wait time. Never freeze fully toasted bread if avoiding sogginess; the partial-toast method preserves structural integrity during thawing.
Beyond Breakfast: 5 Air Fryer Toast Meal Ideas
Lunchtime Power Combos
Butter one side of bread and air-fry at 400°F for 4 minutes to create the ultimate grilled cheese base. Build sandwiches with the toasted side facing inward—the crunch stays intact even when stuffed with melty cheese. Pair with air-fried tomato soup; sourdough stays crisp when dunked thanks to the dense crust. For salad nights, cube day-old toast into croutons: air-fry 2 minutes at 400°F after tossing with olive oil and herbs.
Dinner Party Shortcuts
Transform baguette slices into elegant appetizers:
1. Air-fry thin rounds 2 minutes at 400°F
2. Top with whipped goat cheese and roasted grapes
3. Return to air fryer 60 seconds until warm
4. Garnish with fresh thyme and cracked pepper
This crostini method works equally well for bruschetta or smoked salmon bites—no oven preheating required.
Nutrition Facts and Perfect Portion Sizes
Standard white bread (one slice, no toppings) delivers 64–82 calories, 12g carbohydrates, and 2g protein. Values spike significantly with additions: one teaspoon of butter adds 36 calories and 4g fat. For balanced meals:
– Light breakfast: 1–2 slices with fruit or yogurt
– Protein-packed meal: 2 slices topped with eggs + avocado
– Appetizer portions: 8–10 crostini slices from one baguette
Gluten-free varieties run slightly higher in calories (75–90 per slice) but achieve identical crispness at 400°F for 3–4 minutes. Always toast GF bread on the lower end of the time range to prevent dryness.
One-Minute Prep: Foolproof Air Fryer Toast Recipe
Yield: 2–4 slices
Total time: 5 minutes
- Preheat air fryer to 400°F for 2 minutes (critical for even browning)
- Arrange bread in single layer—no stacking, slight edge overlap OK
- Air-fry 3–4 minutes, flipping halfway in basket models
- Adjust in 30-second bursts: add for darker crunch, subtract for lighter shade
- Remove immediately; spread toppings while surface is hot and porous
Success markers: Audible crunch when tapped, deep golden color (not brown), warm soft center. Burnt edges? Reduce time by 30 seconds next batch. Pale center? Increase temp to 400°F if previously using lower heat.
Stop wrestling with finicky toasters—your air fryer delivers consistently crisp toast with half the effort. By mastering these temperature-controlled techniques, you’ll transform everything from frozen waffles to artisanal sourdough into breakfast perfection. Remember the golden rule: 400°F for 3–4 minutes with strategic flipping is your baseline, but always check at the 2-minute mark. For next-level results, try the frozen bread hack or pre-toast butter trick. Your perfect crunch awaits—just slide in the bread and let convection magic happen.


