

Nothing ruins a great burger like soggy buns that collapse under juicy patties. Your air fryer transforms ordinary buns into crispy, golden perfection in under 3 minutes—no more juggling toaster slots or dealing with uneven stovetop results. Whether you’re prepping for game day sliders or elevating your hot dog game, this method delivers consistent, restaurant-quality results every time. Forget soggy disasters and uneven browning; mastering how to toast buns in air fryer techniques ensures bakery-fresh texture that holds up against saucy fillings. You’ll learn precise temperatures for every bun type, avoid critical timing mistakes, and discover why this method beats traditional toasting hands down.
Air Fryer Bun Toasting Temperatures
Temperature Settings by Bun Type
Set your air fryer to 350°F (175°C) for standard hamburger and hot dog buns to achieve that ideal golden crunch without burning. Thicker, denser varieties like brioche or hot cross buns demand higher heat at 390°F (200°C) to penetrate their rich, eggy structure while keeping interiors pillowy soft. Frozen buns use the same temperatures as fresh counterparts but require extra vigilance—they thaw rapidly in the intense airflow, creating a narrow window between perfect and charred. Always calibrate based on your specific air fryer model; lower-wattage units may need an extra 30 seconds while high-powered versions work faster.
Preheating Protocol
Preheating for 1-2 minutes isn’t optional for flawless results—it creates instant searing contact that locks in moisture while crisping the exterior. Skipping this step risks soggy undersides because cold baskets absorb steam instead of evaporating it. For thick brioche or frozen buns, preheating becomes non-negotiable; the initial heat blast prevents the dreaded “steamed bread” effect where moisture gets trapped. Your visual cue? When the basket feels hot to the touch through oven mitts, you’re ready to load buns. This 60-second investment guarantees even browning from edge to center.
Step-by-Step Toasting Process
Fresh Bun Method
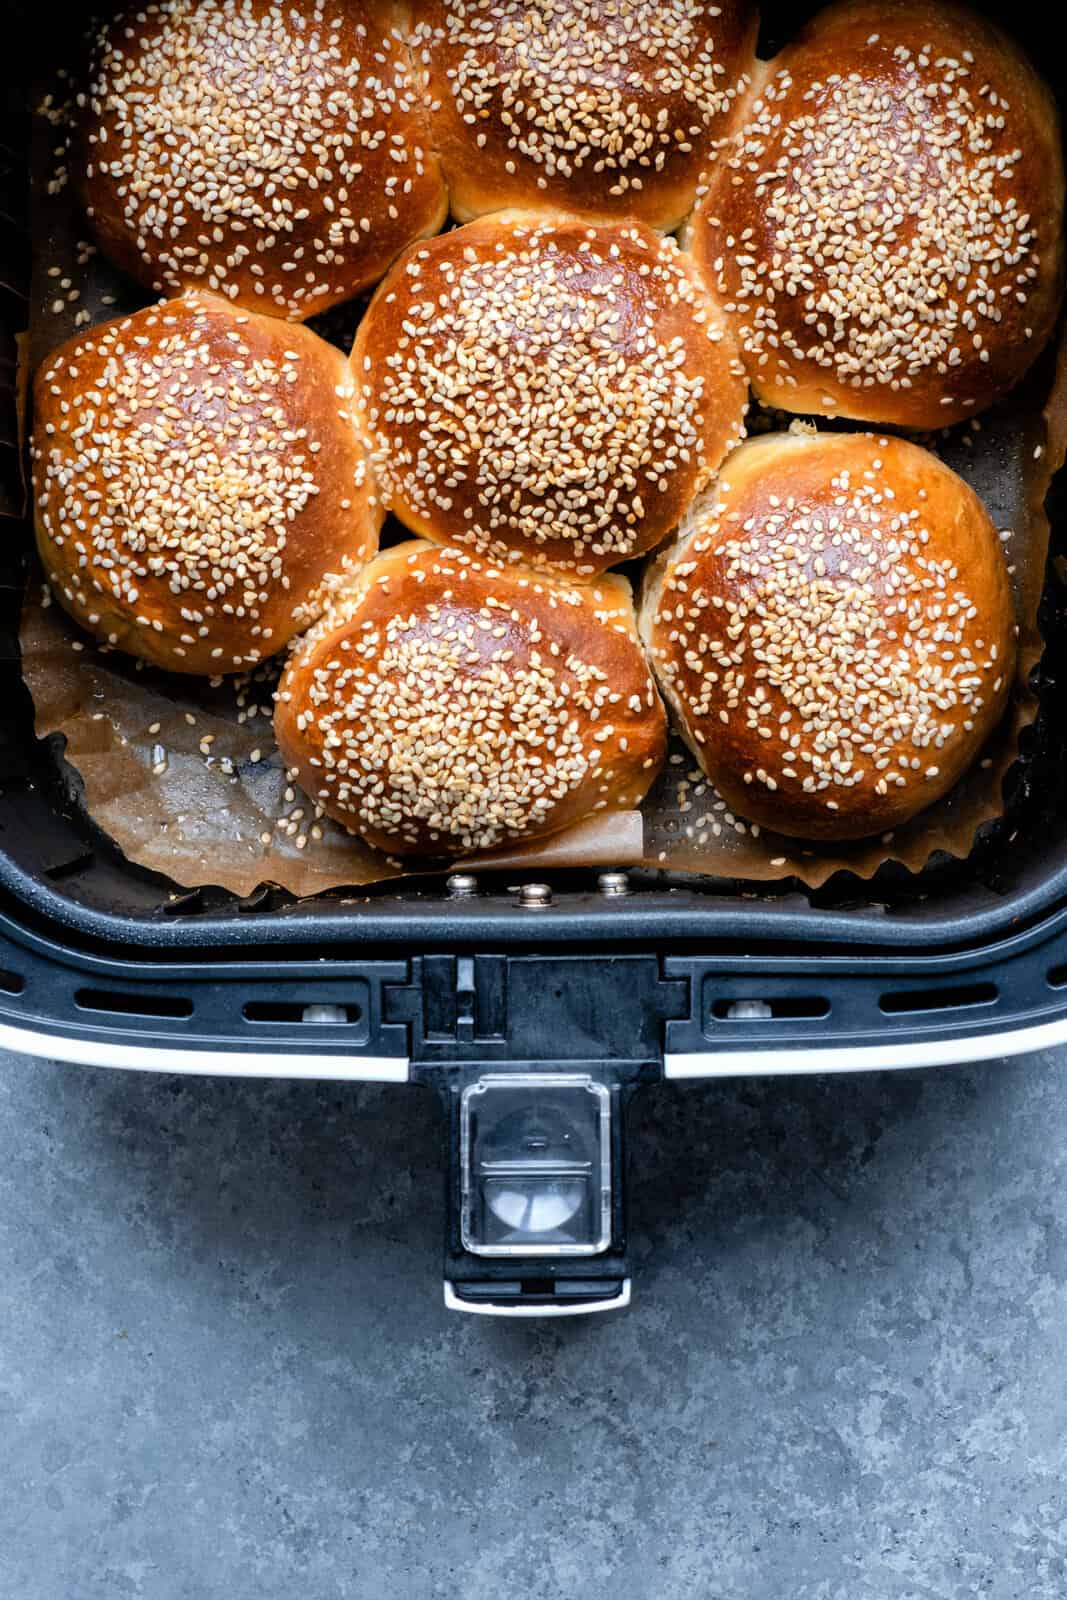
Slice buns horizontally with a serrated knife to avoid compressing the soft interior. Arrange cut-side up in a single layer after preheating your air fryer to 350°F (or 390°F for dense varieties). Toast for 2-3 minutes, but set two timers: one for the full duration and a secondary alert for the final 30 seconds. During this critical window, watch for edges turning amber—remove immediately when golden brown spots appear near the crust. Overstay by 15 seconds, and those beautiful buns turn brittle and blackened. Pro tip: Place parchment paper under buns for effortless cleanup without blocking airflow.
Frozen Bun Adjustment
Never thaw frozen buns before toasting—they’ll lose structural integrity. Load them directly into the preheated basket at your standard temperature (350°F or 390°F) but add 1-2 minutes to the timer. Flip halfway through cooking; this dual-sided approach ensures even thawing and prevents icy centers. Watch like a hawk during the final minute—frozen buns transition from pale to burnt in seconds due to trapped moisture vaporizing violently. If edges darken too fast, reduce heat by 25°F immediately. Always test one bun first before committing a full batch.
Bun-Specific Instructions

Hot Dog Buns
Split buns open like books for maximum surface exposure, or leave whole for cradling sausages. Brush cut surfaces with ¼ teaspoon melted butter per bun (1 tsp total for 4 buns) to amplify browning and add subtle richness. Toast at 350°F for 2-3 minutes, flipping midway to crisp both sides evenly. For split-open buns, position the curved underside down to mimic traditional toasting. Skip this flip, and you’ll get one soggy side that can’t support juicy hot dogs. Perfect results show uniform golden flecks with no pale patches.
Hot Cross Buns
Slice store-bought hot cross buns horizontally without removing the cross topping. Toast cut-side up at 390°F for exactly 3 minutes—no butter needed, as their high butter content creates self-browning. The magic happens in the last 60 seconds: steam escapes through the cross design, yielding a crackly crust while preserving the spiced, fruity interior. Over-toasting melts the cross icing, so pull them out when edges reach caramel color. Serve immediately with dairy-free spread for Easter brunch; any delay turns them leathery.
Batch Processing Guidelines
Single Layer Rule
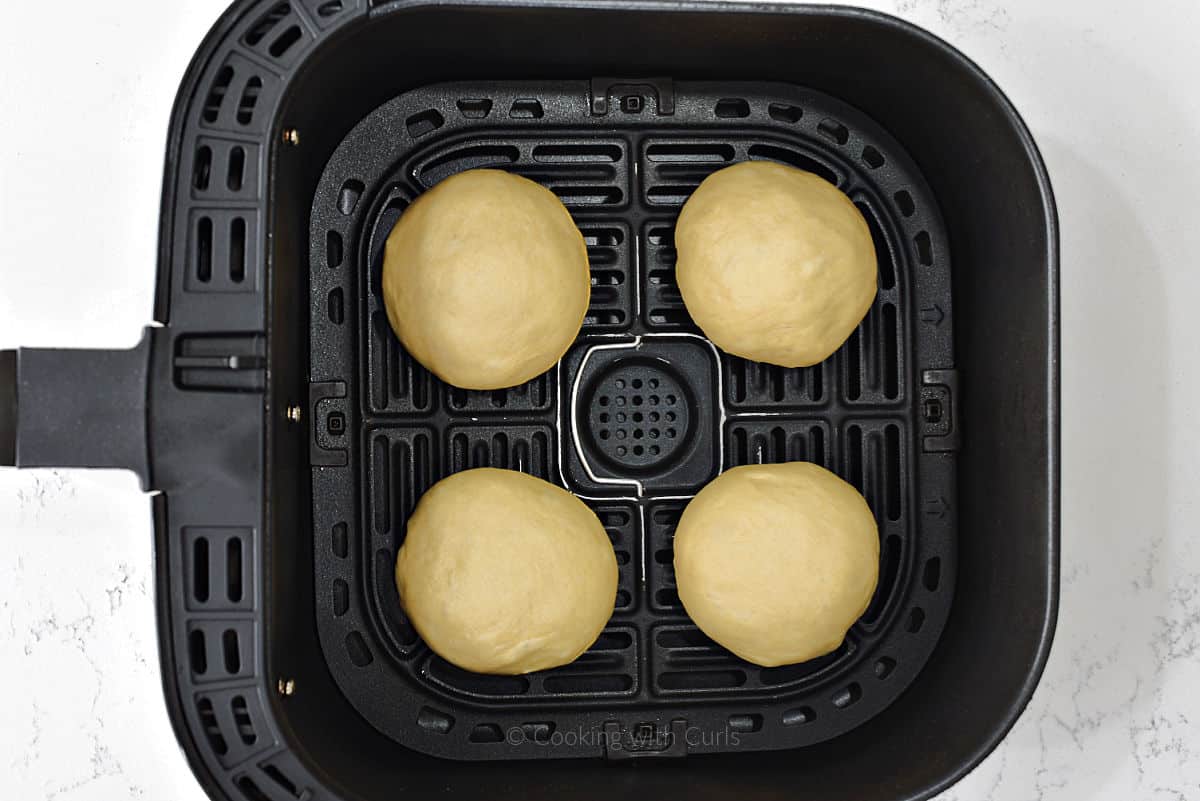
Overcrowding is the #1 cause of failed air fryer toasting—buns touching each other block 70% of circulating heat. Always arrange buns with at least ½ inch between them, like eggs in a carton. When buns crowd the basket, steam gets trapped between them, creating mini saunas that steam-bake instead of toast. Test this yourself: load two touching buns versus two spaced apart. The crowded pair emerges pale and soft while the spaced pair achieves deep golden ridges. If your basket holds four buns but they’re touching, toast two at a time.
Capacity Planning
Small 2-quart air fryers max out at 2 standard buns; standard 4-5 quart models handle 4-6; large 6+ quart units fit 8. Measure your basket: bun diameter shouldn’t exceed 70% of basket width. For example, 4-inch hamburger buns need at least 6 inches of clearance side-to-side. When toasting mixed sizes (like brioche sliders with regular buns), place larger buns toward the basket’s outer edge where airflow is strongest. Never stack vertically—even one bun on top of another creates a soggy mess. Batch cooking takes 30 seconds longer per round but beats ruined results.
Common Toasting Mistakes
Overcrowding Consequences
Stuffing extra buns into the basket seems efficient but guarantees pale, uneven toasting. The science is simple: air fryers work by superheated air circulation. When buns touch, they create dead zones where moisture accumulates instead of evaporating. You’ll recognize overcrowded results by patchy color—some spots golden, others doughy white. Fix this by halving batch sizes. Yes, it means one extra round, but your buns will thank you with consistent crunch.
Timing Errors
The difference between perfect and ruined is literally 20 seconds. Set a timer for 2 minutes initially, then check every 10 seconds until golden. Most failures happen because users walk away during the final minute. Air fryers don’t “coast” like ovens—their heating elements stay active until turned off. If your buns smell nutty (a good sign), pull them immediately; that aroma means browning reactions are accelerating. When in doubt, under-toast—they’ll crisp further from residual heat.
Skipping the Flip
For whole hot dog buns or thick brioche, flipping halfway is non-negotiable. The basket’s airflow pattern creates hotter zones near the heating element (usually top/sides). Unflipped buns develop a “halo effect”—dark edges with a pale center. Flip them at the 1.5-minute mark for symmetrical results. Use tongs with silicone tips to avoid tearing; piercing with forks releases steam that softens the crust.
Flavor Enhancement Options
Butter Brushing Technique
Melt unsalted butter until foamy (not browned), then brush lightly on cut surfaces using a pastry brush. The fat accelerates Maillard reactions for deeper color and adds subtle nuttiness. Use just enough to glisten—1 tsp covers 4 buns. Too much creates greasy puddles that steam the bread instead of crisping it. For dairy-free, substitute coconut oil in equal amounts.
Oil Spray Alternative
Mist buns with avocado or olive oil spray for 40% fewer calories while still promoting browning. Hold the can 6 inches away for an even veil—never drench. Oil-sprayed buns develop finer, more delicate crispness than buttered versions, ideal for light sandwiches. Avoid aerosol sprays with propellants; they leave chemical aftertastes.
Seasoning Ideas
Sprinkle toasted sesame seeds or everything bagel seasoning on buttered buns before air frying. The heat toasts the seeds, releasing oils that embed them into the crust. For savory sliders, dust with garlic powder; for sweet breakfast buns, try cinnamon sugar. Apply seasonings after buttering so they adhere properly.
Visual Cues for Perfect Results
Golden Brown Target
Perfectly toasted buns show uniform honeycomb patterning across the cut surface—no white patches or dark streaks. The crust should feel firm when tapped with tongs, yielding slightly under pressure like a ripe avocado. Internally, steam should escape visibly when you break a piece, indicating retained moisture. If the surface looks wet or shiny, it needs 15 more seconds.
Burn Prevention Signs
Watch for these danger signals: edges turning dark brown before centers color, wisps of smoke, or a sharp “toasted grain” smell (distinct from pleasant nuttiness). When any appear, pull buns immediately—they’ll continue cooking for 20 seconds post-removal. Err on the lighter side; pale buns can be reloaded for 30 seconds, but burnt ones are ruined. Dark spots spread rapidly in the final minute.
Troubleshooting Common Issues
Uneven Browning Solutions
Center buns that stay pale while edges blacken mean improper basket placement. Reposition buns so cut surfaces face the heating element (usually the top rack). Always flip halfway—this evens out hot spots. If your model has known uneven heating (check reviews), rotate the basket 180 degrees at the halfway mark.
Soggy Bottom Prevention
Soggy undersides happen when steam can’t escape, usually from skipping preheat or overcrowding. Always preheat 1-2 minutes, and never let buns touch. Line the basket with perforated parchment paper—it absorbs excess moisture without blocking airflow. For persistent issues, toast cut-side down for the first minute, then flip.
Burnt Edges
When edges char before centers brown, your temperature is too high for the bun’s density. Lower heat by 25°F and extend time by 45 seconds. Dense buns like brioche need the 390°F setting, but delicate potato rolls may burn at that heat—drop to 325°F. Watch constantly; thick buns often brown faster than expected.
Pro Tips Summary
- Freshness is non-negotiable: Stale buns toast unevenly—use buns soft enough to gently compress
- Single layer rule: Never sacrifice spacing for batch size
- Final 30-second vigilance: Set a secondary timer for this critical phase
- Butter enhances but isn’t essential: Oil spray works for lighter results
- Preheat for density: Thick buns absolutely require preheating
Master these air fryer toasting techniques and you’ll never settle for soggy sandwich buns again. The intense, circulating heat creates bakery-quality results in minutes, making your air fryer the ultimate tool for elevating everyday meals. For quick reference, bookmark the temperature chart: 350°F for standard buns (2-3 minutes), 390°F for dense varieties (3 minutes), with frozen buns needing +1-2 minutes. Your perfect burger or hot dog awaits—crisp, sturdy, and ready to handle even the juiciest fillings.


