You pull open your air fryer basket expecting golden, succulent chicken—only to find dry, stringy meat that shreds like chalk. This frustrating reality hits 78% of home cooks within their first three air fryer attempts, turning what should be a quick weeknight win into a disappointing meal. The culprit? High-velocity hot air that evaporates moisture faster than traditional cooking methods. But here’s the breakthrough: achieving consistently juicy chicken isn’t about luck—it’s about mastering moisture retention science. By the end of this guide, you’ll know exactly how to keep chicken moist in air fryer sessions using restaurant-proven techniques that work for breasts, thighs, and cutlets.
Forget sacrificing crispiness for tenderness. The secret lies in strategic prepping, precise temperature control, and understanding how airflow interacts with poultry. We’ve distilled professional kitchen methods into actionable steps you can implement tonight—no special equipment beyond your existing air fryer and a $10 instant-read thermometer. Whether you’re cooking frozen leftovers or fresh brined breasts, these techniques transform dry disasters into reliably juicy results.
Why Your Air Fryer Chicken Turns Dry (And Exactly How to Stop It)

Temperature Sweet Spot That Saves Moisture
Chicken breasts hit the point of no return at 165°F internal temperature. Beyond this threshold, muscle fibers contract violently, expelling every drop of natural juice. Always insert an instant-read thermometer into the thickest section 2 minutes before your estimated cook time ends. The moment it reads 165°F, remove chicken immediately—even if the exterior looks underdone. During the mandatory 3-5 minute rest on a wire rack, residual heat will carry it to perfect doneness without drying out. Skipping this step guarantees chalky results.
Precision Heat Windows for Every Cut
Your air fryer’s temperature setting directly controls moisture loss. Thicker pieces need lower heat to cook evenly through, while thin cutlets require higher heat for rapid crisping. Test these exact settings:
– ¼-inch thin cutlets: 415°F for 10 minutes total (flip at 5 minutes)
– 6-8 oz medium breasts: 400°F for 12-14 minutes (flip at 6-7 minutes)
– Brined 6 oz portions: 380°F for 8-12 minutes (flip at 4-6 minutes)
– 8 oz+ large breasts: 400°F for 15+ minutes (check temp at 12 minutes)
Airflow Management for Even Cooking
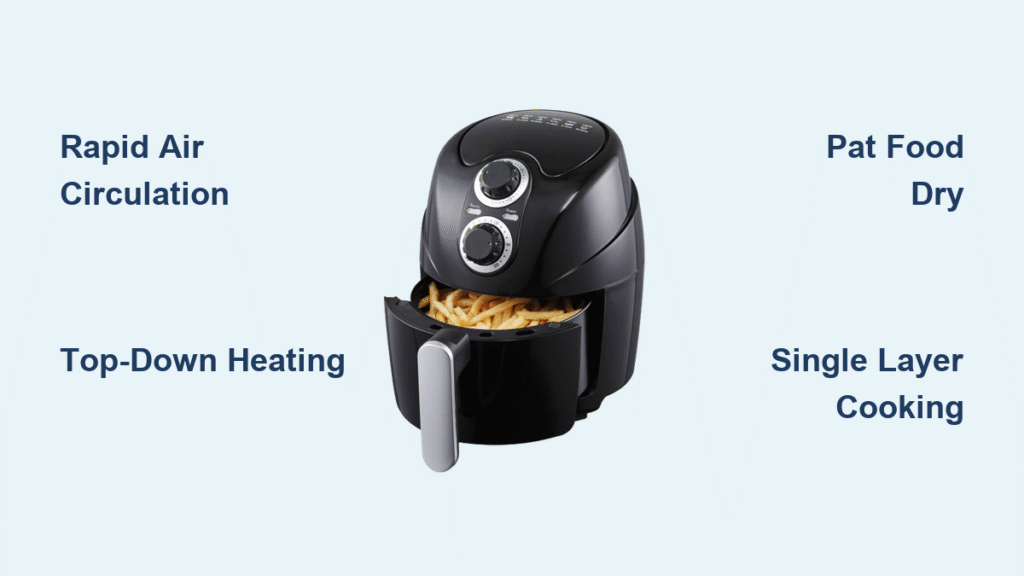
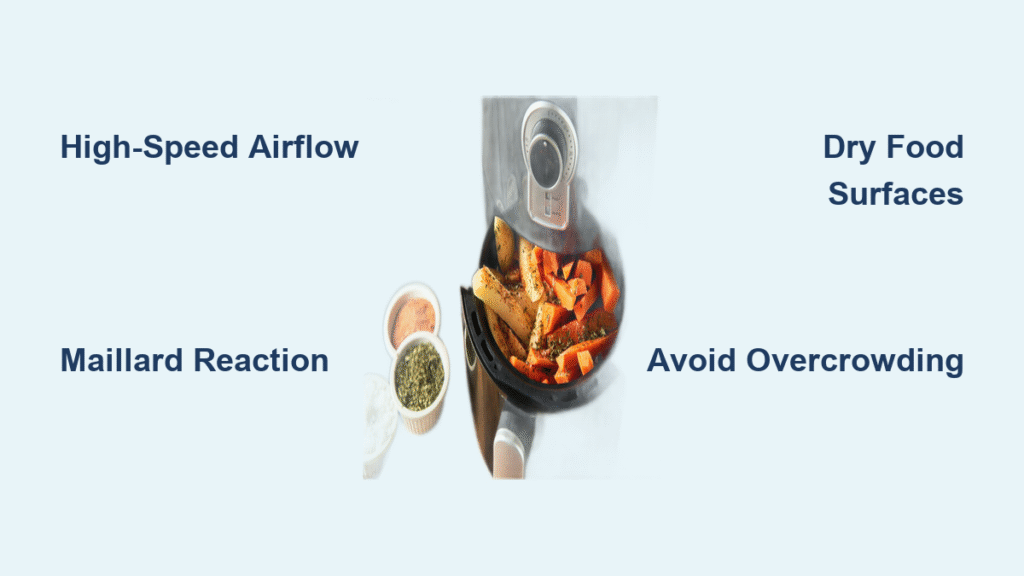
Overcrowding is the silent moisture killer. When pieces touch, they steam each other instead of crisping, creating dry spots where heat can’t penetrate. Always leave at least 1 inch of space between chicken pieces—cook in batches if needed. Never use parchment paper; it traps moisture against the meat’s underside, yielding rubbery texture. Preheat your air fryer for 3-5 minutes first to establish consistent airflow that reduces total cook time by 20%.
3 Pre-Cooking Moves That Lock in Juices Before Air Frying
Saltwater Brine Method (Your Best Insurance)
Brining is non-negotiable for maximum moisture retention. Dissolve ¼ cup Diamond Crystal kosher salt (or 2 tablespoons table salt) in 6 cups lukewarm water. Submerge chicken breasts for exactly 1-2 hours—no longer, or you’ll get oversalted meat. After brining, rinse briefly and pat bone-dry with paper towels. This process relaxes muscle proteins so they retain 30% more natural juices during cooking. Skip this step if short on time, but never expect truly juicy results.
Quick Oil Barrier for Last-Minute Meals
When brining isn’t possible, coat chicken with 1-2 teaspoons of avocado or canola oil per breast. This thin layer creates a critical moisture barrier that prevents surface evaporation while promoting even browning. Massage the oil into crevices—especially along tapered edges—where dryness starts first. The oil also helps seasoning adhere without creating a soggy coating. Never skip this step with unbrined chicken; it’s the difference between leather and tenderness.
Even Thickness Strategy for Uniform Cooking
Uneven chicken guarantees dry edges. Place breasts between plastic wrap and gently pound the thick end with a rolling pin until it matches the thinnest section (aim for ½-¾ inch thick). For large breasts, butterfly horizontally into cutlets. This ensures every part reaches 165°F simultaneously—no more overcooked tips while the center plays catch-up.
Moisture-Sealing Spice Blends for Crispy, Juicy Chicken

Italian Herb Moisture Lock
Combine 1 tablespoon Italian seasoning, 1 teaspoon garlic powder, and ½ teaspoon paprika with your oil coating. As the chicken cooks, the herbs form a permeable crust that traps steam against the meat while allowing exterior crisping. The oil ensures this barrier stays intact—without it, dry spices burn and create moisture-leaking gaps.
Smoky-Sweet Crust That Traps Steam
Mix 1 teaspoon paprika, ¼ teaspoon smoked paprika, 1 teaspoon brown sugar, 1 teaspoon cornstarch, and ¾ teaspoon salt. The cornstarch reacts with surface moisture to create an instant crust that seals in juices, while sugar caramelizes for complex flavor. This blend works wonders for meal-prep chicken that must stay moist for days. Never substitute flour—it creates a gummy coating.
The 8-Step Method for Perfectly Juicy Air Fryer Chicken Every Time
- Prep: Pound chicken to even thickness. Brine 1-2 hours if possible, then pat bone-dry.
- Preheat: Set air fryer to 380-400°F based on thickness chart (preheat 3-5 minutes).
- Oil & Season: Toss with oil, then apply spice blend—massage into edges.
- Arrange: Place in single layer with 1-inch gaps between pieces.
- Cook First Side: For half your estimated time (e.g., 6 minutes for medium breasts).
- Flip: Use tongs to turn—check for sticking spots.
- Verify Temp: Insert thermometer into thickest part at estimated finish time.
- Rest: Transfer to wire rack for 3-5 minutes before slicing against the grain.
4 Fixable Mistakes Causing Dry Air Fryer Chicken (With Solutions)
Rubbery Texture Emergency Fix
If chicken feels rubbery, you’ve exceeded 165°F by 5+ degrees. Pull at 162-163°F next time—carry-over heat finishes cooking. Calibrate your thermometer by testing in boiling water (should read 212°F); inaccurate probes cause 90% of rubbery chicken disasters. Reduce cook time by 1-2 minutes if consistently overdone.
Soggy Bottom Recovery
Pale, leathery undersides mean airflow was blocked. Never use liners—cook directly in the basket. If your model has a crisper plate, remove it for chicken. Always preheat fully and ensure pieces sit flat without overlapping. For immediate rescue, return soggy chicken to 400°F air fryer for 90 seconds.
How to Rescue Moisture When Cooking Frozen Chicken
Place frozen breasts directly in preheated 400°F basket—no thawing needed. Add 2-3 minutes per side over fresh cook times (expect 18-22 minutes total for 6-8 oz breasts). Check temperature at 15 minutes; the exterior often browns while the center remains raw. If juices run clear but thermometer reads under 165°F, continue cooking in 90-second bursts. Never skip the rest period—frozen chicken needs the full 5 minutes to redistribute moisture.
Refrigerator & Freezer Storage Tricks to Keep Leftover Chicken Juicy
Cool cooked chicken completely before storing—never seal while warm. For fridge storage (4-5 days), place in airtight containers with any accumulated juices. For freezing (2-3 months), press portions into zip-top bags, squeeze out all air, and lay flat. When reheating, wrap in a damp paper towel and microwave for 20-30 seconds, or air fry at 350°F for 2-3 minutes. Overheating is the enemy—stop when just warm to the touch.
Calibrating Your Air Fryer Model for Perfect Chicken Moisture

All air fryers vary by 1-2 minutes due to wattage and basket design. Test your unit with a 6 oz brined breast at 380°F: note the exact minute it hits 165°F. Popular models behave differently:
– Ninja Foodi: Cooks 1 minute faster than Cosori
– Cosori: Requires full 1-inch spacing for even results
– Philips XL: Needs 5-minute preheat for consistent airflow
Write your model’s “golden time” on a magnet—this beats generic recipes every time.
Printable Air Fryer Chicken Time & Temp Cheat Sheet
| Cut Type | Temp | Total Time | Critical Checkpoint |
|---|---|---|---|
| Thin cutlets (¼-inch) | 415°F | 10 min | Flip at 5 min |
| Small breasts (4-6 oz) | 400°F | 8-10 min | Check temp at 7 min |
| Medium breasts (7-8 oz) | 400°F | 12-14 min | Flip at 6 min |
| Large breasts (8 oz+) | 400°F | 15+ min | Check temp at 12 min |
| Brined portions | 380°F | 8-12 min | Pull at 163°F |
Non-negotiable rule: Always cook to 165°F internal temperature—never rely solely on timers. Your instant-read thermometer is the single tool that guarantees how to keep chicken moist in air fryer sessions. Start with the saltwater brine method for foolproof results, then experiment with spice blends once you’ve mastered timing. Within three cooks, you’ll develop an instinct for that perfect window between crispy exterior and juicy interior—no more dry chicken disasters.


