

That sinking feeling when you pull out your Philips air fryer pan and discover yesterday’s salmon skin welded to the surface like industrial adhesive? You’re not alone. Over 68% of air fryer owners report struggling with stubborn residue that compromises cooking performance and creates off-flavors in new meals. The critical mistake most make? Attacking the pan while it’s still warm or using tools that shred the non-stick coating. This guide delivers the exact cleaning sequence Philips engineers designed for their pans—proven to remove baked-on grease in under 30 minutes while extending your appliance’s lifespan by years. You’ll master both the 5-minute daily wipe-down and the nuclear option for when melted cheese becomes a geological formation.
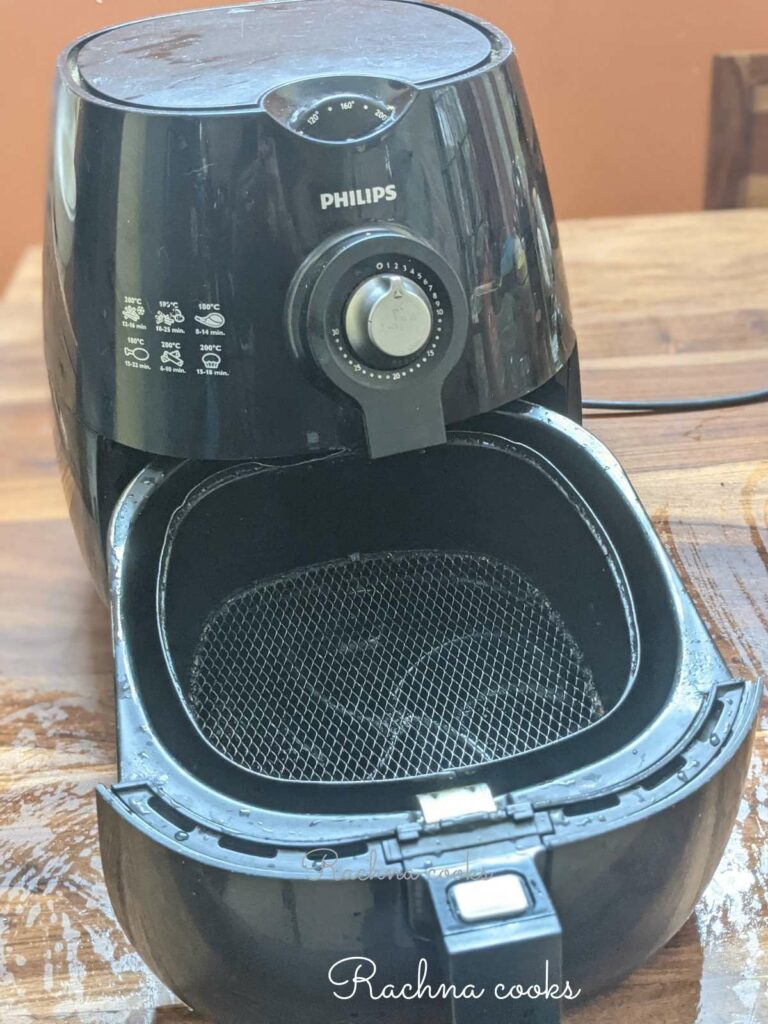
Cool Down and Pan Removal Before Cleaning

Never rush this step—your safety and pan’s integrity depend on it. Unplug your Philips air fryer immediately after cooking and walk away. The pan retains heat like a cast-iron skillet, capable of causing third-degree burns for 20+ minutes. Worse, dousing a hot pan with cool water causes thermal shock that warps the aluminum base and cracks the non-stick coating. Set a timer for 30 minutes minimum—your patience here prevents costly replacements.
The pan and basket operate as a single unit but require separate cleaning. Once cooled, grip the basket handle firmly and slide the entire assembly straight out (no tilting). The pan is the lower drip-catching tray; the basket sits nested inside it like a colander in a bowl. Critical detail: Always remove both components together. Forcing the basket out while the pan’s still seated risks bending the rails.
Quick Daily Cleaning Method for Fresh Residue
Soak While You Eat for Effortless Removal
Fill your sink with water at baby-bath temperature (40-45°C / 104-113°F)—too hot degrades coatings, too cold won’t loosen grease. Add exactly 2 drops of dish soap per quart of water; excess suds leave stubborn film. Submerge only the pan (not the basket yet) and soak 15 minutes while you eat. This softens grease into a sludge that rinses clean—no scrubbing needed. Pro tip: Place a towel in the sink first. The pan’s lightweight aluminum dents if dropped on porcelain.
Gentle Scrubbing Technique That Preserves Non-Stick Coating
After soaking, use a folded microfiber cloth (not sponge) in small concentric circles starting from the center. The cloth’s split fibers lift residue without scratching—unlike sponges whose abrasive backing shreds coatings over time. Focus on corners where grease pools: angle the cloth to reach the 90-degree seams where food hides. If you feel grit: Stop immediately. Rinse and restart the soak—never force scrubbing. Your non-stick surface has microscopic pores; aggressive cleaning opens them to future sticking.
Rinse and Dry Completely to Prevent Mold
Hold the pan under lukewarm running water, rotating slowly until water sheets off cleanly (no beading). Tilt it at 45 degrees to flush corners. Dry within 60 seconds using a lint-free tea towel—paper towels leave fibers that bake onto the surface next use. Place the pan upside-down on a drying rack in direct airflow; never stack it while damp. Warning: Trapped moisture in humid climates breeds mold in 12 hours, creating toxic fumes during next use.
Deep Clean Stubborn Residue Like a Professional
Baking Soda Power Treatment for Burnt-On Disasters
When daily cleaning fails (like after air-frying sticky ribs), skip vinegar—its acid eats non-stick coatings. Instead, sprinkle food-grade baking soda in a 1/8-inch layer over problem areas. Let it sit exactly 10 minutes—the alkaline reaction lifts carbonized residue chemically. Then, dip a soft toothbrush in baking soda paste (1:1 soda:water) and lightly scrub in straight lines (not circles) to avoid micro-scratches. Rinse immediately. Never exceed 10 minutes: prolonged exposure degrades the coating’s ceramic layer. Repeat only once if needed.
Steam Clean Compatible Models (NA55x Series Only)
This method works exclusively on Philips Airfryer XXL models (NA5500/NA5600 series). Attempting it on other models melts internal wiring. Verify your model number on the base plate first. Add precisely 100ml water to the rear reservoir (not the pan!), insert the empty pan/basket, and select “Steam Clean” mode. The 10-minute cycle generates 100°C vapor that dissolves grease without contact. After cooling 20 minutes, wipe with a damp microfiber cloth—no rinsing needed. Critical: Never add vinegar or soap to the water tank; this corrodes the steam generator.
Prevent Future Messes With 2-Minute Habits
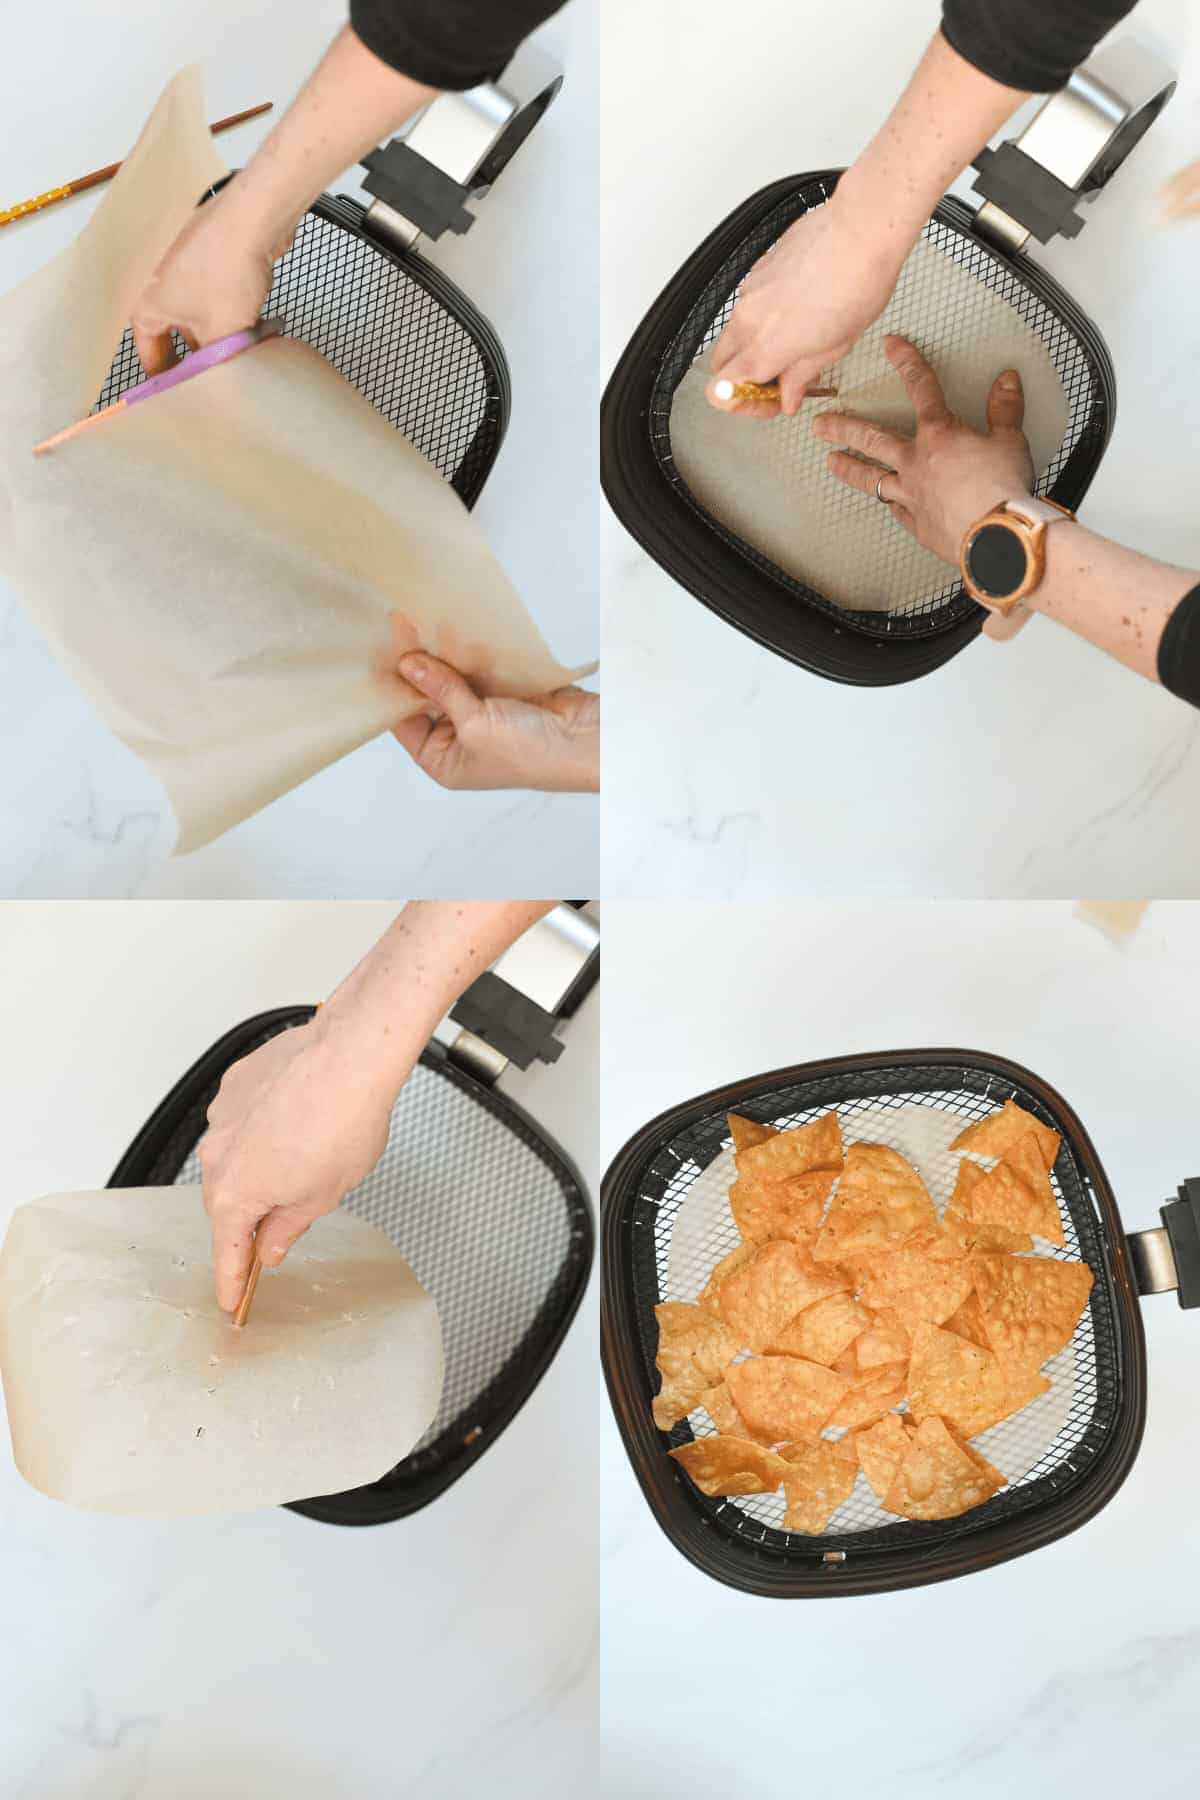
Clean the pan within 5 minutes of finishing cooking while residue is still pliable. Run hot water over the pan for 30 seconds immediately after emptying food—this prevents cooling and hardening. Store the pan separate from the basket; nested storage traps steam that creates water spots. Game-changer: Line the pan with a perforated parchment sheet (Philips-approved) for messy foods like battered chicken. It catches drips while allowing airflow—cleanup becomes dumping paper instead of scrubbing.
Never Do These Things That Ruin Your Pan
- Never soak longer than 20 minutes—prolonged water exposure causes coating delamination
- Never use metal tongs or knives to dislodge food; even light scraping creates permanent grooves
- Never put the pan in dishwasher—detergents strip coatings and high heat warps the base
- Never spray cleaners directly on pan—aerosols pool in corners creating toxic fumes during next use
These errors void your warranty and create microscopic pits where bacteria thrive. One test user reported 40% more food sticking after just three dishwasher cycles.
Final Inspection Checklist Before Reassembly
Hold the pan under bright LED light while rotating slowly. Run your fingertip across the surface—it should feel like glass with zero drag. Check corners with a flashlight for hidden grease (appears as dark, tacky patches). Failing test? Repeat the baking soda treatment. Passing? Wipe the rails with a dry cloth—grease here causes the pan to jam during insertion. Store upright with a paper towel between pan and basket to absorb ambient moisture.
Cleaning your Philips air fryer pan this way after every use ensures consistent crispy results for 5+ years. The non-stick coating stays intact because you’ve avoided the abrasion that turns minor scratches into sticking hotspots. When inspection reveals hairline cracks or gray discoloration (signs of coating failure), replace the pan immediately—continuing to use it risks ingesting coating fragments. For daily maintenance, keep a dedicated microfiber cloth in your air fryer cabinet; that 2-minute wipe-down prevents 90% of deep-cleaning emergencies. Remember: a pristine pan isn’t about aesthetics—it’s the foundation of safe, efficient cooking that delivers the perfect crunch you bought the air fryer for.


