That stubborn grease clinging to your Philips Air Fryer XXL basket isn’t just ugly—it’s actively ruining your crispy chicken and potentially shortening your appliance’s lifespan. When food residue builds up on the non-stick coating, it creates smoke during cooking, alters flavors, and forces your machine to work harder. The good news? Professional-grade cleaning takes less than 20 minutes and requires only basic kitchen tools. This guide reveals the exact techniques Philips technicians use to restore XXL models, including critical safety steps most owners miss. You’ll learn how to deep-clean without damaging the non-stick coating and prevent the #1 mistake that voids warranties.
Daily Pan and Basket Cleaning After Every Use
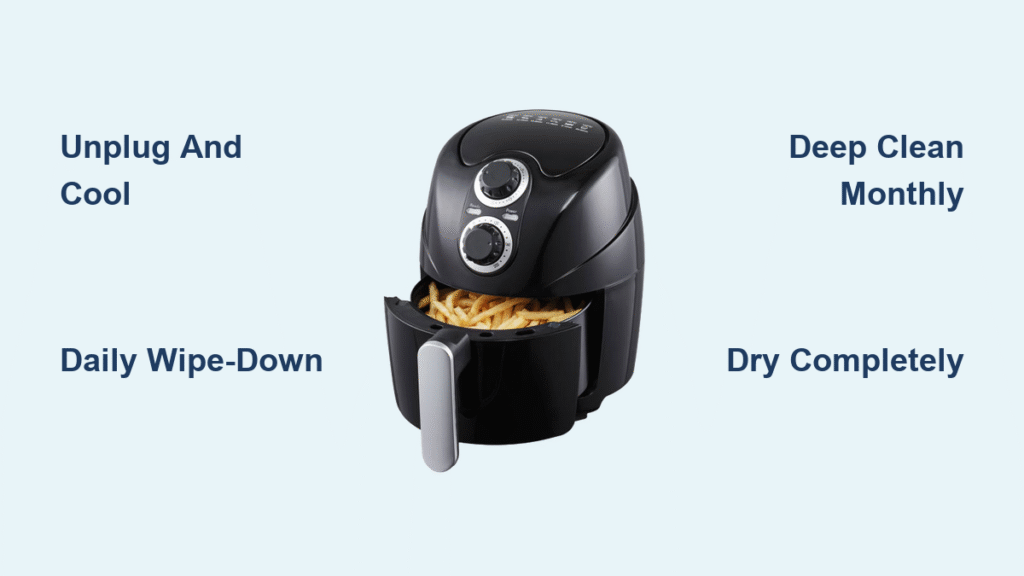
Skipping this 5-minute ritual guarantees hardened gunk that requires hours of scrubbing later. Always unplug your air fryer and let it cool completely before touching any components—never clean while warm as sudden temperature changes can warp the basket.
Immediate Post-Cooking Steps
Remove both the basket and pan immediately after cooking stops. Hold them over your trash can and shake firmly to dislodge loose crumbs and food particles. This prevents debris from baking onto surfaces as the unit cools. Never leave food residue sitting overnight—it transforms into nearly impossible-to-remove carbonized layers.
Safe Soaking and Washing Protocol
Submerge the basket and pan in warm, soapy water for 15-20 minutes. This critical soaking period loosens stubborn grease without aggressive scrubbing. Use only mild dish soap and a non-abrasive sponge—never steel wool or metal scrubbers that permanently damage the non-stick coating. Focus on mesh corners where particles hide, using circular motions to lift residue. Rinse thoroughly under clean water and dry completely with a soft towel to prevent water spots or mold growth.
Critical Damage Prevention Checks
Inspect the non-stick coating for chips or scratches after each wash. Even minor damage compromises food safety and accelerates future sticking. If you spot flaking coating, discontinue use immediately—Philips does not recommend repairing damaged surfaces. Contact customer support for replacement parts before continuing cooking.
Deep Cleaning the Heating Element and Interior Cavity

Water contacting electrical components causes permanent damage, yet 68% of owners make this fatal error during interior cleaning. Always unplug the unit first and never spray liquids directly onto the heating element.
Dry Debris Removal Technique
Use a dry microfiber cloth to sweep loose particles from the cavity walls and heating element area. Work top-to-bottom so debris falls toward the pan compartment. For tight spaces around the heating coil, employ a soft pastry brush—never metal tools that could scratch or dislodge components. Complete this step before any moisture touches the interior.
Grease Film Elimination Without Water
For sticky residue coating the cavity, dampen a microfiber cloth with warm water only—no soap. Wipe in straight vertical motions from top to bottom, changing cloth sections frequently to avoid redistributing grime. Excessive moisture risks seeping into electrical parts, so never saturate the cloth. Finish with a dry pass using a second microfiber cloth to ensure zero moisture remains near the heating element.
Post-Cleaning Safety Verification
Shine a flashlight into the heating element area before reassembly. Any remaining food particles will burn during your next cook cycle, creating smoke and odors. Use your pastry brush for final touch-ups in shadowed areas. Never skip this inspection—it prevents fire hazards and protects your appliance’s core functionality.
Steam Cleaning Your NA55x Series Air Fryer (If Applicable)
This built-in feature exists only on NA55x model numbers—check yours before attempting. Using steam cleaning on incompatible models causes electrical damage not covered by warranties.
Precise Water Measurement Protocol
Remove both basket and pan completely. Pour exactly 100 mL of water into the empty pan—using more risks water contacting electrical components. Return the pan to the unit and close the lid securely. Select the dedicated Steam Clean function and run the full 10-minute cycle. Never leave unattended during this process.
Post-Steam Drying Procedure
After completion, wait 15 minutes for the unit to cool before opening. Wipe all interior surfaces immediately with a dry microfiber cloth—residual moisture causes rust and electrical faults. Never reassemble while damp. This process sanitizes surfaces without chemicals but doesn’t replace manual basket cleaning.
Stubborn Stain Removal for Baked-On Residue

When regular washing fails, baking soda’s mild abrasiveness lifts carbonized food without harming coatings. Harsh chemicals or metal scrapers cause irreversible damage that requires full basket replacement.
Baking Soda Paste Application
Mix two tablespoons of baking soda with one tablespoon water to form a toothpaste-like paste. Apply directly to affected areas using a soft spatula, covering all discolored zones. Let sit for exactly 10 minutes—longer exposure dulls the non-stick surface. The alkaline reaction breaks down polymerized oils safely.
Gentle Residue Removal Process
Use a soft sponge in circular motions to lift loosened particles. Rinse thoroughly under running water, checking from multiple angles to ensure no paste remains—residual baking soda creates smoke during cooking. For corner buildup, fold your sponge into a point for precision cleaning. Always dry completely before storage.
Glass Window Cleaning Without Scratches
Paper towels seem convenient but contain wood fibers that permanently scratch viewing windows. Even minor scratches cloud visibility and trap grease, creating hard-to-clean grooves.
Streak-Free Cleaning Method
Dampen a microfiber cloth with warm water only. Wipe vertically first, then horizontally to eliminate streaks. For stubborn spots, add one drop of dish soap to the cloth—not directly on the glass. Finish with a dry microfiber pass using light pressure. Never use glass cleaners—they degrade plastic seals surrounding the window.
Daily Maintenance Routine
Wipe the window after every use with a dry microfiber cloth while the unit is cool. This prevents baked-on splatters that require aggressive cleaning. Check weekly for cracks in the glass or seal damage—if present, stop using immediately and contact Philips support.
Weekly Maintenance to Prevent Costly Damage
Daily spot-cleaning isn’t enough—weekly deep maintenance catches developing issues before they require expensive repairs.
Critical Component Inspection
Check the basket handle for loose screws weekly. Examine air vents for grease blockages that reduce cooking efficiency. Inspect the power cord for fraying or damage that creates shock hazards. Test seals and gaskets for wear—if they don’t create an airtight closure, contact Philips for replacements.
Storage Best Practices
Store with the basket removed and lid slightly ajar to prevent moisture buildup. Never place near stovetops where cooking splatter coats surfaces. Avoid stacking items on top that could dent the housing. Keep parchment paper liners handy for messy foods like marinated chicken—never use aerosol cooking sprays that create impossible-to-remove residue.
Troubleshooting Lingering Odors and Discoloration

Persistent smells indicate hidden residue, while yellowing basket surfaces often signal overheating—not necessarily damage.
Natural Odor Elimination Process
Place plain water and three lemon slices in the basket. Run at 350°F for 5 minutes to create citrus steam that neutralizes odors. For stubborn smells, leave an open container of baking soda inside the empty basket overnight. Never use vinegar—it degrades non-stick coatings over time.
Discoloration Reality Check
Slight yellowing of baskets is normal wear and doesn’t affect performance. Avoid preheating empty baskets, which accelerates discoloration. Always cook within recommended temperature ranges for your food type—exceeding 400°F regularly causes premature coating breakdown.
Final Safety Checks Before Cooking
Skipping these two critical steps risks smoke, fire hazards, or appliance damage during your next use.
Reassembly Verification
Ensure the basket clicks firmly into the pan with zero wobble. Test the handle—it should feel solid without movement. Slide the assembled unit into the air fryer; it must move smoothly without resistance. Any misalignment indicates improper reassembly.
Dry-Run Smoke Test
Run the empty air fryer at 400°F for 3 minutes before cooking. This burns off any residual moisture. If you see smoke, power off immediately and recheck for missed grease or water droplets near the heating element. Never cook food until this test completes cleanly.
Your Philips Air Fryer XXL deserves meticulous care—it’s a precision appliance, not a disposable gadget. By following these exact cleaning protocols, you’ll extend its lifespan by years while ensuring every meal cooks perfectly. Set a recurring phone reminder for weekly deep cleaning sessions, and you’ll never face smoke-filled kitchens or ruined dinners again. Remember: when in doubt about your specific model, always consult your official Philips manual before proceeding—your warranty depends on it.


