
You’ve unboxed your Philips Air Fryer 1000 Series—whether it’s the compact NA110/00 or spacious NA130/00—and now face those two simple dials with zero instructions. Don’t worry: mastering how to use Philips Air Fryer 1000 Series takes just 20 minutes. Within hours, you’ll transform frozen fries into golden perfection, cook chicken breasts without drying them out, and reclaim 30 minutes on weeknights by skipping oven preheating. This guide cuts through confusion with exact temperature settings, model-specific capacity limits, and the shake technique that prevents soggy disasters.
Stop guessing whether to preheat or how much oil to use. You’ll discover why your NA130/00 handles a whole chicken plus veggies while the NA110/00 excels for crispy appetizers, and why skipping that 3-minute preheat ruins texture. By the end, you’ll troubleshoot smoke issues in seconds and clean like a pro without damaging the non-stick coating. Let’s turn those dials into your kitchen’s secret weapon.
Position Your Air Fryer for Optimal Performance
Clearance Requirements That Prevent Overheating
Place your Philips Air Fryer 1000 Series on a heat-resistant countertop with 10cm clearance on all sides. This isn’t optional—insufficient space traps heat, triggering automatic shut-offs during cooking. The NA130/00’s larger size (309 × 403 × 308 mm) needs extra attention near cabinets, while the NA110/00 fits tight spaces but still requires airflow. Never position under shelves or near curtains; the top vent releases intense heat that could cause fire hazards.
First-Time Burn-Off Protocol
Before cooking, eliminate manufacturing residues that affect food taste:
1. Remove all plastic wraps and cardboard inserts
2. Wash the basket and crisper plate in warm soapy water (dishwasher-safe but hand-washing preserves coating)
3. Dry components completely
4. Run the empty unit at 200°C for 15 minutes—the power light cycling on/off confirms residue burn-off completion
Decode the Dual-Dial Control System
Temperature Dial Precision Settings
The left dial (80°C–200°C) requires specific targeting—not guesswork:
– 200°C: Frozen fries, chicken wings, roasted vegetables (creates Maillard reaction for crispiness)
– 180°C: Fresh fish fillets, chicken breasts, reheating pizza (prevents protein drying)
– 160°C: Delicate reheating (leftovers, bread) or dehydrating herbs
– 120°C: Fruit leather or slow-drying tomatoes
Pro Tip: For frozen foods, always use 200°C—lower temps steam instead of crisp.
Timer Dial Engagement Technique
Turn the right dial past your desired time, then back to the exact minute mark. You’ll hear a soft click confirming engagement. No click? Reset and retry—the mechanism must lock to start cooking. Automatic shut-off activates at zero, but the audible alert (3-second beep) ensures you won’t overcook.
Preheat Like a Professional (When It Matters)
Critical Preheating Scenarios
Always preheat for:
– Frozen items (fries, spring rolls)
– Anything requiring crispy exteriors (chicken wings, tofu)
– Foods with high moisture content (potatoes, zucchini)
Skip preheating for:
– Reheating leftovers
– Delicate proteins (salmon fillets)
– Vegetables with low water content (asparagus, bell peppers)
3-Minute Preheat Method
- Set temperature dial to cooking temp (e.g., 200°C for fries)
- Set timer for 3–5 minutes
- Wait for power light to cycle off/on—this indicates target temperature is reached
Never add food during preheating; the basket must be empty to avoid uneven heating.
Load Food Without Soggy Disasters
Model-Specific Capacity Limits
Overfilling is the #1 cause of failed air frying. Never exceed these limits:
– NA110/00 (3.4Qt): Max 800g frozen fries or 4 chicken breasts
– NA120/00 (4.2L): Max 1.2kg mixed vegetables or 6 chicken thighs
– NA130/00 (6.2L): Fits a whole 1.5kg chicken + 500g potatoes
The max-fill line inside your basket isn’t a suggestion—it’s a physics requirement for RapidAir circulation.
Strategic Food Arrangement
Spread items in a single layer with space between pieces. For dense foods (potatoes, carrots):
– Place on the crisper plate’s raised position
– Toss in 1 tsp oil max—excess causes smoke
– Pat proteins bone-dry with paper towels (water = steam = sogginess)
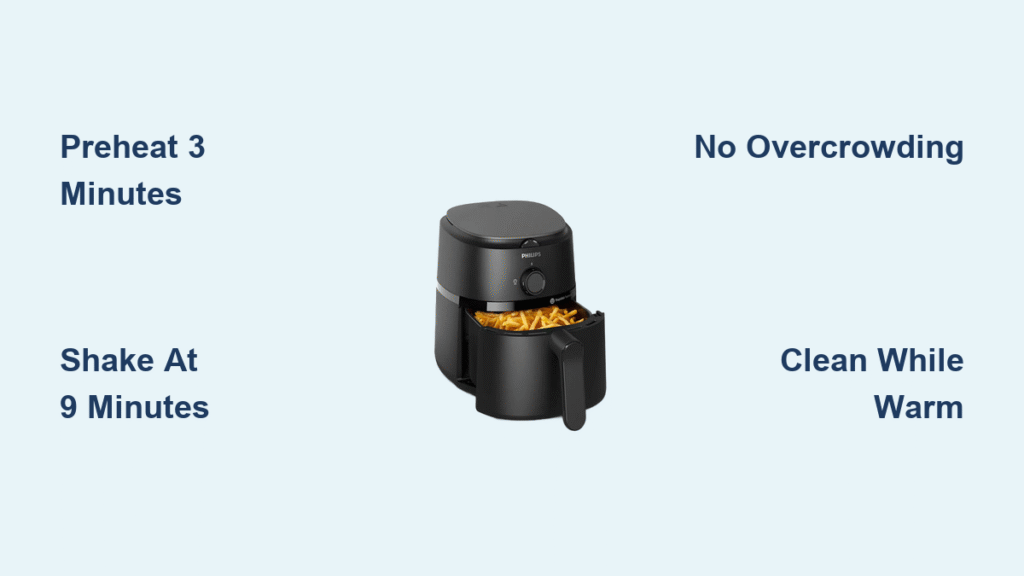
Warning: Crowding traps moisture. If cooking multiple batches, reduce second-batch time by 2 minutes using residual heat.
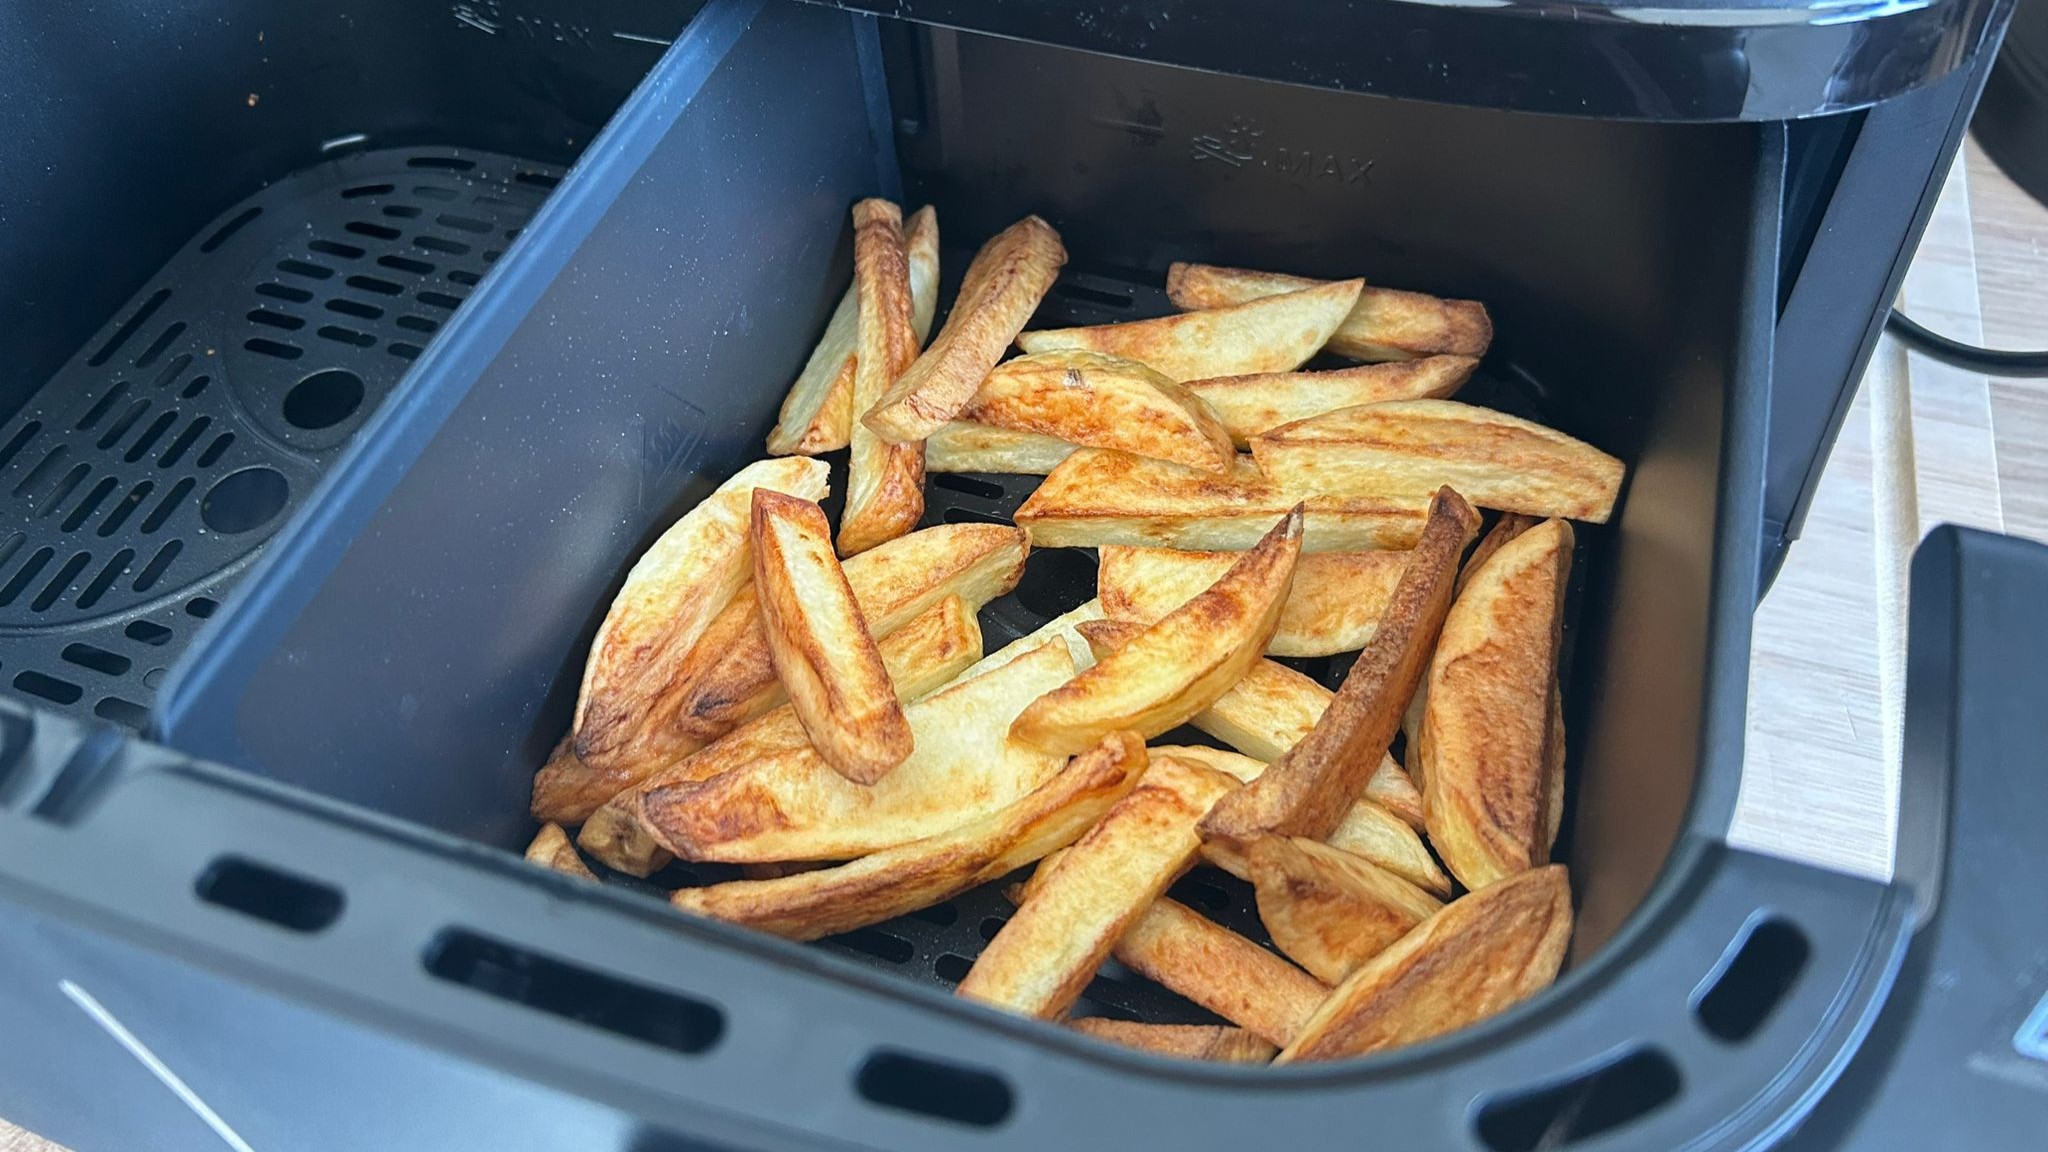
Perfect Frozen Fries in 18 Minutes
Step-by-Step Crispy Fries Protocol
- Preheat to 200°C for 3 minutes (non-negotiable for frozen fries)
- Add 500g frozen fries—no oil needed (they contain surface oil)
- Set timer for 18 minutes
- At 9-minute mark, shake vigorously for 10 seconds (critical for even browning)
- Check doneness: golden edges = done. Add 2 minutes max for extra crisp
Common mistake: Opening the basket too early releases heat. Wait until the 9-minute mark.
Troubleshoot Smoke and Sogginess Immediately

White Smoke Emergency Response
Cause: Oil pooling in basket bottom
Fix:
1. Immediately pull out basket (unit pauses automatically)
2. Blot excess oil with paper towel
3. Reduce oil by 50% next time—1–2 tsp max for fresh foods
4. Clean basket thoroughly before reuse
Soggy Food Recovery Tactics
If fries lack crunch:
– Increase temp by 20°C (e.g., 180°C → 200°C)
– Extend time by 2–3 minutes
– Ensure food was dry before loading (pat frozen items with towel)
Pro Tip: For reheating pizza, use 160°C for 3 minutes—higher temps burn toppings before crust crisps.
Daily Cleaning That Preserves Non-Stick Coating
2-Minute Post-Cook Routine
- Wait 5 minutes for basket to cool slightly (handle stays cool, but rim burns)
- Empty food debris while basket is warm—not hot
- Wash with soft sponge + mild detergent (no steel wool!)
- Air-dry completely before storage
Critical: Dishwasher use is possible but hand-washing extends coating life by 2x. Monthly deep cleans require unplugging, cooling, and wiping the heating element with a damp cloth—never immerse the main unit.
Accessory Hacks for Advanced Cooking
Grill Mark Perfection with HD9946/00
The Grill Set creates restaurant-quality sear lines:
1. Preheat air fryer to 200°C
2. Insert grill plate after preheating
3. Place steaks/salmon skin-side down
4. Cook 15–20 minutes (no flipping needed)
Avoid: Using accessories with wet foods—they cause steam buildup.
2-Layer Cooking for Family Meals
The layer rack expands capacity but requires adjustments:
– Place longer-cooking items (potatoes) on bottom rack
– Add quicker items (asparagus) to top rack after 5 minutes
– Extend total time by 5–8 minutes
– Shake both layers simultaneously at halfway mark
Model Capacity Cheat Sheet
| Your Model | Max People | Best For | Avoid Cooking |
|---|---|---|---|
| NA110/00 (3.4Qt) | 2–3 people | Appetizers, single servings | Whole chicken, large batches |
| NA120/00 (4.2L) | 3–4 people | Family dinners, meal prep | Over 6 chicken pieces |
| NA130/00 (6.2L) | 5+ people | Sunday roasts, whole chicken + veggies | Crowded appetizers |
Key insight: The NA130/00’s 6.2L capacity (238.5 × 238.5 × 124 mm basket) fits a 1.5kg chicken with root vegetables—just don’t exceed the fill line.
Safety Features You Must Understand
Cool-Touch Handgrip Reality Check
While handles stay cool during operation, the basket rim reaches 150°C+. Always:
– Use oven mitts when removing basket
– Keep kids away from top vent (releases 200°C air)
– Never cover the unit while running
The auto shut-off prevents fires, but proper clearance is your first defense.
Pro Time-Saving Shortcuts
Skip Preheating Strategically
Save 3 minutes when:
– Reheating pizza or leftovers (use 160°C)
– Cooking fresh chicken breasts (pat dry first)
– Roasting low-moisture veggies (asparagus, broccoli)
The extended cook time compensates perfectly—no crispiness loss.
Batch Cooking Sequence Formula
Maximize efficiency with this order:
1. Start proteins (chicken at 200°C for 20 minutes)
2. Add veggies during last 10 minutes
3. Finish with reheated sides at 160°C
Result: Hot, synchronized meals in 25 minutes flat.
Your Philips Air Fryer 1000 Series becomes indispensable once you master its dual-dial language. Start with frozen fries using the exact 18-minute protocol—success here builds confidence for chicken, fish, and batch cooking. Remember the golden rules: never overcrowd the basket, always preheat for crispy results, and clean immediately while warm. Within a week, you’ll instinctively know the dial positions for golden fries and tender salmon. The real victory? Ditching your oven 4+ times weekly while cutting cooking time by 50%. Now go make those dials work for you.


