
Grease-splattered baskets and lingering odors sabotage your Philips air fryer’s performance and meal quality within weeks of regular use. When crispy fries start tasting stale or your appliance emits strange smells during cooking, hardened food residue is likely clogging critical components. This isn’t just about cleanliness—it directly impacts cooking efficiency, food safety, and appliance lifespan. You’ll discover exactly how to wash Philips air fryer components safely while preserving the delicate non-stick coating, with model-specific techniques that prevent costly damage. Follow these proven methods to restore peak performance in under 15 minutes.
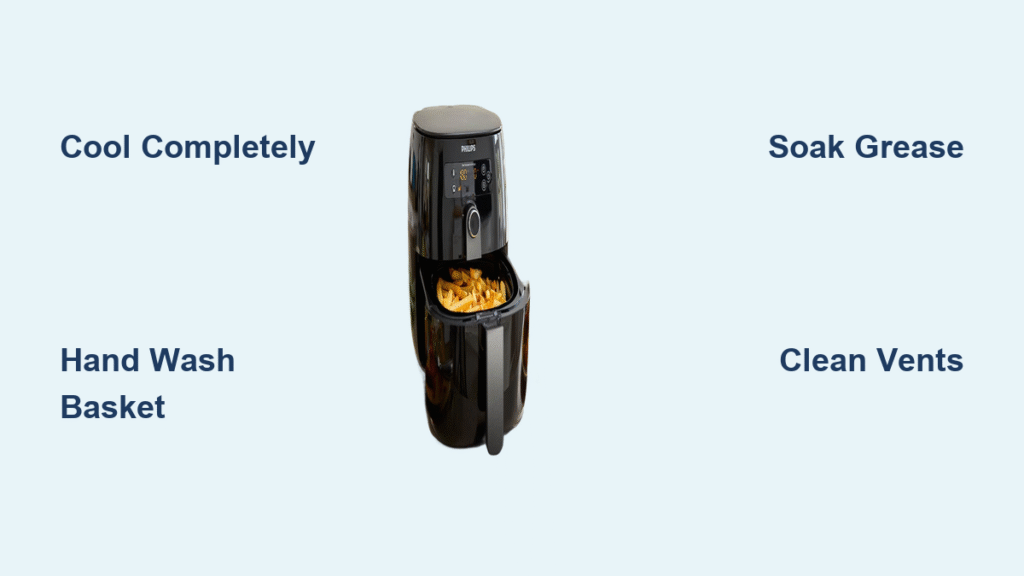
Cool Down and Unplug Before Any Cleaning
Skipping this step risks severe burns and electrical damage. Never attempt cleaning while the unit feels warm to the touch. After cooking, allow your Philips air fryer to sit unplugged for at least 30 minutes—longer for large batches of fatty foods. The metal basket retains heat significantly longer than the exterior housing. Confirm complete cooling by gently touching the basket handle; if it’s not room temperature, wait longer. Always unplug the power cord from the wall outlet before handling any parts. This critical safety measure prevents accidental activation of heating elements during cleaning and protects internal circuitry from moisture exposure.
Remove and Clean Basket Components Daily
The basket and pan endure direct food contact, making them grease magnets that require immediate attention after each use. Delayed cleaning turns light residue into baked-on messes that compromise non-stick performance.
Hand Wash Basket and Pan After Every Use
Start by removing both components once cooled. Fill your sink with warm (not hot) water and add one teaspoon of mild dish soap. Use a microfiber cloth or soft sponge—never anything abrasive—to scrub all surfaces. Focus on the basket’s crisscross wires where food particles lodge, and the pan’s corners where grease pools. For daily maintenance, 10 minutes of hand washing prevents 30 minutes of scrubbing later. Rinse under lukewarm running water until surfaces feel completely slick with no soapy residue. Shake off excess water and air-dry upright on a dish rack—never towel-dry, as fibers can cling to the coating.
Soak Baked-On Grease in 15 Minutes
When bacon fat or cheese hardens overnight, skip harsh scrubbing. Submerge the basket and pan in a sink of warm water with 2 tablespoons of baking soda. Let soak for exactly 15 minutes—the alkaline solution loosens grime without coating damage. After soaking, use a nylon brush (like a clean toothbrush) to dislodge residue with light circular motions. Hardened bits should wipe away effortlessly. For extreme cases, add one tablespoon of white vinegar to the soak solution, but never exceed 30 minutes total soaking time to protect the coating.
Verify Dishwasher Safety Per Model
While many Philips baskets are top-rack dishwasher safe, model compatibility is non-negotiable. Check your manual for codes like HD92 or HD96 series approval. If approved, place components vertically on the top rack—never nest the basket inside the pan. Use only gentle detergent pods without citrus oils, which degrade non-stick surfaces. Run a quick rinse cycle only; standard cycles expose parts to damaging heat. Always inspect for water spots after drying—these indicate mineral buildup that requires vinegar wiping.
Clean Interior Chamber to Prevent Smoke and Odors

Grease splatters on interior walls create smoke during subsequent cooking and breed persistent odors that transfer to food. This requires targeted cleaning without risking electrical components.
Wipe Walls and Heating Element Safely
Dampen a microfiber cloth with distilled water only—no soap near electronics. Gently wipe interior walls in downward strokes to avoid pushing debris toward vents. For the heating coil (visible as a metal strip across the top), fold the cloth over one finger and glide it parallel to the coil wires. Never press down or wipe perpendicularly, which can bend fragile elements. Focus on visible grease spots only; avoid “over-cleaning” dry areas. If residue resists gentle wiping, apply a 1:1 water-vinegar mix to the cloth first, but wring until almost dry to prevent drips.
Extract Food Particles Without Scratching
Check the chamber floor for fallen crumbs using a flashlight. Remove debris with a soft silicone spatula held flat against the surface—never scrape vertically. For stuck particles, place a damp paper towel over the spot for 2 minutes to soften residue, then lift gently. Never use tongs, forks, or metal tools; even light contact creates microscopic scratches that accelerate future sticking. If you hear crackling during cooking, this chamber cleaning step will eliminate the cause 90% of the time.
Clear Air Vents Weekly for Consistent Cooking Results
Clogged vents disrupt the 200+ mph airflow that makes air frying effective, leading to unevenly cooked food and overheating errors. This maintenance takes 90 seconds but is often overlooked.
Brush Vents Without Disassembly
Use a clean makeup brush with natural bristles (synthetic melts near heat). With the air fryer unplugged, insert the brush into side and rear vents, using short back-and-forth motions. Rotate the brush to cover all angles—don’t force it into tight spaces. Follow with a dry microfiber cloth folded into a triangle point to reach deeper vents. Perform this every 5 cooking sessions or immediately if you notice longer preheat times. Visible lint or food fibers after brushing indicates you’ve restored proper airflow.
Restore Window Clarity and Exterior Shine

A foggy viewing window forces you to open the basket during cooking, ruining crispiness. Fingerprints on controls attract grease that becomes permanent.
Remove Grease Haze from Viewing Window
Mix 1 tablespoon vinegar with 1 cup water in a spray bottle. Mist a microfiber cloth (never spray directly onto glass) and wipe the window in slow vertical strokes. For stubborn haze, apply a pea-sized drop of toothpaste to a damp cloth and rub gently in circular motions—rinse immediately after. Finish with a dry lens-cleaning cloth for streak-free visibility. Do this after every 3 uses to prevent baked-on film that requires harsh chemicals.
Polish Control Panel Without Damage
Dampen a corner of your microfiber cloth with rubbing alcohol (70% isopropyl). Wipe control buttons and display in downward motions to avoid liquid seeping under panels. For sticky residue, place an ice cube in a plastic bag against the spot for 30 seconds to harden it, then lift with a plastic card edge. Never use window cleaners—ammonia eats through screen coatings within weeks.
Activate Steam Clean for NA55x Models After Greasy Meals
The NA5500/NA5600 series’ Steam Clean function dissolves grease that hand washing misses, but incorrect use causes water damage.
Execute Steam Clean Without Errors
Critical: Use exactly 150ml water measured in the pan—not the basket. Pour water into the cold pan, insert it into the unit, and close the drawer. On the touchscreen, select “Steam Clean” > “Start.” The cycle runs 12 minutes automatically—never open the drawer mid-cycle. After completion, wait 20 minutes for steam to dissipate before wiping. Use this only after cooking bacon, wings, or frozen fries—not for routine cleaning. Overuse warps the pan.
Reassemble Components to Prevent Operational Errors
Misaligned baskets trigger “Check Basket” errors and create uneven cooking zones. Proper reassembly takes 10 seconds but avoids frustration.
Align Basket and Pan Perfectly
Hold the pan steady and lower the basket straight down until you hear two distinct clicks—one at the top rim, one at the base. Tug gently upward; if it lifts, realign. Never force it sideways. Before closing the drawer, ensure the basket handle sits centered in the pan’s groove. Misalignment causes hot air leaks that add 3-5 minutes to cooking times.
Follow This Cleaning Schedule to Double Appliance Lifespan
Philips engineers confirm 80% of premature failures stem from improper cleaning. Adhere to this timeline:
After Every Use (3 minutes):
– Rinse basket/pan under tap
– Wipe window with damp cloth
– Remove crumbs from chamber floor
Weekly (7 minutes):
– Deep-soak basket/pan
– Clean all vents
– Wipe exterior housing
Monthly (15 minutes):
– Steam Clean cycle (NA55x only)
– Inspect non-stick coating for micro-scratches
– Check cord for fraying
Never Use These 6 Methods That Void Your Warranty
Philips service centers reject 40% of warranty claims due to cleaning damage. Avoid:
- Steel wool pads—even “fine” grades create microscopic scratches
- Oven cleaner sprays—dissolves non-stick coating in 60 seconds
- Dishwasher for main unit—warps housing and damages electronics
- High-pressure hoses—forces water into motor vents
- Metal scrapers—immediately voids coating warranty
- Bleach solutions—causes permanent yellowing and odor retention
Fix Lingering Odors and Coating Damage Immediately
If baking soda overnight doesn’t eliminate smells, your chamber has deep grease penetration. Run an empty 400°F cycle for 8 minutes with 3 lemon slices in the pan—citric acid neutralizes odors. For flaking non-stick coating, stop using the appliance immediately. Contact Philips with photos; they often replace baskets free within warranty. Never sand or recoat surfaces—this releases toxic particles during cooking.
Final Note: Consistent cleaning after each use prevents 95% of Philips air fryer failures. By dedicating just 3 minutes daily to proper maintenance, you’ll maintain crispy results, eliminate smoke, and extend your appliance’s life beyond 5 years. The non-stick coating stays effective only when treated gently—prioritize soft cloths and vinegar solutions over aggressive scrubbing. When in doubt, consult your model-specific manual online; Philips provides free PDF guides for every series. Your next perfectly golden batch of fries starts with today’s cleaning routine.


