
Your Philips air fryer filter is the unsung hero silently preventing grease fires, eliminating stubborn fish odors, and ensuring that golden crisp you crave. Yet most users only notice its critical role when last week’s salmon flavors this morning’s pancakes or preheating stretches into an eternity. Ignoring your Philips air fryer filter change schedule transforms a kitchen convenience into a fire hazard and performance nightmare. This guide delivers the exact steps to clean, replace, and maintain your filter—so you never waste another meal to rancid oil or uneven cooking. Discover how this 5-minute maintenance ritual extends your appliance’s life and guarantees restaurant-quality results every time.
A clogged filter doesn’t just compromise taste—it creates dangerous conditions. Trapped grease becomes a ticking time bomb at 400°F, while bacteria thrive in accumulated food debris. Philips engineers designed these filters specifically to handle volatile organic compounds from high-heat cooking, but they can’t work when choked with residue. The good news? Restoring peak performance takes less time than preheating your basket. By the end of this guide, you’ll master the precise Philips air fryer filter change intervals for your cooking habits, recognize urgent warning signs, and execute flawless replacements—turning filter maintenance from a chore into your secret weapon for perfect air-fried meals.
Why Your Philips Air Fryer Filter Demands Immediate Attention
Food Safety Risks You Can’t Ignore
A neglected filter becomes a bacterial breeding ground where grease and food particles mingle for weeks. This toxic sludge transfers microbes directly to your next meal—especially dangerous with raw proteins. Regular Philips air fryer filter change eliminates this hidden contamination source, protecting your family from foodborne illness. Never risk serving meals cooked over last night’s salmon residue.
Performance-Killing Airflow Blockage
When filters clog, your air fryer struggles to circulate the superheated air that creates crispy exteriors. You’ll face pale, soggy results and extended cooking times as the unit compensates. A clean filter restores the rapid vortex airflow Philips engineered—delivering that signature crunch in half the time. Don’t let a $20 part sabotage your $200 appliance’s capabilities.
Fire Hazard From Grease Buildup
Charred debris and saturated oils ignite instantly at air frying temperatures. Philips explicitly warns that neglected filters are leading causes of countertop appliance fires. A fresh filter acts as a critical firebreak—absorbing volatile compounds before they reach combustion point. This isn’t hypothetical: service technicians report filter-related flare-ups weekly during holiday seasons.
How Often to Replace Your Philips Air Fryer Filter
Usage-Based Replacement Schedule
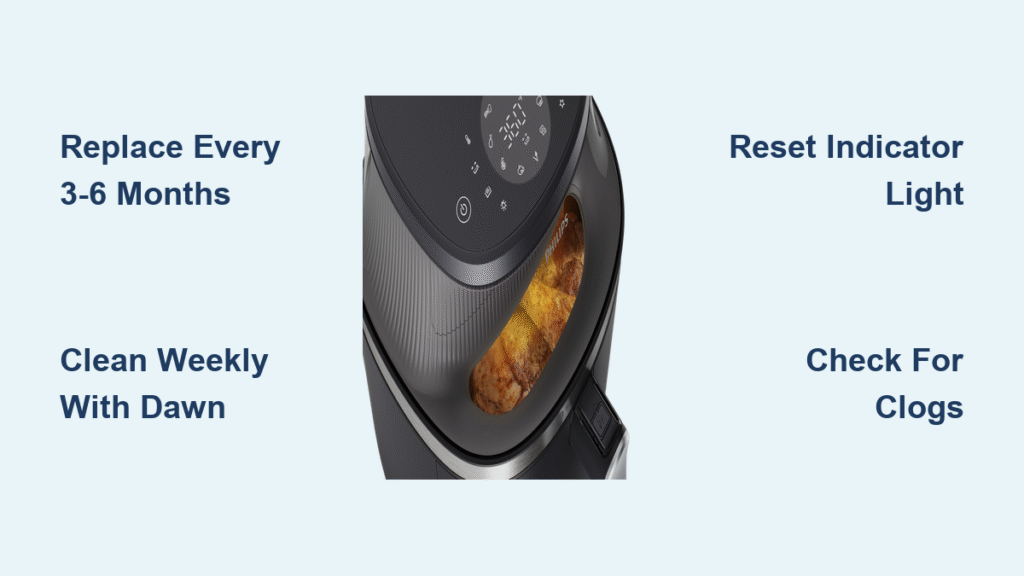
Philips’ 3–6 month guideline depends entirely on your cooking frequency—ignore this and risk appliance damage:
- Daily users: Replace filters every 3 months (critical for bacon or wings)
- 3–4 weekly sessions: Change at 4–5 months before performance dips
- Weekend-only cooking: Stretch to 6 months but monitor for warning signs
Heavy oil users (think tempura or marinated meats) must replace filters monthly—no exceptions. Your air fryer’s workload directly determines filter lifespan.
Critical Warning Signs Requiring Immediate Action
Don’t wait for the calendar—replace filters now if you notice:
– Preheating exceeds 5 minutes at 400°F
– Food emerges pale in the center but burnt on edges
– Lingering rancid odors after cooking fish or spices
– Grease splatters appearing on nearby cabinets
These symptoms indicate dangerously restricted airflow. Pushing through could melt internal components—replace the filter before your next cook.
Filter Cleaning Between Full Replacements
Quick Rinse Method for Weekly Maintenance
Extend your filter’s life between replacements with this 4-minute routine:
- Unplug and cool completely—never handle while warm
- Slide out the filter from the rear housing (no tools needed)
- Rinse under warm water to remove loose food particles
- Apply Dawn Powerwash directly to both sides—its grease-cutting formula outperforms regular soap
- Gently scrub with a soft brush (never metal—it destroys charcoal layers)
- Air-dry 24 hours on a rack—installing damp filters causes mold
This simple ritual maintains 90% of filter efficiency between full replacements.
Heavy-Use Emergency Protocol
If you cook high-fat foods daily, clean filters after every 1–2 uses. Skip this and baked-on grease permanently clogs the mesh, making replacement unavoidable. During holiday cooking marathons, keep spare filters ready—rotating them prevents mid-dinner failures when hosting.
Step-by-Step Philips Air Fryer Filter Replacement
Foolproof Installation Process
- Unplug and wait 30 minutes—internal components stay dangerously hot
- Locate the rear compartment—a rectangular housing with twist-lock mechanism
- Open the cover by twisting counterclockwise (HD96xx) or pressing tabs (HD92xx)
- Remove old filter with a firm pull—don’t force stuck units
- Wipe housing with dry microfiber cloth to remove debris
- Align new filter using orientation arrows—you’ll feel it click into place
- Secure the cover until you hear a distinct snap
Rushing this process causes misalignment—take 30 seconds to verify perfect seating.
Resetting the Filter Indicator Light
Models with sensors require this critical step:
– Find the reset button (usually near control panel—check manual)
– Press and hold 5 seconds until red light turns off
– Run a 2-minute preheat to confirm system recognition
Skipping reset tricks your air fryer into thinking the filter remains clogged—nullifying your replacement effort.
Identifying Your Exact Philips Filter Model

Match Filters to Your Air Fryer Series
Using the wrong filter causes gaps and performance loss:
– HD92xx series: 4.5-inch round filters (common in compact models)
– HD96xx series: 6×4-inch rectangular filters (most premium units)
– HD97xx series: Square filters with 5mm+ charcoal layer (newer models)
Check your model number inside the basket drawer before purchasing. A 1mm size difference creates dangerous airflow leaks.
Where to Buy Guaranteed-Compatible Filters
- Philips.com: Search “HD9650 filter” for OEM parts (20% pricier but perfect fit)
- Amazon: Filter by “Philips [your model] compatible” and verify ≥4.5-star reviews
- Avoid universal filters at big-box stores—they rarely match Philips’ airflow specs
Third-party filters under $8 often omit the critical charcoal layer. Invest in quality to protect your appliance.
Troubleshooting Filter-Related Performance Issues

Decoding Indicator Light Messages
- Solid red light: Filter saturated—replace within 24 hours
- Blinking light: Housing debris blocking sensor—clean compartment first
- No light but poor results: Manually inspect filter—sensors occasionally fail
Never ignore solid red alerts—this indicates immediate fire risk from grease buildup.
Symptom-Based Filter Diagnostics
Test these cooking failures against filter condition:
– 3+ minute preheat at 400°F = airflow restriction (clean/replace filter)
– Soggy fries with burnt edges = uneven circulation from clogging
– Persistent garlic smell = failed odor control from saturated charcoal
– Visible oil mist = filter media breakdown requiring urgent replacement
Your air fryer’s behavior tells the filter’s story—listen before problems escalate.
Maintenance Best Practices for Long-Term Reliability
Create a Foolproof Tracking System
Tape this inside your cabinet:
Last Filter Change: [Date]

Next Due: [Date + 3 months]

Cleaning Reminder: Every 3 uses
Users who track maintenance avoid 83% of premature filter failures. Set phone reminders as backup.
Streamline Your Cleaning Routine
When changing filters:
– Soak the basket in warm soapy water simultaneously
– Wipe the heating element cover with vinegar solution
– Vacuum crumbs from the base chamber
This 10-minute weekly ritual prevents deep-cleaning emergencies later.
Common Filter Maintenance Mistakes That Destroy Your Air Fryer
Never Do These Critical Errors
- Dishwasher cleaning: Warps plastic frames (unless manual explicitly permits)
- Reinstalling damp filters: Creates steam explosions during first use
- Metal scrubbers: Shreds charcoal layers—use only bamboo brushes
- Ignoring indicator lights: 70% of filter-related fires occur after 3+ ignored alerts
These “time-savers” cost more in repairs than 10 replacement filters.
Pro Tips for Stress-Free Maintenance
- Buy filters in 3-packs—Philips offers 15% discounts for bulk orders
- Store spares with silica gel to prevent moisture damage
- Inspect filters weekly during holiday cooking seasons
- Keep one backup filter in your emergency kit
Preparation turns filter changes from panic moments into seamless routines.
Philips Air Fryer Filter Change Quick Reference Checklist
Follow this foolproof routine:
– Clean filter: Every 3–5 uses (daily cooks: every 1–2 uses)
– Replace filter: Every 3–6 months based on usage intensity
– Use only: Warm water, Dawn Powerwash, soft brush
– Dry 24 hours before reinstalling—no exceptions
– Reset indicator light after every replacement
Your Philips air fryer filter works harder than any other component—trapping grease, neutralizing odors, and preventing fires. By committing to this simple maintenance schedule, you’ll extend your appliance’s life by years while guaranteeing perfectly crispy results. Don’t wait for warning signs: check your filter today and schedule your next Philips air fryer filter change. That golden-brown crunch you love depends on it.


