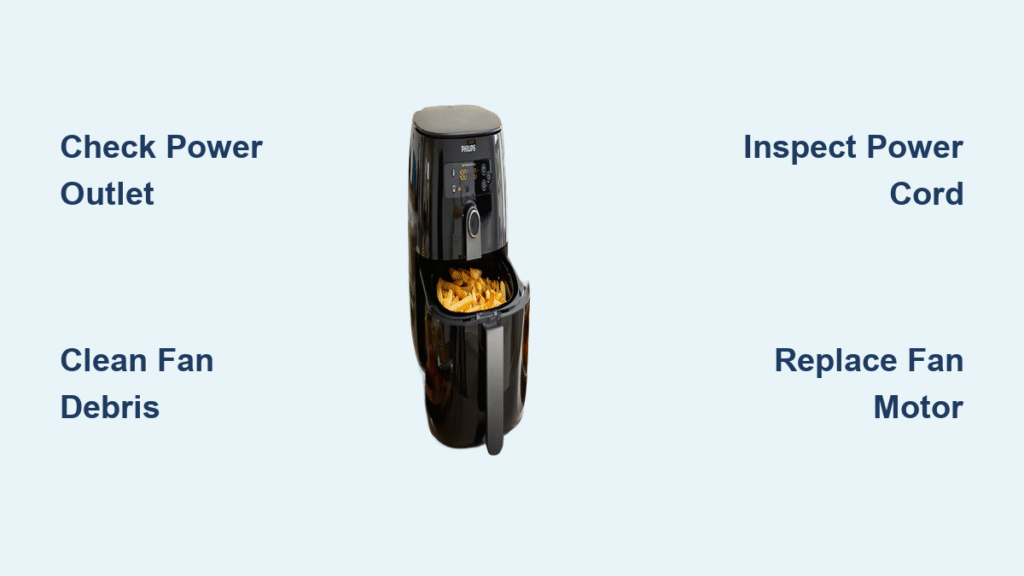
Your Philips air fryer suddenly stops circulating air, leaving you with soggy fries instead of crispy perfection. When your Philips air fryer fan not working issue strikes, it disrupts the entire cooking process since proper airflow is essential for that signature fried texture without the oil. Thousands of Philips air fryer owners face this frustrating problem each year, but most fan failures can be resolved with straightforward troubleshooting and repairs. This guide delivers exactly what you need to diagnose and fix your fan problem, whether it’s complete silence, grinding noises, or intermittent operation.
Fan Stops Spinning: Quick Diagnosis
When your Philips air fryer fan not working symptom appears, three immediate checks can pinpoint the problem. Listen carefully when powering on your unit—complete silence suggests power issues while grinding noises indicate mechanical obstructions. Simultaneously check if the control panel lights function normally, which helps distinguish between general power failure and fan-specific problems. Finally, feel for air movement at the rear vents even when the fan appears stationary; weak airflow often means partial blockages rather than total motor failure.
No Power Symptoms Checklist
- Zero response: No lights, sounds, or display activity when plugged in
- Quick fix: Verify outlet voltage (should read 110-125V in North America)
- Common culprit: Tripped circuit breaker or damaged power cord insulation
- Time to fix: 5-10 minutes for basic electrical troubleshooting
Fan Attempts But Fails
- Grinding sounds: Food debris jammed between blades and housing
- Starts then stops: Thermal protection activating due to overheating
- Visible obstruction: Grease buildup blocking rear ventilation paths
- Cleaning time: 15-30 minutes for thorough debris removal
Intermittent Operation
- Works sometimes: Loose electrical connections in motor circuit
- Stops mid-cycle: Overheating protection triggered by blocked vents
- Diagnostic step: Monitor operation while gently moving power cord
- Complexity: May require professional service if control board involved
Power Supply Failure Detection
Before disassembling your air fryer, confirm it’s receiving proper electrical power. Use a multimeter to test your wall outlet—voltage should read 110-125V in North America or 220-245V in Europe. If readings fall below 100V, the problem lies with your electrical supply rather than your Philips air fryer fan not working issue. Try operating another appliance in the same outlet to verify power availability.
Power Cord Inspection
Examine your power cord thoroughly for damage, focusing on areas near the plug and where it enters the unit. Look for melting or discoloration at plug prongs, cuts or nicks in the insulation, and loose connections that might cause intermittent power loss. Test cord continuity with a multimeter—resistance should measure less than 1 ohm. Any reading above 5 ohms indicates a damaged cord requiring replacement.
Remove Food Debris Blockages

Food particles and grease accumulation cause over 60% of Philips air fryer fan not working problems. Chicken skin fragments, breading bits, and vegetable pieces wedge between fan blades and housing, creating complete blockages. The good news is this requires only cleaning rather than part replacement.
Accessing the Fan Assembly
After allowing your air fryer to cool for 45 minutes, unplug it and remove the rear panel using a Torx T15 or Phillips #2 screwdriver—typically 4-6 screws secure this panel. The fan assembly sits directly behind this panel, making it easily accessible. Take photos before disconnecting any components to ensure proper reassembly.
Professional-Grade Cleaning Process
- Degreasing: Apply 90% isopropyl alcohol to lint-free cloths for effective grease removal
- Debris clearance: Use compressed air at 30-50 PSI to clear motor windings without damage
- Stubborn deposits: Gently brush blade surfaces with a soft-bristled toothbrush
- Critical warning: Keep all liquids away from motor and electronic components
Before reconnecting power, manually rotate the fan to verify smooth operation with no scraping. Ensure proper blade clearance from the housing—maintain at least 2mm gap around the entire blade circumference to prevent future binding.
Replace Failed Fan Motor
When cleaning doesn’t resolve your Philips air fryer fan not working problem, the motor itself may have failed. Common failure modes include bearing seizure after 500-1000 operating hours, coil burnout from sustained overheating, or brush wear in older models. Replacement requires moderate technical skill but saves significant money compared to buying a new unit.
Model-Specific Motor Specifications
- HD9252/90: 25W, 2400-2800 RPM, part #422203037271
- HD9240 series: 30W, 2400-2800 RPM, part #422203037291
- HD9650/90: 35W, 2400-2800 RPM, part #422203037321
- Universal specs: 120V AC, 4.0mm shaft diameter, 3-point mounting
Motor Installation Protocol
- Document connections: Photograph wire positions before disconnecting
- Desolder carefully: Note polarity (red=hot, blue=neutral, yellow=speed)
- Apply thermal compound: Use Arctic Silver or equivalent on mounting surfaces
- Verify spacing: Maintain 2-3mm clearance between blades and housing
- Resolder connections: Use rosin-core solder for reliable joints
After installation, run initial tests with the basket removed to verify smooth operation across all speed settings. Complete a 15-minute test cycle with 1 pound of frozen fries to confirm normal operation under cooking load.
Fix Thermal Shutdown Issues

Thermal protection systems prevent overheating but can cause your Philips air fryer fan not working symptom when vents become clogged. The thermostat switch opens at 185-203°F and resets at 140-158°F, creating intermittent operation that often mimics fan failure.
Ventilation Cleaning Protocol
Focus cleaning efforts on rear and side vents where lint and grease accumulate. Use compressed air to clear dust from motor cooling fins and ventilation passages. Critical safety note: Maintain 6 inches clearance from walls and 4 inches above the unit during operation for proper airflow. Never exceed your model’s maximum load capacity—2.65 lbs for HD9252 models.
Overheating Prevention Tips
- Clean vents monthly with compressed air to maintain airflow
- Allow 2-minute recovery between cooking batches
- Never block ventilation openings with kitchen towels or other items
- Monitor cooking times—significantly extended cycles indicate developing problems
Control Board Failure Solutions

Electronic control failures require systematic testing to isolate the problem. Common issues include solder joint failures from thermal cycling, capacitor degradation after 3-5 years, or relay contact oxidation preventing motor power delivery.
Voltage Testing Method
With the unit powered on, test voltage at the motor terminals—it should match the rated voltage (120V or 240V) when the fan should be operating. Zero voltage indicates control board failure, while correct voltage points to motor issues. Warning: Control board replacement requires advanced soldering skills and access to Philips-specific components.
Prevent Fan Problems Long-Term
Implement these maintenance habits to prevent future Philips air fryer fan not working issues:
Daily Maintenance Routine
- Allow 15-minute cool-down before cleaning
- Wash basket with warm soapy water after each use
- Wipe interior walls with a damp cloth (avoid heating element)
- Quickly check vent openings for visible debris
Weekly Deep Clean
- Cool air fryer for 45 minutes after last use
- Remove rear panel (4-6 screws) if comfortable with disassembly
- Use compressed air to clear dust from motor area
- Inspect fan blades for grease accumulation
- Verify motor mounting screws remain tight
When to Call Professionals
While many fan issues are DIY-friendly, certain situations require authorized Philips service. Contact professional service if you detect burning smells, see smoke, or experience multiple simultaneous failures. Attempting complex repairs without proper training can worsen problems and void warranties.
Your Philips air fryer fan not working problem likely stems from one of these common issues: power supply failure, food debris blockage, or motor wear. Start with the simplest solutions—power outlet testing and thorough cleaning—which resolve 80% of fan failures. Keep this guide handy for future reference, and establish a monthly cleaning routine to prevent recurrence. With proper maintenance, your air fryer will deliver years of reliable crispy cooking performance without unexpected fan failures.


