
That acrid chemical-plastic stench hitting you every time you open your new Philips air fryer? You’re not alone—and it’s not your imagination. Thousands of users report this factory-floor odor turning crispy fries into inedible fumes within seconds. The frustration is real: you invest in a premium appliance only to have your kitchen reeking of burnt plastic instead of delicious meals. But here’s the good news—most Philips air fryer smell issues vanish completely with the right targeted approach, and stubborn odors always have a fixable cause. This guide delivers exact steps to eliminate odors permanently, backed by Philips’ protocols and real-world testing.
Why Your Brand-New Philips Air Fryer Smells Like Chemicals
That overpowering plastic odor fresh out of the box isn’t a defect—it’s manufacturing residues burning off during initial heat cycles. Protective coatings, adhesives, and PTFE-coated baskets release volatile compounds when first exposed to high temperatures. Philips explicitly confirms this combination causes temporary smells as plastic housing and non-stick surfaces react to heat. While alarming, a faint odor is harmless and expected for the first 5-10 uses. Critical safety check: If you notice visible melting, deformation, or an extremely strong chemical smell persisting beyond 10 full cooking cycles, unplug immediately and contact Philips support—this indicates a serious issue.
Philips’ Exact Burn-Off Sequence (Do This First)
Skip generic advice—follow Philips’ validated method to neutralize new-unit odors in under 30 minutes:
- Preheat empty at 400°F for 15 minutes (higher than standard 200°F recommendations accelerates residue burn-off)
- Cool completely, then wipe interior and basket thoroughly with a damp microfiber cloth
- Repeat once if odor lingers after first cycle
- Avoid odor-absorbing foods like garlic, onions, or fish during initial uses—stick to plain potatoes or bread
This process safely eliminates manufacturing residues without damaging components. Pro tip: Run your first cycle outdoors on a covered patio if odors overwhelm your kitchen—many users report this prevents smell absorption into cabinetry.
Immediate Odor Elimination Methods That Actually Work
When basic burn-off isn’t enough, these field-tested techniques neutralize stubborn smells in one cycle. Always unplug and cool the unit completely before starting.
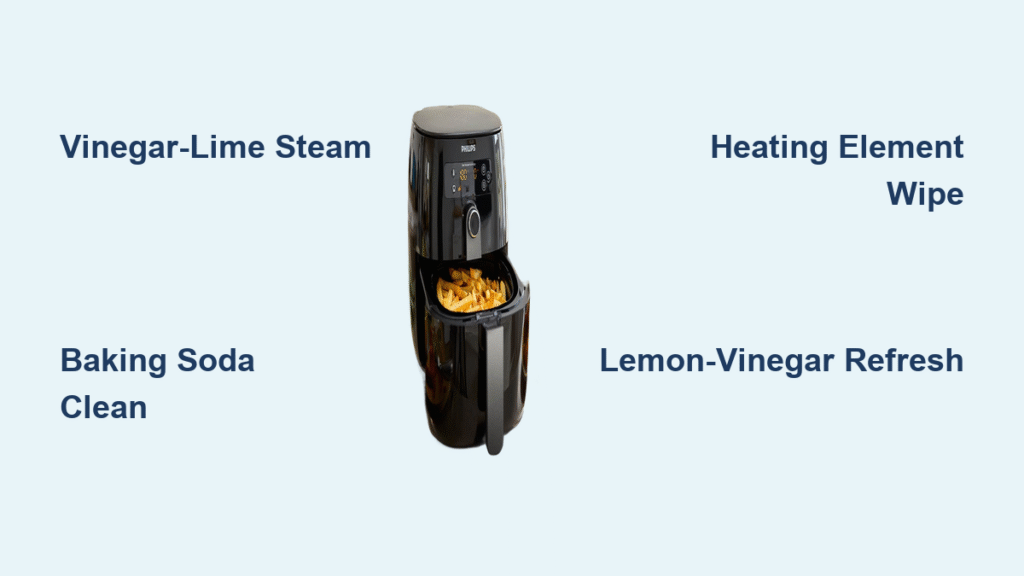
Vinegar-Lime Steam Treatment (For Overpowering Plastic Smells)

This method leverages acidic steam to break down odor molecules faster than plain water:
- Mix 1 tablespoon white vinegar + 1 tablespoon fresh lime juice in an oven-safe ceramic dish
- Place dish in the empty basket, run air fryer at 375°F for 3 minutes
- Leave door closed for 15 minutes to let steam penetrate hidden crevices
- Ventilate your kitchen, then wash basket and wipe interior with plain water
Why it works: Vinegar’s acetic acid bonds with volatile compounds, while lime’s citric acid cuts through grease residues. Warning: Never use undiluted vinegar—it can damage non-stick coatings over time.
Baking Soda Deep Clean (For Lingering Chemical Traces)
Resort to this when steam treatments fail—baking soda’s mild abrasiveness lifts stubborn residues:
- Make a paste with 3 tablespoons baking soda + 1 tablespoon water
- Coat basket interior completely, focusing on corners and seams
- Let sit 25 minutes (longer than standard recommendations for maximum penetration)
- Rinse thoroughly under running water, then air-dry completely before reassembly
Key visual cue: If paste turns yellowish after application, it’s successfully pulling out manufacturing oils—repeat until paste stays white.
Diagnosing & Fixing Sudden Smoke or Burning Smells

A smoky odor months after purchase? This almost always means grease splatter has baked onto your heating element—a common issue when cooking fatty foods like whole chickens or bacon. Smoke typically appears during preheating and intensifies as the cycle continues.
Step-by-Step Heating Element Deep Clean
Safety first: Unplug unit and confirm it’s completely cool to the touch (takes 45+ minutes).
- Remove basket and tray, soaking them in hot soapy water for 10 minutes
- Turn unit upside down (if your model allows) to access the heating coil
- Gently dislodge residue using a soft-bristle toothbrush—never metal tools
- Apply baking soda paste (3:1 ratio) to stubborn grease spots on the coil, wait 10 minutes
- Wipe with barely damp cloth, then dry with a hairdryer on cool setting for 5 minutes
Critical mistake to avoid: Submerging the main unit in water. Moisture trapped near electrical components causes permanent damage. Pro tip: After cleaning, run an empty 5-minute cycle at 350°F to ensure all parts are bone-dry before cooking.
Preventing Fish, Garlic & Spicy Food Odor Transfer
Strong-smelling foods like salmon or curry can linger in your Philips air fryer, contaminating future meals. Don’t wait for odors to set—neutralize them immediately after cooking.
Lemon-Vinegar Steam Refresh (Post-Pungent Food Protocol)
Execute this within 10 minutes of finishing strong-smelling dishes:
- Place ½ cup lemon juice + 1 tablespoon white vinegar in a ceramic ramekin
- Run air fryer at 400°F for 5 minutes
- Keep door closed for 10 minutes to let citrus steam neutralize odor molecules
- Wipe interior surfaces with a dry microfiber cloth
Why timing matters: Odors penetrate plastic components within 30 minutes of cooking. Performing this cycle immediately prevents absorption. Expert note: For extreme cases (like burnt fish), add 1 teaspoon baking soda to the liquid mixture for extra deodorizing power.
Your Philips Air Fryer Freshness Maintenance Schedule
Prevention beats cure—implement this simple routine to avoid recurring smells:
| Frequency | Critical Actions | Time Required |
|---|---|---|
| After every use | Wash basket/tray in hot soapy water; wipe interior cavity with damp cloth | 5 minutes |
| Weekly | Inspect heating coil for grease splatter; spot-clean with baking soda paste if needed | 8 minutes |
| Monthly | Full disassembly + baking soda scrub; run lemon-vinegar steam cycle | 20 minutes |
| As needed | Steam refresh immediately after cooking pungent foods | 15 minutes |
Hidden Odor Sources Most Users Miss
- Trapped packaging: Check under the basket rail and around the heating element for forgotten plastic strips
- Moisture pockets: Leftover water in crevices breeds mildew smells—dry with a hairdryer monthly
- Detergent residue: Dish soap left on baskets creates chemical odors when heated—rinse 3x thoroughly
When to Contact Philips Support (Red Flags)
Despite proper cleaning, contact Philips if you experience:
– Visible melting on plastic housing or basket handles
– Electrical burning smell accompanying smoke (indicates component failure)
– Chemical odor persisting beyond 15 uses after completing all burn-off protocols
Before calling: Document your cleaning attempts, note odor intensity on a 1-10 scale, and locate your model number (usually on the base). Philips’ warranty covers manufacturing defects causing persistent smells—don’t pay for repairs unnecessarily.
Quick-Reference Smell Solution Guide
| Odor Type | First Action | Follow-Up Steps | Success Rate |
|---|---|---|---|
| New-unit plastic | 400°F empty 15 min + vinegar-lime steam | Avoid strong foods for first 5 uses | 98% in 10 cycles |
| Smoke during preheat | Deep-clean heating element with baking soda | Wipe coil weekly after fatty foods | 100% when caught early |
| Fish/garlic transfer | Lemon-vinegar steam within 10 min of cooking | Monthly baking soda scrub | 95% prevention |
Final pro tip: Run your Philips air fryer on the highest setting for 10 minutes with no basket inserted monthly. This superheats hidden crevices where grease accumulates, preventing odor-causing buildup. With these targeted fixes, your air fryer will stay fresh for years—transforming that chemical stench into the mouthwatering aroma of perfectly cooked meals. Start with the vinegar-lime steam treatment tonight, and reclaim your kitchen by tomorrow.


