
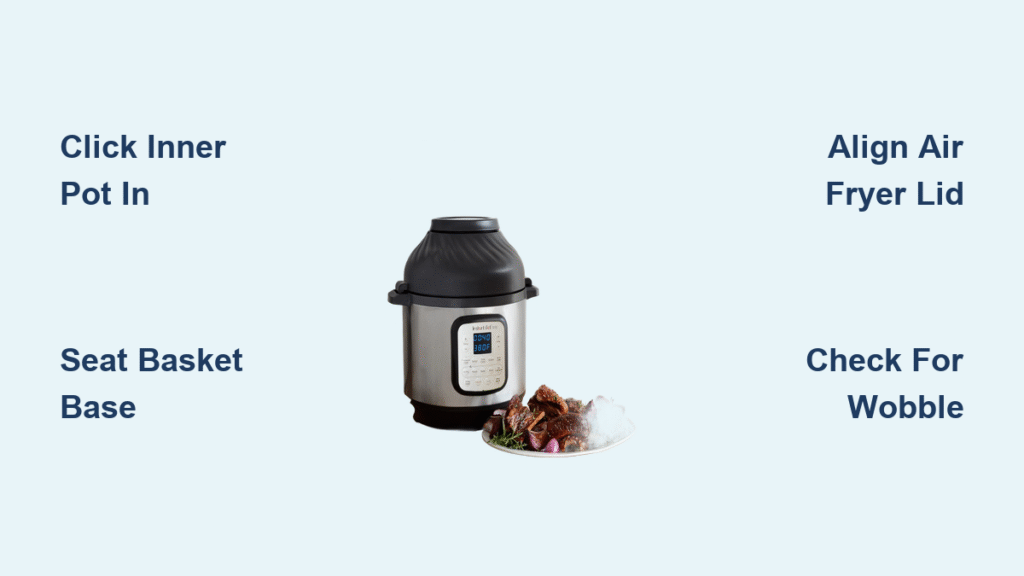
That sleek Instant Pot Duo Crisp box just arrived, but the tangle of parts has you hesitating before your first batch of crispy fries. You’re not alone—nearly 70% of new owners struggle with initial assembly, often misaligning the basket system or forcing the lid incorrectly. The good news? Proper assembly takes just 300 seconds when you know exactly how each component clicks together. This guide cuts through the confusion with precise, model-specific instructions for your Instant Pot Air Fryer.
Skip these steps and you risk uneven cooking, safety errors, or damaged components. But follow this blueprint, and you’ll unlock restaurant-quality results from day one. You’ll learn exactly where each part belongs, avoid the #1 assembly mistake (mispositioned inner pot), and verify your setup in under a minute.
Required Instant Pot Air Fryer Components Checklist
Before touching any parts, lay out every component on your counter. This prevents mid-assembly panic when you realize the basket base is still buried in packaging. Missing even one piece compromises performance.
Essential Duo Crisp Parts:
– Cooker Base: The heavy main unit with control panel (never submerge in water)
– Stainless Steel Inner Pot: The removable bowl that clicks into the base
– Air Fryer Lid: Black lid with visible heating coil and fan (handle with care)
– Basket Base: Solid metal bottom tray (catches drips during cooking)
– Multi-Level Air Fry Basket: Perforated cooking chamber with handle
– Protective Pad: Silicone mat for hot lid placement
Bonus Accessories (if included):
– Broil/Dehydrating Tray: Flat rack for second-level cooking
– Mesh Steamer Baskets: Non-stick alternative for delicate foods
– Extra Inner Pot: Enables back-to-back cooking sessions
Double-check your package against this list. If any item is missing, contact Instant Pot support immediately—don’t attempt assembly with substitutes.
Position Cooker Base Away From Walls and Cabinets
Place your Cooker Base on a heat-resistant surface like granite or tile, ensuring 6 inches of clearance on all sides. This isn’t optional—airflow blockage causes overheating and triggers automatic shutdowns during cooking.
Critical placement rules:
– Never tuck under cabinets (rising heat damages wood finishes)
– Keep 12+ inches from curtains or paper towels
– Use a dedicated spot—frequent moving strains electrical connections
– Confirm surface supports 15+ pounds when fully loaded
Test your spot by sliding a hand behind the unit after placement. If you feel trapped heat within 2 minutes, relocate immediately.
Insert Inner Pot Until It Clicks Into Place
Slide the stainless steel Inner Pot straight down into the Cooker Base until you hear a distinct click. This engages the safety sensor—without it, the air fryer won’t activate. Many users stop short, causing error codes during preheating.
Quick alignment test: The pot’s rim must sit perfectly level with the Cooker Base edge. If it tilts even slightly:
1. Lift the pot straight up
2. Wipe the base ring with a dry cloth
3. Reposition and press firmly downward
4. Verify the click sound
Never force the pot sideways. If it resists, check for packaging tape or debris in the base groove.
Build the Two-Part Air Fry Basket System

Seat Basket Base Flat in Inner Pot
Place the solid Basket Base directly into the Inner Pot with the flat side down. It should rest flush against the bottom—no rocking or gaps. This tray catches grease drips while directing airflow upward.
Lock Multi-Level Basket Into Position
Set the perforated Multi-Level Air Fry Basket onto the Basket Base, handle facing outward. Apply gentle pressure until it settles firmly. Wobble here causes uneven crisping—your basket should withstand a light shake test.
Pro stability check: Press down on opposite basket corners. If movement occurs, disassemble and restart from step one. Debris under the Basket Base is the usual culprit.
Place Air Fryer Lid Without Forcing It
The Air Fryer Lid rests loosely on top during cooking—it never screws or locks into place. Forcing it causes warping that ruins the seal. Position it centered with the handle aligned to the Cooker Base handle.
Pre-use lid inspection:
– Shine a flashlight inside to check for food debris
– Verify the heating coil is intact (no bent wires)
– Wipe condensation vents with a microfiber cloth
– Confirm the fan spins freely when tapped
Never operate with the lid askew. A 1/4-inch gap creates cold spots that leave chicken soggy.
Set Up Multi-Level Cooking With Broil Tray

Layer Ingredients for Dual-Tier Crisping
- Complete basic assembly (Cooker Base, Inner Pot, Basket Base)
- Add heartier items (potatoes, chicken thighs) to the Basket Base
- Place Broil/Dehydrating Tray directly on food—not on basket edges
- Add delicate items (asparagus, shrimp) to the tray
- Leave 1-inch space between items and lid
Critical spacing rule: Overcrowding the top tray blocks airflow to lower items. If pieces touch, reduce quantity by 25%.
Alternative Assembly Using Mesh Steamer Baskets
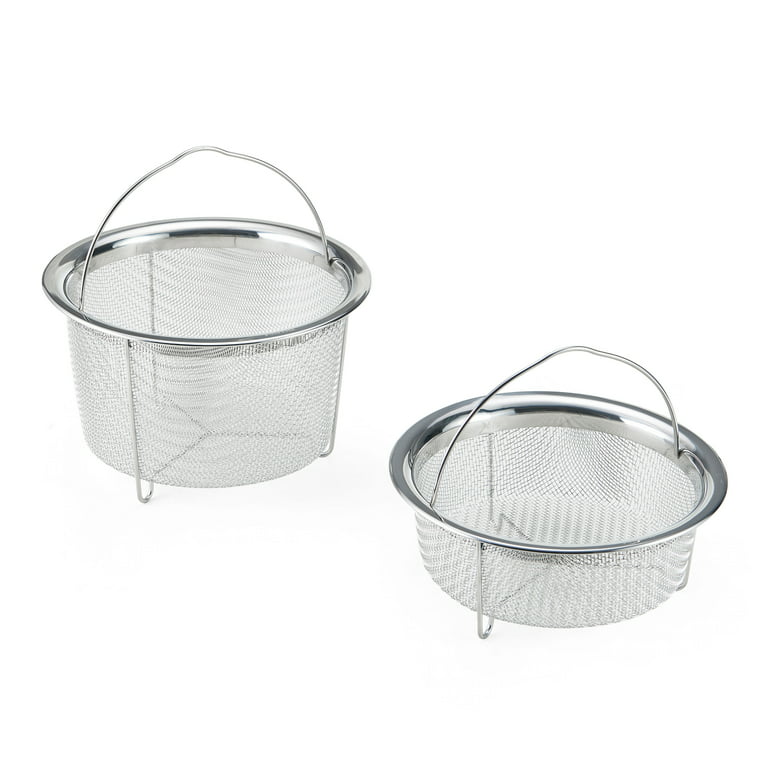
Stack Mesh Baskets for Non-Stick Cooking
- Position Inner Pot in Cooker Base
- Place first Mesh Steamer Basket inside (for foods needing direct heat)
- Add second basket on top for elevated cooking
- Press down until baskets interlock with a soft snap
Key advantage: These baskets eliminate non-stick coating concerns for acidic foods like lemon-herb salmon. But never exceed two stacked baskets—triple layers choke airflow.
Verify Assembly Before First Use
Run this 30-second safety checklist before adding food:
– [ ] Inner Pot rim level with Cooker Base edge
– [ ] Basket wobble test passed (no movement when shaken)
– [ ] Air Fryer Lid sits flush with no gaps
– [ ] 6+ inches clearance maintained on all sides
– [ ] Protective Pad within arm’s reach
Skip verification and you risk error codes (like “Lid” or “C6”) that halt cooking mid-cycle.
Avoid Common Assembly Mistakes
Fix Wobbly Baskets in 15 Seconds
If the basket rocks:
– Remove Basket Base and wipe Inner Pot bottom
– Check for bent basket feet (gently straighten if needed)
– Reinsert with basket handle aligned to Cooker Base handle
Correct Lid Placement Errors
When the lid doesn’t sit flat:
– Remove food debris from Cooker Base rim
– Ensure Inner Pot is fully seated (re-click if necessary)
– Never force lid—contact Instant Pot if misshapen
Clean Components After Initial Assembly
First-Use Washing Protocol
Before cooking:
– Wash Inner Pot, baskets, and Broil Tray in soapy water
– Rinse thoroughly to prevent metallic taste
– Air-dry completely (water spots cause steaming instead of crisping)
– Wipe Air Fryer Lid interior with damp cloth only
Never: Submerge the Air Fryer Lid or Cooker Base—electrical components can short.
Store Parts for Longevity
Nest components efficiently:
1. Store Air Fryer Lid upside down on its protective pad
2. Stack Basket Base inside Multi-Level Basket
3. Slide nested baskets into Inner Pot
4. Keep Broil Tray vertically in a cabinet slot
Never store the lid directly on countertops—that warps the seal over time.
Optimize Performance Through Proper Setup
Airflow Secrets for Crispier Results
- Fill baskets only ⅔ full (overcrowding = steamed food)
- Rotate basket 180° halfway through cooking
- Leave ½-inch space between food pieces
- Preheat empty for 3 minutes before adding food
Assembly-performance link: A 2mm basket misalignment creates hot spots that burn wings while leaving fries pale.
Troubleshoot Assembly Issues Immediately
Uneven Cooking Fixes
If food browns on one side only:
– Disassemble and reseat Inner Pot
– Check countertop stability (use a level if needed)
– Confirm basket feet aren’t obstructed
– Run a 5-minute empty preheat cycle
Prevent Lid Damage
Always:
– Set hot lid on Protective Pad (not granite)
– Let lid cool 10 minutes before cleaning
– Store vertically to avoid coil pressure
– Hand-wash only with non-abrasive sponges
Final Assembly Checklist
Before your first cook:
[ ] Cooker Base positioned with 6″ clearance
[ ] Inner Pot clicked and level
[ ] Basket system stable with no wobble
[ ] Air Fryer Lid clean and undamaged
[ ] Protective Pad ready for hot lid
[ ] Ingredients spaced for airflow
Your Instant Pot Air Fryer assembly is now perfected. That crispy salmon skin and golden french fries you’ve been craving start with this precise setup. Remember: 90-second assembly becomes automatic after two uses, but rushing it guarantees soggy results. Fire up your Duo Crisp with confidence—the restaurant-quality crunch is just one correctly assembled basket away.


