
That basket of bruised apples or overripe pears doesn’t need to go to waste. Your Instant Pot Duo Crisp 11-in-1 transforms into a powerful dehydrator that turns 2-3 pieces of fresh fruit into shelf-stable snacks without preservatives. Forget complicated appliances—this guide reveals exactly how to activate your air fryer basket’s hidden dehydrator function to create leathery, pliable dried fruit in just 7 hours. You’ll master the precise 135°F temperature setting and avoid common pitfalls like sticking or uneven drying.
Instant Pot Dehydrator Setup Essentials
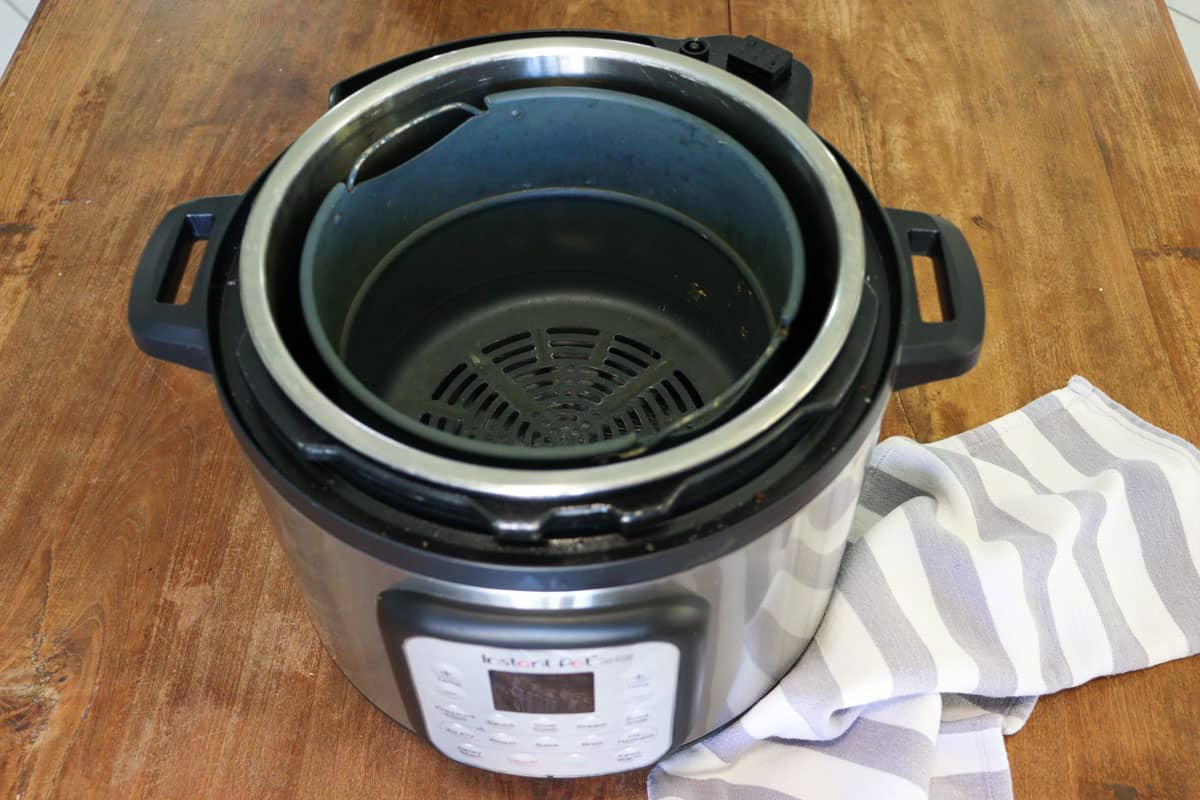
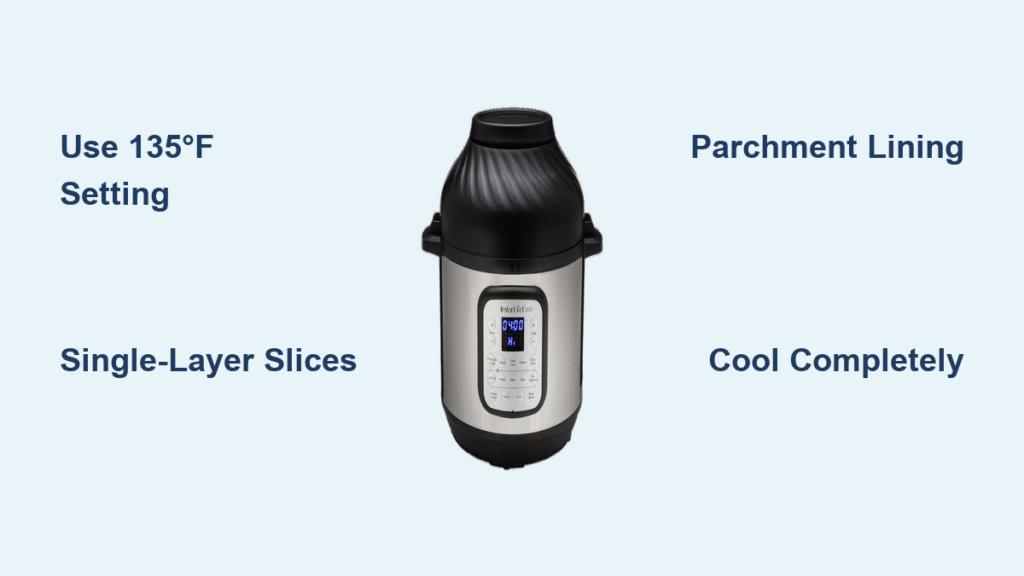
Your 8-quart Duo Crisp uses the same air fryer basket for dehydration, eliminating the need for a separate appliance. Unlike standalone dehydrators with adjustable temperatures, this model locks at 135°F (57°C)—the scientifically ideal temperature for fruit preservation. This fixed setting prevents case hardening (where outside dries too fast, trapping moisture inside) while the 7-hour cycle ensures thorough moisture removal from core to surface.
Critical note: The 8-inch diameter air fryer basket becomes your drying chamber. Never use metal trays or non-perforated accessories—only the included basket allows proper airflow for dehydration. Always confirm your model is the Duo Crisp 11-in-1, as other Instant Pot versions lack this function.
Why 135°F Is Non-Negotiable for Fruit
This specific temperature achieves three crucial results: it evaporates moisture without cooking the fruit, destroys surface enzymes that cause spoilage, and preserves maximum nutrients. Lower temperatures invite mold growth; higher temperatures cook instead of dehydrate. Your Instant Pot handles this automatically—no guesswork required.
Prepare Apples and Pears for Perfect Dehydration

Wash and Peel Fruit Thoroughly
Start with 2-3 medium apples or pears of any variety. Rinse under cool running water while scrubbing skin with a vegetable brush. Immediately peel using a Y-shaped peeler—unpeeled fruit creates tough, chewy spots in the finished product. Skip this step only if using paper-thin slices (1/8 inch), but expect uneven texture.
Core and Slice to Exact Thickness
Quarter each fruit and remove cores/seeds with an apple corer. Slice into uniform 1/8 to 1/4 inch pieces using a mandoline for precision. Critical mistake alert: Inconsistent thickness causes some slices to burn while others stay moist. Measure with a ruler—thinner slices (1/8 inch) finish in 5-6 hours and become crisp; thicker slices (1/4 inch) need full 7 hours for chewy results.
Prevent Browning with Lemon Dip
Mix 1 tablespoon lemon juice with 4 tablespoons water in a bowl. Submerge slices for 30 seconds—this natural acid blocks oxidation without altering flavor. Skip this step only if dehydrating immediately after slicing, but expect brown spots on apples. Pears are less prone to browning but still benefit.
Load the Air Fryer Basket Without Sticking

Arrange Slices in Single-Layer Formation
Place slices flat in the basket with no overlapping—crowding traps moisture. The 8-quart capacity fits exactly 2-3 medium fruits arranged in one layer covering the basket floor. Leave ¼-inch space between slices for airflow. Pro tip: Place thicker slices toward the basket’s outer edge where airflow is stronger.
Use 8-Inch Perforated Parchment Circles
Place a single 8-inch perforated parchment circle under the fruit. This prevents sticking and lets you lift the entire batch out intact after dehydration. Avoid 9-inch circles—they curl up the sides and block airflow. Test brands like Zulay; their 8-inch circles fit perfectly while 9-inch versions require trimming.
Set Dehydrate Function for Foolproof Results
Program Exact Temperature and Time
Press “Dehydrate” on the control panel. Verify 135°F displays—don’t adjust this setting. Then set 7 hours using the “+” button. Warning: Never use “Air Fry” mode—this runs too hot (390°F+) and will cook, not dehydrate, your fruit.
Start and Monitor the First Hour
Press “Start” to begin. During the first 30 minutes, check for steam escaping the lid vent. If excessive steam appears, reduce fruit quantity—overloading creates moisture pockets. The heating element should glow faintly red; no glow means improper basket placement.
Test Doneness Before Storing

Check Texture at 5-Hour Mark
After 5 hours, carefully open the lid (avoiding steam). Remove one slice with tongs and cool for 2 minutes. Properly dehydrated fruit should:
– Bend without cracking
– Feel dry with no cool/moist spots
– Show no visible liquid when squeezed
Troubleshooting: If slices feel sticky, continue dehydrating in 30-minute increments. If edges are hard but centers soft, rotate the basket 180 degrees for even airflow.
Store Dehydrated Fruit for 6-Month Freshness
Cool Completely on Wire Rack
Transfer slices immediately to a wire cooling rack—not a plate. Let sit 30 minutes at room temperature. Critical error: Storing warm fruit creates condensation inside containers, leading to mold. Humid climates require 45 minutes cooling time.
Seal in Airtight Containers with Desiccants
Pack cooled slices in glass jars or vacuum-sealed bags. Remove all air before sealing—use the straw method for zip-top bags. Add a food-grade silica packet (sold with canning supplies) to absorb residual moisture. Store in a dark pantry; sunlight fades color and nutrients.
Clean Air Fryer Basket After Dehydration
Remove Sticky Residue Immediately
Wash the basket while warm (not hot) with soapy water and a non-abrasive sponge. Stubborn fruit sugars dissolve in warm water—never let them dry completely. Warning: Dishwasher use may warp the basket; hand-washing preserves the non-stick coating.
Clear Dehydration Vents Weekly
Use a dry toothbrush to dislodge debris from the top vent slots. Blocked vents reduce airflow by 40%, extending drying time. Do this after every 3 dehydration cycles, not just when visible clogs appear.
Troubleshoot Common Dehydration Failures
Fix Sticking Fruit Without Damage
If slices adhere to the basket, let them cool completely—warm fruit tears when removed. Gently slide a silicone spatula under edges. For future batches, always use parchment or lightly coat the basket with coconut oil using a paper towel.
Correct Uneven Drying in One Batch
Rotate the basket 180 degrees at the 3-hour mark. Place thicker slices on the outer ring where airflow is strongest. If your model lacks rotation capability, swap top and bottom layers halfway through using two baskets.
Rescue Over-Dried or Burnt Slices
Slightly over-dried fruit (still pliable) can be rehydrated for baking: soak in apple juice for 15 minutes. Burnt edges indicate excessive temperature—verify “Dehydrate” mode is selected, not “Air Fry.” Discard blackened pieces immediately to prevent smoke damage.
Maximize Energy Efficiency During Dehydration
Batch Process During Off-Peak Hours
Run the 7-hour cycle overnight or during utility off-peak times. The Duo Crisp uses 1,000 watts—less than half the energy of traditional dehydrators. Dehydrating 3 batches back-to-back saves 20% more energy than starting/stopping between batches.
Optimize for Seasonal Harvests
Process fall apples/pears within 24 hours of ripening for peak flavor. Freeze overripe fruit first, then dehydrate while frozen—this bursts cell walls for faster moisture release, cutting time by 1 hour. Never dehydrate unripe fruit; it won’t soften properly.
Create Beyond-Apple Dehydrated Snacks
Banana Chips in 6 Hours
Slice peeled bananas 1/8 inch thick. Dip in lemon solution. Dehydrate at 135°F for 6 hours. Thicker slices (1/4 inch) take 7 hours but stay chewier. Pro tip: Sprinkle with cinnamon before dehydrating for flavor infusion.
Citrus Wheels for Tea and Decor
Slice oranges or lemons 1/8 inch thick (no seeds). Dehydrate 8-10 hours until crisp. Store in jars with bay leaves to repel pantry moths. Warning: High-moisture fruits like watermelon won’t fully dehydrate in this model—stick to low-water-content produce.
Your Instant Pot Duo Crisp unlocks professional-grade dehydration without cluttering your kitchen. By mastering the fixed 135°F setting and 7-hour cycle for apples and pears, you’ll transform seasonal gluts into nutrient-dense snacks that last half a year. Start with 2-3 pieces of fruit this weekend—within a week, you’ll never buy store-bought dried fruit again. Remember: uniform slicing, parchment lining, and complete cooling are your non-negotiables for success. Ready for your next challenge? Try dehydrating herb bouquets for year-round seasoning.


