
That shiny Instant Pot air fryer oven sitting on your counter promises restaurant-quality crispy fries and golden rotisserie chicken with minimal oil. But between the swappable lids, multiple baskets, and rows of buttons, many new owners default to reheating leftovers while the appliance gathers dust. Whether you’ve got the Vortex Plus with rotisserie or the Duo Crisp multi-cooker, this guide cuts through the confusion. You’ll master proper food arrangement, avoid smoke alarms during first use, and consistently pull out perfectly cooked meals—starting with your very first cook cycle.
Stop guessing which lid to use or why your chicken skin isn’t crisping. We’ll transform your air fryer oven from an expensive paperweight into your most-used appliance by focusing on actionable steps you can implement immediately. By the end, you’ll know exactly how to arrange food for even browning, troubleshoot common smoke issues, and clean efficiently—all while saving 30% on cooking time compared to traditional ovens.
First Setup After Unboxing
Skip this critical step, and you’ll battle plastic odors and uneven heating for weeks. The Vortex series hides protective films under drip trays and inside basket handles—peel every inch before use. That initial burning smell? It’s harmless manufacturing residue, but skipping the test run turns it into persistent chemical-tasting food.
Initial Test Run Steps
- Strip it bare: Remove all packaging, even tiny stickers on the heating element guard
- Wipe thoroughly: Damp cloth only on interior walls and metal components (never submerge)
- Bake out odors: Run empty at 400°F for 10 minutes—smell peaks at 3-4 minutes
- Cool completely: Wait 20 minutes before adding food (prevents warping)
Pro tip: Place a bowl of water on the broil tray during your test run. The steam accelerates odor removal and prevents overheating.
Component Assembly Guide
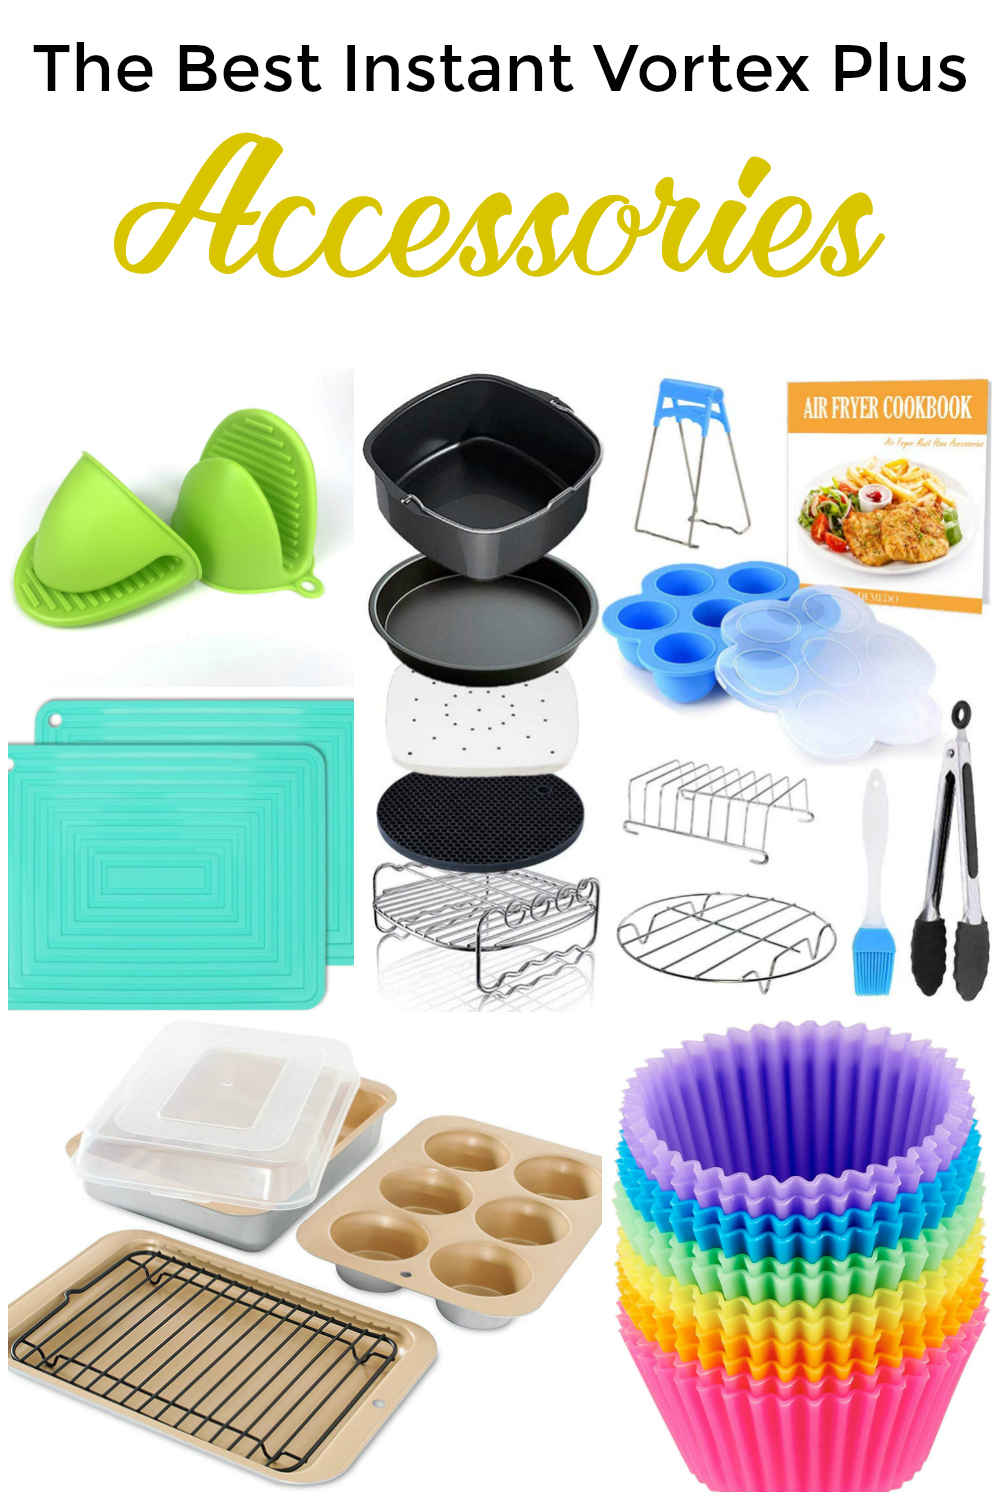
Misaligned accessories cause wobbling baskets and uneven cooking—especially during shake cycles. The Vortex Plus rotisserie requires precise mechanical engagement, while Duo Crisp lids have hidden safety switches.
Vortex Series Accessory Setup
Snap the air fry basket into its base until you hear a distinct click. Test stability by gently shaking—if it wobbles, realign the feet. For the broil tray, slide it into the basket’s side grooves with raised edges facing upward to catch drips. Rotisserie users: Insert the spit rod through poultry, secure with forks, then listen for the mechanical clunk as it engages the left-wall socket.
Duo Crisp Lid Switching
The air fryer lid weighs 40% more than the pressure cooker lid. Always place hot lids on the included heat-resistant pad—never countertops. The magnetic safety switch fails if the lid is 2mm off-center. Wiggle it while lowering until you hear the engagement click.
Temperature and Time Controls
Your appliance defaults to previous settings, causing burnt first attempts. Master manual adjustments to override smart programs for precise results.
Manual Programming Basics
Press Air Fry, then adjust:
– Temperature: 180-400°F in 5-degree increments (use 375°F for chicken skin)
– Time: 1-minute intervals up to 60 minutes
Lift the lid to pause mid-cook—settings stay modified when you resume.
Smart Program Differences
- Air Fry: 380°F default—ideal for frozen foods like fries
- Roast: 400°F default—maximizes browning on meats
- Bake: 325°F default—gently cooks delicate items like fish
Never use Bake for crispy results—switch to manual mode instead.
Optimal Food Placement
Air circulation stops where food touches surfaces. Overcrowding causes steaming instead of crisping—a top reason for soggy results.
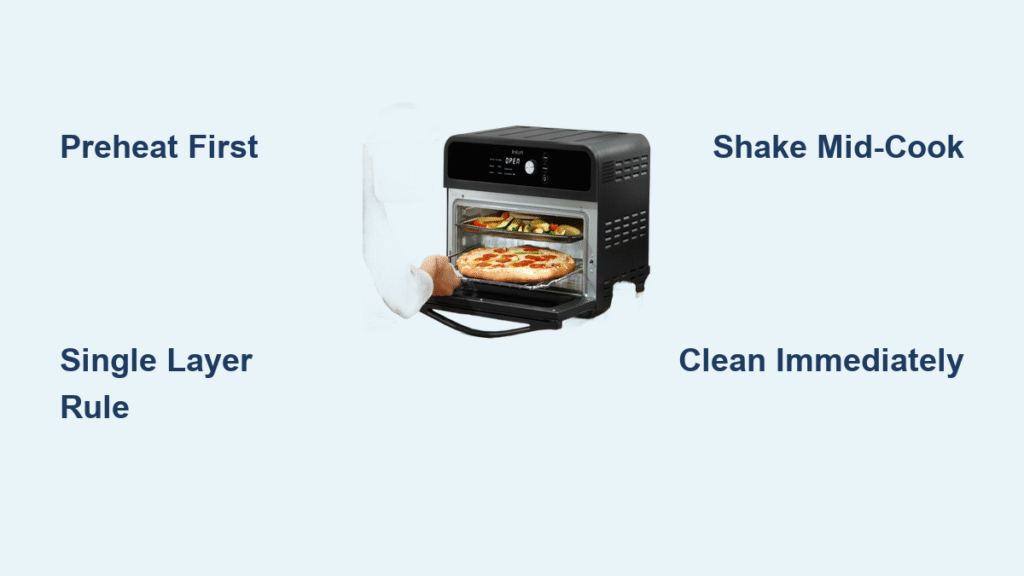
Single Layer Rule Explained
Spread fries in one layer with space between pieces—max 1.5 lbs for even cooking. Chicken wings must lay flat with skin facing up. For steaks, use the broil tray positioned one slot above the basket base to elevate meat toward the heating element while allowing fat to drip away.
Multi-Level Cooking Technique
Place dense items (potatoes) on the bottom basket and quick-cooking items (asparagus) on the broil tray. At the halfway beep, swap positions—bottom items move up, top items move down. This prevents burnt tops and raw bottoms.
Cooking Reference Chart
| Food | Weight | Temperature | Time | Critical Action |
|---|---|---|---|---|
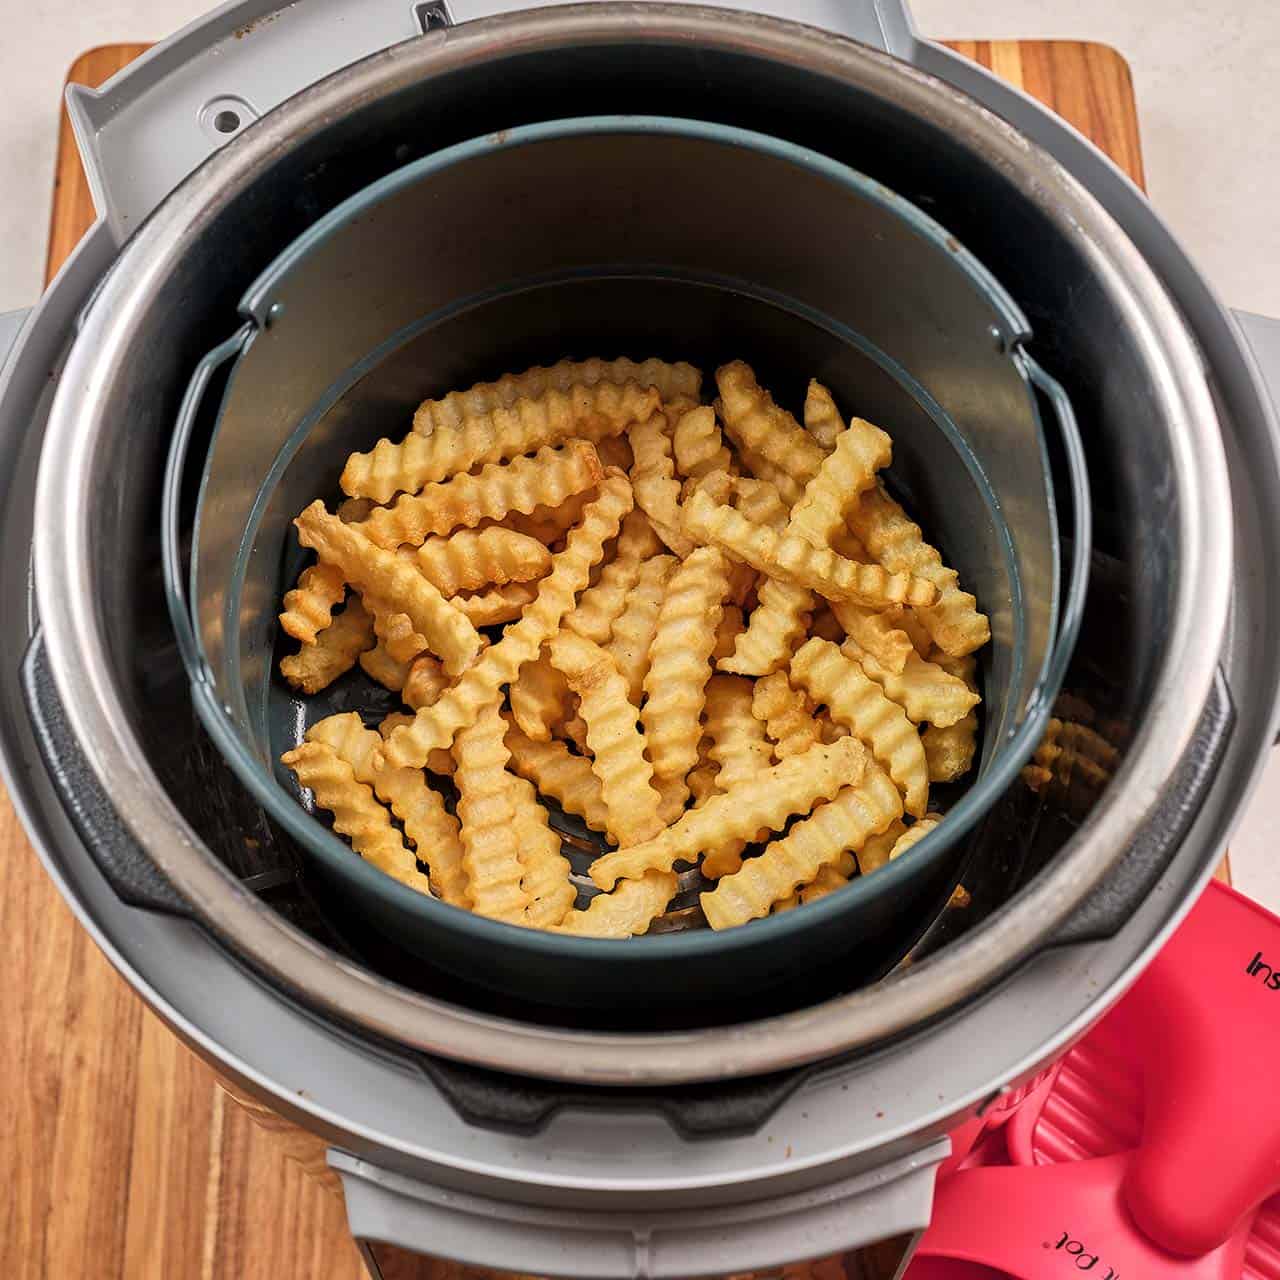
| Frozen fries | 1 lb | 400°F | 18 min | Shake vigorously at 9 min |
| Chicken thighs | 2 lbs | 380°F | 25 min | Flip at 15 min with tongs |
| Salmon fillets | 1.5 lbs | 375°F | 12 min | No flip—skin protects fish |
| Brussels sprouts | 1 lb | 400°F | 15 min | Toss with oil first |
| Pork tenderloin | 1.5 lbs | 400°F | 22 min | Rotate 180° at 15 min |
Prevent Sticking Issues

Forced removal tears coatings and ruins non-stick surfaces. Proactive prep solves 95% of sticking problems.
Pre-Cooking Prep
Lightly spray baskets with oil using a pump bottle—never aerosol (it leaves sticky residue). For breaded items, apply oil after breading to seal the coating. Always preheat the empty basket for 2 minutes before adding food.
During-Cook Solutions
If food sticks mid-cycle, don’t yank it. Return to cooking for 2-3 minutes—the steam release naturally loosens stuck bits. For persistent sticking, lower temperature by 25°F next time.
Cleaning Workflow
Dried-on grease becomes concrete if left overnight. Immediate action prevents hours of scrubbing later.
Post-Cook Cool Down
Wait exactly 15 minutes for heating element cooling. Remove baskets while warm (not hot)—dried drippings lift easily. All removable parts (basket, tray, drip tray) go in the dishwasher’s top rack. Never submerge the main unit—wipe the lid’s interior with a damp cloth while slightly warm.
Weekly Deep Clean
Remove the crumb tray (bottom of unit) and scrub with soapy water. Use a soft-bristled brush to dislodge debris from the heating element’s guard—built-up grease causes smoke. Check the door seal for food particles monthly.
Common Problems Fixed
Uneven Browning Solutions
Rotate food every 8 minutes instead of waiting for the beep. If one side consistently browns less, place your unit on a level surface—a 5° tilt disrupts airflow. For pale spots, position food one slot higher toward the heating element.
Smoke During Cooking
White smoke means excess oil hit the element—reduce oil by 30% next time. Blue smoke indicates burning residue—immediately power off and deep clean the heating guard. Never cook fatty meats above 375°F.
Longer Than Expected Times
Overcrowding forces 25% longer cook times with poor texture. If timing seems off, verify you’re using the correct weight column in the cooking chart. Split large batches—never exceed 1.5 lbs per layer.
Advanced Techniques
Rotisserie Chicken Perfection
Truss 4-lb chickens tightly with kitchen twine—loose wings burn against the element. Balance the spit rod evenly; imbalance stalls rotation. Start breast-side down for 30 minutes, then flip for final browning. Rest 10 minutes before carving.
Dehydrator Mode Basics
Slice fruits 1/4-inch thick on the broil tray at the lowest level. Set to 135°F for 6-8 hours. Rotate trays every 2 hours for even drying—this prevents leathery edges and mushy centers.
Maintenance Schedule
After every use: Wash baskets and drip tray
Weekly: Clean heating element guard and crumb tray
Monthly: Wipe control panel with damp cloth, check door seal
Storage tip: Leave the door ajar 2 inches to prevent moisture odors.
Final Performance Tips
Never skip the automatic 3-5 minute preheat—cold starts cause uneven cooking. Master the shake: Pull the basket halfway out, give 3 sharp shakes, and slide back in. This prevents burns while ensuring crispness. For foolproof results, start with frozen fries—they’re the ultimate confidence builder. Once you nail that first perfect batch, you’ll reach for your Instant Pot air fryer oven daily, not just when company’s coming. Your path to consistently crispy, juicy, restaurant-worthy meals starts with these exact steps—no more guessing, just guaranteed results.


