

That craving for sticky, spicy buffalo wings hitting hard—but without the meat? Your Instant Pot air fryer lid transforms humble cauliflower into addictive, restaurant-quality buffalo bites in just 25 minutes flat. Forget soggy oven versions or greasy takeout; this method delivers shatter-crisp exteriors with tender interiors that’ll make even carnivores reach for seconds. Thousands of home cooks now swear by this weekly ritual, and you’ll see why after your first batch emerges golden-brown with that signature buffalo tang.
No more complicated setups or specialty ingredients. Using just five pantry staples and your Instant Pot’s versatile air fryer lid, you’ll create a crowd-pleasing appetizer that costs $1 per serving and clocks in at a mere 55 calories. Whether you’re prepping for Sunday football or need a quick vegan dinner upgrade, this instant pot air fryer buffalo cauliflower recipe solves your craving with zero deep-frying mess. Let’s unlock the exact techniques that guarantee crispy perfection every time.
25-Minute Buffalo Cauliflower Breakdown
Why This Method Wins
Skip the 45-minute oven bake that leaves cauliflower limp. The Instant Pot air fryer lid circulates superheated air at 400°F, creating restaurant-style crispness without preheating. You’ll spend just 5 minutes prepping—while the unit heats in under a minute—and exactly 20 minutes hands-off cooking. The result? Perfectly caramelized edges with no burnt spots and sauce that clings like it’s been fried.
Critical Timing Notes
– Under 20 minutes: Florets remain pale and soft (avoid this!)
– 20 minutes: Ideal golden-brown finish with tender centers
– Over 22 minutes: Mushy interiors despite crisp exterior
Set your timer religiously—this isn’t a recipe where “a few extra minutes” helps. Check at 18 minutes if your lid runs hot.
Flawless Floret Cutting Technique

Hand-Breaking vs. Knife Cutting
Ditch the chef’s knife for this step. Grasp the cauliflower head firmly and pull apart at natural seams—this creates jagged edges that grab sauce better than smooth knife cuts. As you separate, immediately halve any florets larger than a golf ball. Why? Uniform 1-inch pieces cook evenly, while oversized chunks stay raw inside. Smaller pieces (¾-inch) work for extra crunch lovers but risk burning.
Dryness = Crispiness
After rinsing florets, lay them on a clean kitchen towel and roll gently to absorb moisture. Water is the enemy here—wet cauliflower steams instead of crisps. If you skip this, expect sad, soggy results. Pro tip: Do this while prepping sauce to save time.
Buffalo Sauce Binding Secrets
The Mayo Magic Formula
Skip plain oil—it doesn’t crisp properly. Instead, mix:
– 2 tbsp mayonnaise (creates a golden crust barrier)
– 2-3 tbsp buffalo sauce (Frank’s preferred for tang)
– ½ tsp coarse salt (reduces if using garlic salt)
– Pinch of cayenne (optional for heat seekers)
Toss florets in this mixture until every nook is coated. The mayo’s proteins brown beautifully under the air fryer lid, while its fat content carries flavor deeper than oil alone. For egg-free needs, substitute olive oil—but expect less browning and crisp retention.
Pressure Cooker Seasoning Shortcut
If using the pressure cook method (great for softer texture), skip the mayo. Rub a whole cauliflower head with:
– ¼ tsp garlic powder
– Light dusting of smoked paprika
– Cayenne to taste
– Salt and pepper
This penetrates the core during steaming, creating flavor from within—not just on the surface.
Air Fryer Lid Execution Guide
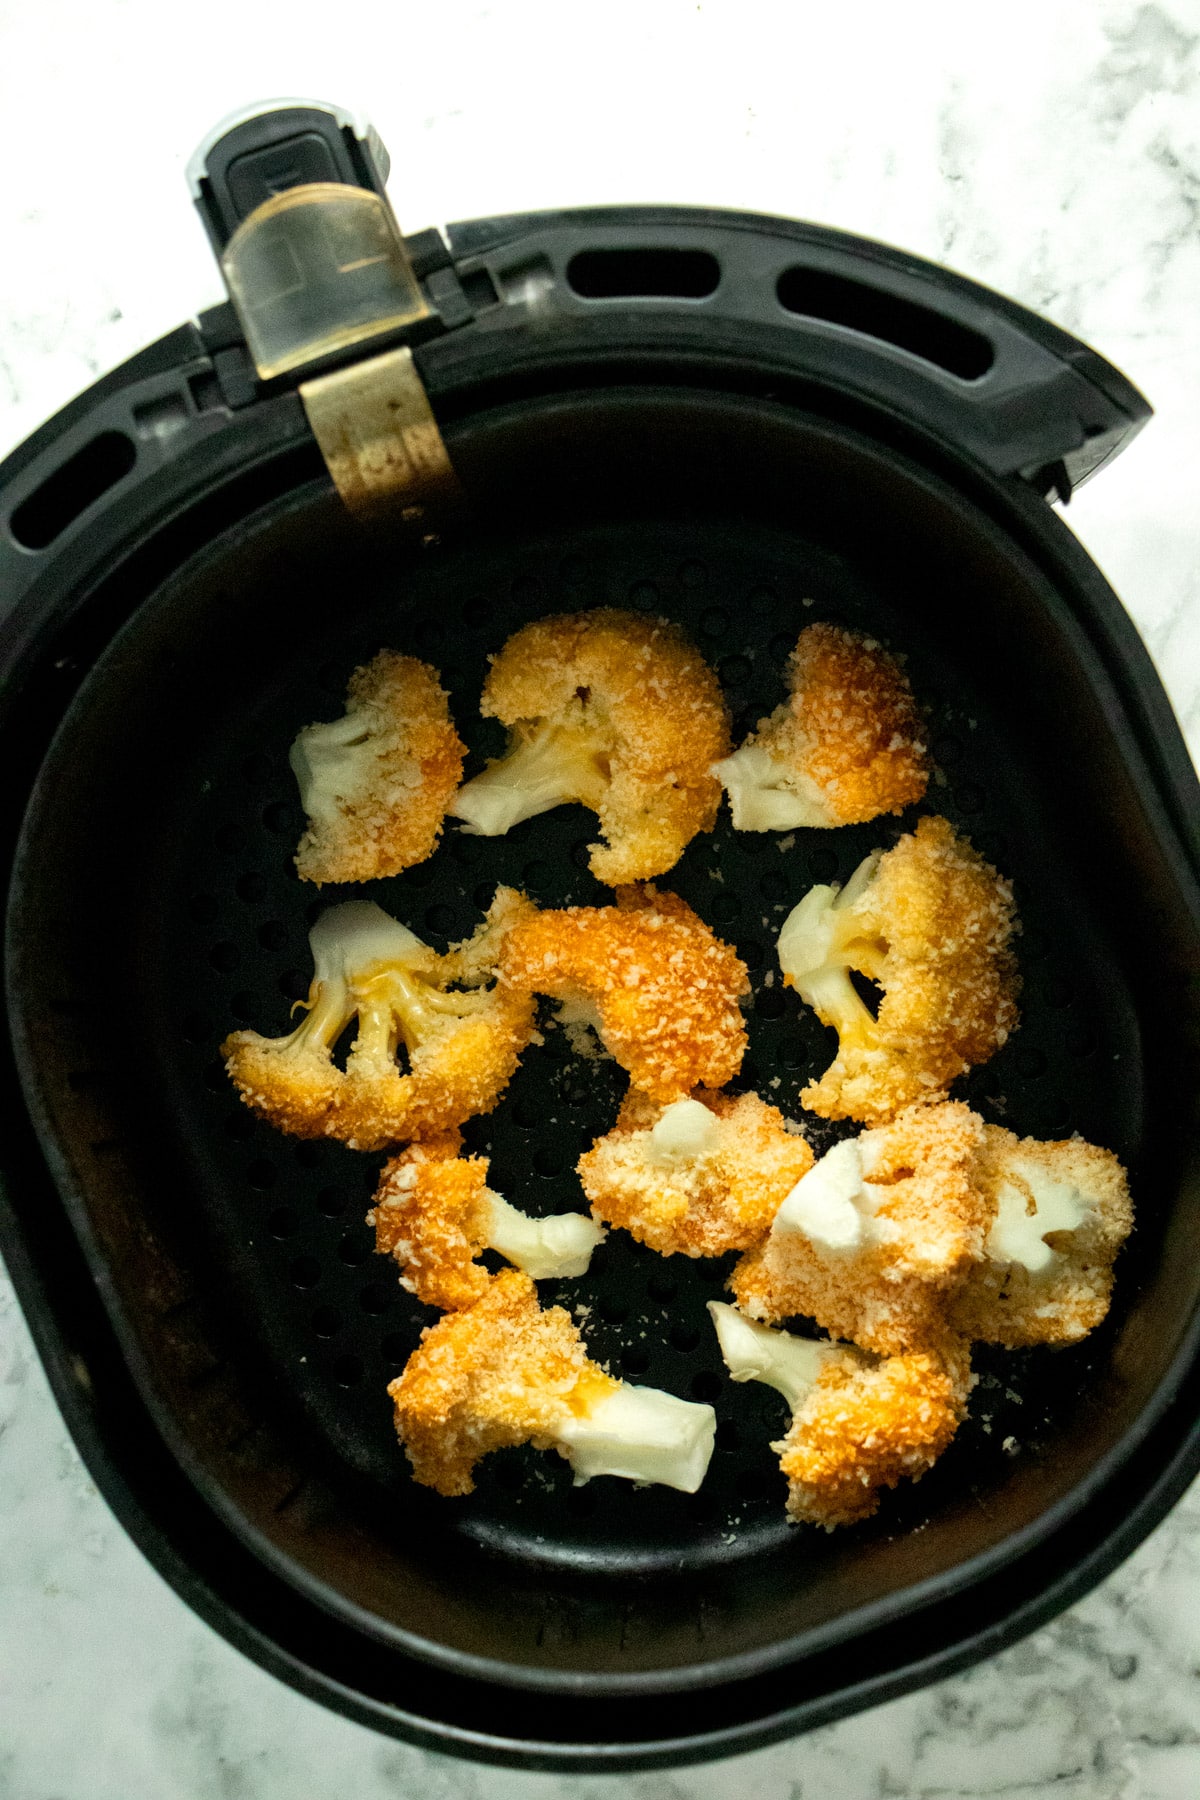
Basket Loading Mistake Everyone Makes
Overcrowding is the #1 reason for soggy cauliflower. Place florets in a single layer with space between pieces—max 3 cups per batch for a 6-quart Instant Pot. If they touch, they’ll steam instead of crisp. No preheating needed; the lid reaches 400°F in 60 seconds.
Mid-Cook Flip for Even Browning
At the 10-minute mark, open the lid and carefully flip pieces with tongs. This exposes new surfaces to direct heat for all-over crispness. Watch for the visual cue: light golden edges with charred tips on some florets. Undercooked? It’ll look pale and wet. Overdone? Florets darken beyond golden-brown and feel hard.
Pressure Cooker Rescue Method
When Air Fryer Isn’t an Option
No air fryer lid? Use your Instant Pot’s pressure cook function for a softer-but-still-delicious version:
1. Place whole cauliflower head in steamer basket with ½ cup water
2. Pressure cook 2 minutes (al dente) or 3 minutes (softer)
3. Quick release IMMEDIATELY—delaying makes it mushy
4. Cut into bite-sized pieces, then return to pot
Sauce Integration Hack
Switch to sauté mode, add 1 tbsp olive oil, minced garlic, and buffalo sauce. Cook 2-3 minutes while stirring—this caramelizes the sauce onto cauliflower without drowning it. Skip this step and sauce slides right off.
Game-Changing Serving Hacks
The 20-Minute Crisp Window
Buffalo cauliflower stays crispy for exactly 20 minutes after cooking—perfect timing for halftime snacks. Serve immediately with:
– Cooling ranch: Mix ½ cup ranch with 2 tbsp blue cheese crumbles
– Crunch contrast: Thinly sliced celery sticks
– Heat balance: Pickled jalapeños on the side
Meal Prep Power Moves
– Lunch bowls: Layer over quinoa with shredded carrots and avocado
– Salad upgrade: Toss cold florets into massaged kale with Caesar dressing
– Breakfast twist: Top avocado toast with buffalo cauliflower and fried egg
Reheat leftovers in the air fryer at 350°F for 3 minutes—microwaves guarantee sogginess.
Texture Disaster Fixes

Soggy Florets: The Moisture Trap
Cause: Wet florets or overcrowded basket
Fix: Pat dry thoroughly before coating; cook in batches
Pro move: Sprinkle 1 tsp cornstarch into mayo mixture for extra crisp
Burnt Edges: Heat Distribution Fail
Cause: Air fryer running hot or uneven basket placement
Fix: Rotate basket 180° at 10-minute mark; reduce time by 2 minutes next batch
Warning: Smaller florets cook 3 minutes faster—adjust accordingly
Sauce Sliding Off
Cause: Coating applied too early or too thin
Fix: Toss hot florets in sauce immediately after cooking; use 3 tbsp sauce minimum per batch
Cost and Health Wins
$4 Feast vs. $15 Takeout
One $4 cauliflower head yields four generous servings—just $1 per portion. Compare that to $15 for six traditional wings (plus delivery fees!). Even with premium buffalo sauce, this costs 75% less than restaurant versions. Bonus: You’ll finish the whole head guilt-free since it’s impossible to overeat.
Nutritional Knockout
- 55 calories per serving vs. 400+ for wings
- Zero trans fats (no deep frying)
- Fiber boost: 3g per serving from whole-food veggie
- Custom sodium: Control salt levels unlike takeout
Vegetarians gain protein from the cauliflower itself (3g per serving), while meat-eaters get a lighter game-day option that satisfies the same cravings.
Pro’s Final Playbook
Double-Batch Smart Strategy
Cook two batches back-to-back—the air fryer lid stays hot, so the second batch needs just 17 minutes. But never overcrowd; sacrifice speed for crispness.
Flavor Layering Trick
After air frying, toss florets in sauce for 60 seconds, then return to basket for 2 final minutes. This creates a sticky, glazed exterior that clings through dipping.
Your New Weekly Ritual
Make sweet potato fries one night, then buffalo cauliflower the next—same lid, zero extra equipment. The author pressure cooks this version four times weekly because it’s that fast and addictive. One bite of this instant pot air fryer buffalo cauliflower, and you’ll understand why it’s dethroned every other game-day recipe in their kitchen. Crisp, spicy, and impossibly light, it’s not just a vegetarian substitute—it’s the superior wing experience you’ve been waiting for.


