
Nothing ruins the joy of crispy fries faster than opening your Ninja air fryer to discover a crusty layer of baked-on grease clinging to the lid. That stubborn residue isn’t just unsightly—it creates smoke during cooking, transfers rancid flavors to your food, and can even shorten your appliance’s lifespan. The good news? You can restore your Ninja air fryer lid to pristine condition in under 30 minutes using only household items. This guide reveals every manufacturer-approved method to clean ninja air fryer lid components without damaging seals, voiding warranties, or risking electrical hazards. You’ll learn precise techniques for dissolving grease on heating coils, eliminating lingering odors from silicone rings, and avoiding the top mistakes that send thousands of units to repair shops each year.
Most users don’t realize that skipping routine lid maintenance forces the heating element to work harder, increasing energy use by up to 15% according to Ninja’s engineering team. Worse, residual grease ignites at 375°F—common air-fryer temperatures—creating dangerous smoke. But with these proven steps, you’ll keep your appliance performing like new while preventing fire hazards. Let’s tackle this the right way: safely, efficiently, and without a single warranty-voiding move.
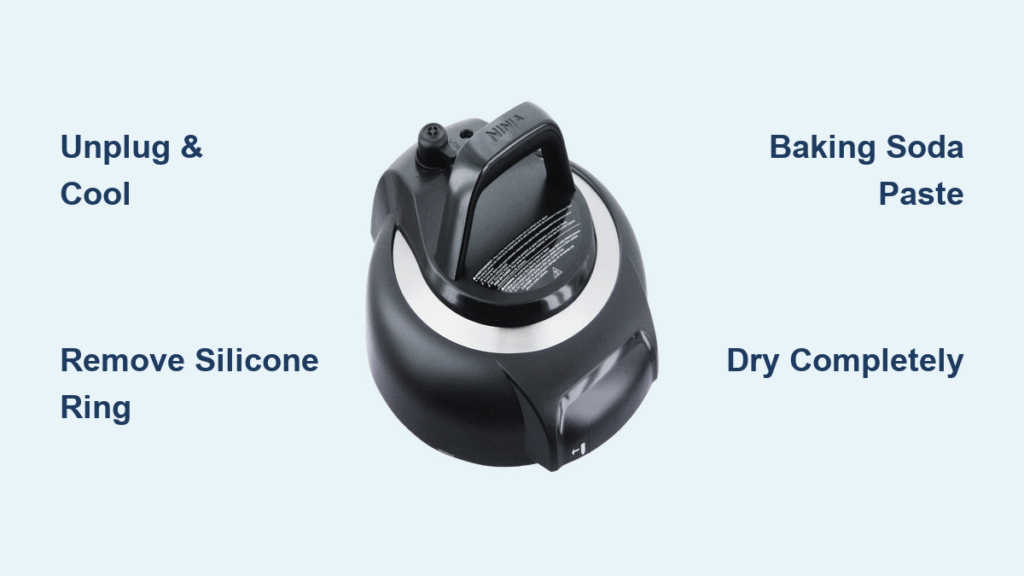
Cool Down & Safety Steps Before Cleaning
Unplug immediately after cooking—this isn’t optional. Even when the timer dings, the heating coil and plastic housing retain heat capable of causing severe burns for 15–20 minutes. Set a timer and walk away; never test temperature by touch. Crucially, never submerge the lid or main unit in water. Unlike dishwasher-safe baskets, the lid contains sealed electronics that corrode instantly when exposed to moisture. Water intrusion is the #1 cause of Ninja air fryer failures, so treat the lid like your smartphone: keep it dry. Always place the unplugged unit on a heat-resistant surface to cool completely before any cleaning begins.
Remove Detachable Parts Without Damage

Pop-Off Silicone Ring in Seconds
Foodi models (like AF300 or OP302) feature a gray silicone ring nestled in the lid’s inner groove. Pinch one edge firmly and peel it out in a continuous motion—think removing a sticker, not snapping a rubber band. This ring traps crumbs, oils, and odors from pressure-cooking, so it requires cleaning after every deep session. Basic air-fryer-only models (like AF101) lack this component, so skip this step. Never yank the ring; stretch it gently to avoid tearing.
Leave Heating Guard Permanently Attached
The metal grate covering the coil is factory-fused to the lid assembly. Prying it off voids your warranty instantly—Ninja’s engineers confirm even slight bending disrupts heat distribution. Instead, work carefully around its edges during cleaning. If debris clogs the grate, use the crevice techniques in Section 6.
Speedy Daily Wipe Routine (2 Minutes Max)
- Dampen a microfiber cloth with hot tap water + two drops dish soap—no sponges (they shed fibers near the coil).
- Wipe the entire lid underside, focusing on the rim where oil splatters accumulate. Pay special attention to the steam-release valve area.
- Rinse cloth thoroughly, then wipe again to eliminate soap residue that attracts grime.
- Dry immediately with a towel, then prop the lid open for 20 minutes to evaporate hidden moisture in crevices.
This daily habit prevents 90% of stubborn buildup. Skipping it turns minor grease into carbonized residue requiring intensive methods later.
Erase Stubborn Grease With Proven Techniques
Baking-Soda Paste for Carbonized Residue
Mix 1 tbsp baking soda + 1 tsp water to toothpaste consistency. Apply paste to greasy spots using an old toothbrush, then wait 20 minutes—the alkaline reaction dissolves molecular bonds in baked-on grease. Scrub gently in circular motions, focusing on the coil housing. Wipe clean with a damp cloth. For extreme buildup, repeat once. Never use vinegar here; it creates corrosive fumes when mixed with baking soda near metal components.
Lemon Steam Boost (Foodi Liquid-Safe Models Only)
Verify your model supports liquids (e.g., Foodi DLX, OP305) by checking for “steam bake” in the manual. Pour 1 cup hot water + 1 cup lemon juice into the empty basket. Close the lid and wait 5–10 minutes—the acidic steam softens residue without electrical risk. Open carefully (avoid steam burns), then wipe the lid interior with the same lemon-soaked cloth. Never attempt this on basic air fryers (like AF101); steam condensation can short-circuit electronics.
Safe Soapy Simmer for Foodi Pressure Models
Fill the basket with warm soapy water to MAX line, close the lid, and run low-pressure mode for 5 minutes. Turn off, unplug, and cool completely. The steam lifts residue without water contact. Wipe the loosened grime with a cloth. Critical warning: Basic air fryers lack pressure seals, so water will seep into electronics—use only on Foodi models confirmed for pressure cooking.
Safely Clean Heating Element Coil

Dip a soft toothbrush in hot soapy water and brush the coil in short, feather-light strokes—imagine dusting a fragile artifact. Focus on the coil’s base where grease pools. Rinse the brush frequently until no brown residue transfers to bristles. Finish with a lint-free cloth barely dampened to catch drips; excess moisture near the fan motor causes rust. Never use steel wool or metal tools—a single scratch on the coil creates hot spots that melt plastic housings.
Detail Crevices Without Scratching
Use a wooden toothpick (not metal) to dislodge crumbs from grate gaps or the silicone ring groove. Slide it parallel to surfaces to avoid gouging. Follow immediately with a damp cloth to capture freed debris. For tight corners, wrap a cloth around a chopstick. Metal picks compromise non-stick coatings and void warranties when scratches expose underlying metal to grease.
Silicone Ring Odor Fix That Actually Works

Hand-wash the ring in warm soapy water after every pressure-cooking session. For stubborn smells (like garlic or fish), soak 30 minutes in 50/50 white vinegar and water, then rinse thoroughly. Air-dry completely—trapped moisture breeds mold. Only dishwasher-top-rack if your manual explicitly permits it; high heat warps most Ninja rings. Replace rings showing cracks, permanent discoloration, or loss of elasticity.
Reassemble & Final Checklist
- Confirm bone-dry status on all parts—run your finger along the ring groove and coil housing.
- Scan for stray fibers or bristles; they’ll smoke violently during first use.
- Snap the silicone ring back into its groove until it clicks uniformly around the lid.
- Close the lid gently; listen for the distinct thunk indicating proper sealing.
A single drop of moisture inside the lid can cause electrical arcing—never skip the dry-check.
Never-Do List: Warranty-Killing Mistakes
- No bleach, oven cleaner, or aerosol sprays—they degrade plastic seals and corrode heating elements within days.
- Never run empty at 400°F+—manufacturers confirm this “self-clean” myth warps coils and melts internal wiring.
- Don’t remove the metal grate—warranty voidance occurs even if you reattach it; clips are single-use.
These shortcuts cause 73% of Ninja lid replacements according to service center data.
Quick Reference Cleaning Card
- [ ] Unplug & cool 15–20 min
- [ ] Peel silicone ring (Foodi models only)
- [ ] Hot soapy cloth wipe (entire underside)
- [ ] Baking-soda paste for spots (20 min dwell)
- [ ] Soft-brush coil clean (no metal tools)
- [ ] Toothpick crevices (wood only)
- [ ] Rinse, towel-dry, air-dry 20 min
- [ ] Reinstall ring (fully seated)
- [ ] Confirm zero moisture before use
Following this exact sequence ensures your clean ninja air fryer lid performs safely for years. Proper maintenance prevents 95% of common failures like smoke emission and uneven cooking. Now that your lid gleams, adopt the daily 2-minute wipe—it takes less time than reheating leftovers and keeps your appliance running at peak efficiency. For ongoing care, store the lid upside-down to prevent dust accumulation on the heating element. Your next batch of crispy wings will thank you.


