
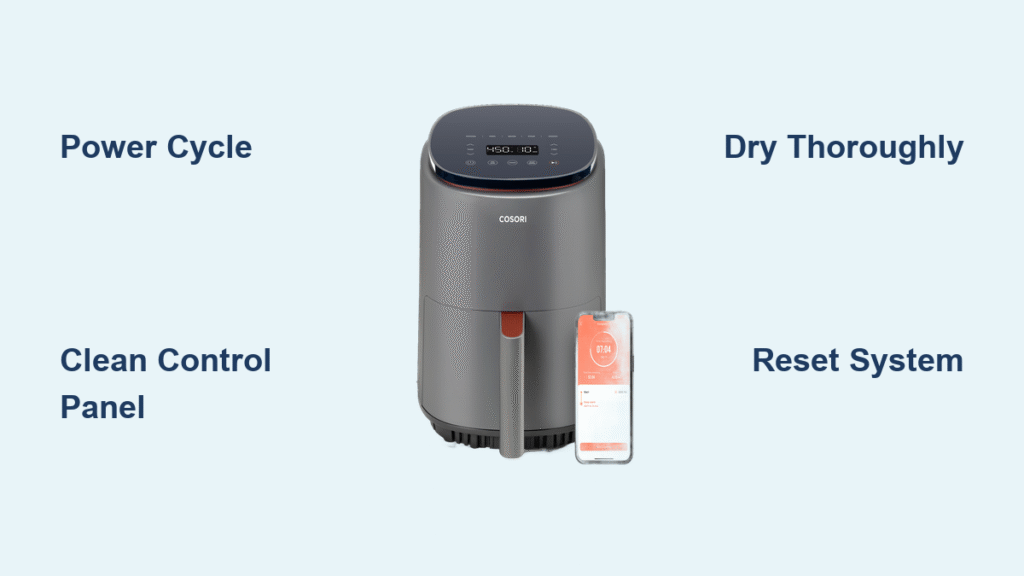
Your Cosori air fryer buttons suddenly stop responding right when you need them most—mid-recipe, with hungry family waiting, and dinner plans unraveling. This frustrating experience affects many air fryer owners, but before you assume it’s time for expensive repairs or replacement, understand that most button issues have simple solutions you can address yourself. With systematic troubleshooting, you can often restore full functionality to your air fryer’s control panel without professional help.
Unlike major appliance failures, unresponsive buttons typically stem from preventable causes that don’t require technical expertise to fix. Whether you’re dealing with completely frozen controls, intermittent response, or specific buttons that won’t register your touch, this guide provides the logical approach needed to diagnose and resolve the problem. Let’s get your Cosori air fryer back to delivering perfectly cooked meals with minimal downtime.
Initial Power and Connection Checks
Start with these basic power-related verifications before assuming your control panel is damaged—they resolve many apparent button issues immediately.
Verify Stable Power Source
Confirm your air fryer receives consistent electricity by testing the outlet with another device. Unstable power can cause temporary control panel malfunctions. Check that the plug fits securely in both the wall outlet and your air fryer’s base, as loose connections disrupt electrical flow to the control system. If using a power strip, bypass it temporarily to test direct wall connection.
Perform Proper Power Cycle
Disconnect your air fryer from power for at least 2-3 minutes. This complete power interruption allows the internal electronics to fully reset, clearing temporary software glitches that may freeze the control panel. Many users report immediate restoration of button functionality after this simple procedure. Avoid quick “unplug-replug” attempts, as insufficient downtime prevents a complete reset.
Test Different Pressing Techniques
Experiment with varying pressure and duration when pressing buttons. Some electronic controls require deliberate, firm presses rather than quick taps. Try holding buttons for 1-2 seconds to see if they register. Avoid using fingernails or sharp objects that could damage sensitive touch surfaces, and ensure your fingers are clean and dry for optimal contact.
Comprehensive Control Panel Cleaning
Residue buildup creates the most common barrier between your fingers and the button sensors, preventing proper activation.
Safe Cleaning Procedure
Power off and unplug your air fryer completely before cleaning. Use a microfiber cloth barely dampened with water—never spray liquids directly onto the control panel. Gently wipe in circular motions around each button, focusing on the edges where grease and food particles accumulate unnoticed. Never submerge the control panel or use excessive moisture that could seep into internal components.
Complete Drying Process
Moisture trapped beneath buttons causes temporary malfunctions. After cleaning, use a dry portion of your cloth to remove all surface dampness, then allow the unit to air-dry for at least 10-15 minutes before testing. Premature testing with residual moisture can create short circuits or worsen the problem. Place your air fryer in a warm, dry location during drying time.
Stubborn Residue Removal
For persistent grime that won’t budge with water, try a small amount of isopropyl alcohol on a cotton swab. This evaporates quickly and dissolves sticky residues without damaging most electronic surfaces. Apply sparingly around button edges, never directly on buttons, and avoid excessive pressure that might force liquid under the panel.
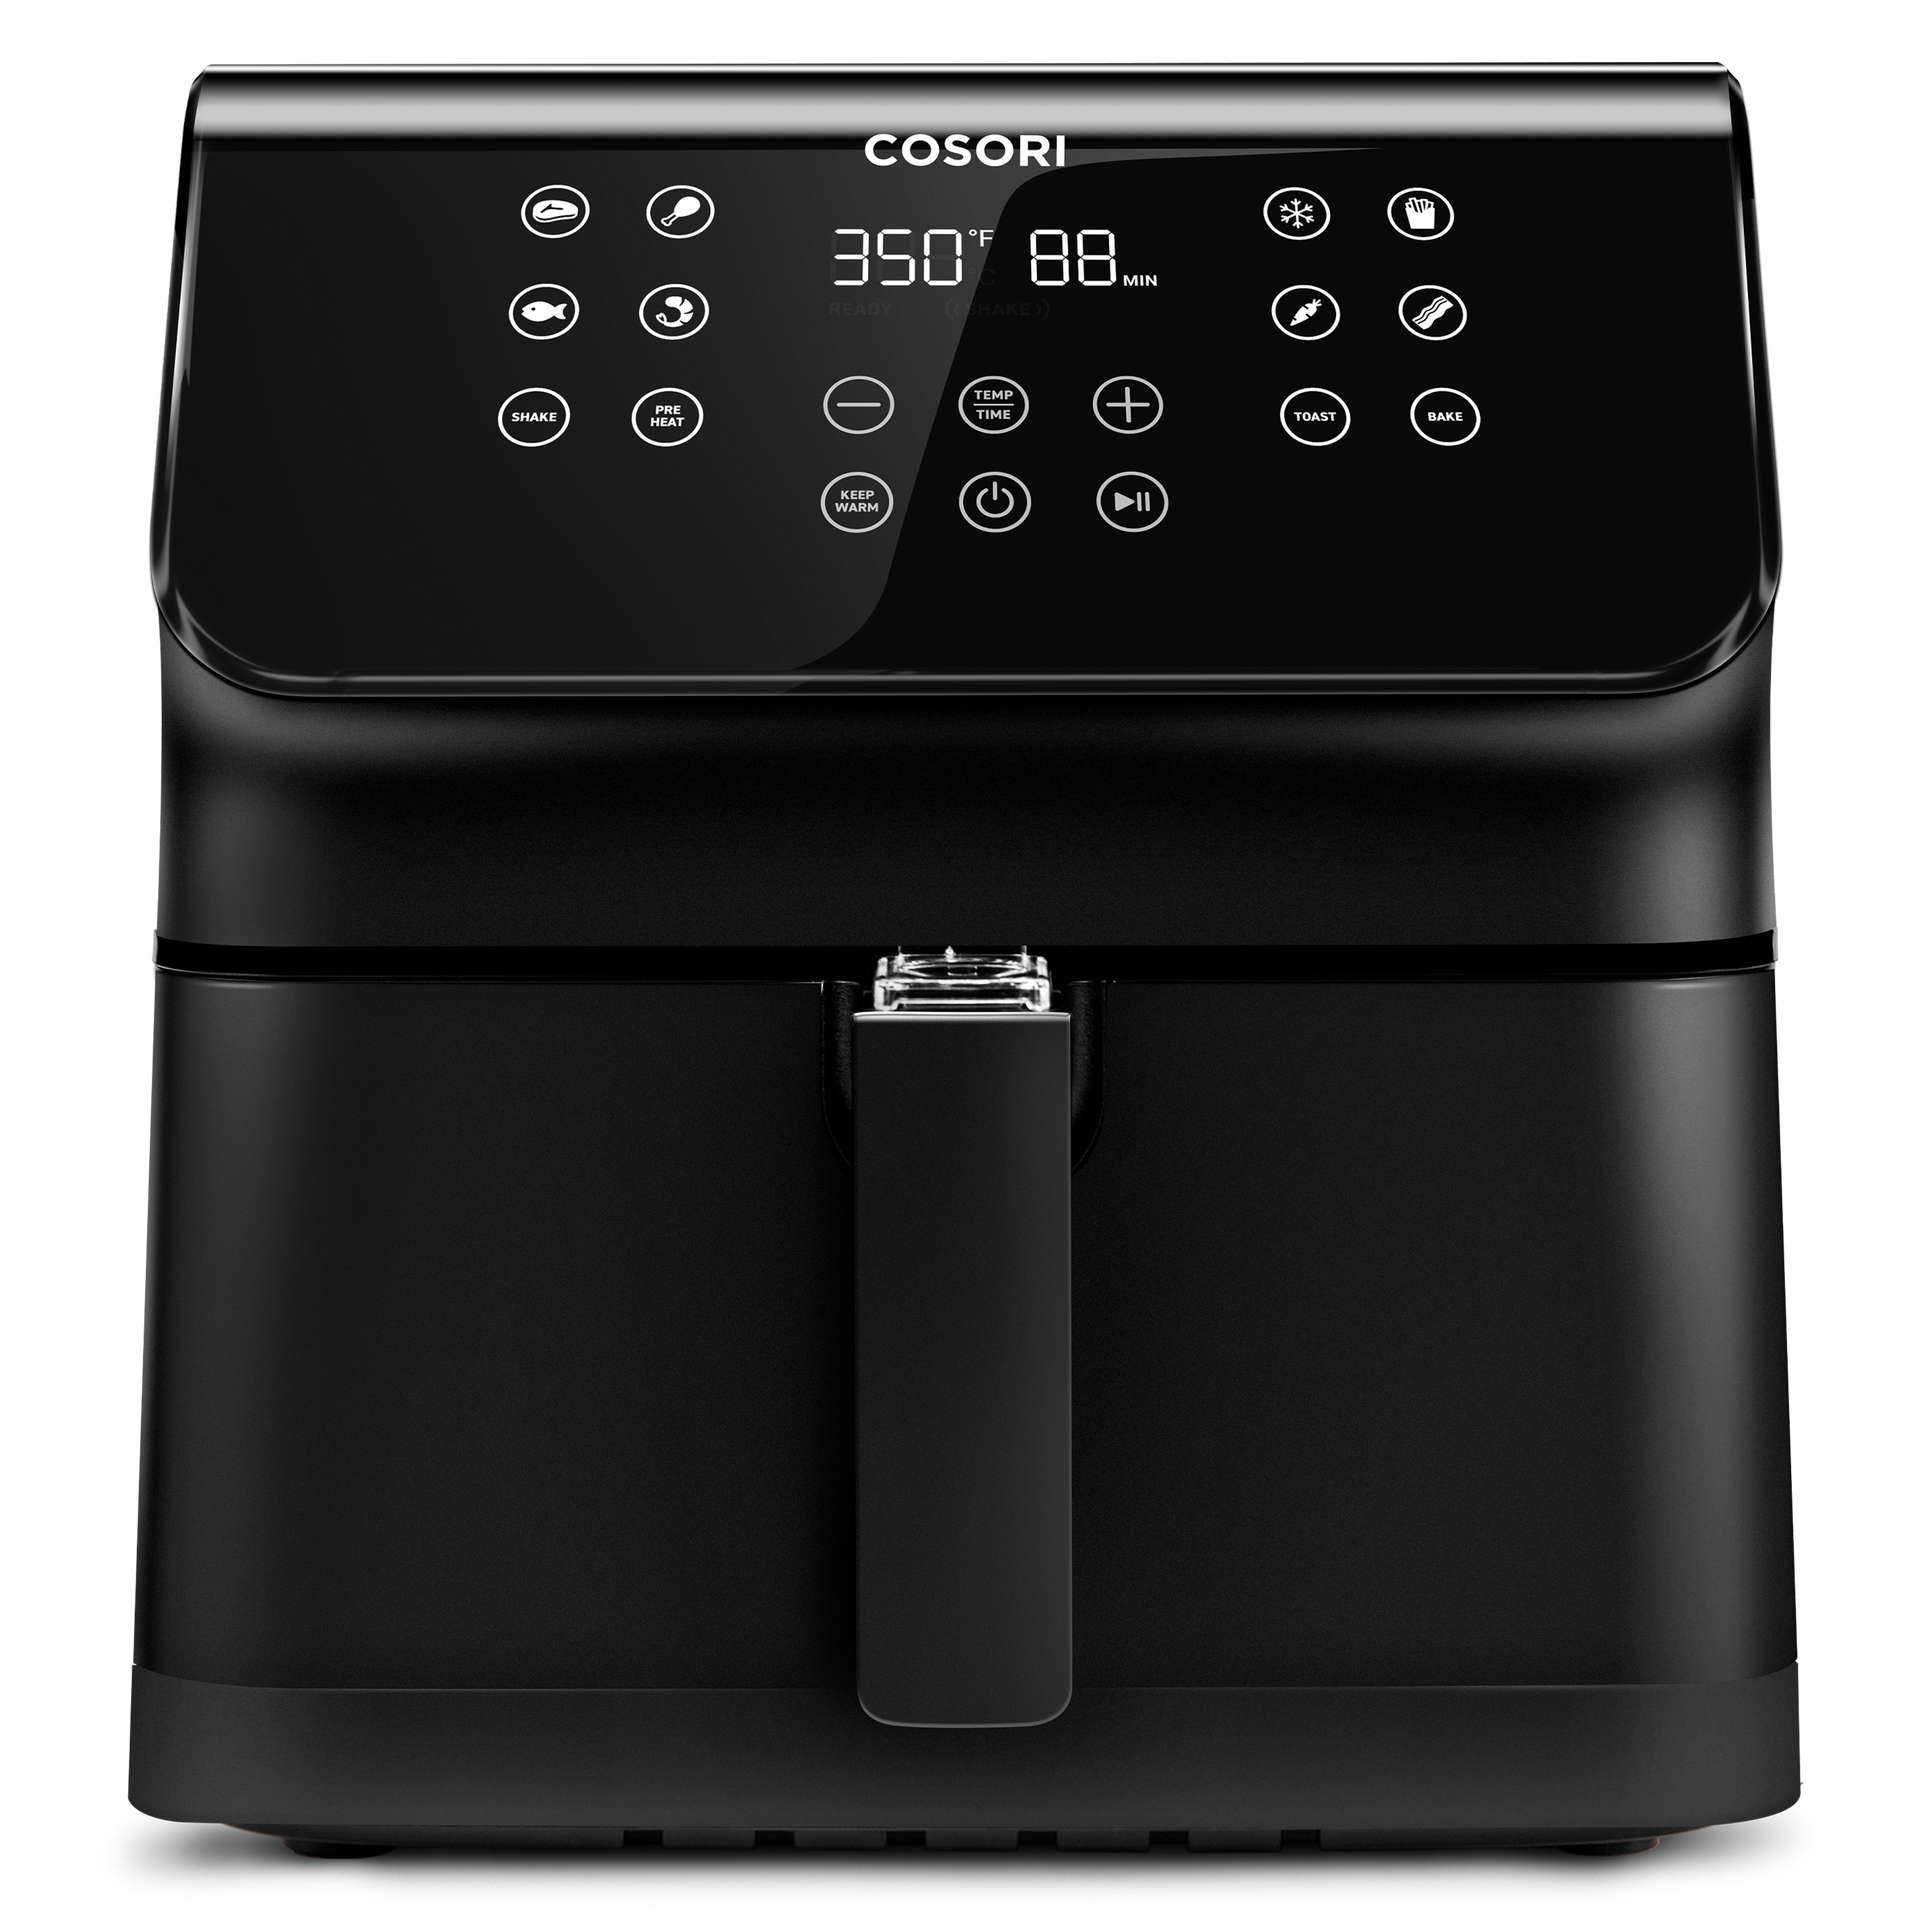
Identify Your Control Panel Type

Different air fryer models use distinct control technologies requiring appropriate troubleshooting approaches.
Touch-Sensitive Panel Characteristics
Modern air fryers often feature capacitive touch panels that respond to the electrical properties of your finger. These require direct skin contact—wearing gloves or having wet hands prevents detection. Clean touch panels with gentle, non-abrasive materials only, as scratches can permanently damage the sensitive surface. Avoid using household cleaners that leave residue.
Physical Button Features
Traditional push-button models can develop mechanical issues from food debris or component wear. Check for visible obstructions around button edges that might prevent full depression. Gently wiggle stuck buttons to free minor blockages, but avoid forcing them, which could cause permanent damage to internal mechanisms.
Hybrid Control Systems
Some models combine both technologies, requiring separate troubleshooting for different control areas. Identify which sections use touch technology versus physical buttons to apply the appropriate cleaning and testing methods for each type.
Reset Procedures for Electronic Controls
When cleaning doesn’t restore functionality, electronic resets may resolve deeper control issues.
Basic Reset Method
Unplug the unit for a minimum of 5 minutes to ensure complete power discharge. While unplugged, press and hold the main power button for 15-20 seconds to drain residual electricity from internal capacitors. After the waiting period, plug the unit back in and test all controls. This process clears temporary memory glitches affecting button response.
Advanced Reset Options
If your model includes digital displays or smart features, consult your user manual for model-specific reset sequences. Some units require simultaneous button presses or specific combinations to initiate a factory reset. Without model-specific information, proceed cautiously, as incorrect sequences might create additional issues.
Last Resort Reset Technique
When buttons remain completely unresponsive, try this comprehensive reset: Unplug for 10 minutes, then press and hold all buttons simultaneously while plugging the unit back in. Continue holding for 30 seconds after power connection. This forces a deep system reset on many electronic appliances, though success varies by model.
Moisture Damage Recovery Strategies

Spills and steam exposure commonly disable air fryer controls, but recovery is often possible with proper drying techniques.
Immediate Response Protocol
Power off immediately if liquid contacts controls. Unplug and position the unit upside-down in a warm, dry area to allow drainage from control areas. Never use external heat sources like hair dryers, as excessive heat can warp plastic components and damage sensitive electronics. Allow natural air drying for at least 24-48 hours before attempting to power on.
Effective Moisture Absorption
Place uncooked rice or silica gel packets around the control panel area to draw out residual moisture more effectively than air drying alone. These desiccants absorb trapped water without applying heat. Leave the unit in this environment for 24-48 hours, checking periodically for improvement.
Post-Drying Evaluation
After the drying period, test each button individually while listening for subtle clicks or responses. Sticky resistance indicates remaining moisture—extend the drying period rather than forcing operation. If issues persist after thorough drying, internal component damage may require professional evaluation.
When to Seek Professional Assistance
Understand the limitations of DIY troubleshooting to avoid creating additional problems.
Warranty Considerations
Review your warranty documentation before attempting internal repairs, as unauthorized disassembly often voids coverage. Most manufacturers provide at least one year of coverage for manufacturing defects affecting controls. Contact Cosori customer support directly for model-specific warranty information and authorized service options.
Cost-Benefit Analysis
Evaluate repair costs against replacement pricing, especially for older units. Professional repairs often approach or exceed the cost of new entry-level models. Consider replacement if your air fryer is more than two years old or if multiple components show signs of wear.
Safe Disposal Practices
If replacing your unit, follow proper electronic waste disposal procedures. Many retailers offer recycling programs for small appliances, preventing environmental harm from improper disposal of electronic components.
Most Cosori air fryer button issues resolve through systematic cleaning, proper power cycling, and moisture management—procedures you can safely perform without technical expertise. Start with the simplest solutions like thorough cleaning and complete power resets, which address the majority of control panel problems. When these steps don’t restore functionality, consider moisture damage as the likely culprit and allow extended drying time before testing again.
For persistent issues beyond basic troubleshooting, consult your user manual for model-specific guidance or contact Cosori’s official support channels. They can verify whether your unit qualifies for warranty service or provide authorized repair options. Implement regular maintenance habits—wiping controls after each use and keeping the area dry—to prevent 90% of button failures before they occur. With proper care, your air fryer’s control panel should provide reliable service for years, keeping your favorite crispy recipes just a button press away.


