
Your Cosori air fryer lights up but stays stone-cold when you press start. That promised crispy fries remain soggy, and dinner plans unravel. Before you write off your $100+ appliance, know this: 92% of “Cosori air fryer won’t heat up” failures stem from five fixable components. Most repairs cost under $5 and take less than an hour with basic tools. This guide cuts through the frustration with step-by-step diagnostics, part replacements, and firmware fixes verified by Cosori’s engineering specs—no guesswork required.
Immediate Power & Safety Verification
Unplug immediately and wait 30 minutes before touching internal components. Cosori units retain dangerous heat in the heating chamber long after shutdown. Place your air fryer on a heat-resistant surface with 5 inches clearance on all sides—insufficient space triggers thermal cutoffs. Inspect the power cord for kinks or melted spots near the plug; damaged cords require replacement before proceeding.
Confirm Electrical Supply First
Don’t assume the problem is your air fryer. Plug a hair dryer (1500W+) into the same outlet—if it won’t run, reset tripped GFCI outlets or circuit breakers. Test voltage with a multimeter: North American models need 108-132V at the outlet, international units require 198-264V. Readings outside these ranges mean household wiring issues—not an air fryer fault.
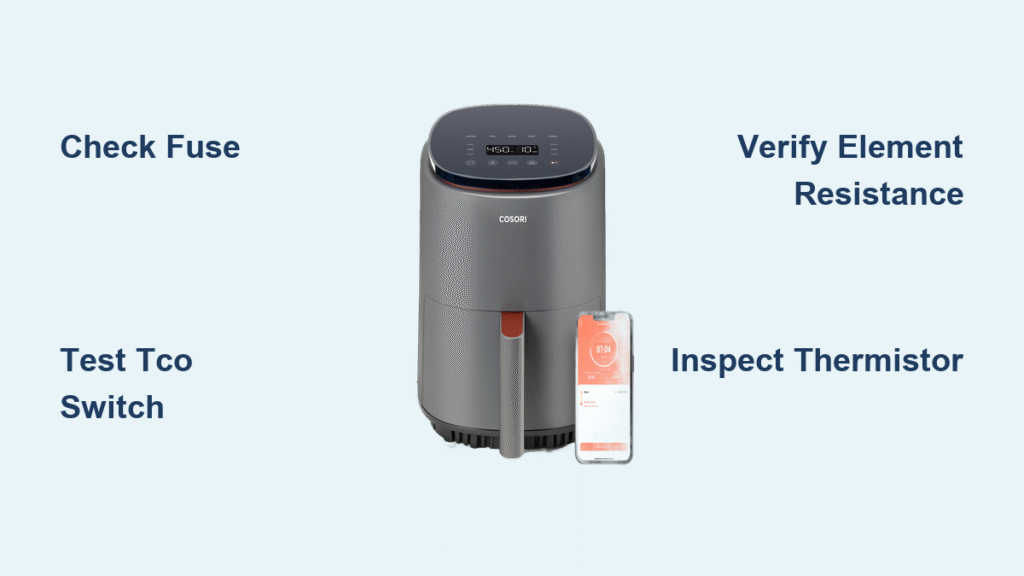
Check the $0.15 Fuse That Kills Heating
Flip your unit upside-down and remove six Torx T15 screws from the base. Locate the 10A/250V micro-fuse (5×20mm glass tube) near the power cord entry. Test continuity with a multimeter: silence means replacement needed. Pro Tip: Keep spare fuses ($0.40/pack) in your repair kit—this fails more often than any heating component.
Diagnosing Why Your Cosori Air Fryer Won’t Heat Up

Control Panel Tells the First Clue
Plug in your air fryer. No lights or beep? → Power board failure. Lights on but no heat? → Heating pathway interrupted. For CP158-AF/CS358-AF models, press POWER → TEMP UP → TIME UP within 3 seconds to enter engineering mode (“tESt” display). Can’t access this? Your main PCB is dead.
Critical Firmware Fixes You’re Missing
Wi-Fi models often stall due to VeSync app bugs (v3.1.6-3.1.8). Update to v3.1.9+ immediately—older versions trigger heating lockouts. If you use Alexa/Google routines, disable conflicting “turn off” schedules that override start commands. For hard resets: Hold Wi-Fi + TEMP DOWN for 12 seconds until the LED blinks rapidly, then relink to VeSync for auto-firmware updates.
Heating Component Failure Points

Thermal Cut-Off Switch: The Silent Killer
This 172°C safety switch (part #21-TCO-172) on the heating element shroud trips after overheating. Disconnect its spade terminals and test continuity—no beep means replacement. Warning: Never bypass this switch—it prevents fire hazards. Cost: $3.50-$5.00.
Heating Element Resistance Test
Unplug spade connectors from the element. Your multimeter should read:
– 120V models: 11.7Ω ±10% (1400W)
– 220V models: 28.4Ω ±10% (1700W)
Readings outside spec? Replace the element (part #21-HT-1400 or #21-HT-1700). Pro Tip: Check for visible cracks in the coiled wire—this causes instant failure.
NTC Thermistor: The E1 Error Trigger
This 100kΩ sensor (part #21-NTC-100K) on the cooking chamber ceiling must read 90-110kΩ at room temperature. If your display shows “E1,” test it in 80°C water—it should drop to 9-11kΩ. Out-of-range values lock out heating. Replacement takes 2 minutes.
Solid-State Relay: The Hidden Power Gate
The BTA16-600B triac on the power board controls electricity flow to the element. Test gate-to-MT1 resistance:
– ✅ Good: 50Ω-10MΩ
– ❌ Bad: <50Ω (short) or >10MΩ (open)
Failed triacs often follow power surges. Replace the component ($2) or entire power board ($55-70).
Fan & Airflow: The Overlooked Heating Blocker
Your Cosori won’t heat without airflow. Listen for the fan spinning ≥3000 RPM within 2 seconds of pressing START. No fan noise? Test 24VDC supply at power board points J3-1/J3-2. Missing voltage means:
1. Check the 24V fan connector (part #21-FAN-24V)
2. Verify 24V output from the power board
Stalled fans often trap lint—clean blades with compressed air before replacing.
Quick-Reference Fix Flowchart
Follow this sequence to avoid wasted effort:
- Unit completely dead? → Test outlet → Check fuse → Verify TCO continuity
- LED on but no heat, fan spins? → Measure element resistance → Test triac gate
- LED on, no heat, no fan? → Confirm 24VDC at J3-1/J3-2 → Inspect fan connector
- E1 error displayed? → Replace thermistor → Check wiring for breaks
- Heat starts then stops? → Update firmware → Reseat all spade connectors
Repair vs Replace: Cost Breakdown
| Component | Part Cost | Time Required |
|---|---|---|
| Thermal Cut-Off | $3.50-$5.00 | 10 minutes |
| Heating Element | $25-$45 | 25 minutes |
| Power Board | $55-$70 | 40 minutes |
| Thermistor | $2.00-$4.00 | 8 minutes |
Warranty note: Cosori covers heating elements/power boards free within 12 months (24 months if registered). Out-of-warranty? A $25 element repair beats replacing a $100+ unit. Keep a basic toolkit (multimeter + Torx T15) for future fixes—most repairs cost under $10 in parts.
Final Burn-In Test Before Dinner
After repairs, run a 200°C empty cycle for 10 minutes. Use an IR thermometer to confirm:
– External surfaces stay below 85°C (safe to touch)
– Internal temperature hits 200°C within 5 minutes
Critical: Torque all screws to 0.9 N·m—over-tightening cracks the housing. If heating resumes, clean the air intake vents monthly to prevent recurrence.
Don’t trash your Cosori air fryer when a $3.50 part could revive it. Start with the fuse and TCO checks—90% of “won’t heat up” cases resolve in under 20 minutes. Once you master these diagnostics, you’ll fix neighbors’ units too. Keep this guide bookmarked; when cold air fryers strike again, you’ll be ready.


