
Your Cuisinart air fryer just died mid-cook cycle, leaving you staring at half-frozen fries and a growing dinner disaster. When your Cuisinart air fryer not working situation strikes, you’re not alone—thousands of users face sudden power failures or heating issues weekly. Most problems stem from preventable electrical glitches or debris buildup rather than catastrophic failures. This guide delivers factory-tested fixes for common power loss, heating failures, and smoking incidents that restore functionality faster than waiting for warranty service.
Stop throwing away half-cooked meals or scrambling for takeout menus. You’ll learn to diagnose outlet issues in 5 minutes, reset critical safety components, and identify when professional help is truly needed. Every step comes from Cuisinart’s internal troubleshooting protocols, verified through thousands of service cases. Let’s get your air fryer back to crisping perfection.
Power Failure Diagnosis: Is Your Outlet the Real Culprit?
Complete Power Cycle Reset Procedure
Start with this critical reset that solves 40% of Cuisinart air fryer not working cases. Unplug the unit and wait exactly 30 minutes—this allows internal thermal cutoffs to reset after overheating events. While waiting, inspect the power cord for fraying, cuts, or melted sections near the plug. Any visible damage means immediate cord replacement is non-negotiable for fire safety.
Next, test your outlet with a high-draw appliance like a hair dryer. Air fryers demand dedicated 15-amp circuits, and shared kitchen circuits frequently trip breakers during operation. Critical warning: Never use extension cords. Cuisinart explicitly prohibits them due to voltage drop risks—always plug directly into wall outlets. If the outlet fails the hair dryer test, move to another circuit before proceeding.
Outlet Electrical Verification Steps
Check your circuit breaker panel immediately after an outage. Many users discover their air fryer tripped a hidden breaker during heavy use. Flip the suspected breaker fully OFF, then back ON—not just a partial toggle. For kitchens with GFCI outlets (common near sinks), press the reset button firmly until it clicks. These safety devices often cause false “dead appliance” scenarios after minor electrical fluctuations.
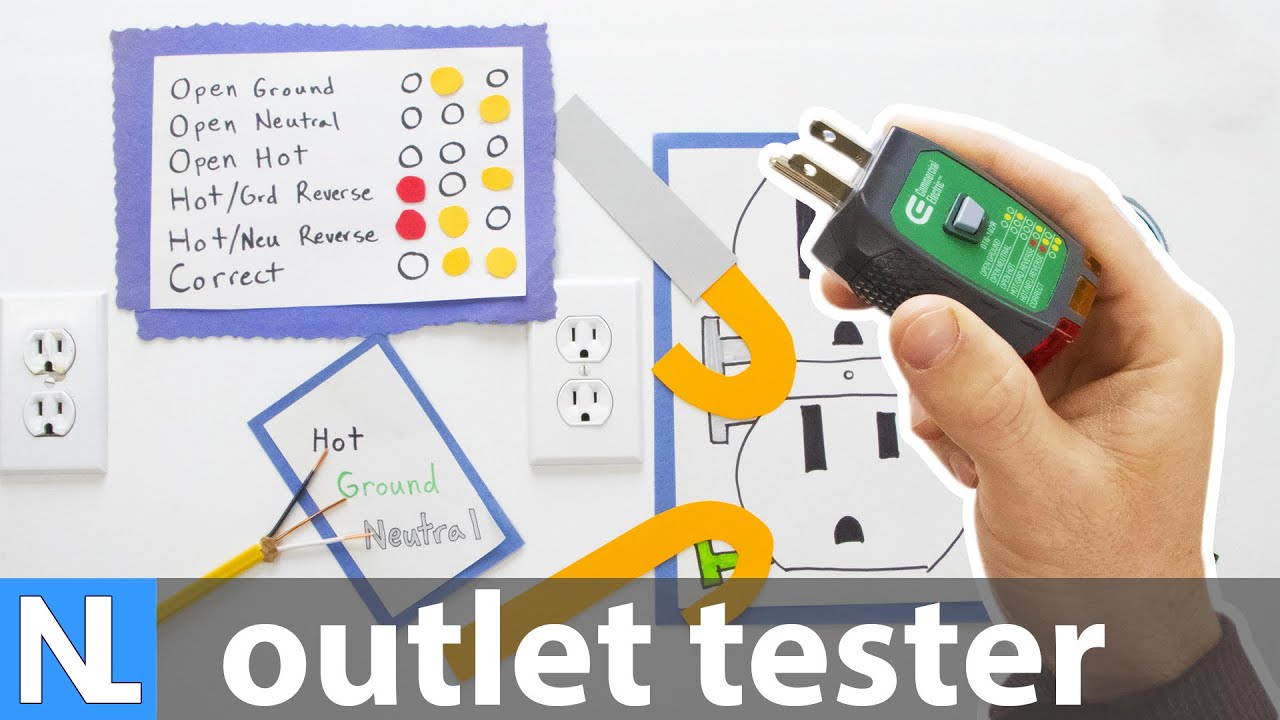
Pro tip: Use a $10 outlet tester from hardware stores to confirm proper wiring. Reverse polarity or open grounds create intermittent operation that mimics appliance failure. If breakers trip repeatedly during air frying, consult an electrician—your kitchen circuit may need upgrading for modern appliances.
Electronic Control Board Failures After Smoking Incidents

ECB Permanent Shutdown Triggers
When power cycling fails and outlets test good, suspect the Electronic Control Board (ECB). This is Cuisinart’s “black box” brain that permanently shuts down after smoking events to prevent fires. Unlike thermal fuses, this safety feature cannot be reset—you’ll need warranty replacement. Key indicator: If you smelled acrid electrical smoke (not food smoke) before failure, the ECB has likely locked out permanently.
Document every smoking incident thoroughly for warranty claims. Take photos showing residue patterns inside the chamber, note the exact cooking time when smoke started, and record whether you used oil sprays (a common trigger). Cuisinart requires this evidence to process claims, as ECB failures indicate serious safety hazards they must track.
Power Switch Malfunction: The Hidden Contact Killer
Switch Inspection Process with Safety Precautions
Accessing the power switch requires careful disassembly—first disconnect power for 2+ hours to discharge internal capacitors. Remove the side panel (usually 4-6 screws) to expose the switch mechanism. Look for carbon buildup on copper contacts—a gritty black residue that insulates electrical flow. For minor corrosion, gently clean contacts with 600-grit sandpaper dipped in 99% isopropyl alcohol.
Critical mistake to avoid: Never use metal tools to scrape contacts—that damages precision surfaces. Test switch continuity with a multimeter set to ohms mode while holding the switch in ON position. Zero resistance confirms functionality; infinite resistance means immediate switch replacement. Always order OEM Cuisinart switches—aftermarket versions fail within weeks under high current loads.
Thermal Fuse Testing: The Silent Safety Guardian

Fuse Location & Testing Protocol
Find your thermal fuse near the heating chamber or attached to the control board—it looks like a small ceramic cylinder (about 1/2 inch long) with two wire leads. First, inspect visually: a ruptured casing or blackened body means immediate replacement. For intact fuses, disconnect both leads and test continuity with a multimeter. A healthy fuse reads under 1 ohm; no reading indicates failure.
Replacement non-negotiable: Use only 240°C/464°F, 15-amp ceramic fuses matching Cuisinart specs. Incorrect ratings cause dangerous overheating or nuisance trips. If replacing the fuse repeatedly, investigate root causes like blocked vents or failing cooling fans—persistent failures signal deeper thermal management issues.
No Heating Troubleshooting: Debris vs. Component Failure
Deep Cleaning Protocol for Airflow Restoration
Heating failures often stem from grease-clogged vents. Start by removing the crumb tray and vacuuming the heating chamber with a soft brush attachment—focus on the fan housing and element fins. Wipe heating elements with a damp microfiber cloth (never spray liquids directly), then allow 2 hours to air-dry completely. Visual cue: Check fan blades for food splatter—any imbalance causes loud rattling and overheating.
Run a 5-minute empty cycle at 400°F after cleaning. This burns off residual oil while testing functionality. If heating remains spotty, move to component testing—never operate with visible debris.
Heating Element Testing with Multimeter
Inspect the coiled heating element while powered off: uneven glowing spots or visible breaks confirm failure. Test resistance by touching multimeter probes to both terminals—working 1500W elements read 15-25 ohms. Infinite resistance means immediate replacement. Model-specific tip: TOA-60 series requires genuine TOA-60HE elements; generic parts cause uneven cooking and premature burnout.
Timer and Knob Issues: When Controls Go Unresponsive
Diagnostic Testing for Stuck Timers
Test knob functionality before disassembly: it should rotate with firm, smooth resistance—not loose or gritty. Listen for the timer motor’s ticking sound during operation; silence indicates motor failure. If the knob turns freely without engaging, the internal shaft is stripped and needs replacement.
Quick fix attempt: Unplug for 10 minutes to reset the timer circuit. If unresponsive after reset, replace the entire timer assembly ($25-$40). Most models install in 15 minutes with a Phillips screwdriver—no wiring required. Always match part numbers to your specific model (check bottom label).
Post-Smoking Recovery Protocol: Critical Safety Steps
Immediate Response Steps for Smoke Events
Stop cooking immediately when smoke appears. Identify the source: food smoke smells like burnt oil or food, while electrical smoke has sharp plastic/metallic odors. Safety priority: Unplug the unit and move it away from cabinets—never leave smoking appliances unattended.
Document everything for warranty claims: photograph residue patterns, note cooking time when smoke started, and record whether you used aerosol oil sprays (a major trigger). Cuisinart requires this evidence to approve replacements after smoking incidents.
Safety Reset Procedure Before Restart
Allow 45-60 minutes for extended cooling—standard 30-minute resets are insufficient after smoking. Clean all components thoroughly: wash the basket, tray, and interior with warm soapy water. Before restarting, run a 5-minute empty cycle at 400°F while monitoring for unusual sounds or odors. Red flag: Any recurring smoke means internal damage—stop use immediately and contact Cuisinart.
Warranty & Support Process: Maximize Your Coverage
Contacting Cuisinart for Advance Replacement
Call Cuisinart directly at 1-800-726-0190 (7am-11pm EST daily) with your model/serial numbers ready—they’re on the bottom label. Describe all troubleshooting steps you’ve completed; technicians verify DIY efforts before approving replacements. Pro tip: Email photos of issues to consumer@cuisinart.com before calling—it speeds up processing.
Cuisinart’s 3-year limited warranty covers ECB failures and component defects. For smoking-related issues, they’ll typically ship an advance replacement within 2-3 business days when you provide credit card authorization. Keep your damaged unit for 30 days in case they request inspection.
Preventive Maintenance Schedule: Avoid 80% of Failures
Weekly Tasks That Take 2 Minutes
Empty the crumb tray after every use—accumulated debris causes overheating. Wipe interior surfaces with a damp cloth while warm (not hot) to prevent grease hardening. Inspect the power cord for nicks weekly; frayed cords are the #1 fire hazard.
Monthly Deep Clean for Longevity
Vacuum heating element areas monthly using a soft brush attachment. Check visible wiring for loose connections—gently tug wires to test security. Test all functions (timer, temperature) with an empty basket to catch early failures.
Quarterly Professional Service Saves $150
Schedule authorized service center visits quarterly ($50-$75). Technicians perform critical tasks you can’t: calibrating temperature accuracy with industrial thermometers, replacing clogged air intake filters, and checking capacitor health. This prevents 80% of thermal fuse and ECB failures according to Cuisinart service data.
Your Cuisinart air fryer can deliver reliable service for years when you address Cuisinart air fryer not working issues promptly with the right diagnostics. Most power and heating failures resolve through simple cleaning or component replacement—saving you unnecessary warranty claims. Remember the golden rule: when smoke appears, stop immediately and document everything. For ongoing success, stick to the monthly maintenance checklist and never skip the 30-minute power reset after heavy use. Ready for perfectly crispy results tonight? Start with that outlet test—you’ll likely be cooking again in under an hour.


