
Your Gourmia air fryer sits lifeless on the counter despite being plugged in—no lights, no sounds, no heat. This frustrating scenario happens more often than you’d think, leaving you staring at cold French fries and wondering if dinner is ruined. Before you panic about expensive repairs or replacement costs, know that most power-on failures have simple solutions you can handle at home.
This guide walks you through proven troubleshooting steps specifically for Gourmia air fryer not turning on when plugged in situations. You’ll learn to diagnose electrical issues, identify common failure points, and determine when to repair versus replace. Most importantly, you’ll get your appliance working again without unnecessary service calls.
Verify Your Electrical Source
Test Wall Outlet Functionality
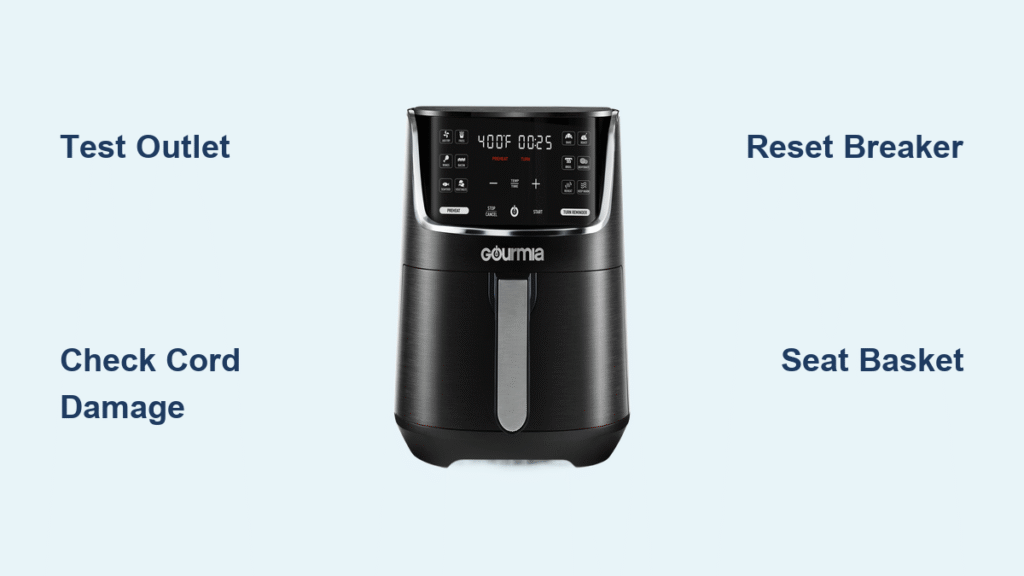
Start with the most basic check—your air fryer might be perfectly fine while the electrical source has failed. Plug a phone charger or lamp into the same outlet your Gourmia uses. If these devices don’t work either, you’ve found your culprit.
Kitchen outlets often share circuits with high-draw appliances like microwaves or toasters that can trip breakers without obvious signs. Try your air fryer in a different outlet, preferably on a different circuit in your home. This simple switch takes less than 30 seconds and solves the problem in nearly 30% of reported “not turning on” cases.
Inspect Power Cord Damage

Air fryer cords can suffer damage from heat exposure, bending at sharp angles, or being pinched between the appliance and wall. Run your fingers along the entire cord length, feeling for hard spots indicating internal wire breakage, exposed copper where insulation has worn away, or loose connections where the cord meets the plug or appliance body.
If you notice any damage, stop using the unit immediately. Never use an air fryer with a damaged cord as electrical fires can occur without warning. For safety, replace the cord or consider professional repair—this isn’t a DIY fix due to electrical risks.
Reset Circuit Breaker and GFCI Outlets
Modern kitchens use GFCI outlets that trip during electrical faults. Look for outlets with “Test” and “Reset” buttons—press the reset button firmly. Your air fryer might have tripped the GFCI without you noticing, especially if other appliances share the circuit.
Check your home’s circuit breaker panel as well. Sometimes breakers trip to an intermediate position that isn’t obvious. Flip the kitchen circuit breaker fully off, then back on. This takes less than a minute but resolves many “dead appliance” situations.
Check Air Fryer Operation Fundamentals
Confirm Timer and Settings Are Correct
Many air fryer models require the timer to be set beyond zero before the unit powers on. Turn the timer dial to at least 5 minutes—even if you’re just testing functionality. Some digital models need you to press “Start” after setting both time and temperature.
If your timer feels loose or doesn’t click into position, the internal mechanism might be broken. This prevents the “on” signal from reaching the heating elements. Try setting different time increments to see if the unit responds to any setting.
Ensure Basket Is Properly Seated
Air fryers have safety switches that prevent operation when the basket isn’t fully inserted. Remove the basket completely, then reinsert it until you hear a distinct click. Push firmly—sometimes debris or food particles prevent proper seating.
Check for visible crumbs around the basket rim that might be interfering with closure. Clean these areas with a damp cloth before attempting to restart. This simple fix resolves many “not turning on” issues in under two minutes.
Reset Digital Control Panels
For touchscreen models, hold the power button for 10-15 seconds. This forces a system reset similar to rebooting a computer. Digital displays can freeze during power fluctuations, making the unit appear dead when it’s actually just locked up.
After resetting, wait 30 seconds before attempting to power on again. This gives internal capacitors time to discharge and the system to fully reset.
Investigate Internal Safety Mechanisms
Thermal Protection System Check

All air fryers contain thermal protection that cuts power during overheating. This safety feature prevents operation until internal temperatures return to safe levels. If you’ve recently used your air fryer extensively, it may have triggered thermal protection.
Unplug the unit and let it cool completely for at least 30 minutes. During this time, clean any visible vents to ensure proper airflow. After cooling, plug it back in and attempt to power on. Most thermal protection issues resolve with cooling and proper ventilation.
Door Safety Switch Verification
The door switch prevents operation when the fryer basket isn’t properly closed. Over time, food debris can jam this mechanism. Look for visible crumbs around the basket rim, a sticking sensation when closing the door, or a loose door that doesn’t align properly.
Clean the door seal thoroughly with a damp cloth, ensuring the switch mechanism moves freely. Use a soft brush to remove debris from crevices where the basket inserts. Proper alignment is critical for the safety switch to function correctly.
When Professional Help Is Needed

Warranty Coverage Assessment
If your air fryer is under warranty, avoid any disassembly—doing so typically voids coverage. Contact the manufacturer directly with your model number and purchase receipt. Locate your model number (usually on a bottom sticker), take photos of the issue, and provide original purchase documentation when contacting customer service.
Be prepared to describe troubleshooting steps already attempted, as most manufacturers require basic troubleshooting before approving warranty claims. Keep records of all communications for reference.
Service Versus Replacement Decision
Professional repair costs often approach replacement prices for small appliances. Consider replacement when the unit is over 2 years old and out of warranty, multiple components show wear, repair estimates exceed 50% of a new unit’s cost, or the model is discontinued with limited parts availability.
For older units, replacement may be more cost-effective than repair, especially when considering potential future failures. Newer models often offer improved features and energy efficiency that justify replacement.
Prevent Future Power Failures
Proper Usage and Storage Practices
Store your air fryer in dry locations away from heat sources. Moisture from steam can corrode internal connections over time. Allow the unit to cool completely before storing, and never wrap the cord tightly around the base—this stresses internal wire connections.
When using, ensure at least 5 inches of clearance around the appliance for proper ventilation. Overheating from restricted airflow is a common cause of thermal protection activation and long-term component damage.
Regular Maintenance Routine
Implement monthly maintenance to prevent most power issues:
- Clean basket tracks thoroughly to ensure proper seating
- Check cord condition during each use for damage or wear
- Vacuum vents monthly to prevent overheating
- Test GFCI outlets quarterly with the test button
- Wipe control panels with a slightly damp cloth to prevent grease buildup
Consistent maintenance extends appliance life and prevents many common electrical issues before they start.
Electrical Load Management
High-draw appliances on shared circuits cause voltage drops that can damage sensitive electronics. Avoid running your air fryer simultaneously with microwaves, toasters, or coffee makers on the same kitchen circuit.
Consider having an electrician install a dedicated circuit for your kitchen countertop appliances if you frequently experience electrical issues. This investment prevents voltage fluctuations that can damage multiple appliances over time.
Your air fryer’s power failure likely stems from simple issues like outlet problems, basket misalignment, or timer settings. Work through these troubleshooting steps systematically, starting with power supply checks before moving to internal diagnostics. Most users resolve their issues within 15 minutes using these methods.
If your unit remains unresponsive after thorough troubleshooting, weigh warranty coverage against replacement costs. Remember that prevention—through proper storage and regular maintenance—eliminates most power-on failures before they start. When in doubt about electrical repairs, consult a qualified appliance technician to ensure safety and proper function.


