
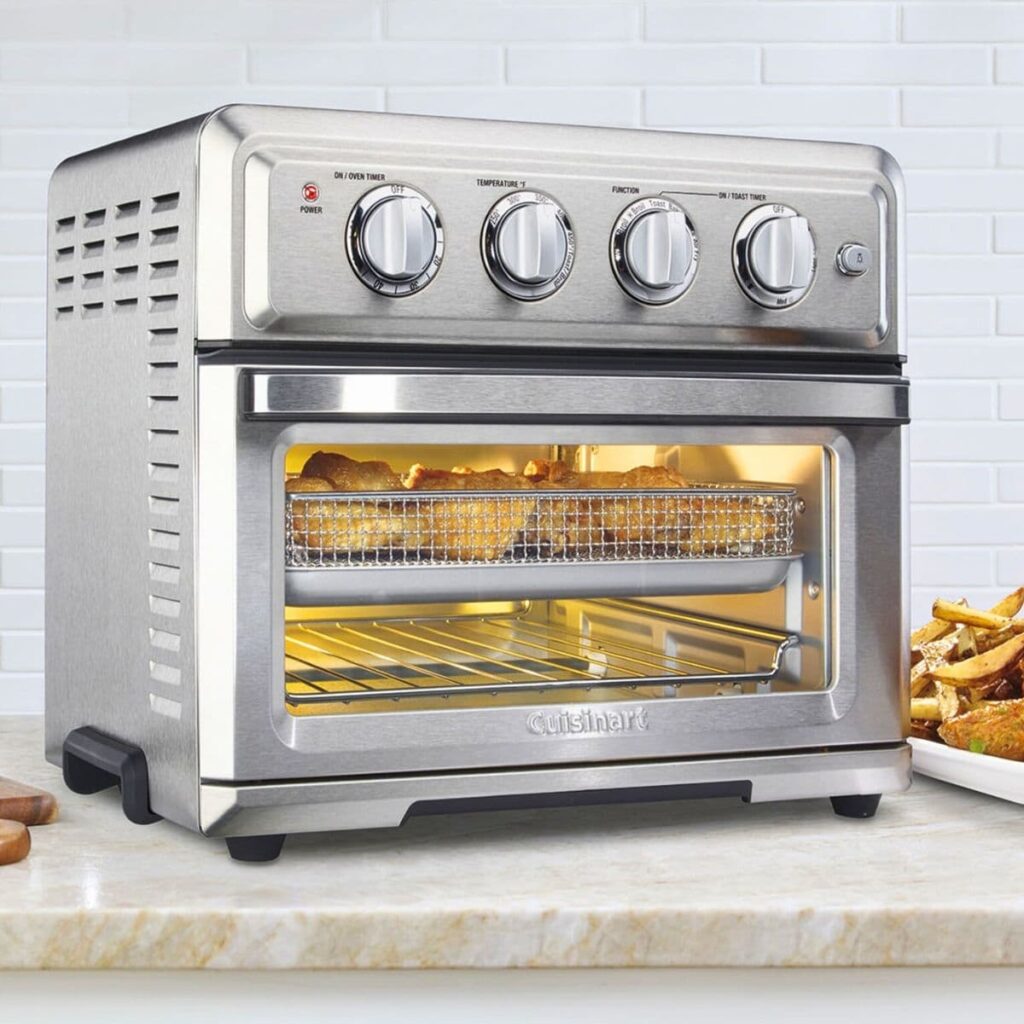
That delicious batch of crispy wings just finished cooking, but now your Cuisinart Air Fryer Oven looks like a grease battlefield with splatters coating the interior and stubborn food particles clinging to the basket. You know that unpleasant smell lingering from last night’s salmon won’t disappear on its own, and you’re worried about permanent stains forming. Don’t panic—this step-by-step guide will show you exactly how to restore your appliance to pristine condition without damaging its delicate components or voiding your warranty.
Whether you use your Cuisinart Air Fryer Oven daily or weekly, proper cleaning prevents dangerous smoke, eliminates lingering odors, and significantly extends your appliance’s lifespan. You’ll discover the precise techniques for cleaning each component safely, when to reach for baking soda versus vinegar, and how to tackle even the most stubborn baked-on grease. Most importantly, you’ll learn the daily habits that prevent those dreaded deep-cleaning marathons.
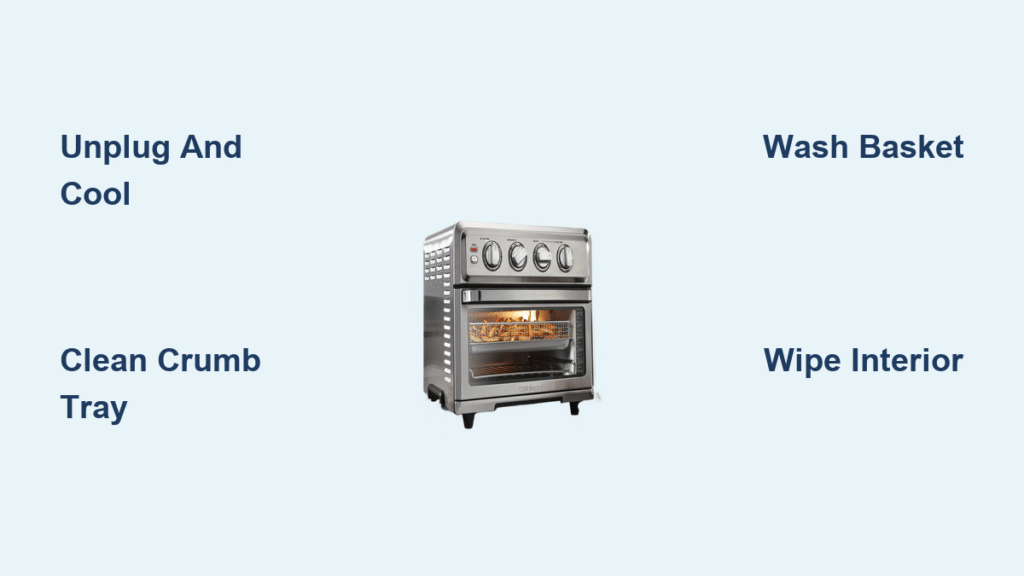
Power Down and Cool Down Safety Protocol
Skipping this critical step risks severe burns and electrical hazards—your Cuisinart Air Fryer Oven retains dangerous heat long after cooking ends. Always unplug the unit immediately after use and wait a minimum of 30-45 minutes before attempting any cleaning. Test interior surfaces with the back of your hand; if they’re still warm to the touch, give it another 10-15 minutes. This cooling period prevents thermal shock that could damage heating elements and protects you from serious burns. Never attempt to clean while the unit is still plugged in—electrical components remain live even when not actively cooking.
Stable Surface Setup for Safe Cleaning
Place your cooled oven on a heat-resistant, stable surface like your countertop or wooden cutting board—never clean it near sink edges where it could tip. Ensure the door opens fully without obstruction and that you have ample workspace for all removable components. This stable setup prevents accidental spills that could send soapy water into electrical components. If cleaning near water sources, place a dry towel underneath to catch drips and prevent slips.
Essential Cleaning Supplies Checklist
Gathering the right tools before starting prevents damage to your Cuisinart Air Fryer Oven’s surfaces and ensures effective cleaning. Using inappropriate materials can scratch non-stick coatings or leave chemical residues that create smoke during future use.
Must-Have Safe Cleaning Tools:
– 3-4 soft microfiber cloths (no paper towels on interior surfaces)
– Mild dish soap like Dawn (avoid citrus-based formulas)
– Lukewarm water (never hot water that could warp components)
– Soft-bristled brush or unused toothbrush for detailed work
– Baking soda for natural abrasive cleaning and deodorizing
– White vinegar for degreasing and mineral deposit removal
– Non-abrasive sponge (soft side only)
– Paper towels exclusively for final drying
Never Use on Your Cuisinart Air Fryer Oven:
– Steel wool, metal scrubbers, or abrasive pads
– Comet, Ajax, or other harsh powder cleaners
– Bleach, ammonia, or oven cleaners
– Metal utensils for scraping off residue
– High-pressure water sprays or dishwasher jets
Daily Exterior Cleaning Routine
Stainless Steel Housing Wipe-Down
Clean the entire outer housing within 15 minutes of cooking while the surface is still warm (but not hot). Mix one drop of dish soap with a cup of warm water and dampen a microfiber cloth—wring out until it’s barely damp. Wipe the top, sides, and back of the unit using circular motions, applying extra attention around the door seal where grease accumulates fastest. Always dry immediately with a clean, dry cloth using the grain direction to prevent water spots and maintain the professional finish. Neglecting this daily step leads to permanent grease buildup that requires intensive scrubbing later.
Digital Control Panel Cleaning Method
Your Cuisinart’s control panel demands special care to prevent moisture damage. Never spray liquids directly onto the display—this is the #1 cause of electronic failures. Instead, lightly dampen a microfiber cloth with equal parts water and white vinegar. Gently wipe the display in small circular motions using minimal pressure. For stubborn fingerprints, fold the cloth into a small square for precision cleaning around buttons. If sticky residue persists, dip a cotton swab in the vinegar solution and carefully clean button edges. Always finish with a dry cloth to remove any moisture traces—electronics and water don’t mix.
Deep Cleaning Interior Components
Crumb Tray Cleaning Procedure
Remove the crumb tray immediately after each use while it’s still warm (but not hot) to prevent residue from hardening. Empty debris directly into the trash—never shake over your sink where particles could clog drains. Wash the tray in warm, soapy water using your soft brush to dislodge particles from corners. For baked-on grease, soak 15-20 minutes in hot soapy water before scrubbing. The tray is dishwasher-safe on the top rack for monthly deep cleaning, but always hand dry thoroughly before reinserting to prevent rust. Critical tip: Ensure the tray slides completely into position—partial insertion blocks door closure and creates fire hazards.
Air Fryer Basket Deep Clean Technique
While still warm (not hot), remove the basket and wash in warm, soapy water. Use your soft brush to clean between mesh holes where oil hides and creates smoke during future use. For stubborn buildup, soak 30 minutes in warm water with 2 tablespoons baking soda before scrubbing. Rinse thoroughly under running water—hold the basket at different angles to flush all soap residue from the mesh. The basket and handle are top-rack dishwasher safe, but hand washing preserves the non-stick coating longer. Always check mesh integrity after cleaning—damaged areas can cause uneven cooking.
Solving Stubborn Cleaning Challenges
Eliminating Baked-On Grease in 3 Steps
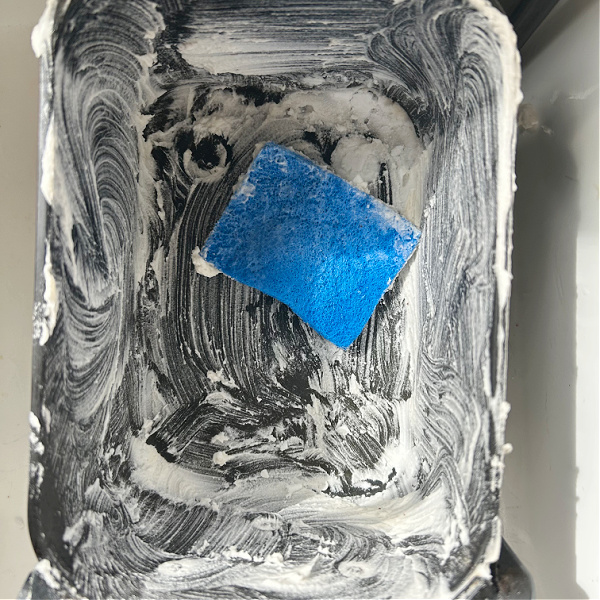
For persistent interior grease that won’t budge with regular cleaning:
1. Create a thick paste using 3 parts baking soda to 1 part water
2. Apply generously to affected areas and cover with a damp cloth
3. Let sit overnight, then gently scrub with soft brush and wipe clean
Repeat for severe buildup, but never use metal scrapers—this removes protective coatings and creates hot spots. For exterior stainless steel, use a dedicated cleaner following the grain direction. Pro tip: For weekly maintenance, wipe interior with vinegar solution after cooking to prevent future buildup.
Removing Lingering Cooking Odors
Place a shallow dish with ¼ cup white vinegar inside the cool oven and close the door overnight. For persistent smells, run the empty oven at 400°F for 15 minutes, then let cool completely before wiping interior with vinegar solution. Regular crumb tray cleaning prevents 90% of odor issues—don’t skip this daily step. If fish odors persist, add lemon slices to the vinegar solution for enhanced deodorizing.
Reassembly Verification Checklist
Before using your clean oven, perform these critical checks:
Component Inspection:
– Verify air fryer basket mesh has no tears or damage
– Ensure crumb tray slides completely and smoothly
– Check door seal for integrity and cleanliness
– Confirm all racks sit level without wobbling
– Test rotisserie components rotate freely
Proper Installation Sequence:
1. Insert crumb tray fully until it clicks into place
2. Position wire racks at desired cooking levels
3. Lock air fryer basket securely into its track
4. Close door and verify proper seal with no gaps
5. Run brief 2-minute function test before cooking
Model-Specific Cleaning Techniques
TOA-60 Series Cleaning Protocol
This classic model’s smaller interior cavity requires special attention to corner buildup. All removable accessories are dishwasher safe, but hand washing preserves the non-stick coating. Focus extra effort on the back corners where grease accumulates fastest in compact models. Clean after every 3-4 uses to prevent hardening in tight spaces.
TOA-65 Digital Display Care
The digital screen needs extra protection from moisture—use only a barely damp cloth with vinegar solution. Pay special attention after dehydrating fruits, which leave sticky residue on control surfaces. Clean display buttons weekly with a cotton swab to prevent sticky functionality. Never use glass cleaners—they damage anti-glare coatings.
TOA-70 Grill Plate Maintenance
After cleaning the grill plate, apply a light coat of vegetable oil while warm to prevent rust—this crucial step many owners miss. The integrated grill creates more smoke residue, requiring interior cleaning after every use. Remove grill grease channels with a toothpick before soaking to prevent clogging during future use.
Preventive Maintenance Schedule
Daily (After Each Use):
– Empty crumb tray immediately
– Wipe exterior housing with damp cloth
– Spot-clean interior if visible spills
Weekly Deep Clean:
– Soak and scrub air fryer basket
– Hand wash baking pan thoroughly
– Clean glass door inside and out
Monthly Maintenance:
– Complete interior deep clean
– Inspect and clean heating elements
– Check all accessories for wear
Your Cuisinart Air Fryer Oven will deliver years of reliable service when you follow these precise cleaning methods. The secret is consistency—just 5 minutes of daily maintenance prevents hours of intensive scrubbing later. Start implementing the daily exterior wipe-down today, add weekly basket cleaning, and your appliance will always be ready for your next culinary adventure. Remember: proper cleaning isn’t just about appearance—it directly impacts cooking performance, food safety, and how long your investment lasts.


