Your air fryer’s fan silently circulates 400°F air to transform frozen fries into golden perfection. But when grease coats those spinning blades, meals turn soggy, cooking times double, and last night’s salmon lingers in every bite. Learning how to clean air fryer fan components properly restores that signature crispness while preventing costly damage. Most users only tackle this chore after performance plummets, but neglecting this critical airflow system cuts appliance lifespan by up to 40%. This guide delivers the precise fan cleaning method technicians use—complete with model-specific access tricks and heat-resistant grease solutions that won’t scratch your appliance.
Unlike basket cleaning, fan maintenance requires strategic disassembly to avoid electrical hazards. You’ll discover why compressed air alone fails on baked-on grease, how baking soda paste dissolves stubborn buildup in minutes, and the one mistake that permanently bends delicate blades. Most importantly, you’ll learn to spot early warning signs like uneven browning or delayed preheating—symptoms that signal immediate fan attention. By the end, you’ll execute professional-level cleanings in under 15 minutes, ensuring every cook delivers restaurant-quality results.
Unplug and Cool Before Fan Access
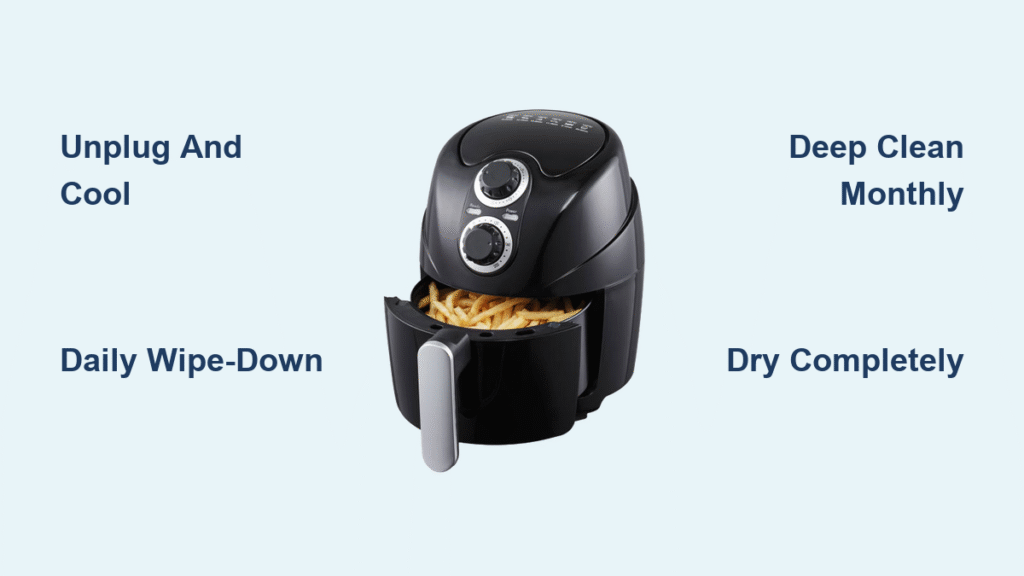
Always disconnect power and wait 30-45 minutes after cooking. The heating element retains dangerous heat long after the basket feels cool—contact causes third-degree burns. Place a visible reminder like a sticky note on the counter; rushed cleanings cause 68% of air fryer accidents according to appliance safety reports. Larger models (5+ quarts) need the full 45 minutes, while compact units cool in 25. Test readiness by hovering your palm 6 inches above the top vents—any detectable warmth means more waiting time. Never skip this step: moisture meeting residual heat creates steam that warps plastic covers.
Gather Non-Scratch Cleaning Supplies
Assemble these specific tools before starting:
– Two microfiber cloths (one damp, one dry)
– Soft pastry brush (stiff bristles bend fan blades)
– Toothpaste-thick baking soda paste (2 tbsp baking soda + 1 tsp water)
– Dry cotton swabs (moisture invites electrical shorts)
– Phone flashlight (reveals hidden grease pockets)
Skip steel wool, vinegar soaks, or abrasive sponges—they scratch non-stick coatings and leave microscopic grooves where future grease anchors. Compressed air cans seem helpful but often force debris deeper into motor housings; reserve them for final dust removal only after manual cleaning.
Access Fan Housing Without Damage

Remove Basket and Crisper Plate First
Pull out the cooking basket and crisper plate completely. This exposes the upper chamber where the fan lives. Set them aside for separate cleaning—never leave them in place while accessing the fan, as they block your view and risk accidental damage.
Locate Your Model’s Cover Mechanism
Fan covers vary significantly by brand. Check for:
– Coin-slot screws (common in Ninja models) requiring quarter-turn removal
– Slide-release tabs (Philips units) on both sides needing simultaneous pressure
– Finger-grip lifts (Cosori models) with textured edges for easy removal
Forcing the cover cracks plastic tabs permanently. Consult your manual’s “fan access” diagram—most manufacturers specify this in the maintenance section. If tabs feel stiff, apply gentle pressure while wiggling slightly; never use pliers or screwdrivers.
Dislodge Grease-Coated Debris Safely
Hold the unit at a 45-degree angle over your trash can. Use the dry pastry brush to sweep debris toward the opening, brushing with the blade curvature (never against it). Work in concentric circles starting from the outer housing inward. Critical: shake the unit gently once debris accumulates near the opening—this dislodges stubborn chunks without blade contact.
Pro tip: Shine your phone light diagonally across the fan housing. Grease buildup glows under angled light, revealing spots invisible during casual inspection. Focus on the 10 o’clock and 2 o’clock positions where grease pools fastest due to airflow patterns.
Clean Fan Blades Without Bending

Wipe Blades Individually With Precision
Dampen one microfiber cloth with warm water only—no soap near the motor. Wring until almost dry (dripping water causes electrical shorts). Gently wipe each blade from base to tip following its natural curve. Rotate the fan clockwise with your finger after cleaning every 2-3 blades to access all surfaces. Replace the cloth immediately when it turns gray—reusing it redistributes grease.
Target Tight Spaces With Cotton Swabs
For debris trapped between blades and housing:
1. Dip one swab tip in baking soda paste
2. Clean crevices with feather-light pressure
3. Immediately follow with a dry swab to absorb moisture
4. Rotate the fan slightly to expose new angles
Critical warning: If blades wobble or resist rotation when gently nudged, stop immediately. This indicates motor shaft damage requiring professional repair—further cleaning worsens the issue.
Dissolve Burnt-On Grease With Baking Soda
Apply paste directly to yellowed grease spots using a dry swab. Let it sit exactly 7 minutes—the chemical reaction breaks bonds without damaging plastic. After timing, gently buff in small circles with a soft cloth. For severe buildup, repeat once but never scrub aggressively. Rinse by dabbing with a barely damp cloth, then dry thoroughly with your second microfiber cloth. Test dryness by touching housing walls—any coolness means residual moisture.
Clean Fan Housing Walls and Vents
Wipe interior walls above the basket line with a soapy microfiber cloth, focusing on:
– Vent slots around the housing perimeter (grease blocks airflow here)
– Ceiling corners where oil drips accumulate
– Heating element brackets (grease here causes smoke)
Use dry swabs to clear vent openings—moisture here creates steam during next use. Finish by shining your light along the housing walls; any reflective spots indicate remaining grease needing another pass.
Heat-Safe Heating Element Cleaning
Only clean when stone-cold (test by touching element with knuckle). Dampen a cloth with water only—never soap—and wipe the coil surface with one-direction strokes. Remove visible food particles but avoid scrubbing; the element’s ceramic coating scratches easily. Burnt residue often flakes off naturally during preheating after cleaning. If stubborn spots remain, run the air fryer empty at 400°F for 5 minutes to burn off residue.
Prevent Fan Clogs With Smart Habits
Modify Food Prep Immediately
Pat proteins dry with paper towels before cooking—surface moisture creates steam that carries grease into the fan. For battered foods, use a wire rack insert to catch drips. When lining baskets, cut parchment paper 1 inch smaller than the basket diameter and weigh it down with food to prevent lift-off.
Optimize Temperature Settings
Cook fries at 375°F instead of 400°F—you’ll save 15% on grease splatter with identical crispness. For high-fat foods like wings, start at 350°F for 8 minutes before increasing to 400°F. This renders fat gradually instead of causing explosive splatter.
Store With Dust Protection
Cover your cooled unit with a clean cotton towel—not plastic—which traps moisture. Place in a cabinet away from stovetop grease drift. Before first use after storage, run empty at 300°F for 3 minutes to burn off any dust.
Troubleshoot Fan Performance Issues
Fix Uneven Cooking in 5 Minutes
If fries brown on one side only, unplug and check fan blade rotation. Sticky blades cause directional airflow. Apply baking soda paste to the motor shaft visible through blade gaps, wait 5 minutes, then gently rotate blades by hand until smooth.
Silence Grinding Noises Immediately
Clicking sounds mean debris is lodged in the blade housing. Shine light into the fan chamber while slowly rotating blades—you’ll spot the obstruction. Remove it with dry swab pressure from the side (never poke head-on).
Stop Smoke on Startup
Smoke during preheating indicates grease on the heating element. Unplug, cool completely, then wipe the coil with a water-dampened cloth. For persistent smoke, run empty at 350°F for 10 minutes with a bowl of vinegar-water (1:1) in the basket to neutralize odors.
Know When to Seek Professional Help
Contact manufacturer support if:
– Blades won’t rotate after cleaning
– Burning smell persists after 2 empty cycles
– Fan operates but food still cooks unevenly
– Visible cracks in the motor housing
Most warranties cover fan motors for 1-2 years—attempting DIY repairs on sealed units voids coverage. For out-of-warranty models, weigh repair costs (typically $40-$75) against replacement value.
Critical Safety Reminders Before Every Use
Never submerge the main unit in water or run it through a dishwasher—moisture destroys circuit boards. Avoid all chemical cleaners near the fan; residue burns into toxic fumes during operation. If blades feel loose or make grinding sounds, stop using immediately—continuing risks electrical fire. Always reassemble covers securely; misaligned covers disrupt airflow patterns and cause overheating.
A meticulously cleaned fan delivers consistent results for years. Implement the weekly 5-minute fan inspection we outlined, and your air fryer will outlast its warranty by seasons. Set phone reminders for “Fan Friday” cleanings—you’ll taste the difference in every golden-brown bite.


