
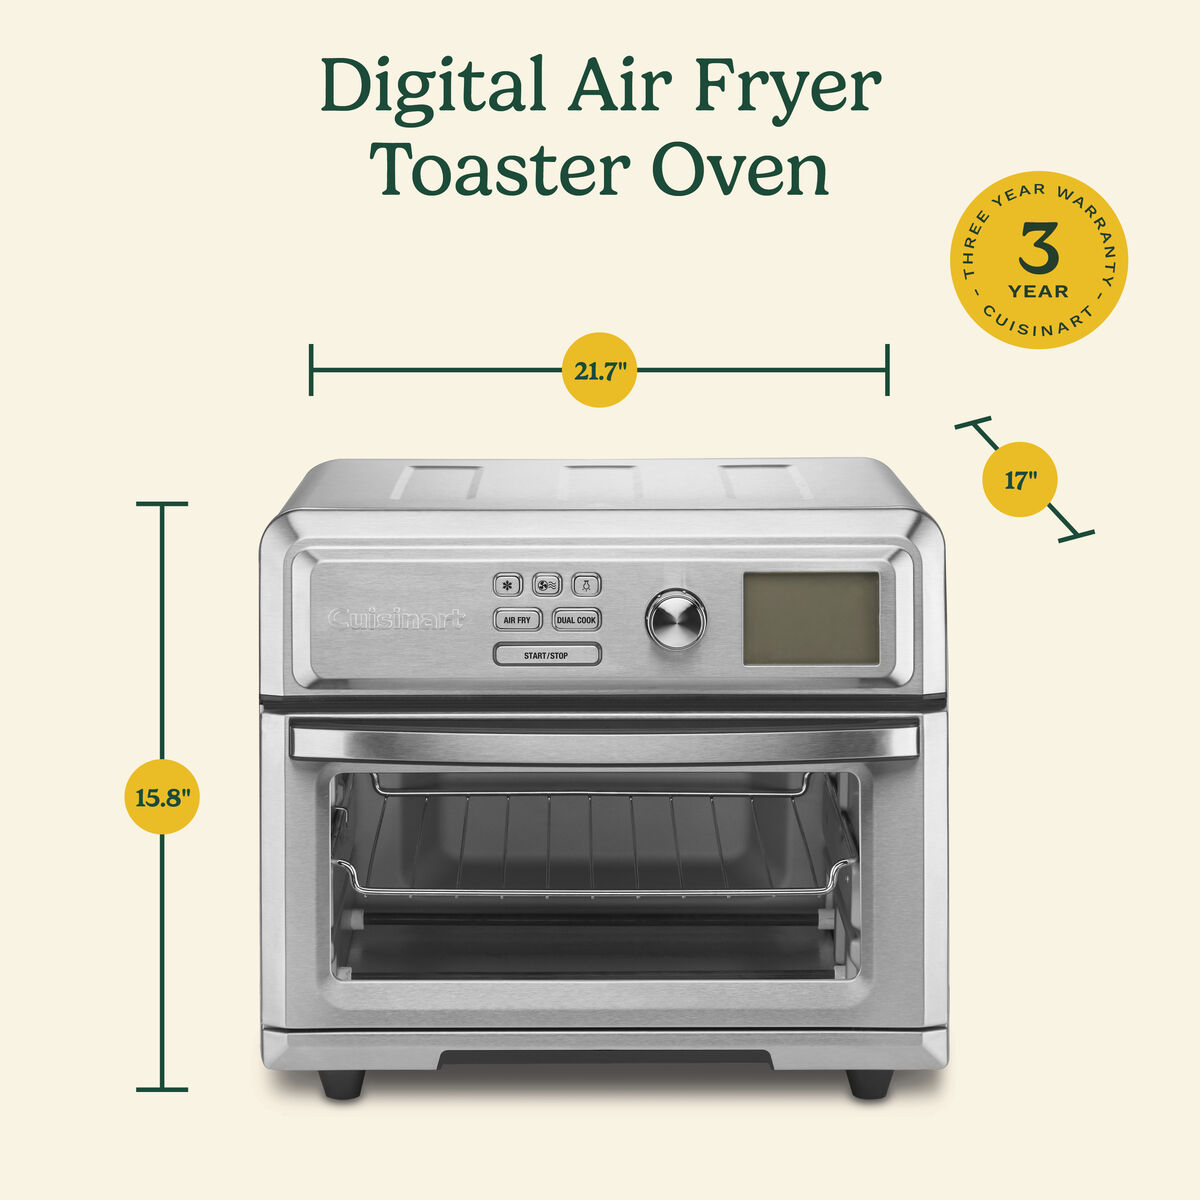
Your Cuisinart air fryer’s once-smooth basket now looks like a charcoal briquette after months of crispy fries and roasted wings. That stubborn black crust isn’t just ruining your appliance’s appearance—it’s forcing hot air to work harder, creating uneven cooking and unpleasant smoke. When baked-on grease builds up, your food absorbs old flavors, and the non-stick coating deteriorates faster. You need to clean baked-on grease from Cuisinart air fryer components immediately before permanent damage occurs.
This guide delivers battle-tested methods using household items to erase even decade-old carbon deposits. Unlike generic tutorials, these techniques target Cuisinart’s specific materials—no more guessing whether vinegar will harm your TOA-65’s digital controls. You’ll learn exactly how long to soak parts, which scrubbing motions won’t scratch surfaces, and why your current “deep clean” might actually be making buildup worse.
Gather Cuisinart-Specific Cleaning Supplies
Critical cleaning agents that won’t damage non-stick coatings:
- Baking soda (3+ tablespoons): Creates gentle abrasive action without scratching
- White vinegar (1 cup): Dissolves grease through safe acid reactions
- Dawn Platinum dish soap: Penetrates oil residues better than regular formulas
- Lemon juice (2 tablespoons): Natural degreaser that eliminates odors
Specialized tools for safe component handling:
- Microfiber cloth (never paper towels—they leave lint in mesh holes)
- Soft-bristled toothbrush (stiff bristles damage crisper plates)
- Plastic spatula (metal scrapers chip non-stick coatings permanently)
- Spray bottle (for vinegar solutions—direct pouring risks electrical damage)
⚠️ Critical mistake to avoid: Steel wool or oven cleaner. These strip Cuisinart’s PTFE coating, voiding warranties and creating toxic fumes during next use.
Complete Electrical Safety Checks Before Touching Water
Unplug and cool-down protocol:
- Unplug immediately after cooking—never rely on the power switch
- Wait 30+ minutes until the basket feels lukewarm (touching hot metal causes steam burns)
- Verify complete cooling by placing your palm near the heating element—no warmth should radiate
Water exposure boundaries:
- Never submerge the main unit—water seeps into vents and fries circuitry
- Keep control panels bone-dry (especially TOA-65 models)—even damp cloths cause LCD malfunctions
- Dry heating coils thoroughly before reassembly—moisture causes short circuits during preheating
Pro tip: Place a towel under the air fryer during cleaning. Grease runoff stains countertops permanently.
Disassemble and Pre-Treat Components Correctly
Model-specific removal steps:
- TOA-60 series: Pull basket straight out, then lift crisper plate vertically (tilting jams the rails)
- TOA-65 models: Remove drip tray first—it slides out separately from the basket
- All models: Shake crumbs over trash while basket is warm (cooled grease sticks permanently)
Initial grease softening:
- Wipe interior walls with damp microfiber cloth while components are still warm
- Spray stubborn spots with 50/50 vinegar-water solution—let bubble for 2 minutes
- Scrape loose debris with plastic spatula at 45-degree angle (prevents surface gouging)
⚠️ Warning: Never use oven mitts during disassembly—they trap heat and cause burns when handling metal parts.
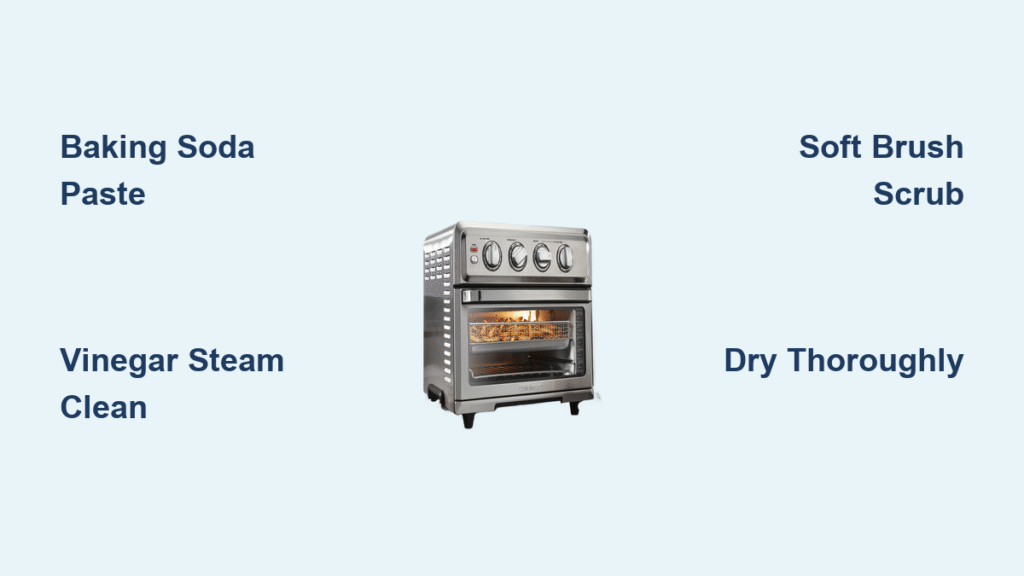
Apply Baking Soda Paste for Maximum Grease Lift
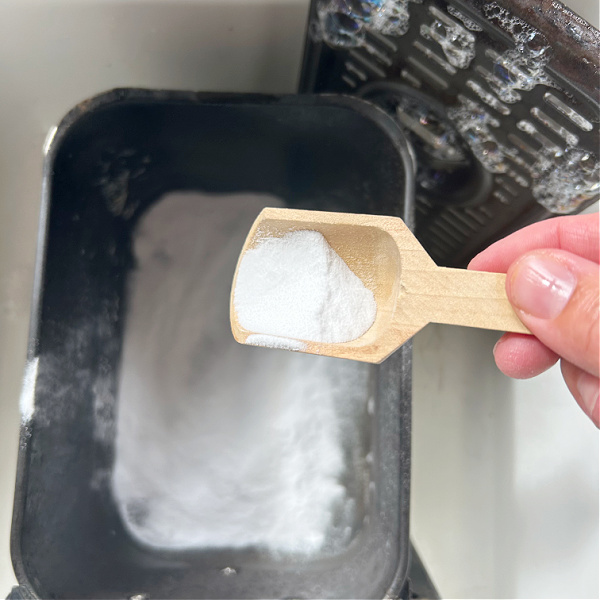
Perfect paste consistency:
- Mix 3 tbsp baking soda with 1 tsp water until it resembles toothpaste
- Add 1 tsp Dawn Platinum for heavy carbonization (creates foaming action)
- Adjust thickness: Should cling vertically to basket walls without dripping
Strategic application method:
- Apply paste only to stained areas (covering entire basket wastes product)
- Rub in circular motions with gloved fingers for 20 seconds per spot
- Cover with plastic wrap—traps moisture for deeper penetration
- Wait times: 15 min (light grease), 3 hours (moderate buildup), overnight (black carbon)
Visual cue: Paste turns grayish-black as it absorbs grease—this means it’s working.
Steam-Loosen Residue Without Damaging Electronics
Vinegar steam treatment (interior only):
- Place 1 cup vinegar + 1 cup water in empty basket
- Set to 300°F for exactly 5 minutes (exceeding 7 minutes risks warping plastic)
- Turn off immediately—never let liquid boil dry
- Keep door closed 15 minutes while steam penetrates grease
Lemon alternative for odor removal:
- Use 1 cup water + 2 tbsp lemon juice + 3 lemon slices
- Run at 350°F for 10 minutes—citric acid breaks down grease while neutralizing smells
- Critical: Wipe control panel before steaming—vinegar fumes corrode digital buttons
⚠️ Never do this: Add cold water to hot chamber—thermal shock cracks the non-stick coating.
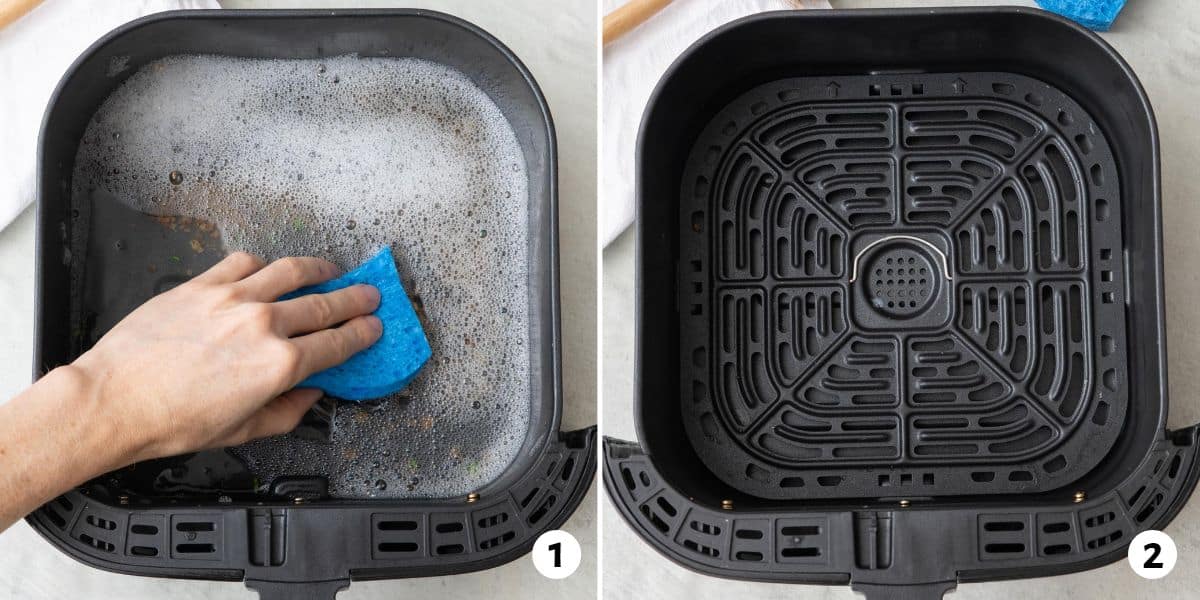
Scrub Mesh Baskets Without Creating Scratches
Basket cleaning sequence:
- Rinse under hot tap water—grease loosens when warm
- Apply undiluted Dawn Platinum directly to stained areas
- Scrub mesh with toothbrush using outward circular motions (prevents wire snags)
- Rinse at 45-degree angle—water flows through holes without pooling
Interior chamber technique:
- Use dry toothbrush on heating coils—never apply liquids near elements
- Wipe walls with vinegar-dampened cloth, then immediately dry with microfiber
- Clean door seal with cotton swab dipped in baking soda paste
Pro tip: For TOA-65 models, clean the sensor near the door hinge with a dry Q-tip—moisture here causes error codes.
Eliminate Extreme Carbon Buildup Safely
Nuclear option paste (for blackened baskets):
- Combine 2 tbsp baking soda + 1 tbsp salt + 1 tbsp dish soap
- Apply 1/8-inch thick layer to carbonized spots
- Cover with damp paper towel—prevents paste from drying out
- Wait 4 hours minimum (overnight for decade-old buildup)
Removal process:
- Gently scrape with plastic spatula at 15-degree angle
- Never press hard—let the paste do the work
- Rinse under hot water while rubbing with microfiber cloth
- Repeat if residue remains (don’t force it on first try)
When to stop: If metal shows through non-stick coating, replace the basket—continued use releases toxic fumes.
Rinse and Dry Components to Prevent Mold
Rinsing protocol:
- Use hottest tap water (120°F+) to dissolve grease residue
- Shake basket vigorously—water must flow freely through all holes
- Check corners with flashlight—grease hides in crevices
Drying checklist:
- Pat dry with microfiber cloth (paper towels leave fibers)
- Air-dry 30+ minutes with basket upside down on rack
- Verify dryness by touching heating element area—must feel cool and dry
- Wipe control panel with dry cloth before reassembly
Critical step: Never plug in until all moisture evaporates—water in vents causes electrical shorts.
Prevent Grease Buildup with 2-Minute Daily Habits
Post-cooking routine:
- Wipe basket while warm with vinegar-dampened cloth (cooled grease bonds permanently)
- Remove drip tray after every use—dried oil here causes smoke on next cook
- Never use aerosol sprays—they leave sticky residue that carbonizes
Monthly deep-clean shortcut:
- Run empty at 400°F for 5 minutes to burn off residue
- Spray interior with lemon-vinegar solution while warm
- Wipe with microfiber—takes less than 3 minutes
Pro tip: Line baskets with perforated parchment paper for messy foods—prevents 90% of buildup.
Your Cuisinart air fryer now operates like new, with faster preheating and zero off-flavors. Implement the 2-minute daily wipe-down to avoid future deep cleans—this simple habit extends your appliance’s life by 3+ years. For persistent issues, consult Cuisinart’s warranty before aggressive cleaning; many models cover basket replacements. Ready for flawless results? Run your air fryer empty at 350°F for 5 minutes before next use to burn off any residual moisture.


