
That stubborn grease film clinging to your Cuisinart air fryer basket isn’t just unsightly—it’s actively ruining your crispy fries and leaving burnt smells in last night’s salmon. When your once-reliable appliance starts smoking during preheat or transfers old flavors to fresh meals, you know it’s time for a proper cleaning session. The good news? You can restore professional-grade results in under 30 minutes using simple household items, without risking damage to the delicate non-stick surfaces.
Most owners make critical mistakes that shorten their appliance’s lifespan—like soaking the basket overnight (which warps components) or scrubbing with steel wool (which destroys non-stick coatings permanently). This guide reveals the exact cleaning protocol professional technicians use, including the baking soda paste ratio that dissolves baked-on grease without abrasives and the 2-minute heating element maintenance that prevents 90% of smoke issues. You’ll discover why waiting until your air fryer is completely cool is non-negotiable for safety, and how to safely clean the fan assembly without triggering electrical hazards.
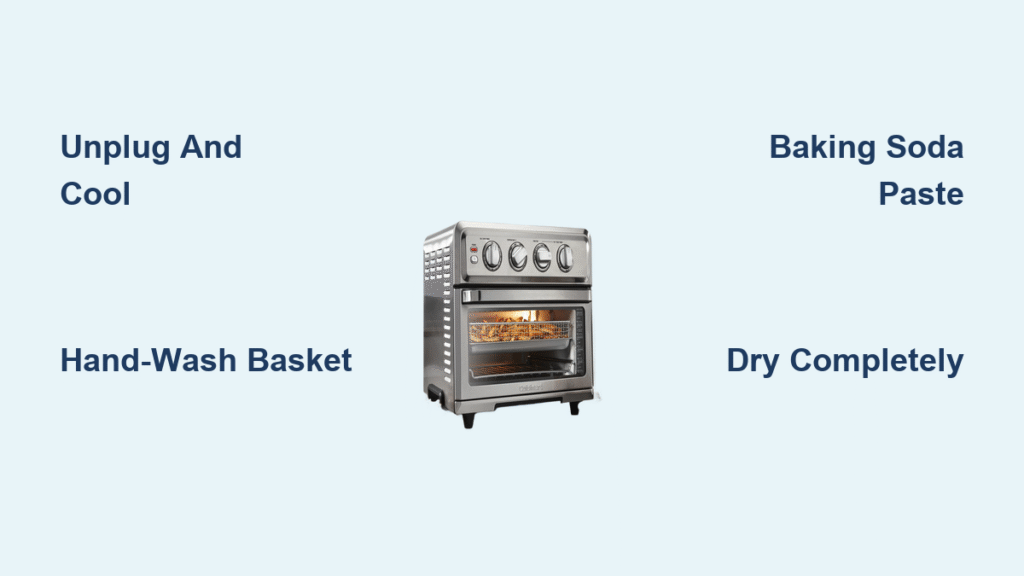
Unplug and Cool Down Before Any Cleaning
Never skip the cooling period—wait until your Cuisinart air fryer reaches room temperature before touching any components. A quick hand test above the heating element area confirms safety; if you feel even slight warmth, wait another 10-15 minutes. This simple step prevents both severe burns and electrical shorts that could permanently damage your appliance.
Remove all accessible parts immediately after unplugging: slide out the cooking basket, crumb tray, and any included racks. Consult your specific model’s manual for unique components—some Cuisinart versions include additional accessories like baking pans that require separate handling. Check each part’s base for the dishwasher-safe symbol, but remember hand washing significantly extends non-stick coating life despite manufacturer claims.
Verify Model-Specific Requirements First
Different Cuisinart models have distinct cleaning needs. Convection toaster oven variants feature larger crumb trays and multiple rack positions requiring extra attention, while compact models demand specialized tools for tight spaces. Always reference your manual before deep cleaning to avoid damaging model-specific features like the fan assembly near the heating element.
Daily Cleaning That Prevents Deep Scrubbing
Empty Crumb Tray While Slightly Warm
Pull out the crumb tray within 5 minutes of finishing cooking—while it’s still warm but not hot—to prevent grease from hardening into concrete-like residue. Most debris rinses away instantly with warm water. For stubborn bits, a 5-minute soak in hot soapy water followed by soft sponge wiping solves 95% of daily buildup without damaging the tray’s surface.
Hand-Wash Basket With Non-Stick Safety
Use lukewarm water and mild dish soap in your sink, submerging the basket for just 2-3 minutes to loosen food particles. Gently wipe with a microfiber cloth using circular motions—never use steel wool, abrasive pads, or harsh chemicals that scratch the non-stick coating. Rinse thoroughly and air-dry upside down to prevent water pooling in crevices.
Dishwasher users: place the basket exclusively on the top rack with detergent, but disable the high-heat dry cycle. Extended heat exposure degrades non-stick surfaces over time, causing premature flaking that ruins food release performance.
Wipe Interior Walls With Damp Cloth Only
While the cooking chamber is still warm (but cool to touch), use a barely damp microfiber cloth to wipe down interior walls. Focus on corners where crumbs accumulate after cooking fries or chicken wings. Never spray liquids directly inside—excess moisture can seep into electrical components near the heating element, causing malfunctions during your next cook.
Remove Baked-On Grease With Baking Soda Paste
Target Grease Hotspots Systematically
Identify three critical problem areas: interior side walls near the heating element, the top surface surrounding the fan assembly, and fan blades themselves where cooking splatter accumulates. Shine a flashlight to spot translucent grease films that reduce cooking efficiency—these invisible layers cause uneven browning and lingering odors.
Apply and Remove Paste Safely
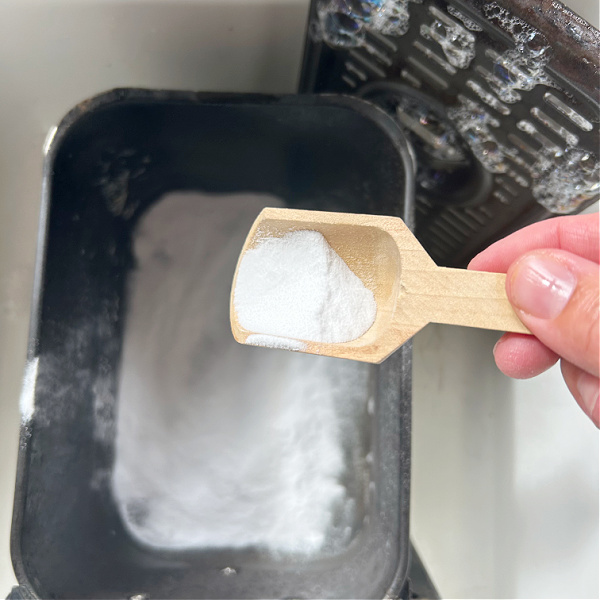
Mix 3 tablespoons baking soda with 1 tablespoon water into a spreadable paste. Apply directly to greasy areas using a soft silicone brush, avoiding electrical components. Let sit 15-30 minutes—never exceed 30 minutes as prolonged exposure can dull non-stick coatings. Gently scrub in circular motions, using cotton swabs for fan blade crevices. Wipe clean with a damp cloth, then verify no residue remains in heating element corners.
Dry Completely Before Reassembly
Air-dry all components for 2-4 hours on a clean towel. Check hidden spots like the crumb tray track and basket locking mechanism with a dry paper towel—trapped moisture causes rust and operational issues. For stubborn dampness near the fan housing, use a hair dryer on cool setting held 12 inches away for 30 seconds.
Clean Heating Element Without Electrical Hazards
Dry Cloth Wiping Technique Only
The exposed heating coils require extreme caution. Use only a dry microfiber cloth wrapped around your finger to dust the coils—never apply pressure or attempt to bend coils. Wipe in the direction of the coil spirals to avoid dislodging components. Complete this 2-minute task every 3-4 uses to prevent smoke during preheating caused by grease ignition.
Recognize Performance Warning Signs
Watch for these critical indicators needing immediate heating element attention: uneven cooking results (half-burnt, half-raw food), visible smoke within the first minute of preheating, or persistent burnt smells transferring to meals. Ignoring these signs accelerates coating degradation and risks permanent appliance damage.
Restore Fan Performance With Precision Cleaning
Access Fan Blades Safely
Position a flashlight to illuminate the fan assembly behind the heating element. Look for dark, sticky residue on blades that restricts airflow—this buildup forces the fan to work harder, increasing cooking times by up to 25%. Never manually spin the fan to clean; this can misalign critical components.
Clean Without Water Contact
Dip cotton swabs in baking soda paste to gently clean each blade surface, working from the center outward. For the housing area, use a soft toothbrush angled away from electrical connections. Allow 5 minutes for paste to penetrate stubborn spots before wiping with a dry cloth. Test airflow by blowing gently through vents—smooth, unobstructed movement confirms success.
Maintain Exterior Surfaces Without Damage
Control Panel Cleaning Protocol
Wipe the touchscreen or buttons with a cloth dampened (not soaked) in water and one drop of dish soap. Avoid all ammonia-based cleaners like Windex—they dissolve printed labels permanently. Dry immediately with a microfiber cloth to prevent liquid seepage into electrical components behind the panel.
Ventilation Area Maintenance
Monthly, use a soft-bristled brush or vacuum crevice tool to remove dust from exterior vents. Blockages here cause overheating and reduce appliance lifespan. Complete this 30-second task while the unit is unplugged and cool, ensuring optimal airflow for consistent cooking results.
Reassemble With Confidence

Verify 100% Dryness Before Use
Before reinserting components, perform the “touch test”: press a clean paper towel against all surfaces—including the crumb tray groove and heating element housing. Any moisture transfer means additional drying time is needed. Never operate with damp parts—this risks electrical shorts and compromises non-stick performance.
Conduct Safety Test Cycle
After reassembly, run your Cuisinart air fryer empty at 350°F for 3 minutes. This burns off residual cleaning compounds and confirms proper function. Watch for heavy smoke—light steam is normal, but thick smoke indicates hidden moisture or incomplete grease removal requiring another cleaning pass.
Prevent Future Buildup With Smart Habits
Weekly Maintenance Schedule
- After each use: Empty crumb tray and wipe interior with damp cloth
- Every third use: Hand-wash basket and tray with baking soda solution
- Weekly: Clean heating element area and fan housing with dry cloth
- Monthly: Deep clean all components using baking soda paste method
Protect Non-Stick Coatings Long-Term
Absolutely avoid metal utensils—even a single scratch from tongs creates permanent damage points. Never use aerosol cooking sprays; their propellants leave sticky residues that bake onto surfaces. Instead, line baskets with perforated parchment paper for messy foods like bacon or battered items. Store your air fryer with the basket slightly ajar to prevent moisture trapping and coating degradation.
Final Note: Consistent daily wiping after cooking prevents 90% of deep cleaning needs—make it part of your meal routine like loading the dishwasher. Set a phone reminder for monthly fan assembly checks; this 10-minute habit extends your Cuisinart air fryer’s life by years while maintaining crisp, flavor-free results. Your perfectly cleaned appliance will reward you with restaurant-quality texture and consistent performance for hundreds of future meals.


