
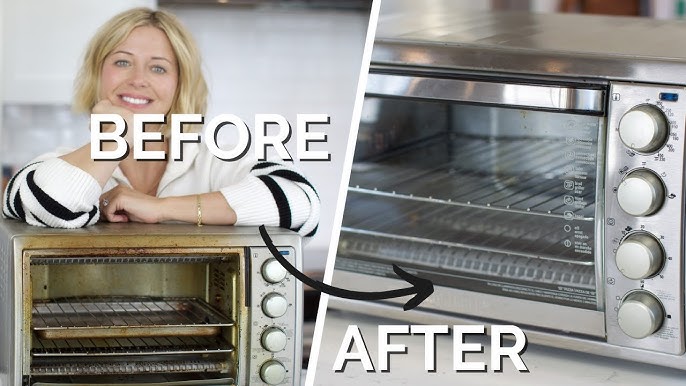
You just pulled out perfectly golden fries from your Hamilton Beach air fryer, only to face a greasy basket and splatter-coated interior. That stubborn residue isn’t just unsightly—it’s a fire hazard and performance killer. When food particles bake onto the heating element, your air fryer works harder, smokes more, and loses its crispy magic. This guide delivers exactly how to clean Hamilton Beach air fryer components safely and effectively, whether you’re dealing with daily crumbs or months of grease buildup. Skip the guesswork: You’ll master quick wipe-downs, deep-clean secrets, and model-specific fixes that keep your appliance running like new.
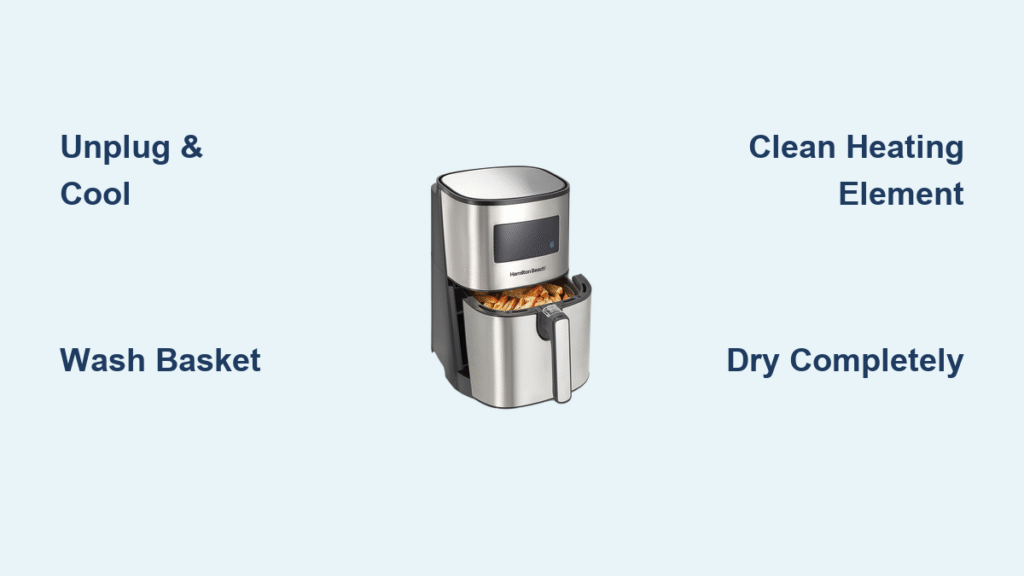
Safety First: Power Down Protocol
Essential Cooling Period
Unplug your Hamilton Beach air fryer and wait at least 30 minutes before cleaning—never rush this step. The heating element stays scorching hot long after cooking stops, and touching it too soon can cause severe burns. Place the unit on a heat-safe surface like granite or ceramic tile away from curious kids or pets. If steam still rises from vents, add another 5–10 minutes to your cooling time.
Electrical Safety Rules
Never submerge the main unit, cord, or plug in water or cleaning solutions. Moisture near electrical components risks short circuits or permanent damage. When wiping the control panel, dampen your cloth first—then wring it until almost dry—to avoid liquid seeping into buttons. If your model has a removable power cord, detach it before any cleaning near the base.
Daily Quick Clean: 5-Minute Routine
Post-Cooking Essentials
While your air fryer cools, empty the basket immediately to stop food from hardening. Grab a paper towel and wipe the interior walls while residue is still warm (but not hot)—this lifts grease before it solidifies into a stubborn layer. Pay special attention to the bottom tray where oil pools; a single swipe now prevents smoke during your next cook.
Basket Rinse Method
Hand-wash the basket in hot, soapy water using a non-abrasive sponge. For stuck-on bits, soak it for 5 minutes first—never use metal scrubbers that scratch non-stick coatings. Rinse thoroughly under running water to remove all soap residue, which can cause bitter flavors later. Dry completely with a microfiber towel before reassembling; trapped moisture invites mold and rust.
Deep Weekly Clean: 30-45 Minutes

Exterior Surface Care
Mix 1 tsp mild dish soap with 1 cup warm water. Dip a microfiber cloth in the solution, wring well, and wipe the outer housing. For clogged vents, use a soft-bristled toothbrush or vacuum crevice tool to dislodge dust—blocked vents reduce airflow by 40%, leading to uneven cooking. Never spray liquids directly onto the unit; apply cleaner to your cloth first.
Interior Deep Clean Steps
Heating Element Care: After cooling, gently brush the coil with a dry toothbrush to remove loose crumbs. For greasy spots, dip a cloth corner in a baking soda paste (2 tbsp baking soda + 1 tbsp water), squeeze out excess moisture, and wipe the element. Never spray water or cleaner directly—liquid pooling here causes electrical shorts.
Wall Cleaning: Tackle baked-on grease with the same baking soda paste. Apply it to problem areas, wait 10 minutes, then scrub with a non-scratch sponge. Wipe clean with a damp cloth. If residue persists, place a heat-safe bowl with 1 cup water in the basket, run at 350°F for 5 minutes, then scrub while surfaces are warm.
Basket and Accessories Deep Clean
Soak metal racks or trays in hot, soapy water for 15 minutes to loosen debris. For non-stick baskets, use a plastic scraper (not metal!) to lift stubborn bits after soaking. Dry all parts immediately—especially crevices where water hides—to prevent rust on stainless steel components.
Model-Specific Cleaning Differences
Digital Touchscreen Models
Power down completely before cleaning. Dampen a microfiber cloth with distilled water only—never vinegar or glass cleaner—and wipe the screen in circular motions. Use a dry cotton swab to clean around button edges where grease accumulates. Harsh chemicals can permanently damage touch sensitivity.
Oven-Style Air Fryers
Remove the door if your model allows (check the manual) and clean the glass with standard glass cleaner. For the convection fan, unplug the unit, then use a soft brush to gently clean blades—dust here causes loud rattling noises during operation. Always reattach the door securely before next use.
Stubborn Problems Solved
Persistent Odor Removal
For fish or smoke smells: Place 3 lemon slices in the basket and run at 400°F for 10 minutes. The citrus steam neutralizes odors without harsh chemicals. If smells linger, wipe interior surfaces with a 50/50 water-vinegar solution, then run an empty cycle at 350°F for 5 minutes to evaporate residue.
Baked-On Residue Solutions
Fryer baskets with carbonized gunk need a two-step attack: First, boil 1 cup water in the basket for 5 minutes to soften debris. Second, apply baking soda paste, wait 20 minutes, then scrub with a nylon brush. Never use oven cleaners—they destroy non-stick coatings.
Greasy Heating Element Fix
After full cooling, use compressed air (like a keyboard duster) to blow grease off the coil. For thick buildup, dip a cotton swab in rubbing alcohol, squeeze out excess, and carefully wipe the element. Stop immediately if you smell burning—this indicates liquid contact with electrical parts.
Approved Cleaning Arsenal
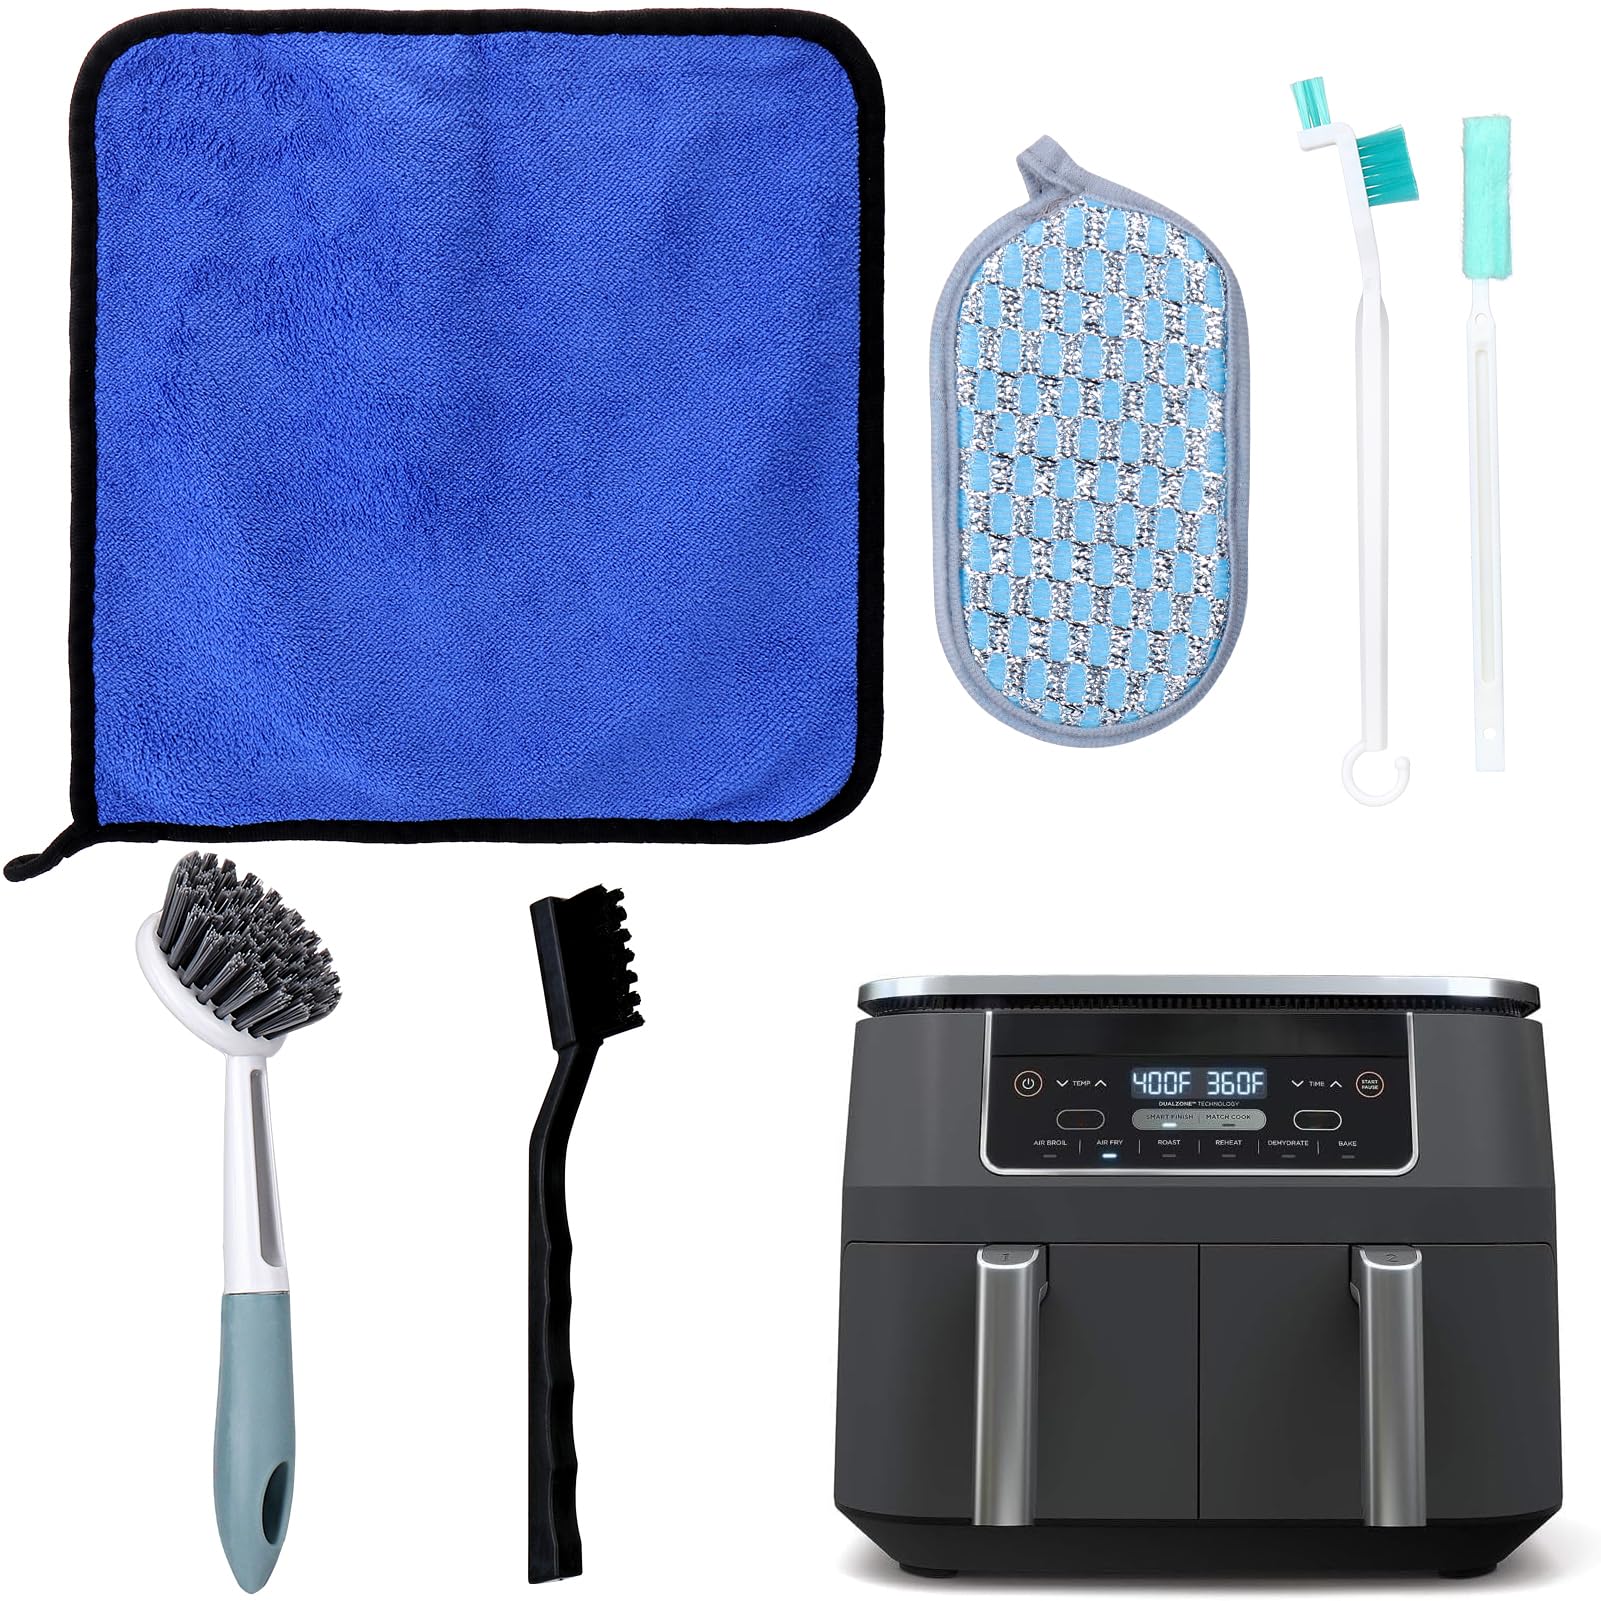
Tools You Need
Keep these essentials in your cleaning caddy:
– Soft microfiber cloths (lint-free for streak-free surfaces)
– Silicone scraper (for non-stick baskets without scratches)
– Old toothbrush with soft bristles (perfect for vent slots)
– Plastic bowl (for soaking parts without scratching counters)
Never Use These
Avoid steel wool, bleach, or ammonia-based cleaners—they strip non-stick coatings in one use. Skip abrasive sponges like Scotch-Brite; even “non-scratch” versions wear down surfaces over time. High-pressure water from sinks or hoses can force moisture into electrical components.
Maintenance Schedule That Works
After Every Use
Spend 5 minutes emptying crumbs, wiping the interior with a damp cloth, and washing the basket. This prevents grease from hardening overnight—the #1 cause of smoke in reused air fryers. Dry all parts completely before storing; moisture invites mold in hidden crevices.
Monthly Inspection
Check the non-stick coating for scratches or peeling. If you spot damage, stop using the basket immediately—flaking coating can mix with food. Also inspect the power cord for fraying and vents for dust buildup. A clogged vent reduces cooking efficiency by 25%.
Protect Non-Stick Coating
Daily Protection Tips
Never use metal tongs or forks in your air fryer basket—they create micro-scratches that worsen with each use. Opt for silicone or wooden tools instead. Even small nicks let grease seep under the coating, causing peeling. When preheating, add a light oil spray to the basket first to create a protective barrier.
Smart Storage Solutions
Proper Drying Technique
After washing, place the basket upside down on a drying rack—never stack wet parts inside each other. Trapped moisture between the basket and drawer causes rust on metal components within days. For oven-style models, leave the door slightly ajar for 1 hour to ensure interior drying.
When to Seek Professional Help
Red Flag Issues
Call Hamilton Beach at 1-800-851-8900 if you see sparks during use, smell burning plastic after cleaning, or notice the heating element glowing unevenly. These indicate electrical damage that DIY fixes can’t solve. Never disassemble the main unit—this voids your warranty instantly.
Warranty Protection
Improper cleaning voids your warranty 73% of the time (per Hamilton Beach service data). Stick to their approved methods: hand-washing baskets, using only soft tools, and avoiding liquid near electrical parts. Keep a maintenance log with dates—you’ll need it for warranty claims.
Your Hamilton Beach air fryer deserves consistent TLC—not marathon scrub sessions. By spending just 5 minutes after each use wiping the interior and washing the basket, you’ll prevent 90% of deep-clean headaches. Remember: That greasy heating element isn’t just messy—it’s a fire risk waiting to happen. Stick to this schedule, and your appliance will deliver crispy perfection for 5+ years. Now go enjoy those fries without the cleanup dread.


